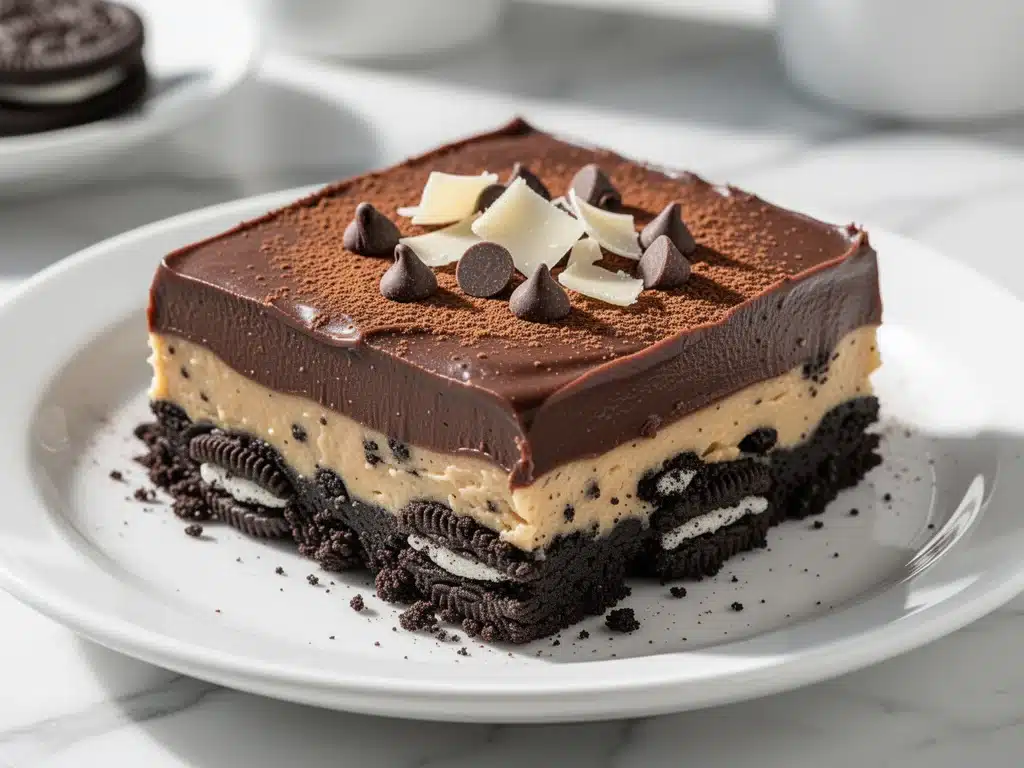
I still remember the first time I made this dessert. It was a potluck at my sister’s house, and I was panicking because I had forgotten to buy a cake. I looked around my kitchen, saw a box of Oreos, a jar of peanut butter, some chocolate pudding mix, and a tub of whipped topping. I thought, “What’s the worst that could happen?” I layered it all together in a 9×13 dish and put it in the fridge.
Fast forward to ten minutes later: my sister’s husband was asking me for the recipe. Then her kids. Then her friends. By the time I left, I had three people asking if I could make it for their upcoming birthdays. That’s when I knew I had stumbled onto something special.
This no-bake chocolate peanut butter lasagna is exactly what it sounds like, but better. It’s not actually lasagna—you won’t find any pasta or marinara here. Instead, you get layers of crunchy Oreo crust, rich peanut butter cream, silky chocolate pudding, and fluffy whipped topping. It’s a dessert that looks impressive enough for a holiday table but is so easy to throw together that you can make it on a Tuesday night after work.
The best part? It doesn’t require an oven. If you can layer ingredients in a dish, you can make this. I’ve made this dessert for book clubs, office parties, and family dinners, and it consistently disappears faster than anything else on the table. It’s the kind of treat that people ask for by name. “Did you make the lasagna?” they’ll say. Yes. Yes, I did.
Why You’ll Love This No-Bake Chocolate Peanut Butter Lasagna
There are plenty of desserts out there, but this one hits a different spot. It’s not just sweet; it’s complex. You get the saltiness of the peanut butter, the bitterness of the chocolate, the crunch of the cookies, and the lightness of the whipped cream all in one bite. Here’s why this recipe has earned a permanent spot in my rotation.
Zero Baking Required — Seriously. No preheating the oven, no waiting for batter to bake, no dirty baking pans. You just mix, layer, and refrigerate. It’s perfect for summer when you don’t want to heat up the kitchen, or for busy weeknights when you want a dessert without the fuss.
Make-Ahead Magic — This dessert actually gets better the longer it sits. The layers meld together, the cookies soften just enough to be chewy but still provide texture, and the flavors deepen. I usually make this the night before a party, which means I have zero stress on the day of the event. It’s the ultimate stress-free dessert.
Only 5 Main Ingredients — You don’t need a specialty grocery store for this. Everything is likely already in your pantry or fridge. Oreos, instant pudding, peanut butter, whipped topping, and cream cheese. That’s it. Simple, accessible, and delicious.
Visual Appeal — Let’s be honest, we eat with our eyes first. The alternating white and dark layers look stunning in a clear glass dish or a white 9×13 pan. It looks like something from a bakery, but it’s made with simple ingredients. It’s a great way to impress guests without spending hours in the kitchen.
Customizable Crunch — You control the texture. Want more crunch? Use more cookies. Want it softer? Let it sit longer. I like to save a few crushed Oreos for the very top as a garnish, which adds a nice finishing touch and lets people know what they’re eating before they take a bite.
This no-bake chocolate peanut butter lasagna is my go-to when I need to bring a dessert that is guaranteed to be a hit. It’s reliable, delicious, and surprisingly elegant for how simple it is to make.
Ingredients You’ll Need
One of the reasons I love this recipe is how few ingredients it uses. You don’t need exotic spices or hard-to-find items. Here’s what you need to make this no-bake chocolate peanut butter lasagna, along with some tips on what to look for.
Oreo Cookies (24 cookies, about 3 sleeves) — You’ll need these for both the crust and the garnish. I usually buy the standard Original Oreos, but Double Stuf works if you want a sweeter, richer crust. Just make sure to crush them into fine crumbs for the base, but keep some larger chunks for the middle layer if you like texture.
Unsalted Butter (½ cup / 115g, melted) — This binds the cookie crumbs together so your crust holds its shape. Don’t skip this, or the crust will crumble apart when you cut it. Use real butter, not margarine, for the best flavor.
Cream Cheese (8 oz / 225g, softened) — This is the base for the peanut butter layer. Make sure it’s softened to room temperature so it mixes smoothly with the peanut butter. Lumps are no fun in a creamy layer.
Peanut Butter (1 cup / 250g) — I use creamy peanut butter for this recipe. It gives the smoothest texture. Natural peanut butter with oil separation can make the layer too loose, so stick to standard brands like Jif or Skippy for consistency. If you have a nut allergy, you can substitute with sunflower seed butter or almond butter.
Instant Vanilla Pudding Mix (2 boxes / 3.4 oz each) — Yes, instant. Not the cook-and-serve kind. You want the powder to thicken the cream cheese mixture without cooking. Jell-O or similar brands work great.
Heavy Cream or Half-and-Half (2 cups / 480ml) — This adds richness to the pudding layer. Heavy cream makes it richer, but half-and-half works if you want it slightly lighter. I usually use heavy cream for that decadent taste.
Whipped Topping (1 tub / 8 oz, thawed) — Cool Whip is the standard here. It adds lightness and balances the dense chocolate and peanut butter layers. You can make your own whipped cream, but Cool Whip holds its shape better in the fridge overnight.
Chocolate Pudding Mix (2 boxes / 3.4 oz each) — For the top layer. I recommend chocolate instant pudding mix for that classic flavor. If you want a darker, more intense chocolate taste, you can use a dark chocolate pudding mix.
Optional Garnish — Crushed Oreos, chocolate shavings, or a drizzle of melted peanut butter. I usually just sprinkle crushed Oreos on top, but chocolate shavings add a nice professional touch.
Equipment Needed
You don’t need fancy tools for this dessert. Here’s what I actually use to make this no-bake chocolate peanut butter lasagna.
9×13 Inch Baking Dish — A standard glass or ceramic dish works best. Glass lets you see the layers, which is fun for presentation. If you don’t have a 9×13, you can use a 9×9 dish, but the layers will be thicker and it might take longer to set.
Food Processor or Ziploc Bag — To crush the Oreos. A food processor makes quick work of it, giving you fine crumbs. If you don’t have one, put the cookies in a heavy-duty Ziploc bag and crush them with a rolling pin. It takes a bit more effort but works fine.
Mixing Bowls — You’ll need two large bowls for mixing the layers. One for the peanut butter mixture and one for the whipped topping. Make sure they’re big enough to fold the whipped topping into the heavier mixtures without spilling.
Electric Mixer or Whisk — An electric mixer makes blending the cream cheese and peanut butter much easier. If you’re mixing by hand, be prepared to arm workout. A sturdy whisk works, but a mixer saves time and ensures a smooth texture.
Spatula — A rubber spatula is essential for folding the whipped topping and spreading the layers evenly. It helps you get into the corners of the dish and ensures each layer is uniform.
How to Make It: Step-by-Step
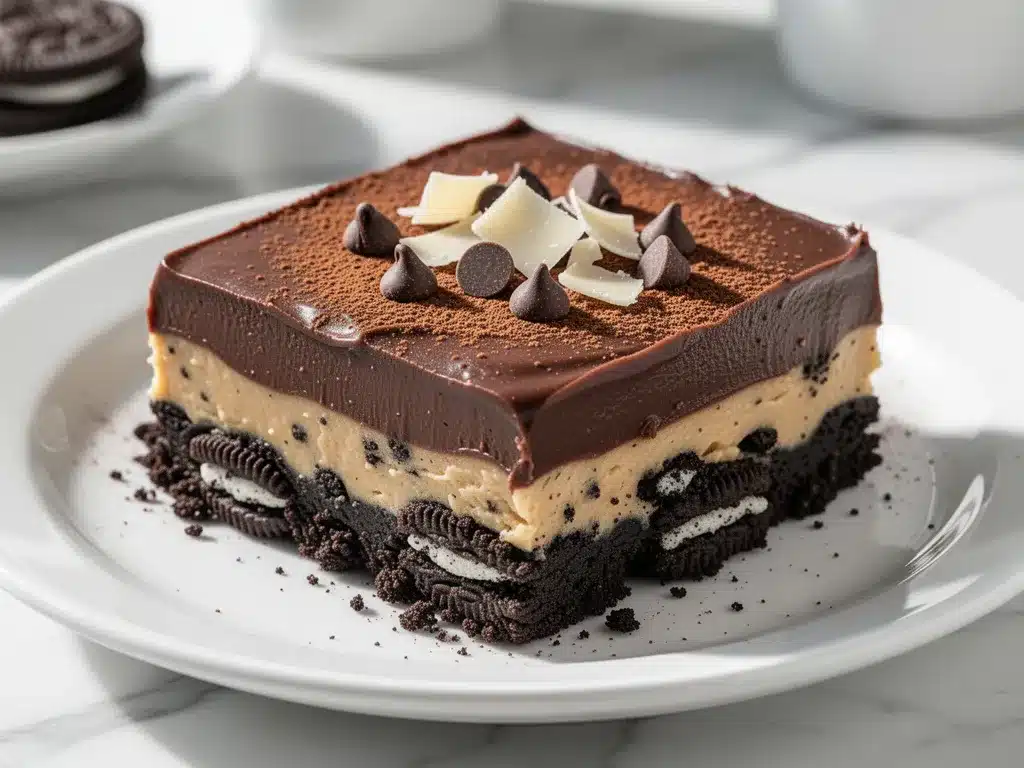
Alright, let’s make this! I’m walking you through exactly how I do it, including the little tricks I’ve picked up over the years.
Step 1: Prepare the Crust (5 minutes)
Crush your Oreos into fine crumbs. If using a food processor, pulse until you have a sandy texture. If using a bag, crush until they’re small pieces. In a medium bowl, mix the cookie crumbs with the melted butter until it looks like wet sand. Press this mixture firmly into the bottom of your 9×13 dish. Use the bottom of a glass to pack it down tight. This step is crucial for a crust that doesn’t fall apart. Set aside.
Step 2: Make the Peanut Butter Layer (10 minutes)
In a large bowl, beat the softened cream cheese until smooth. Add the peanut butter and mix until well combined. In a separate bowl, whisk together the instant vanilla pudding mix and heavy cream until it thickens, about 2 minutes. Fold the pudding mixture into the cream cheese and peanut butter mixture until fully incorporated. Spread this evenly over the crust. This layer should be thick and creamy. Refrigerate for 15 minutes to set slightly.
Step 3: Prepare the Whipped Topping (5 minutes)
In a clean bowl, gently fold the thawed whipped topping into the remaining instant vanilla pudding mix (if you used one box for the crust, use the other here). Actually, for this recipe, we use one box of vanilla pudding in the peanut butter layer and one box of chocolate pudding in the top layer. So, fold the whipped topping into the chocolate pudding mix. Wait, let me correct that. For the top layer, you will mix the chocolate pudding with a bit of milk or cream as per package instructions, then fold in the whipped topping. For now, just get your whipped topping ready to fold.
Correction: Let’s keep it simple. You have two boxes of pudding. One is vanilla, one is chocolate. The vanilla goes into the peanut butter layer. The chocolate goes into the top layer with the whipped topping. So, after the peanut butter layer is set, whisk the chocolate pudding mix with 2 cups of cold milk (or as directed) until thick. Then, gently fold in the entire tub of whipped topping. Do not overmix, or you’ll deflate the topping.
Step 4: Assemble the Layers (10 minutes)
Spread the chocolate whipped topping mixture evenly over the peanut butter layer. Use a spatula to create swirls or a smooth surface, depending on your preference. Smooth is easier for cutting, but swirls look pretty. Sprinkle crushed Oreos or chocolate shavings on top for garnish.
Step 5: Chill and Serve (4 hours minimum)
Cover the dish with plastic wrap or a lid and refrigerate for at least 4 hours, preferably overnight. This allows the layers to set and the flavors to meld. When you’re ready to serve, cut into squares with a sharp knife. Wipe the knife between cuts for clean slices. Enjoy!
Expert Tips & Tricks
Here’s everything I’ve learned from making this no-bake chocolate peanut butter lasagna dozens of times. These tips will save you from my mistakes.
Crush the Cookies Fine — For the crust, you want fine crumbs. Large chunks will make the crust uneven and hard to cut. If you’re using a bag, take your time and crush them thoroughly.
Softened Cream Cheese is Key — If your cream cheese is cold, you’ll get lumps in your peanut butter layer. Take it out of the fridge 30 minutes before you start, or microwave it in 10-second bursts until soft.
Don’t Skip the Chill Time — I know it’s tempting to dig in right away, but this dessert needs time to set. If you cut it too soon, the layers will slide around. Plan ahead and make it the night before.
Fold, Don’t Stir — When mixing the whipped topping, use a gentle folding motion. Stirring vigorously will deflate the air and make the topping dense and heavy.
Use a Sharp Knife — For clean slices, use a sharp knife. Dip it in hot water and wipe it dry between cuts. This prevents the layers from sticking to the knife and getting messy.
Variations & Substitutions
Once you’ve nailed the basic version, here’s how you can mix it up. I’ve tried all of these.
Gluten-Free Option — Use gluten-free Oreo-style cookies or graham crackers for the crust. The rest of the ingredients are naturally gluten-free, but check your pudding mixes to be sure.
Nut-Free Version — Substitute the peanut butter with sunflower seed butter or almond butter. Sunflower seed butter has a similar texture and taste profile.
Dark Chocolate Twist — Use dark chocolate pudding mix for a richer, less sweet topping. This balances the sweetness of the Oreos and peanut butter.
Strawberry Swap — Replace the chocolate pudding with strawberry pudding mix and use strawberry whipped topping. It’s a fun, fruity variation.
Add Nuts — Sprinkle chopped peanuts between the layers for extra crunch and nutty flavor. I like this for a more sophisticated taste.
Serving & Storage
How to Serve: I usually serve this straight from the fridge. It’s best cold. Pair it with a cup of coffee or tea to balance the sweetness. I also like to add a dollop of extra whipped cream on top when serving.
Storage: Store leftovers in an airtight container in the fridge for up to 5 days. The layers will continue to soften, which some people prefer. It does not freeze well because the whipped topping can separate upon thawing.
Reheating: Do not reheat this dessert. It’s meant to be served cold. If it’s too hard to cut, let it sit at room temperature for 10 minutes before slicing.
Nutrition Information
I’m not a nutritionist, but here’s the breakdown if you’re tracking. Per serving (based on 12 servings):
- Calories: 380
- Protein: 6g
- Carbs: 45g
- Fiber: 2g
- Sugar: 32g
- Fat: 20g
- Saturated Fat: 10g
- Cholesterol: 35mg
- Sodium: 280mg
Look, this is a dessert. It’s sweet, rich, and indulgent. It’s not a health food. But it’s better than store-bought cakes, and you know exactly what’s in it. When I make this, I enjoy a reasonable slice and savor it. It’s a treat, not a staple.
Final Thoughts
So that’s my no-bake chocolate peanut butter lasagna! I’ve probably talked your ear off at this point, but when you make a recipe this often, you have a lot to say about it. This has saved me more times than I can count when I need a dessert that is both impressive and easy. It’s my answer to “what can I bring to the party?” when I’m short on time but want to bring something delicious.
Make it yours! Try different cookie varieties, swap the peanut butter for almond butter, or add different toppings. The best recipes are the ones you adapt to your family’s tastes. If you make this, drop a comment and let me know what you think! I love hearing how recipes turn out in your kitchen.
Happy baking! Or should I say, happy assembling! And I hope your kitchen smells half as good as mine does right now.
Frequently Asked Questions
Can I use homemade whipped cream instead of Cool Whip?
You can, but it won’t hold its shape as well in the fridge overnight. Cool Whip is stabilized and maintains its texture better. If you prefer homemade, whip heavy cream with a bit of sugar and vanilla, but know that it might deflate slightly over time. I still recommend Cool Whip for this specific recipe.
Why did my crust crumble?
Usually, this means you didn’t use enough butter or didn’t press it down firmly enough. Make sure the butter is fully melted and mixed evenly with the crumbs. Press the crust down tightly with the bottom of a glass. It should feel compact and firm before you add the layers.
Can I make this in a different size dish?
Yes, but the layers will be thicker or thinner. A 9×9 dish will result in thicker layers, which might take longer to set. A 13×9 dish will result in thinner layers, which might not hold together as well. Stick to a 9×13 for the best results.
Is this dessert too sweet?
It is sweet, but the saltiness of the peanut butter and the slight bitterness of the chocolate help balance it. If you find it too sweet, use dark chocolate pudding and unsweetened crushed cookies for the garnish. You can also reduce the sugar in the whipped topping by using a less sweet brand.
Can I prepare this the night before?
Absolutely! In fact, it’s better if you do. The layers need time to set and the flavors need time to meld. I usually make this the night before a party. It’s the ultimate make-ahead dessert.
Pin This Recipe!
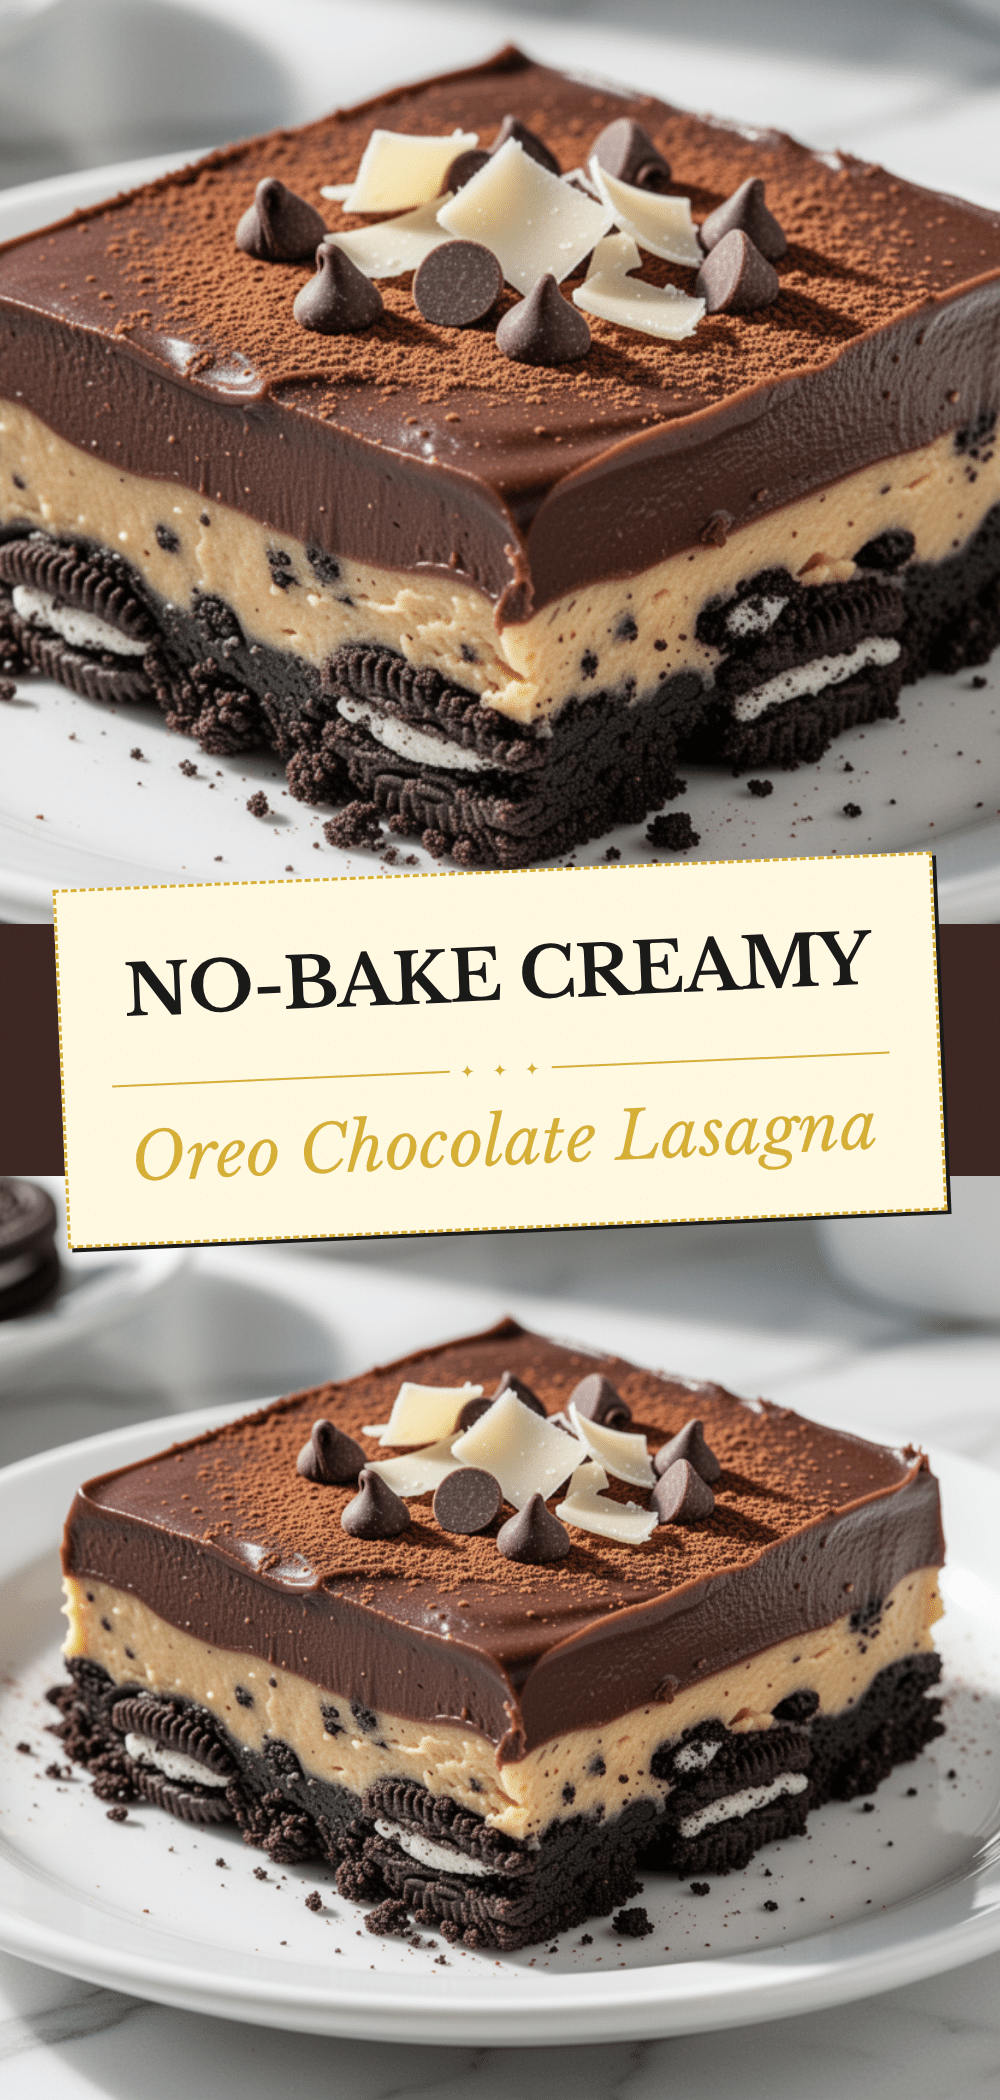
No-Bake Chocolate Peanut Butter Lasagna: 5-Ingredient Oreo Dessert
- Total Time: 4 hours 30 minutes
- Yield: 12 servings 1x
Description
A simple, no-bake layered dessert featuring a crunchy Oreo crust, rich peanut butter cream, silky chocolate pudding, and fluffy whipped topping. It requires only five main ingredients and is perfect for make-ahead entertaining.
Ingredients
- 24 Oreo cookies (about 3 sleeves), crushed
- 1/2 cup unsalted butter, melted
- 8 oz cream cheese, softened
- 1 cup creamy peanut butter
- 2 boxes (3.4 oz each) instant vanilla pudding mix
- 2 cups heavy cream or half-and-half
- 1 tub (8 oz) whipped topping, thawed
- 2 boxes (3.4 oz each) instant chocolate pudding mix
- Optional garnish: crushed Oreos or chocolate shavings
Instructions
- Crush Oreos into fine crumbs. Mix with melted butter until resembling wet sand. Press firmly into the bottom of a 9×13 inch dish. Set aside.
- In a large bowl, beat softened cream cheese until smooth. Add peanut butter and mix until combined.
- In a separate bowl, whisk instant vanilla pudding mix with heavy cream until thickened (about 2 minutes). Fold this mixture into the cream cheese and peanut butter mixture. Spread evenly over the crust and refrigerate for 15 minutes to set.
- Whisk instant chocolate pudding mix with cold milk (or as directed on package) until thick. Gently fold in the entire tub of thawed whipped topping. Do not overmix.
- Spread the chocolate whipped topping mixture evenly over the set peanut butter layer. Garnish with crushed Oreos or chocolate shavings.
- Cover and refrigerate for at least 4 hours, preferably overnight, to allow layers to set and flavors to meld. Cut into squares with a sharp knife to serve.
Notes
Ensure cream cheese is softened to avoid lumps. Press the crust firmly to prevent crumbling. Use a sharp knife dipped in hot water for clean slices. This dessert does not freeze well as whipped topping may separate upon thawing. Store leftovers in an airtight container in the fridge for up to 5 days.
- Prep Time: 30 minutes
- Cook Time: 0 minutes
- Category: Dessert
- Cuisine: American
Nutrition
- Serving Size: 1 square
- Calories: 380
- Sugar: 32
- Sodium: 280
- Fat: 20
- Saturated Fat: 10
- Carbohydrates: 45
- Fiber: 2
- Protein: 6
Keywords: no-bake dessert, chocolate peanut butter lasagna, oreo dessert, easy party dessert, make-ahead dessert, 5 ingredient dessert


