Last Tuesday, I was standing in my kitchen at 8:45 PM, staring into the refrigerator like it held the secrets to the universe. My husband had just walked in the door, looking exhausted from work. Our two kids were in the other room, fighting over a tablet. The house was loud, the lighting was harsh, and my patience was thinner than a sheet of parchment paper. I didn’t want to make a complicated dinner. I definitely didn’t want to order takeout. And I absolutely, positively did not want to spend an hour baking individual cookies.
But I wanted something sweet. Something that would make everyone stop and smile, even if just for a minute. Something that tasted like comfort but could be made in under 45 minutes.
That’s when I decided to stop looking at my fridge and start looking at my pantry. I had peanut butter. I had chocolate chips. I had butter, sugar, and flour. It was a disaster waiting to happen—or it could be the start of something incredible. I threw everything into a bowl, mixed it until my arm hurt, and pressed it into a pan. I expected something… okay. Maybe a bit dry. Maybe a little bland.
What came out of the oven was something else entirely.
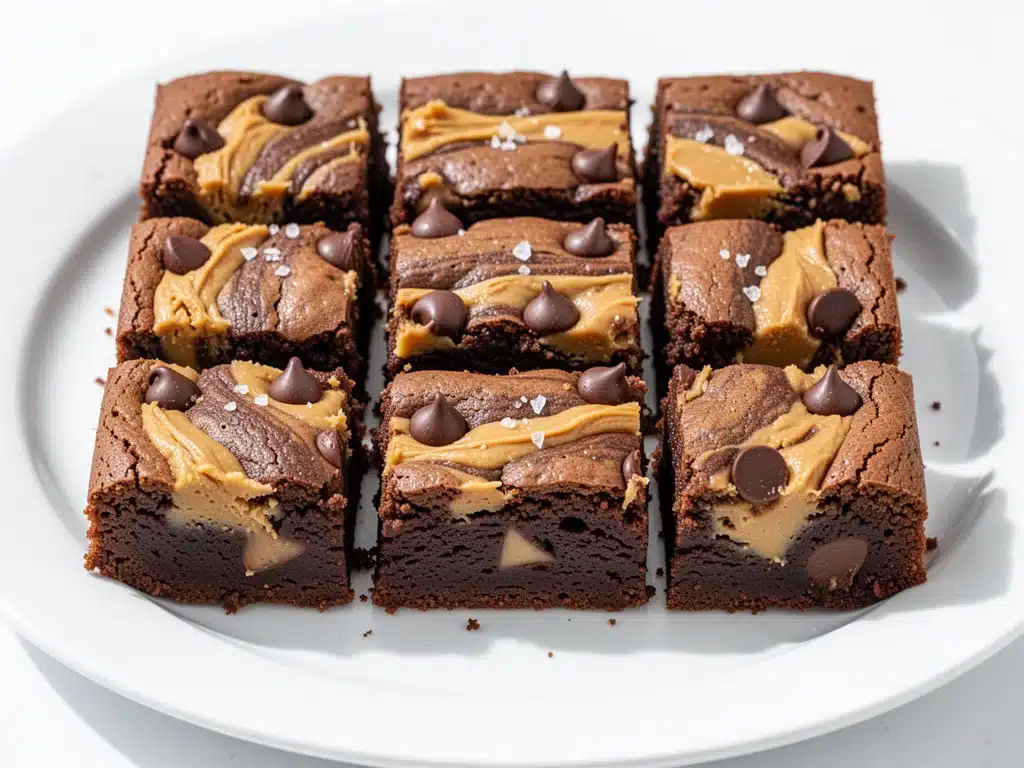
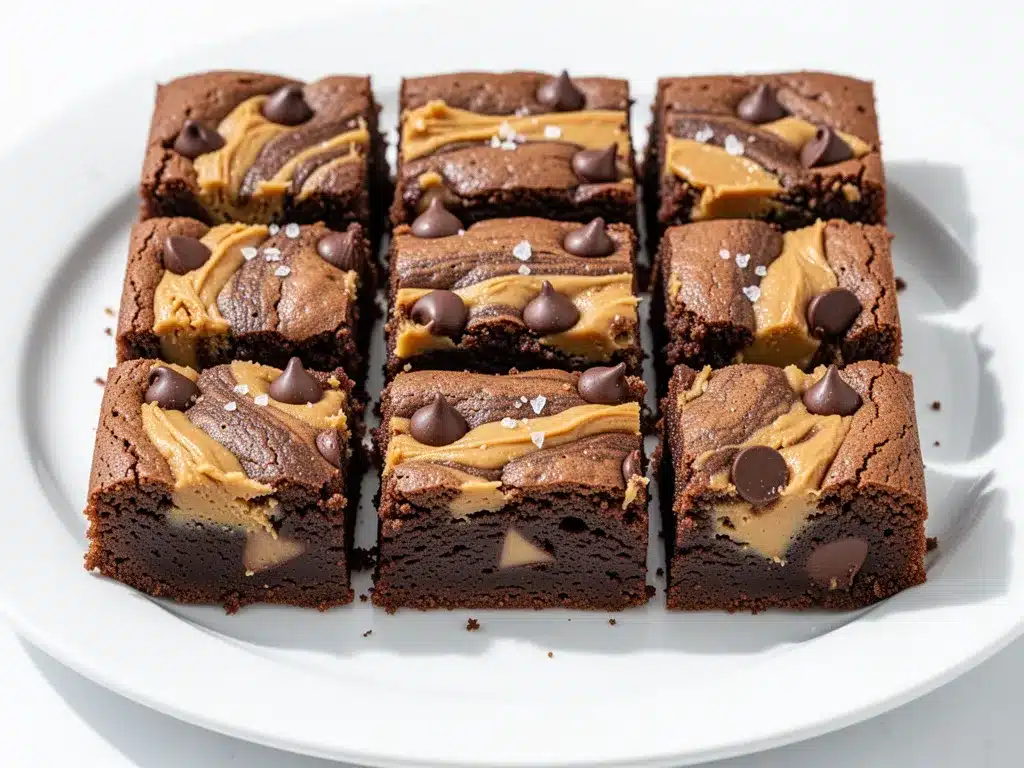
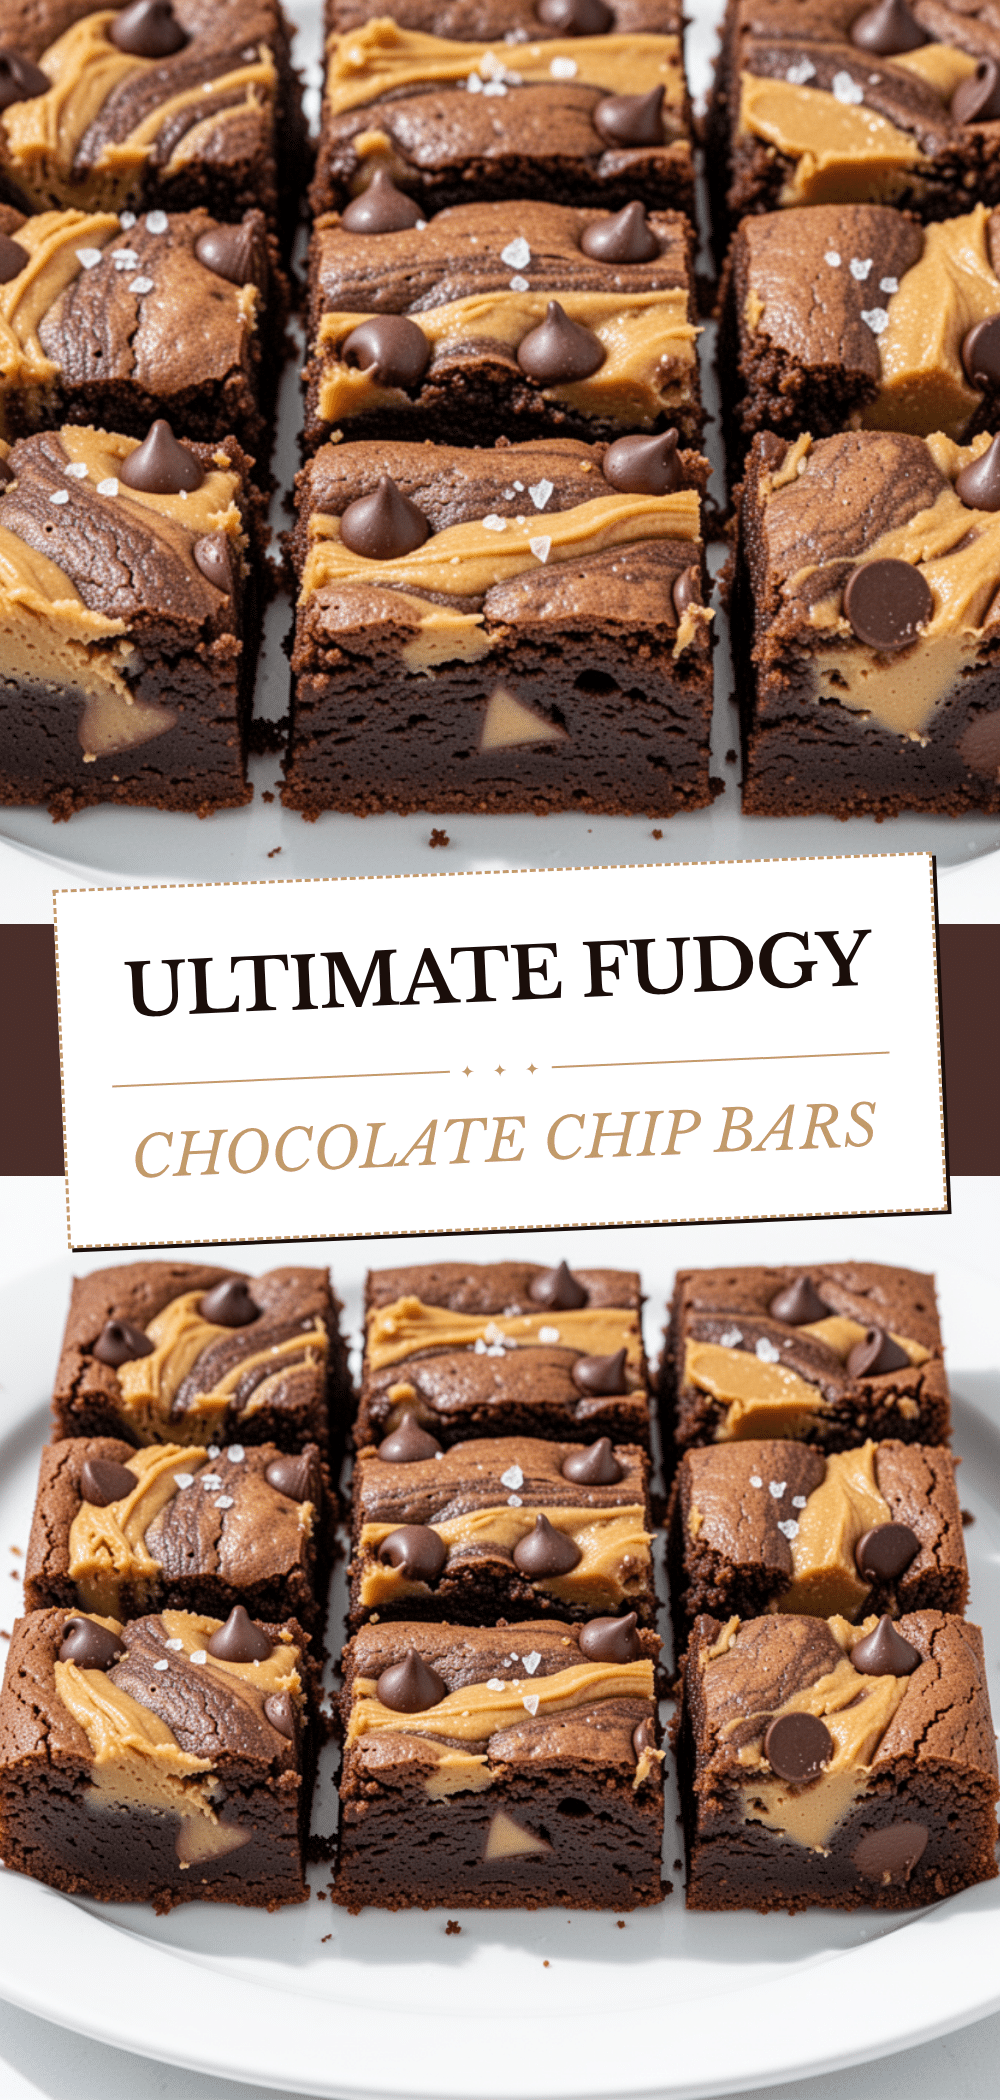
These Ultra-Fudgy Peanut Butter Chocolate Chip Cookie Bars are dense, chewy, salty, sweet, and impossibly rich. They have that perfect fudgy center that makes you question if you’re eating a brownie or a cookie (it’s both, and it’s better). My husband took one bite, closed his eyes, and said, “Don’t make me eat this while I’m trying to work.” My kids argued over the last square. I ate three before dinner was even served.
I’ve made these bars at least a dozen times since that chaotic Tuesday. I’ve tweaked the ratios, tested different types of chocolate, and even tried swapping out the peanut butter for almond butter (spoiler: stick with peanut butter). This recipe is now a staple in our house. It’s my go-to when I need to feed a crowd, when I need to bring something to a PTA meeting, or when I just need a hug in food form. And honestly? Once you make these, you’ll never go back to regular bar cookies again. You’ll make them on repeat. I promise.
Why You’ll Love These Fudgy Peanut Butter Bars
Look, there are a million cookie recipes out there. So why this one? Why these bars? Here’s the thing: most cookie bars are dry. They’re cakey, or they’re too crisp, or they lack that deep, rich flavor that makes you close your eyes. These bars are different. They’re engineered for maximum fudginess and flavor.
Here’s why these Ultra-Fudgy Peanut Butter Chocolate Chip Cookie Bars have taken over my life:
- They’re Actually Fudgy — I’m not talking “slightly moist.” I’m talking dense, chewy, almost brownie-like texture. The secret? More brown sugar than white sugar, and a touch of extra butter. It creates a chew that sticks to your teeth in the best way possible.
- Zero Dough Rolling — If you hate rolling cookie dough into balls, you’ll love these. It’s a simple mix-and-press method. No chilling required (though I do chill them after baking for easier slicing). You can mix the batter in 5 minutes. Seriously. I’ve done it while the kids were screaming.
- The Peanut Butter Factor — These aren’t just peanut butter *flavored* cookies. They taste like actual peanut butter. I use creamy natural peanut butter for that rich, nutty depth, but you can use regular Jif or Skippy if that’s what you have. The saltiness cuts through the sweetness perfectly.
- Make-Ahead Friendly — These bars taste even better the next day. The flavors meld together, and they get even chewier. I make a batch on Sunday, and they last (if they last) all week. They travel well, too. Perfect for lunchboxes or office parties.
- Cost-Effective Luxury — You don’t need fancy ingredients. No dark chocolate ganache, no exotic nuts. Just pantry staples. And yet, they taste like they came from a high-end bakery. My kids think I’m a genius. My husband thinks I’m a wizard. I think I’m just lucky I didn’t burn them.
This is the kind of dessert that brings people together. It’s not pretentious. It’s not fussy. It’s just good, honest, delicious food that makes everyone happy. Even the people who say they “don’t like peanut butter cookies” will eat these. I’ve tested it. It’s true.
Ingredients You’ll Need
Here’s the best part: you probably have most of these ingredients already. I’m not asking you to buy anything fancy. This is a pantry raid recipe. But there are a few specifics that matter. I’ll tell you exactly what to look for and why.
For the Base
Unsalted butter (1 cup / 226g) — I use salted butter if I’m in a rush, but unsalted gives you better control over the final saltiness. Bring it to room temperature. Softened, not melted. If you melt it, the bars get greasy. I learned this the hard way. Twice.
Granulated sugar (1 cup / 200g) — This provides structure and crisp edges. Don’t skip it. It balances the sweetness of the brown sugar.
Light brown sugar (1 ½ cups / 300g) — This is the star of the show. It adds moisture and that deep, molasses-like flavor that makes cookies chewy. Pack it down tightly. Light brown sugar is milder than dark, which works better here so the peanut butter shines.
Peanut butter (½ cup / 128g) — Use creamy peanut butter. Natural peanut butter works too, but it can be oilier. If you use natural, drain the excess oil. I prefer Skippy or Jif for consistency, but I’ve used natural with great results. Just stir it well first.
One large egg — Room temperature is best. It helps bind everything together and adds richness. Don’t use a small egg. Use a large one.
Vanilla extract (1 teaspoon) — Pure vanilla, not imitation. It adds warmth and depth. I’m picky about this. Bad vanilla makes everything taste artificial.
For the Dry Ingredients
All-purpose flour (2 cups / 250g) — Don’t use cake flour. You need structure. Spoon and level your flour. Don’t scoop it directly from the bag, or you’ll end up with dry, crumbly bars. I weigh my flour, but if you don’t have a scale, spoon it into the cup and level it off with a knife.
Baking soda (1 teaspoon) — This helps the bars rise slightly and gives them that golden color. Make sure it’s fresh. If it’s old, your bars will be dense and flat.
Baking powder (½ teaspoon) — A little lift, just enough to keep them from being too dense. It’s a balance act.
Salt (1 teaspoon) — Essential. It enhances the peanut butter and chocolate flavors. If you use salted butter, reduce this to ½ teaspoon.
For the Toppings
Semi-sweet chocolate chips (1 ½ cups / 255g) — I use Ghirardelli or Nestlé Toll House. Chocolate chunks are great too, but chips hold their shape better. Don’t use baking chocolate—it’s too bitter. You want sweetness here.
Extra peanut butter chips (½ cup / 85g) — Optional, but I love them. They add pockets of pure peanut butter flavor. If you can’t find them, use more chocolate chips or chopped peanuts.
Flaky sea salt — For sprinkling on top after baking. This is non-negotiable. The salt crystals on top make these bars restaurant-quality. I use Maldon salt. It’s worth the extra cost.
Equipment Needed
You don’t need fancy equipment for this. Here’s what I actually use. Keep it simple.
9×13-inch baking pan — I use a metal pan. Glass takes longer to bake and can make the edges too crisp. If you use glass, reduce the oven temperature by 25°F. I’ve used a dark non-stick pan, and it works well too, but keep an eye on the edges—they brown faster.
Large mixing bowl — Something big enough to mix everything without spilling. I use a 5-quart bowl. It’s big enough for the batter and easy to whisk.
Electric mixer or sturdy spoon — I use a hand mixer because it’s faster. But you can mix this by hand if you’re strong. It takes about 2 minutes of whisking. If you’re tired, use the mixer. No shame.
Parchment paper — This is crucial. Line your pan with parchment, leaving an overhang on the sides. This makes lifting the bars out of the pan easy. Without it, you’ll be digging them out with a spatula, and they’ll break. I’ve broken bars. I don’t want you to.
Wire cooling rack — Let the bars cool on a rack. This prevents the bottoms from getting soggy. I’ve left them in the pan too long, and the bottoms get sticky. Not ideal.
Chef’s knife — For slicing. A sharp knife makes clean cuts. A dull knife will squish the bars. I sharpen my knives regularly. It’s a habit.
How to Make It: Step-by-Step
Alright, let’s make these! I’m walking you through exactly how I do it, including the little tricks I’ve picked up over dozens of batches.
Step 1: Prep Your Pan and Oven (2 minutes)
Preheat your oven to 350°F (175°C). Line your 9×13-inch baking pan with parchment paper. Leave a 2-inch overhang on the long sides. This is your handle for lifting the bars out later. Spray the parchment with non-stick spray, just to be safe. I don’t trust parchment alone.
Step 2: Cream the Butter and Sugars (3-4 minutes)
In your large mixing bowl, combine the softened butter, granulated sugar, and brown sugar. Beat on medium-high speed for about 3-4 minutes. You want this mixture to be light, fluffy, and pale. This step incorporates air, which helps the bars rise. Don’t rush it. If you skip this, the bars will be dense. I know I said they’re fudgy, but they should still have some lift. Look for a creamy, whipped texture.
Step 3: Add Wet Ingredients (1 minute)
Add the peanut butter, egg, and vanilla extract to the butter mixture. Beat on medium speed until everything is well combined and smooth. The mixture might look a little curdled at first—that’s okay. It will come together as you add the flour. Scrape down the sides of the bowl with a spatula. Make sure there are no pockets of unmixed butter.
Step 4: Mix Dry Ingredients (1 minute)
In a separate small bowl, whisk together the flour, baking soda, baking powder, and salt. This ensures even distribution. Don’t just dump it all in. You want every bite to have the right amount of leavening.
Step 5: Combine Wet and Dry (2 minutes)
Add the dry ingredients to the wet ingredients. Mix on low speed, or use a spoon, just until the flour disappears. Do not overmix. Overmixing develops gluten, which makes cookies tough. You want tender, chewy bars. The batter will be thick and sticky. This is normal. It should look like a dense dough.
Step 6: Fold in Chocolate Chips (1 minute)
Stir in the chocolate chips and peanut butter chips by hand. Use a spatula or wooden spoon. Fold them in gently. Make sure they’re evenly distributed. You want chocolate in every bite.
Step 7: Press into Pan (2 minutes)
Transfer the batter to your prepared pan. Wet your hands slightly with water or oil, and press the batter evenly into the pan. You want it flat and even. Don’t leave lumps. Press it down firmly. This ensures even baking. If you don’t press it down, you’ll get uneven bars—some raw, some burnt.
Step 8: Bake (25-30 minutes)
Bake for 25-30 minutes. The bars are done when the edges are golden brown and the center is just set. It should still look slightly soft in the middle. Do not overbake. They will continue to cook on the hot pan after you take them out. If you bake them until the center is firm, they’ll be dry. I test them at 25 minutes. If the edges are brown and the center jiggles slightly, they’re done. Take them out.
Step 9: Cool and Slice (30 minutes)
Let the bars cool in the pan on a wire rack for at least 30 minutes. This is the hardest part. You want to eat them immediately, but if you cut them hot, they’ll fall apart. Wait 30 minutes. Then, use the parchment overhang to lift the entire slab out of the pan. Place it on a cutting board. Sprinkle with flaky sea salt. Slice into 12-16 bars. Use a sharp knife. Wipe the knife between cuts for clean edges.
Expert Tips & Tricks
Here’s everything I’ve learned from making these dozens of times. These tips will save you from my mistakes.
- Room Temperature Butter is Key — If your butter is cold, it won’t cream properly. If it’s melted, the bars will be greasy. Softened is the sweet spot. If you’re in a hurry, cut the butter into small cubes and let them sit for 10 minutes. Or microwave them for 5-second intervals. Don’t melt them.
- Don’t Skip the Salt — The flaky sea salt on top is not optional. It contrasts with the sweetness and elevates the peanut butter flavor. I’ve made these without salt, and they taste flat. Add it. Please.
- Underbake Slightly — I repeat: underbake. The bars should look slightly underdone in the center. They will firm up as they cool. If you bake them until the center is hard, they’ll be cakey. You want fudgy.
- Chill Before Slicing — If you’re in a huge hurry, you can slice them warm. But for clean cuts, chill the bars in the fridge for 15-20 minutes before slicing. They’ll hold their shape better. I usually chill them overnight for the best results.
- Use Good Chocolate — The quality of chocolate matters. Cheap chocolate chips taste waxy. Use high-quality semi-sweet chips. If you want to splurge, use chopped chocolate bars. It looks fancy and tastes amazing.
- Store Properly — Store bars in an airtight container at room temperature for up to 5 days. They actually get chewier after a day. If you live in a humid climate, add a piece of bread to the container to keep them moist. I do this in the summer.
Variations & Substitutions
Once you’ve nailed the basic version, here’s how you can mix it up. I’ve tried all of these.
Dark Chocolate Lover’s
Swap semi-sweet chips for dark chocolate chips (60% cacao or higher). This makes the bars less sweet and more sophisticated. My husband loves this version. It’s richer and more intense.
White Chocolate Macadamia
Swap chocolate chips for white chocolate chips and add 1 cup of macadamia nuts. It’s tropical and sweet. Great for holidays. I make this for Christmas parties.
Mini Cookie Bars
Use mini chocolate chips. They distribute more evenly and give you more chocolate in every bite. I use them when I want a sweeter treat.
Gluten-Free
Use a 1:1 gluten-free flour blend. Most blends work well in baking. I use Bob’s Red Mill or King Arthur. The texture will be slightly different, but still delicious. Add a teaspoon of xanthan gum if your blend doesn’t have it.
Vegan
Use vegan butter and vegan chocolate chips. Replace the egg with a flax egg (1 tablespoon ground flaxseed mixed with 3 tablespoons water). Let it sit for 5 minutes. The bars will be slightly denser, but still tasty. I’ve made this for my vegan friend, and she loved it.
Nut-Free
Swap peanut butter for sunflower seed butter or soy nut butter. It’s not exactly the same, but it works. Or just omit the peanut butter and add extra vanilla and salt. You’ll lose the peanut butter flavor, but the bars will still be good.
Serving & Storage
How to Serve: I usually serve these at room temperature. They’re best with a cold glass of milk. Or a hot cup of coffee. Or both. I don’t judge. I also like to serve them with a scoop of vanilla ice cream. The contrast of hot bar and cold ice cream is perfection.
Side Dishes: These are dessert, so they don’t need sides. But if you’re serving them at a party, I like to pair them with fresh fruit. Strawberries or raspberries cut through the richness. Or just serve them alone. They’re the star.
Storage Instructions:
- Room Temperature: Store in an airtight container for up to 5 days. Place a piece of parchment between layers if you stack them.
- Refrigerator: Store in the fridge for up to 1 week. They’ll get firmer. Let them come to room temperature before eating for the best texture.
- Freezer: Yes, you can freeze these! Slice them, wrap each bar individually in plastic wrap, and place them in a freezer bag. They’ll last for 3 months. Thaw at room temperature. They taste just as good as fresh.
Reheating: If you want warm bars, microwave one for 10-15 seconds. Or bake them in a 350°F oven for 5 minutes. They’ll be soft and gooey. I do this when I’m craving a hot cookie.
Nutrition Information
I’m not a nutritionist, but here’s the breakdown if you’re tracking. These are rich bars, so portion control is key.
Per Serving (based on 12 bars):
| Nutrient | Amount |
|---|---|
| Calories | 380 |
| Fat | 22g |
| Saturated Fat | 10g |
| Cholesterol | 35mg |
| Sodium | 280mg |
| Carbohydrates | 42g |
| Fiber | 2g |
| Sugar | 28g |
| Protein | 7g |
What’s Good: Decent protein from peanut butter. Iron from chocolate. Calcium from dairy.
What to Know: High in sugar and calories. Enjoy in moderation. They’re a treat, not a snack.
My Take: Look, these are cookie bars. They’re supposed to be indulgent. They’re not a health food. But they’re better than store-bought cookies, and you know exactly what’s in them. When I make them, I enjoy them. I don’t feel guilty. I just eat one or two and move on. That’s balance.
Final Thoughts
So that’s my go-to Ultra-Fudgy Peanut Butter Chocolate Chip Cookie Bars recipe! I’ve probably talked your ear off at this point, but when you make a recipe this often, you have a lot to say about it. These bars have saved my life on busy weeknights. They’re my answer to “what’s for dessert?” when I’m tired, don’t want to bake a cake, and still want something that tastes really good. My kids are happy, my husband’s happy, and I’m happy because I’m not stressed about cooking.
Make it yours! Try different chocolates, add nuts, or skip the sea salt if you’re not a fan. The best recipes are the ones you adapt to your family’s tastes. But I highly recommend starting with this version. It’s the gold standard.
If you make this, drop a comment and let me know what you think! I love hearing how recipes turn out in your kitchen. And if something doesn’t work, tell me that too—I’m here to help troubleshoot. Happy cooking! And I hope your kitchen smells half as good as mine does right now.
Frequently Asked Questions
Can I use crunchy peanut butter?
Yes, you can. It adds a nice texture, but the bars will be slightly less uniform. I prefer creamy for that smooth, fudgy consistency, but crunchy is delicious if you like a bit of crunch. Just stir it well before adding.
Why did my bars turn out dry?
This usually means they were overbaked. Remember, they should look slightly underdone in the center when you take them out. They continue to cook on the hot pan. Also, make sure you’re measuring your flour correctly. Scooping flour directly from the bag packs it in, leading to dry bars. Spoon and level.
Can I make these ahead of time?
Absolutely. These bars actually taste better the next day. Make them 1-2 days ahead and store in an airtight container at room temperature. They’ll stay fresh and chewy. You can also freeze them for up to 3 months.
Can I use natural peanut butter?
Yes, but it can be oilier. If you use natural peanut butter, stir it very well to incorporate the oil, or drain the excess oil before measuring. The bars might be slightly denser, but still tasty. I’ve tested this, and it works.
How do I store leftover bars?
Store them in an airtight container at room temperature for up to 5 days. If you live in a humid climate, add a piece of bread to the container to keep them moist. For longer storage, freeze them in individual portions.
Can I double the recipe?
No, I don’t recommend doubling this recipe in a 9×13 pan. The batter will be too deep, and the bars won’t bake evenly. If you want to double, use two 9×13 pans or a 9×13 and a smaller square pan. Adjust baking time as needed.
What if I don’t have parchment paper?
You can grease the pan well with butter or non-stick spray, but parchment is highly recommended. It makes lifting the bars out easy and prevents sticking. Without it, you’ll have to dig them out, and they might break. I don’t recommend skipping it.
Pin This Recipe!
Ultra-Fudgy Peanut Butter Chocolate Chip Cookie Bars
- Total Time: 40 minutes
- Yield: 12-16 servings 1x
Description
Dense, chewy, and impossibly rich cookie bars that combine the flavors of peanut butter and chocolate chips. These bars are engineered for maximum fudginess with a simple mix-and-press method, requiring no dough rolling or chilling before baking.
Ingredients
- 1 cup (226g) unsalted butter, softened to room temperature
- 1 cup (200g) granulated sugar
- 1 ½ cups (300g) light brown sugar, packed
- ½ cup (128g) creamy peanut butter
- 1 large egg, room temperature
- 1 teaspoon pure vanilla extract
- 2 cups (250g) all-purpose flour
- 1 teaspoon baking soda
- ½ teaspoon baking powder
- 1 teaspoon salt (reduce to ½ tsp if using salted butter)
- 1 ½ cups (255g) semi-sweet chocolate chips
- ½ cup (85g) peanut butter chips (optional)
- Flaky sea salt, for sprinkling on top
Instructions
- Preheat oven to 350°F (175°C). Line a 9×13-inch baking pan with parchment paper, leaving a 2-inch overhang on the long sides. Spray with non-stick spray.
- In a large mixing bowl, cream together the softened butter, granulated sugar, and brown sugar on medium-high speed for 3-4 minutes until light, fluffy, and pale.
- Add the peanut butter, egg, and vanilla extract to the butter mixture. Beat on medium speed until well combined and smooth. Scrape down the sides of the bowl.
- In a separate small bowl, whisk together the flour, baking soda, baking powder, and salt.
- Add the dry ingredients to the wet ingredients. Mix on low speed or by hand just until the flour disappears. Do not overmix.
- Fold in the chocolate chips and peanut butter chips by hand until evenly distributed.
- Transfer the thick batter to the prepared pan. Wet your hands slightly and press the batter evenly into the pan.
- Bake for 25-30 minutes, or until the edges are golden brown and the center is just set but still slightly soft.
- Let the bars cool in the pan on a wire rack for at least 30 minutes. Lift out using the parchment overhang, sprinkle with flaky sea salt, and slice into 12-16 bars.
Notes
For clean cuts, chill the bars in the fridge for 15-20 minutes before slicing. Store in an airtight container at room temperature for up to 5 days. They can also be frozen for up to 3 months. Ensure butter is softened, not melted, to avoid greasy bars. Spoon and level flour for accurate measurement.
- Prep Time: 10 minutes
- Cook Time: 30 minutes
- Category: Dessert
- Cuisine: American
Nutrition
- Serving Size: 1 bar
- Calories: 380
- Sugar: 28
- Sodium: 280
- Fat: 22
- Saturated Fat: 10
- Carbohydrates: 42
- Fiber: 2
- Protein: 7
Keywords: peanut butter cookie bars, fudgy cookie bars, chocolate chip cookie bars, easy dessert, no-roll cookies, make-ahead dessert, family-friendly baking


