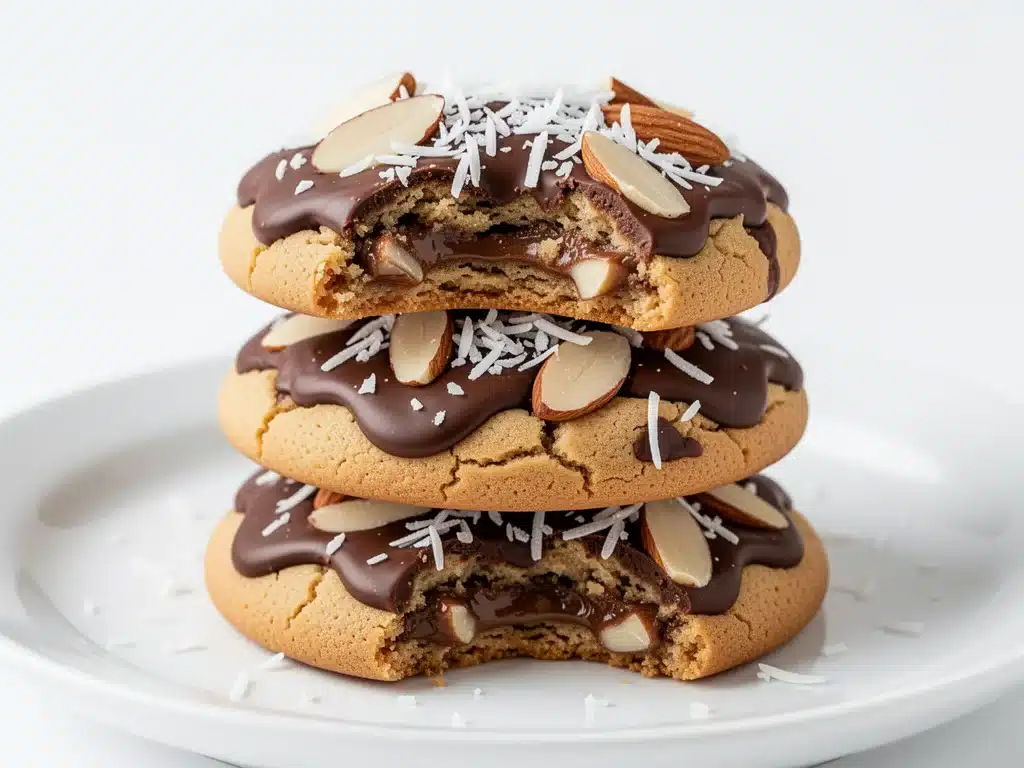
I have a confession to make. I used to keep a stash of Almond Joy bars in my desk drawer at work. You know the one—the ones with the crisp coconut, the slivered almonds, and that thick layer of sweet milk chocolate. I’d sneak one during my 3 PM slump, telling myself it was just a small treat. Then another. Then I’d feel guilty because they were basically sugar bombs.
But here’s the thing. I wasn’t craving candy. I was craving comfort. I was craving something that felt like a hug in cookie form. So last month, instead of hitting the vending machine, I decided to recreate that flavor profile in my own kitchen. I wanted the chewiness, the crunch, the melt-in-your-mouth chocolate, but I wanted it to taste homemade. Real. Not mass-produced.
That’s how these Soft-Baked Almond Joy Cookies with Coconut and Chocolate were born. They’re not just a copycat recipe; they’re an upgrade. The coconut is toasted to perfection, the almonds add that necessary crunch, and the chocolate chunks are generous enough to make you feel spoiled. Plus, they’re infinitely better than any takeout dessert or store-bought candy bar. You control the sweetness. You control the quality. And honestly? They’re easier to make than you think.
I’ve tested this recipe about ten times. I’ve tried different ratios of coconut to dough. I’ve experimented with white chocolate versus milk chocolate. I’ve even tried using almond extract (spoiler: it’s too much). Each failure taught me something. And now, I’ve got the perfect balance. These cookies are soft, chewy, and packed with flavor. They’re the kind of treat that disappears fast, so you’ll want to make a double batch. Trust me.
Why You’ll Love This Cookie Recipe
There are about a dozen reasons I keep making these, but here are the big ones that keep me coming back to the recipe box every week.
It’s a Flavor Bomb — Seriously, every bite has a different texture and flavor. You get the chew of the cookie, the crispness of the toasted coconut, the crunch of the almond, and the richness of the chocolate. It’s like a party in your mouth. My kids think they’re getting away with eating dessert for breakfast because they’re so excited.
Stupid Simple — If you can mix dough and scoop cookies, you can make these. There’s no fancy tempering of chocolate. No complicated laminating of dough. Just mix, scoop, bake. I make these on weeknights when I’m tired but still want something special. It takes about 20 minutes of active time.
Pantry-Friendly — You probably have most of this already. Flour, sugar, butter, eggs. The coconut and almonds might need a quick trip to the store, but everything else is standard baking staples. I keep shredded coconut in my pantry specifically for these.
Better Than Takeout — I know, I said that in the intro, but it bears repeating. These taste fresher, richer, and more personalized than any candy bar. Plus, they’re warm out of the oven. Warm chocolate? That’s a game-changer.
Makes Amazing Leftovers — These actually taste even better the next day. The flavors meld together, and the coconut gets slightly more intense. I deliberately make extra for lunch or afternoon snacks. They stay soft in an airtight container for days.
Budget-Smart — Making these at home is way cheaper than buying premium candy bars. You get more cookies for less money, and you can adjust the amount of chocolate or almonds to fit your budget. I sometimes skip the almonds if they’re on sale elsewhere, and they’re still delicious.
This is my go-to when I need a treat that feels indulgent but is actually manageable to make. No complicated techniques, no weird ingredients, just reliable, delicious food that makes everyone happy.
Ingredients You’ll Need
Here’s the best part: you probably have most of this already. I’m particular about a few things here, and I’ll tell you exactly why.
For the Cookie Dough
Unsalted butter (1 cup / 226g, softened) — Use good quality butter. It’s the main flavor here. I prefer Kerrygold or Plugra for their rich, creamy taste. Softened means room temperature, not melted. If it’s too soft, the cookies will spread too much.
Granulated sugar (1 cup / 200g) — This gives the cookies their slight crisp edge. Don’t skip it for brown sugar alone; you need that crunch.
Brown sugar (1 cup / 220g, packed) — This is where the chewiness comes from. I use light brown sugar, but dark works too if you want a deeper molasses flavor.
Eggs (2 large) — Room temperature eggs mix better into the dough. I take them out of the fridge 30 minutes before I start baking. Cold eggs can make the butter seize up.
Vanilla extract (2 teaspoons) — Use real vanilla, not imitation. It makes a huge difference in the flavor profile. I use Nielsen-Massey because it’s pure and potent.
All-purpose flour (2 ½ cups / 315g) — Spoon and level, don’t scoop. Scooping packs too much flour and makes the cookies dense. I use Gold Medal because it’s consistent.
Baking soda (1 teaspoon) — This helps the cookies spread and brown. Make sure it’s fresh; old baking soda won’t work.
Salt (½ teaspoon) — Balances the sweetness. Don’t skip it, even if you like sweet cookies. It enhances the other flavors.
For the Almond Joy Mix-In
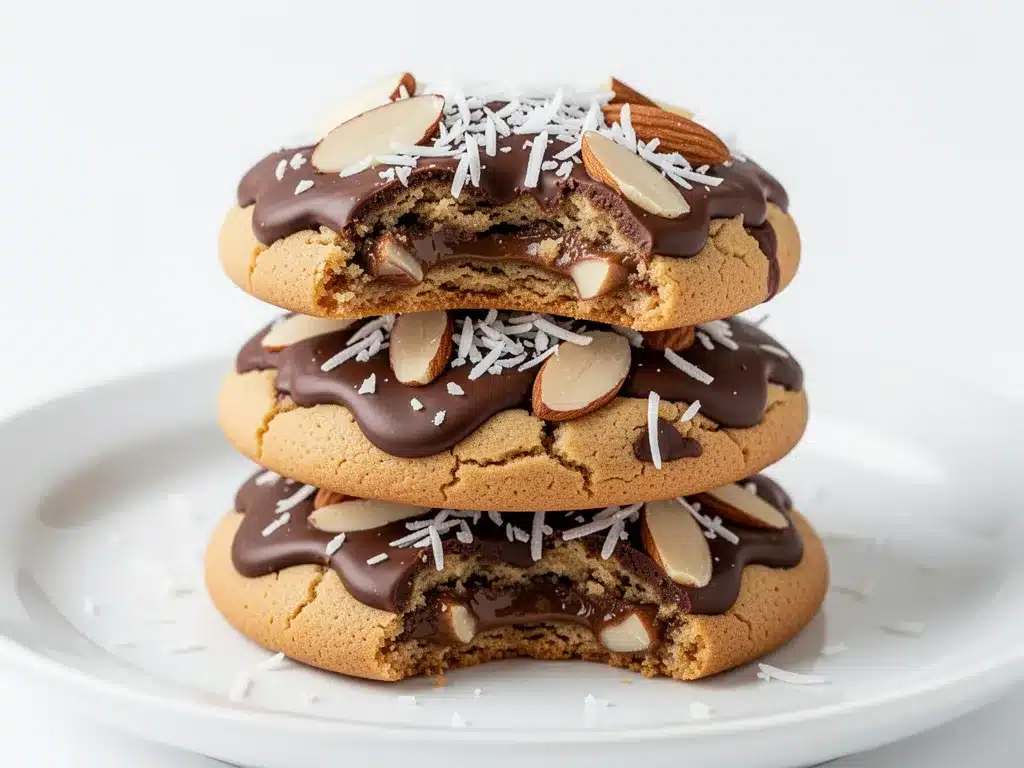
Shredded coconut (1 ½ cups / 105g) — Use sweetened shredded coconut, not desiccated. Desiccated is too dry and fine. Sweetened coconut gives that chewy, tropical texture. I toast it first for deeper flavor.
Slivered almonds (1 cup / 100g) — Toasted almonds add crunch and nuttiness. I buy them raw and toast them myself. Pre-toasted can sometimes be bitter.
Milk chocolate chips (1 cup / 170g) — I use Ghirardelli milk chocolate chips because they melt nicely. You can also chop up a chocolate bar for chunkier pieces.
White chocolate chips (½ cup / 85g) — Optional, but I love the contrast. The white chocolate adds extra creaminess and sweetness.
Flaky sea salt (for sprinkling) — This is the secret weapon. A pinch on top of each cookie after baking elevates the flavor from good to incredible. Maldon is my favorite.
Equipment Needed
You don’t need fancy equipment for this. Here’s what I actually use.
Large mixing bowl — I use a 5-quart glass bowl. It’s big enough to mix everything without splattering. My ancient Pyrex bowl has seen better days but still works fine.
Electric mixer — Hand mixer or stand mixer. I prefer a stand mixer because it saves my arms. But a hand mixer works perfectly fine.
Baking sheets — I use half-sheet pans (18×13 inches). They fit more cookies and bake evenly. I have two, so I can bake two batches at once if I rotate them.
Parchment paper — Line your baking sheets. This prevents sticking and makes cleanup a breeze. I don’t believe in greasing parchment; it’s unnecessary.
Cooling rack — Essential for cooling cookies evenly. If you don’t have one, just leave them on the pan for 5 minutes, then move them to a counter. But a rack is better.
Measuring cups and spoons — Pretty standard stuff. Dollar store versions work fine, but I prefer the metal ones because they don’t bend.
Small skillet — For toasting the coconut and almonds. Any size works. I use a 10-inch stainless steel skillet.
Cookie scoop — I use a #40 scoop for uniform cookies. It helps them bake evenly. But a tablespoon works too if you’re being lazy.
How to Make It: Step-by-Step
Alright, let’s make this! I’m walking you through exactly how I do it, including the little tricks I’ve picked up.
Step 1: Toast the Coconut and Almonds (5 minutes)
This is the step most people skip, but it’s crucial. Heat a skillet over medium heat. Add the shredded coconut and slivered almonds. Stir constantly for 3-5 minutes until the coconut is golden and fragrant, and the almonds are toasted. Watch them closely—they burn fast. Remove from heat and let cool. This toasting brings out the nutty, caramelized flavors that make these cookies special.
Step 2: Mix the Wet Ingredients (3 minutes)
In a large bowl, cream together the softened butter, granulated sugar, and brown sugar until light and fluffy. This takes about 2-3 minutes with a mixer. Don’t rush this step; it incorporates air and helps the cookies rise. Add the eggs one at a time, mixing well after each. Stir in the vanilla extract. The mixture should look pale and creamy.
Step 3: Add the Dry Ingredients (2 minutes)
In a separate bowl, whisk together the flour, baking soda, and salt. Gradually add the dry ingredients to the wet ingredients, mixing on low speed until just combined. Be careful not to overmix. Overmixed dough leads to tough cookies. Stop as soon as you see no more streaks of flour.
Step 4: Fold in the Mix-Ins (2 minutes)
Stir in the toasted coconut, toasted almonds, and chocolate chips by hand. Use a wooden spoon or spatula. Make sure everything is evenly distributed. You want a bit of everything in every cookie.
Step 5: Scoop and Chill (30 minutes)
Scoop the dough onto lined baking sheets, spacing them about 2 inches apart. I use a #40 scoop for uniform size. If you have time, chill the dough in the fridge for 30 minutes. This prevents spreading and helps the flavors meld. If you’re in a hurry, you can bake immediately, but they’ll spread more.
Step 6: Bake (10-12 minutes)
Preheat your oven to 350°F (175°C). Bake the cookies for 10-12 minutes, or until the edges are golden brown but the centers still look slightly soft. They will firm up as they cool. Rotate the pans halfway through for even baking.
Step 7: Cool and Finish (5 minutes)
Let the cookies cool on the baking sheet for 5 minutes. Then transfer them to a cooling rack. While they’re still warm, sprinkle a pinch of flaky sea salt on top. This adds a nice contrast to the sweet chocolate and coconut.
Total Time: About 1 hour (including chilling time)
Expert Tips & Tricks
Here’s everything I’ve learned from making this dozens of times. These tips will save you from my mistakes.
Toast Your Coconut — I can’t stress this enough. Raw coconut tastes flat. Toasting it adds a depth of flavor that makes these cookies stand out. Just keep an eye on it; it goes from golden to burnt in seconds.
Don’t Overmix the Dough — Once you add the flour, mix until just combined. Overmixing develops gluten, which makes cookies tough. You want them soft and chewy, not crunchy (unless you like crunchy cookies).
Chill the Dough — If you skip this step, your cookies will spread into flat discs. Chilling solidifies the butter, so the cookies hold their shape. It also gives the flavors time to develop. Even 15 minutes helps.
Use Room Temperature Butter — Cold butter won’t cream properly with the sugar. Melted butter changes the texture. Softened butter is the sweet spot. Leave it out on the counter for 30-60 minutes before you start.
Sprinkle Sea Salt — This is the pro move. A little salt on top balances the sweetness and makes the chocolate taste more intense. It’s the difference between homemade and bakery-quality.
Common Mistakes (and how to avoid them):
- Mistake: Cookies are too flat — Fix: Your butter was too soft, or you didn’t chill the dough. Next time, chill for 30 minutes and use properly softened butter.
- Mistake: Cookies are dry — Fix: You overbaked them. Remove them when the edges are just golden. They’ll finish cooking on the hot pan.
- Mistake: Coconut is burnt — Fix: Lower the heat when toasting. Stir constantly. Toasting is a balancing act.
Variations & Substitutions
Once you’ve nailed the basic version, here’s how you can mix it up. I’ve tried all of these.
Dark Chocolate Version — Swap milk chocolate for dark chocolate chips. It’s less sweet and more sophisticated. My husband prefers this version because it’s not as sugary.
Macadamia Nut Twist — Swap almonds for macadamia nuts. It’s like a macadamia coconut cookie. Richer and creamier. Great if you’re feeling fancy.
White Chocolate Only — Skip the milk chocolate and use all white chocolate chips. It’s sweeter and more tropical. My kids love this version.
Gluten-Free — Use a 1:1 gluten-free flour blend. Everything else is naturally gluten-free. I’ve used Bob’s Red Mill and it works great. The texture is slightly more crumbly but still delicious.
Dairy-Free — Use dairy-free butter and dairy-free chocolate chips. Coconut oil can substitute for butter, but the texture will be different. I haven’t tried this, but it should work.
Vegan — Use flax eggs (2 tablespoons ground flaxseed + 6 tablespoons water) and vegan chocolate chips. The cookies will be slightly denser but still tasty.
Serving & Storage
How to Serve: I usually serve these warm, right out of the oven. They’re best with a cold glass of milk. But here are other ways I’ve enjoyed them:
- Crumbled over ice cream for a sundae topping.
- Served with coffee for a morning treat.
- Packed in lunchboxes for a sweet snack.
Storage Instructions:
- Room Temperature: Store in an airtight container for up to 5 days. They stay soft and chewy. If they start to dry out, add a slice of bread to the container. The cookies will absorb the moisture.
- Refrigerator: Not recommended. The cold dries out cookies. But if you live in a hot climate, fridge is okay for up to a week.
- Freezer: Yes! Freeze the dough balls on a baking sheet, then transfer to a freezer bag. Bake from frozen, adding 1-2 minutes to the bake time. Or freeze baked cookies for up to 3 months. Thaw at room temperature.
Pro tip: If you’re making these ahead for a party, bake them 2 days in advance. They’ll taste fresher than day-of cookies. Just store them properly.
Nutrition Information
I’m not a nutritionist, but here’s the breakdown if you’re tracking.
Per Serving (based on 24 cookies):
- Calories: 180
- Protein: 3g
- Carbs: 24g
- Fiber: 1g
- Sugar: 16g
- Fat: 9g
- Saturated Fat: 5g
- Cholesterol: 20mg
- Sodium: 120mg
What’s Good: Decent protein from almonds and coconut. Some fiber from the coconut. Made with real ingredients.
What to Know: Higher in sugar and fat from chocolate and butter. Contains dairy, nuts, and gluten. Moderate sodium.
My Take: Look, this is a cookie. It’s meant to be indulgent. It’s not a health food. But it’s way better than processed candy bars, and you know exactly what’s in it. When I want to make it lighter, I reduce the sugar slightly and add more nuts. But usually? I just eat a reasonable portion and enjoy it.
Final Thoughts
So that’s my go-to Soft-Baked Almond Joy Cookies with Coconut and Chocolate! I’ve probably talked your ear off at this point, but when you make a recipe this often, you have a lot to say about it.
This has saved me from the vending machine more times than I can count. It’s my answer to “I want a treat” when I’m tired of buying candy. My kids are happy, my husband’s happy, and I’m happy because I’m not stressed about cooking. These cookies are easy, delicious, and satisfying.
Make it yours! Try different chocolates, swap in different nuts, adjust the sweetness. The best recipes are the ones you adapt to your family’s tastes. If you make this, drop a comment and let me know what you think! I love hearing how recipes turn out in your kitchen. And if something doesn’t work, tell me that too—I’m here to help troubleshoot.
Happy cooking! And I hope your kitchen smells half as good as mine does right now.
Frequently Asked Questions
Can I use desiccated coconut instead of shredded?
You can, but the texture will be different. Desiccated coconut is finer and drier. It won’t give you that chewy, tropical bite. If you must use it, add a tablespoon of milk to the dough to rehydrate it slightly. But sweetened shredded coconut is definitely the way to go.
Why did my cookies spread too much?
Usually means your butter was too soft or melted, or you didn’t chill the dough. Next time, make sure your butter is room temperature but still firm. Chill the dough for at least 30 minutes before baking. This helps the cookies hold their shape.
Can I make the dough ahead?
Absolutely! Scoop the dough balls and freeze them on a baking sheet. Once frozen, transfer to a freezer bag. Bake from frozen, adding 1-2 minutes to the bake time. Or chill the dough in the fridge for up to 3 days.
Can I use almond extract?
I wouldn’t recommend it. Almond extract is very strong and can overpower the coconut and chocolate. The toasted almonds provide enough almond flavor. If you really want an almond kick, use a tiny bit of almond extract (¼ teaspoon) mixed with the vanilla. But be careful.
How do I store leftovers?
Store in an airtight container at room temperature for up to 5 days. If your kitchen is hot, store them in the fridge. They’ll stay soft and chewy. If they start to dry out, add a slice of bread to the container.
Can I double this recipe?
Yes! Double everything and use your largest mixing bowl. The baking time stays the same. Just make sure you have enough baking sheets. I usually bake in two batches to avoid overcrowding the oven.
Why are my cookies dry?
You probably overbaked them. Remove them when the edges are just golden. They’ll continue to cook on the hot pan. Also, make sure you’re measuring your flour correctly. Scooping packs too much flour, leading to dry cookies. Spoon and level instead.
Pin This Recipe!
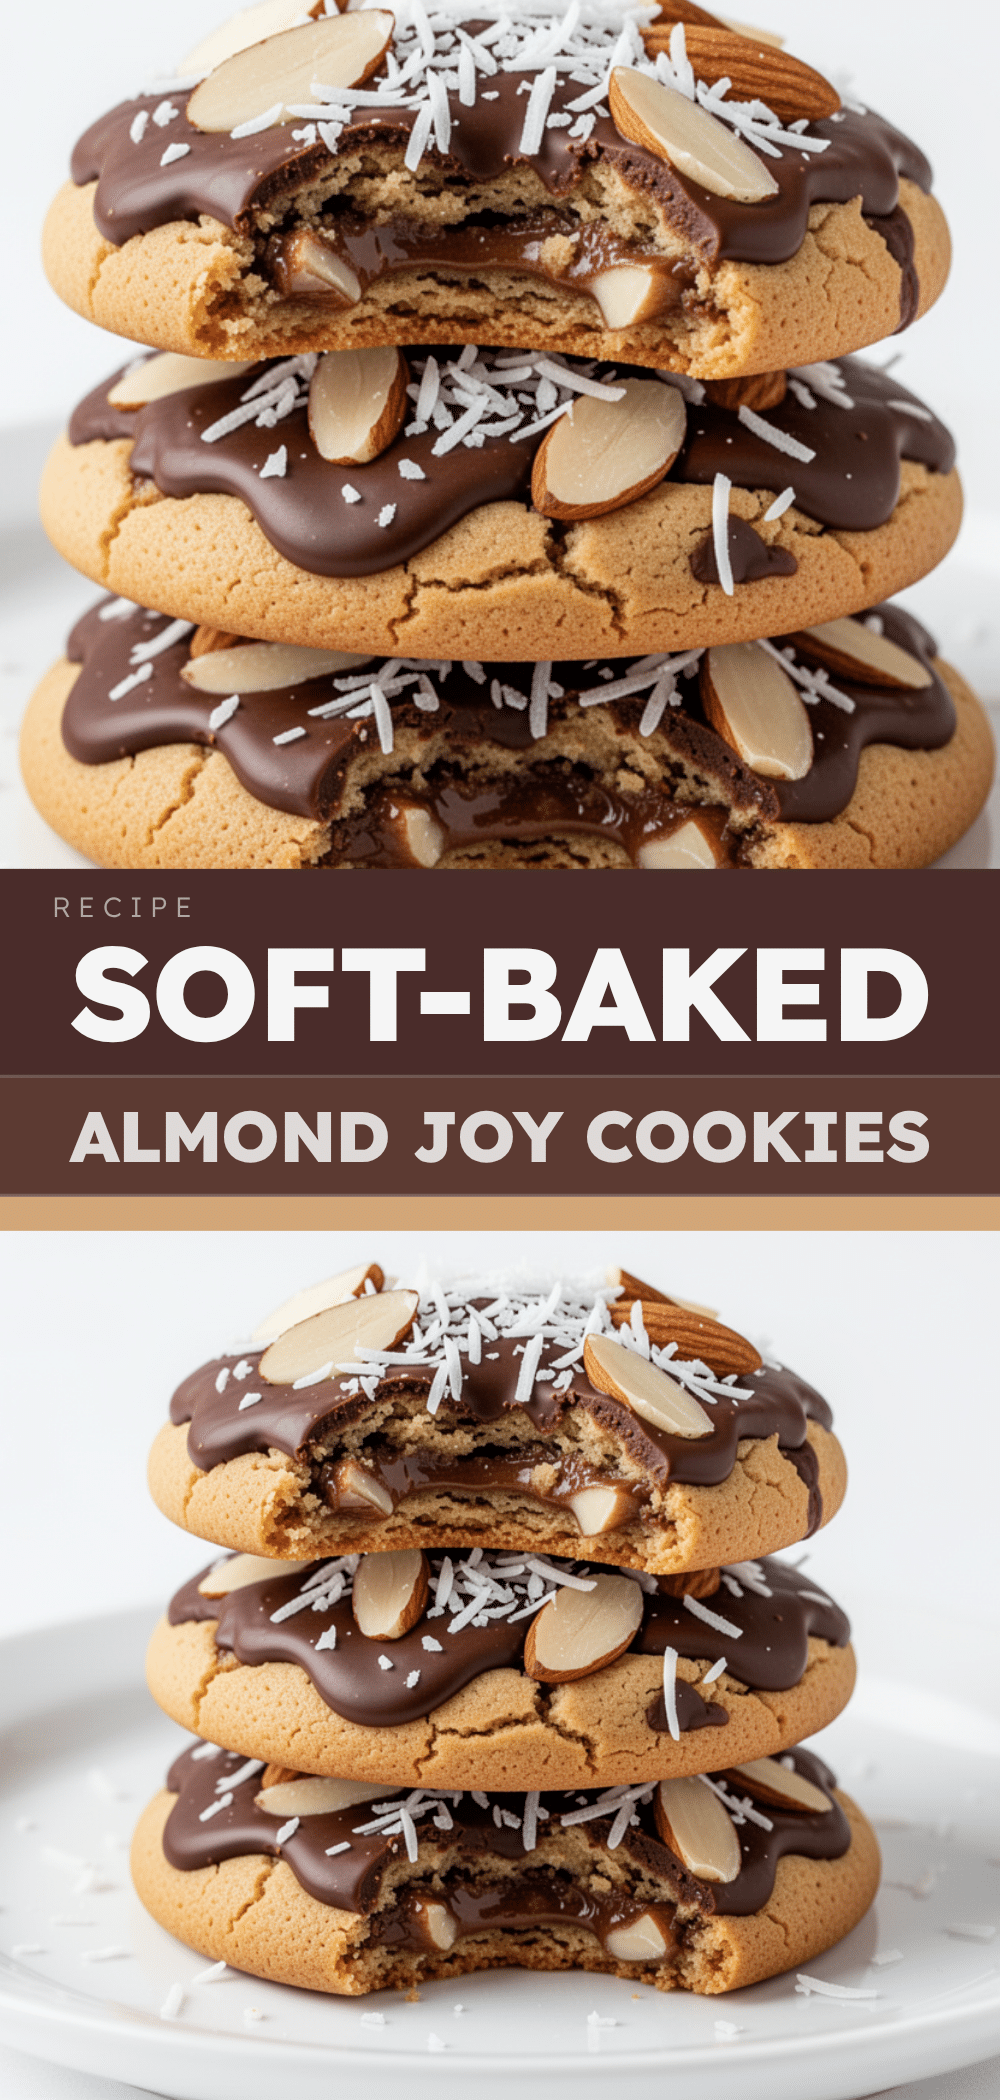

Soft-Baked Almond Joy Cookies: Easy Copycat Recipe
- Total Time: 1 hour
- Yield: 24 cookies 1x
Description
These soft-baked cookies recreate the flavor of Almond Joy bars with toasted coconut, slivered almonds, and milk chocolate chunks. They are chewy, rich, and easier to make than store-bought candy.
Ingredients
- 1 cup (226g) unsalted butter, softened
- 1 cup (200g) granulated sugar
- 1 cup (220g) light brown sugar, packed
- 2 large eggs, room temperature
- 2 teaspoons vanilla extract
- 2 ½ cups (315g) all-purpose flour
- 1 teaspoon baking soda
- ½ teaspoon salt
- 1 ½ cups (105g) sweetened shredded coconut, toasted
- 1 cup (100g) slivered almonds, toasted
- 1 cup (170g) milk chocolate chips
- ½ cup (85g) white chocolate chips (optional)
- Flaky sea salt, for sprinkling
Instructions
- Preheat oven to 350°F (175°C). Line baking sheets with parchment paper.
- Toast the shredded coconut and slivered almonds in a skillet over medium heat for 3-5 minutes until golden and fragrant. Let cool completely.
- In a large bowl, cream together the softened butter, granulated sugar, and brown sugar until light and fluffy (about 2-3 minutes).
- Add eggs one at a time, mixing well after each addition. Stir in the vanilla extract.
- In a separate bowl, whisk together the flour, baking soda, and salt.
- Gradually add the dry ingredients to the wet ingredients, mixing on low speed until just combined. Do not overmix.
- Fold in the toasted coconut, toasted almonds, and chocolate chips by hand.
- Scoop dough onto prepared baking sheets, spacing them about 2 inches apart. For best results, chill dough for 30 minutes.
- Bake for 10-12 minutes, or until edges are golden brown but centers look slightly soft. Rotate pans halfway through.
- Let cookies cool on the baking sheet for 5 minutes, then transfer to a cooling rack. Sprinkle with flaky sea salt while warm.
Notes
Toast the coconut and almonds for deeper flavor. Do not overmix the dough to ensure soft cookies. Chill the dough to prevent spreading. Use room temperature butter for proper creaming. Store in an airtight container for up to 5 days.
- Prep Time: 20 minutes
- Cook Time: 10-12 minutes
- Category: Dessert
- Cuisine: American
Nutrition
- Serving Size: 1 cookie
- Calories: 180
- Sugar: 16
- Sodium: 120
- Fat: 9
- Saturated Fat: 5
- Carbohydrates: 24
- Fiber: 1
- Protein: 3
Keywords: Almond Joy cookies, copycat recipe, soft baked cookies, coconut chocolate cookies, homemade candy bar cookies, easy dessert


