Last August, I was standing in the kitchen at 6:30 AM, holding a Tupperware container like it was a bomb I needed to defuse. Inside were the usual suspects: a sad sandwich with bread that had already started to get soggy, an apple that was bruising by the time I packed it, and a granola bar that had been crushed into crumbs. My ten-year-old looked at it, sighed the heavy sigh of a pre-teen who knows he’s going to trade it for a bag of chips at lunch, and walked away.
I felt like a failure. I wanted him to have something good. Something that made him feel special when he opened his lunchbox at 12:15 PM while his friends were picking at their dry turkey sandwiches. I didn’t have time to cook a full meal, and I certainly didn’t have time to make anything that looked like “craft project food” that would just get thrown in the trash.
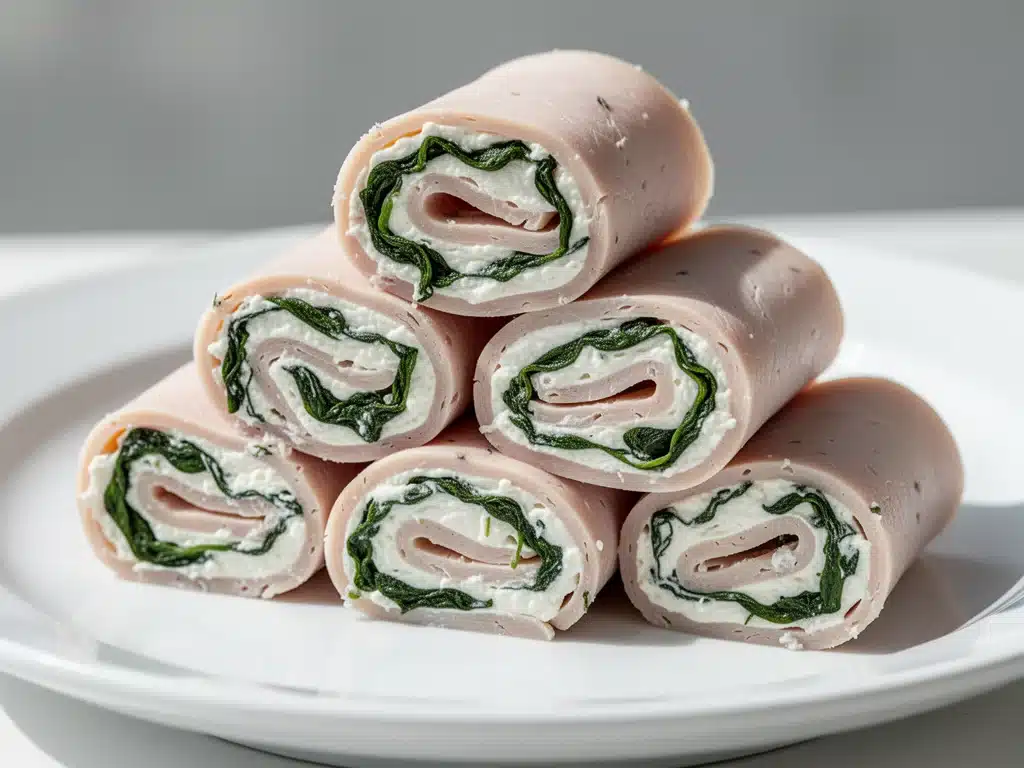
That’s when I remembered these back to school turkey pinwheel roll-ups with cream cheese and spinach. They weren’t a new invention, but I had never really perfected them until that morning. I grabbed a package of large flour tortillas, some sharp cheddar, crisp spinach, and deli turkey. I spread the cream cheese (the good stuff, not the light stuff that tastes like plastic), layered the ingredients, rolled it up tight, and chilled it. By 7:15 AM, I had beautiful, vibrant spirals that looked like something from a fancy appetizer tray, not a kid’s lunch.
He took one bite at lunch. He texted me three hours later: “Mom, those are actually good. Can you make more?”
That was two months ago. Since then, these pinwheels have been my secret weapon. They’re not just “lunchbox food.” They’re a legitimate flavor experience that takes about 15 minutes of active time to assemble. And the best part? They’re sturdy. They don’t leak. They don’t get squished. They just sit there, looking pretty, waiting for hungry mouths.
If you’re dreading the lunch rush every morning, or if you just need a party appetizer that disappears before you can grab a second one, you need to master this recipe. I’ve tested this turkey pinwheel roll-up method at least a dozen times—sometimes with goat cheese, sometimes with hummus, sometimes with different meats—but the core combination of turkey, cream cheese, and spinach is the gold standard. It’s creamy, savory, and just salty enough to keep people coming back for more.
Why You’ll Love This Recipe
Let’s be real. Cooking for kids (or adults, let’s be honest) during the school week is exhausting. You need food that is reliable, fast, and actually delicious. This back to school turkey pinwheel roll-up checks every single box. Here’s why this has become a permanent fixture in our weekly rotation.
Zero Cooking Required — Seriously. If you can spread cream cheese and roll a tortilla, you can make this. There is no heat involved. No stove, no oven, no mess. This is perfect for those chaotic mornings when you’re running on caffeine and hope. I’ve made these at 6:00 AM while my husband was still snoring, and they came out perfect every time.
The “Wow” Factor — Kids are visual eaters. A sandwich is boring. A roll-up with visible spirals of green spinach and white cheese? That looks like a treat. I’ve watched my kids argue over who gets the last pinwheel. It’s not a healthy salad; it’s a flavorful, indulgent little bite that happens to be relatively balanced.
Sturdy Enough for a Backpack — I’ve tried wraps that fall apart in lunchboxes. This doesn’t. Because the tortilla is rolled tight and chilled, the layers hold together. You can pack these in a container, and they’ll stay intact until lunchtime. No more hunting for ingredients in the bottom of the bag.
Versatile for Any Occasion — Yes, it’s called “back to school,” but don’t let that fool you. These are the ultimate party appetizer. I’ve served them at book clubs, office potlucks, and weekend brunches. Everyone loves them. They’re elegant enough for company but casual enough for a Tuesday night.
Budget-Friendly — Deli meat can be pricey, but you don’t need much per roll-up. A single package of tortillas and a block of cream cheese makes dozens of pinwheels. It’s way cheaper than buying pre-made lunch boxes or sandwiches at the store.
This recipe has saved my sanity. It’s the answer to “what’s for lunch?” when I have zero energy but still want my family to eat something that tastes good. It’s reliable, it’s fast, and it makes everyone happy.
Ingredients You’ll Need
Here’s the good news: you probably have most of this already in your fridge. This isn’t a recipe that requires a trip to the grocery store for obscure items. It’s simple, accessible, and uses ingredients that taste better when they’re fresh.
Large Flour Tortillas (1 package, 8-10 inches) — This is the foundation. You need large, flexible tortillas. Flour tortillas are better than wheat here because they’re softer and roll easier without cracking. I like the store-brand large flour tortillas, but if you have a favorite brand like La Tortilla Factory, use that. The key is that they’re fresh. If your tortillas are stiff or cracked, they’ll break when you roll them. Keep them in the package until you’re ready to use them.
Softened Cream Cheese (8 ounces, 1 block) — This is the glue that holds everything together. Do not use the tub “spreadable” cream cheese if you can avoid it; it has too much air and moisture, which can make the pinwheels soggy. Use a block of full-fat cream cheese. Let it sit on the counter for 15-20 minutes before you start. If you try to spread cold cream cheese, you’ll tear the tortilla. Softened is non-negotiable for easy rolling.
Sharp Cheddar Cheese (1 cup, shredded) — Sharp cheddar adds a punch of flavor that mild cheddar just doesn’t have. Mild cheese can taste bland in a roll-up. Grate your own from a block if you have time—pre-shredded cheese has anti-caking agents that prevent it from melting into the cream cheese layer. But honestly, if you’re in a rush, pre-shredded works fine. It’s not the end of the world.
Deli Turkey Breast (1 pound) — Go for the thicker sliced turkey, not the paper-thin stuff. You want layers of meat. Look for turkey that is low-sodium if possible, as deli meats can be salty. I usually buy the rotisserie turkey from the grocery store and shred it myself—it’s cheaper and tastes fresher than deli slices. But deli turkey works great too.
Fresh Spinach (2 cups, packed) — Fresh baby spinach is best. It’s tender and mild. Avoid the big, tough spinach leaves; they don’t roll well. Wash and dry it thoroughly. Wet spinach is the enemy here. If the spinach is wet, your pinwheels will get soggy. I use a salad spinner and then pat them dry with paper towels. It takes an extra minute, but it’s worth it.
Optional: Red Pepper Flakes or Garlic Powder — A little pinch of garlic powder in the cream cheese adds depth. Red pepper flakes give a tiny kick if you like spice. I usually add a half-teaspoon of garlic powder to the cream cheese. It’s a subtle flavor boost that makes the whole thing taste more “chef-made.”
For the Roll: You don’t really need extra ingredients for the rolling process, but having a clean workspace is key. A little parchment paper helps if you’re making a lot, but I usually just roll them directly on the counter.
Equipment Needed
You don’t need fancy gadgets for this. Here’s what I actually use in my kitchen.
Sharp Knife — A good chef’s knife makes cutting the pinwheels clean. If your knife is dull, it will squash the roll-up and ruin the spiral pattern. I learned this the hard way with a butter knife once. Don’t do it. Use a serrated bread knife if you’re worried about tearing the tortilla, but a sharp chef’s knife is best.
Rolling Pin (Optional) — I don’t always use one, but if your tortillas are stiff, a gentle roll can help them relax. Just be careful not to flatten them too much.
Plastic Wrap — You’ll need this to wrap the logs before chilling. This is crucial. It helps the roll-up keep its shape while it firms up in the fridge.
Large Plate or Tray — To hold the rolled tortillas while they chill. I use a baking sheet lined with parchment paper.
Salad Spinner (Optional but Helpful) — To dry the spinach. If you don’t have one, just pat the leaves dry with paper towels. Dry spinach is your best friend.
Measuring Cups — For the cheese and spinach. Being approximate is fine here, but having a general ratio helps ensure every roll-up tastes the same.
How to Make It: Step-by-Step

Alright, let’s make this! It’s super simple, but there are a few tricks to getting that perfect spiral. I’m walking you through exactly how I do it.
Step 1: Prep Your Ingredients (5 minutes)
Take your cream cheese out of the fridge and let it soften. While it’s softening, wash and dry your spinach. I can’t stress this enough: dry the spinach. Lay the leaves out on paper towels and pat them dry. If they’re wet, your pinwheels will be soggy. Shred your cheddar cheese if you haven’t already. If you’re using deli turkey, lay the slices out on a counter. If you’re using rotisserie turkey, shred it with your hands into bite-sized pieces.
Step 2: Soften the Tortillas (2 minutes)
This is a pro tip that most people skip. Take your tortillas out of the package. If they’re stiff, you can microwave them for 10-15 seconds. This makes them pliable and much easier to roll without cracking. Don’t overheat them, or they’ll get tough. Just warm them enough to flex.
Step 3: Spread the Cream Cheese (3 minutes)
Lay one tortilla flat on your counter. Using a spatula or knife, spread a thin, even layer of softened cream cheese over the entire surface, leaving about a half-inch border at the edge farthest from you. This border is important—it’s the seal that keeps the roll-up together. Don’t make the layer too thick, or it’ll squish out when you roll. You want a smooth, creamy base.
Step 4: Layer the Fillings (2 minutes)
Sprinkle the shredded cheddar cheese evenly over the cream cheese. Then, layer the spinach leaves. Don’t bunch them up; spread them out so you get a green layer all the way across. Finally, layer the turkey. If using slices, overlap them slightly. If using shredded turkey, distribute it evenly. You want every bite to have a bit of everything.
Step 5: Roll It Up (2 minutes)
Starting from the edge closest to you, tightly roll the tortilla up. Use your fingers to tuck the filling in as you roll. Keep it tight. A loose roll will fall apart. Once you reach the end, use the border of cream cheese to seal it. Press down gently to make sure it’s sealed. If you’re worried about it opening, you can use a tiny bit of water on the edge to act as glue, but the cream cheese usually does the job.
Step 6: Chill the Logs (At least 30 minutes)
Wrap each rolled tortilla tightly in plastic wrap. This is the most important step. The chill firms up the cream cheese and sets the shape. Without this step, the pinwheels will be soft and messy to cut. Place the wrapped logs in the fridge for at least 30 minutes, but ideally 1-2 hours. Overnight is even better if you’re prepping for the week.
Step 7: Slice and Serve (5 minutes)
Unwrap the chilled log. Using a sharp knife, slice the roll-up into 1-inch thick pinwheels. For clean cuts, wipe the knife between slices if needed. Arrange them on a plate or in a lunchbox. The spiral should be visible and pretty. If the edges are a little messy, that’s okay—it still tastes great.
Total time is about 15 minutes of active work, plus chilling time. But the chilling time is mostly hands-off, so you’re not stuck in the kitchen.
Expert Tips & Tricks
Here’s everything I’ve learned from making these dozens of times. These tips will save you from my mistakes.
Don’t Skip the Chill
I know you want to eat them now. Resist the urge. If you cut them before the cream cheese is firm, they’ll squish. The plastic wrap helps them keep their round shape. If you’re in a rush, you can freeze them for 15 minutes to speed things up, but the fridge is best.
Keep It Tight
When you’re rolling, apply even pressure. If one end is loose, the pinwheel will unravel. Tuck the filling in firmly. If you’re making a lot, make sure each roll is just as tight as the first.
Season the Cream Cheese
Plain cream cheese is fine, but adding a little garlic powder, onion powder, or even a dash of dill weed elevates the flavor. I usually mix a half-teaspoon of garlic powder into the cream cheese before spreading. It adds a savory depth that makes the turkey taste more like a meal and less like a snack.
Use Parchment Paper
If you’re worried about the tortilla sticking to your counter, lay down a sheet of parchment paper before you start. It makes cleanup easier and ensures a smooth roll.
Double the Batch
These freeze well (unwrapped, then wrapped in foil or freezer bag). I make two batches on Sundays and freeze half for later. They thaw in the fridge overnight and are just as good as fresh. Great for busy weeknights or last-minute parties.
Variations & Substitutions
Once you’ve nailed the basic version, here’s how you can mix it up. I’ve tried all of these.
Chicken Pinwheels
Swap the turkey for shredded rotisserie chicken. Add a little ranch seasoning to the cream cheese for a classic chicken pinwheel vibe. This is a huge hit with kids who are tired of turkey.
Veggie-Loaded
Add thin slices of cucumber or bell peppers. Just make sure to dry them thoroughly. The crunch adds a nice texture contrast. I sometimes add avocado, but it browns quickly, so add it right before serving.
Spicy Turkey
Add a layer of jalapeños or a spicy mustard to the cream cheese. This gives it a kick that adults love. I use a little sriracha mixed into the cream cheese for a subtle heat.
Herb Cream Cheese
Mix fresh chopped chives, dill, or parsley into the cream cheese. Fresh herbs make the pinwheels taste more gourmet. I usually use about two tablespoons of chopped herbs per block of cream cheese.
Gluten-Free Option
Use gluten-free tortillas. Not all GF tortillas roll well, so look for ones that are specifically labeled for rolling or wrapping. They can be more brittle, so handle them gently.
Low-Carb Option
Use large lettuce leaves (like butter lettuce) instead of tortillas. Wrap the turkey, cheese, and spinach in the lettuce leaves. It’s like a giant wrap. It’s fresh and light, though less filling than the tortilla version.
Serving & Storage
How to Serve
I usually serve these straight from the plate at parties, arranged in a circle with a little extra cream cheese on the side for dipping. For lunchboxes, pack them in a container with a divider so they don’t touch each other. This prevents them from sticking together. I also pack a small side of fruit or veggies to balance the meal.
Side Dishes
These go well with a simple fruit salad, carrot sticks with ranch, or a piece of cheese. They’re also great with a cup of tomato soup for a cozy lunch.
Storage Instructions
Store leftover pinwheels in an airtight container in the fridge for up to 3 days. They stay fresh and tasty. If they start to look a little dry, you can mist them with water, but they usually hold up well. Do not leave them out at room temperature for more than 2 hours.
Freezing
Yes, you can freeze them! Wrap each pinwheel individually in plastic wrap, then place them in a freezer bag. They last for up to 2 months. Thaw in the fridge overnight. The texture might be slightly softer, but the flavor is still great.
Pro Tip
If you’re packing these for school, put a damp paper towel in the container with them (not touching the pinwheels). This keeps the tortillas soft and prevents them from drying out in the backpack.
Nutrition Information
I’m not a nutritionist, but here’s the breakdown if you’re tracking. These are estimates based on standard ingredients.
Per Serving (based on 1 pinwheel, makes approx. 24 pinwheels per batch):
| Nutrient | Amount |
|---|---|
| Calories | 90 |
| Protein | 5g |
| Carbs | 8g |
| Fiber | 1g |
| Fat | 5g |
| Sodium | 200mg |
These pinwheels are a decent source of protein from the turkey and cheese. They’re not a diet food, but they’re not a cheat meal either. They’re a balanced, flavorful option that’s better than processed snacks. If you’re watching calories, you can use light cream cheese or reduced-fat turkey, though the taste won’t be quite as rich.
Final Thoughts
So that’s my go-to back to school turkey pinwheel roll-up with cream cheese and spinach. I’ve probably talked your ear off at this point, but when you make a recipe this often, you have a lot to say about it.
This has saved my sanity during the school year. It’s my answer to “what’s for lunch?” when I’m tired, don’t want to make a hot meal, and still want something that tastes really good. My kids are happy, my husband’s happy, and I’m happy because I’m not stressed about cooking.
Make it yours! Try different add-ins, swap in your favorite vegetables, adjust the cheese. The best recipes are the ones you adapt to your family’s tastes. If you make this, drop a comment and let me know what you think! I love hearing how recipes turn out in your kitchen. And if something doesn’t work, tell me that too—I’m here to help troubleshoot.
Happy cooking! And I hope your kitchen smells half as good as mine does right now.
Frequently Asked Questions
Can I use wheat tortillas instead of flour?
You can, but wheat tortillas are thicker and less flexible, which makes them harder to roll tightly. They also have a stronger flavor that might overpower the delicate turkey and cream cheese. If you must use wheat, look for thin, whole-wheat wraps. But for the best texture and easiest rolling, stick with large flour tortillas.
Why did my pinwheels fall apart when I cut them?
This usually happens if the cream cheese wasn’t firm enough when you sliced them. Make sure you chill the rolls for at least 30 minutes, preferably longer. Also, ensure your knife is sharp. A dull knife will squish the roll instead of cutting through it cleanly. If they’re still falling apart, try wrapping them tighter in plastic wrap before chilling.
Can I make these ahead of time?
Absolutely! In fact, they taste better the next day. You can assemble and roll them up to 24 hours in advance. Just keep them wrapped tightly in plastic wrap in the fridge. Slice them right before serving or packing for lunch. This makes them perfect for meal prep.
What’s the best way to pack these in a lunchbox?
Use a container with compartments if possible. Pack the pinwheels in one section and fruits or veggies in another. To prevent them from sticking together, you can line the container with parchment paper. Avoid packing them too tightly; give them a little space so they don’t crush each other.
Can I add bacon to these?
Yes! Bacon and turkey go together beautifully. Cook the bacon until crispy, crumble it, and sprinkle it over the cream cheese before adding the other fillings. This adds a smoky, salty crunch that kids and adults both love. Just make sure the bacon is cooled before adding it so it doesn’t melt the cream cheese.
How long do these last in the fridge?
The assembled rolls (before slicing) will last in the fridge for up to 3 days if wrapped tightly in plastic wrap. Once sliced, they’re best eaten within 24 hours for optimal texture. If you’re meal prepping for the week, I recommend rolling them on Sunday and slicing them each morning.
Pin This Recipe!
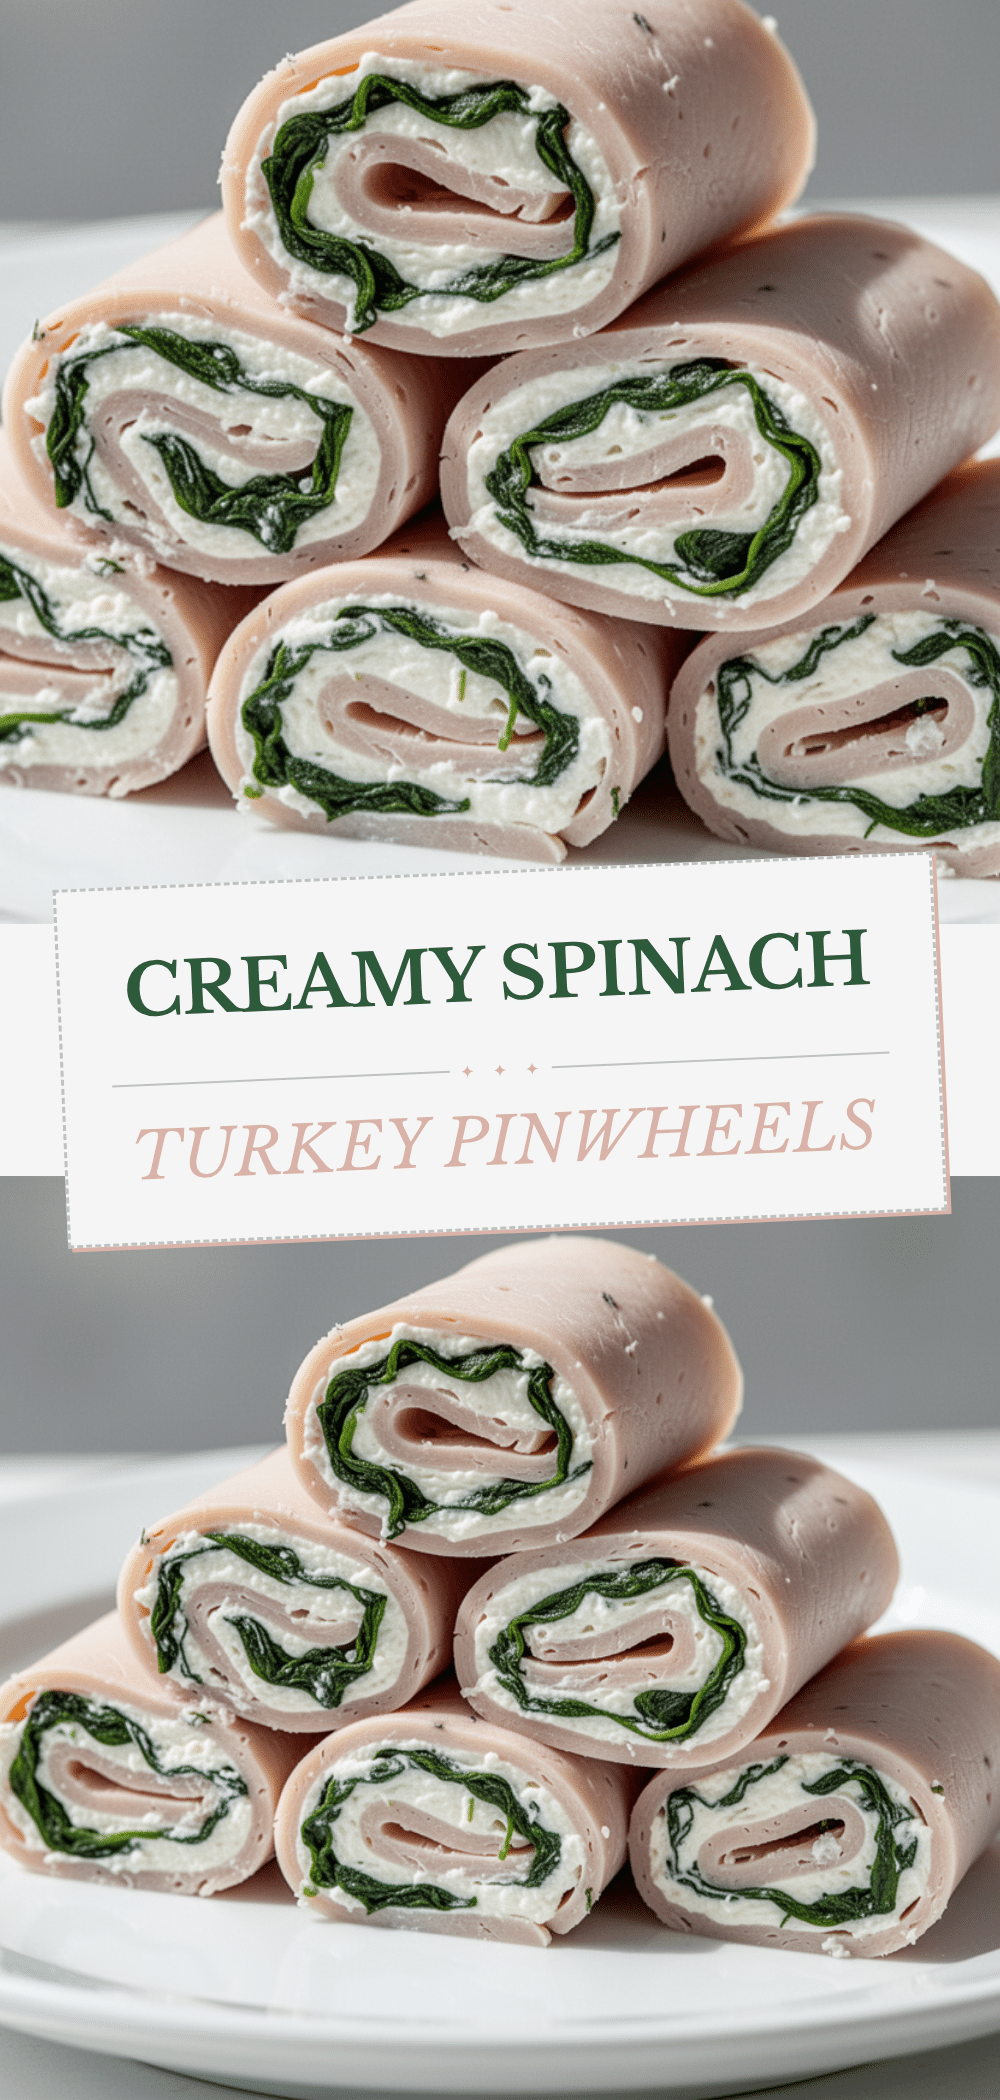

Back to School Turkey Pinwheel Roll-Ups
- Total Time: 45 minutes
- Yield: 24 servings 1x
Description
Easy, no-cook turkey pinwheel roll-ups made with flour tortillas, cream cheese, sharp cheddar, and spinach. Perfect for school lunches or party appetizers, these sturdy roll-ups take only 15 minutes to assemble.
Ingredients
- 1 package large flour tortillas (8–10 inches)
- 8 ounces full-fat cream cheese, softened
- 1 cup sharp cheddar cheese, shredded
- 1 pound deli turkey breast (thick sliced or shredded)
- 2 cups fresh baby spinach, washed and thoroughly dried
- Optional: 1/2 teaspoon garlic powder
- Optional: Red pepper flakes
Instructions
- Prep ingredients: Soften cream cheese, wash and thoroughly dry spinach, and shred cheddar cheese.
- Soften tortillas: If stiff, microwave tortillas for 10-15 seconds to make them pliable.
- Spread cream cheese: Lay one tortilla flat and spread a thin, even layer of softened cream cheese over the surface, leaving a half-inch border at the far edge.
- Layer fillings: Sprinkle shredded cheddar evenly over the cream cheese, layer spinach leaves, and layer turkey slices or shredded turkey.
- Roll tightly: Starting from the edge closest to you, tightly roll the tortilla up, tucking in the filling. Seal the edge with the remaining cream cheese border.
- Chill: Wrap each rolled tortilla tightly in plastic wrap and refrigerate for at least 30 minutes (or up to 2 hours/overnight) to firm up.
- Slice and serve: Unwrap the chilled log and slice into 1-inch thick pinwheels using a sharp knife.
Notes
Ensure spinach is completely dry to prevent soggy pinwheels. Use full-fat block cream cheese rather than spreadable tubs for better texture. Chilling is crucial for clean cuts. These can be frozen for up to 2 months.
- Prep Time: 15 minutes
- Cook Time: 0 minutes
- Category: Lunch
- Cuisine: American
Nutrition
- Serving Size: 1 pinwheel
- Calories: 90
- Sugar: 1
- Sodium: 200
- Fat: 5
- Saturated Fat: 3
- Carbohydrates: 8
- Fiber: 1
- Protein: 5
Keywords: turkey pinwheels, back to school lunch, easy appetizer, no cook recipe, turkey roll ups, cream cheese pinwheels, kid friendly lunch


