Last Tuesday, at 7:15 AM, I was standing in my kitchen wearing one sock, holding a half-eaten piece of toast, and staring at a pile of unmade lunches like it was a crime scene. The kids were arguing about shoelaces. The dog was barking at a leaf. And I had exactly zero muffins in the house. We had been doing this “back-to-school routine” for three weeks, and I was already burnt out on cereal and granola bars. My brain was foggy, my patience was thinner than the toast, and I knew if I didn’t feed them something real before the bus came, the entire day was going to spiral.
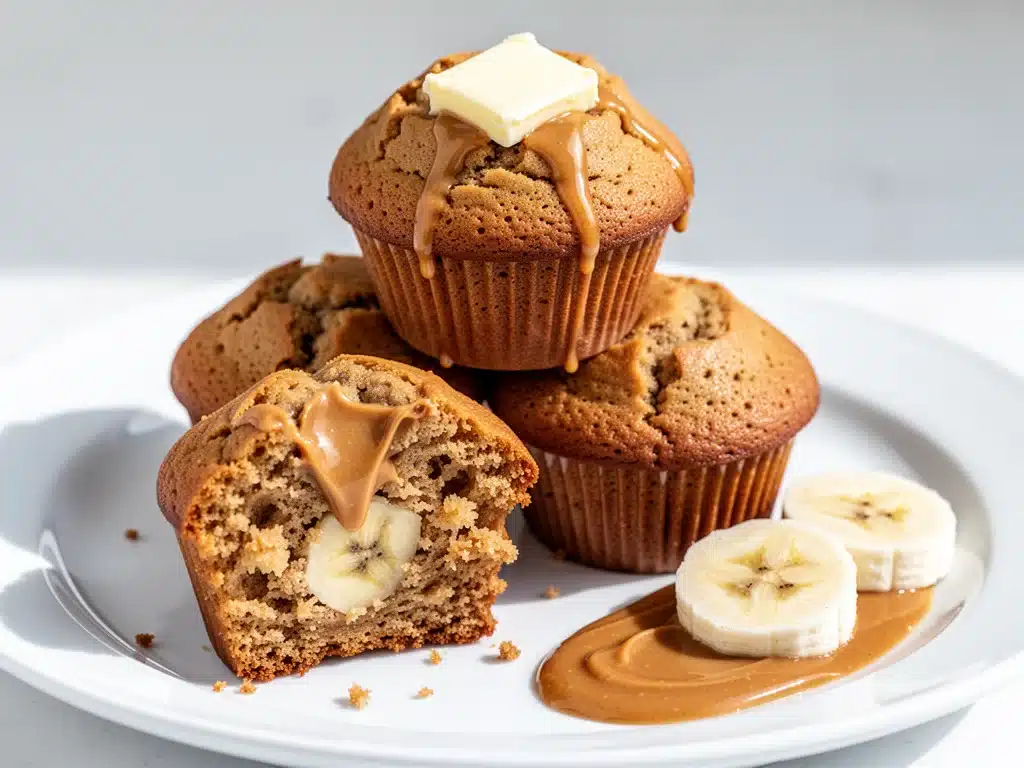
So I did what any desperate parent does: I raided the pantry and the fridge. I had overripe bananas that were basically black sludge (perfect for baking), a jar of peanut butter that was 80% full, and a bag of flour. I threw together what I thought would be a mediocre, quick fix. Ten minutes later, the kitchen smelled like a bakery, and the kids actually sat down to eat instead of rushing out the door. That was the moment I realized these Back to School Peanut Butter Banana Muffins weren’t just a snack—they were a peace treaty.
I’ve made these muffins at least twenty times since then. Some mornings I add chocolate chips. Some mornings I throw in walnuts. But the base recipe? It’s my lifeline. They’re moist, they’re filling, and best of all, they freeze like a dream. I make a huge batch on Sunday, freeze half, and pull them out on chaotic mornings when I’m running on fumes. If you’re drowning in the back-to-school chaos, you need this recipe. It’s the easiest freezer-friendly breakfast hack you’ll ever use.
Why You’ll Love This Freezer Recipe
Look, I’m not going to lie to you. Some of those “healthy” muffin recipes online taste like cardboard dipped in sugar. These are different. These are the real deal—soft, cakey, and packed with protein. Here’s why these peanut butter banana muffins have taken over our weeknight (and morning) routine:
- Stupid Simple — Seriously, if you can mash a banana, you can make these. No electric mixer required. I mix this batter in one bowl with a fork. My ten-year-old can do it, and he usually does while watching TV.
- Freezer-Ready — This is the game-changer. You bake them, cool them, and freeze them. When you need breakfast, you pull them out, microwave for 20 seconds, and they’re warm and fresh. I keep a whole tray in the freezer for emergencies.
- Protein-Packed — Banana alone isn’t enough to keep a growing kid full until lunch. The peanut butter adds healthy fats and protein that actually keep their energy stable. No sugar crash by 10 AM.
- Pantry Staples — You probably have every ingredient for this right now. Flour, sugar, eggs, peanut butter, bananas. No weird specialty health food items you’ll never use again.
- Kid-Approved — I’ve served these to my picky eater who refuses to eat anything yellow (bananas are yellow, I know). He loves them. If he’ll eat it, anyone will.
This is my go-to when I need breakfast to just work. No complicated techniques, no weird ingredients, just reliable, delicious food that makes everyone happy.
Ingredients You’ll Need
Here’s the best part: you probably have most of this already. This isn’t a recipe that requires a special trip to the store. It’s built on basics.
For the Batter
Ripe Bananas (2 large / about 1 cup mashed) — This is non-negotiable. They need to be brown, almost black. The darker the banana, the sweeter the muffin. If yours are just yellow, don’t use them. You’ll need to add more sugar, and we don’t want that.
Peanut Butter (½ cup / 128g) — Use creamy or crunchy, whatever you have. Natural peanut butter works, but make sure it’s well-stirred so the oil isn’t separated. I use Jif or Skippy because they’re consistent, but any smooth brand is fine.
Eggs (2 large) — Room temperature is best, but I’m rarely that organized. Cold eggs work fine here. They bind everything together.
Butter (¼ cup / 57g, melted) — Unsalted is better so you can control the salt. If you only have salted, reduce the added salt by half. Melted butter keeps them moist.
Sugar (½ cup / 100g granulated + ¼ cup / 50g brown sugar) — The brown sugar adds moisture and a hint of caramel flavor. Don’t skip it. White sugar alone makes them dry.
Vanilla Extract (1 teaspoon) — Just for flavor depth. I use pure vanilla, not imitation.
For the Dry Mix
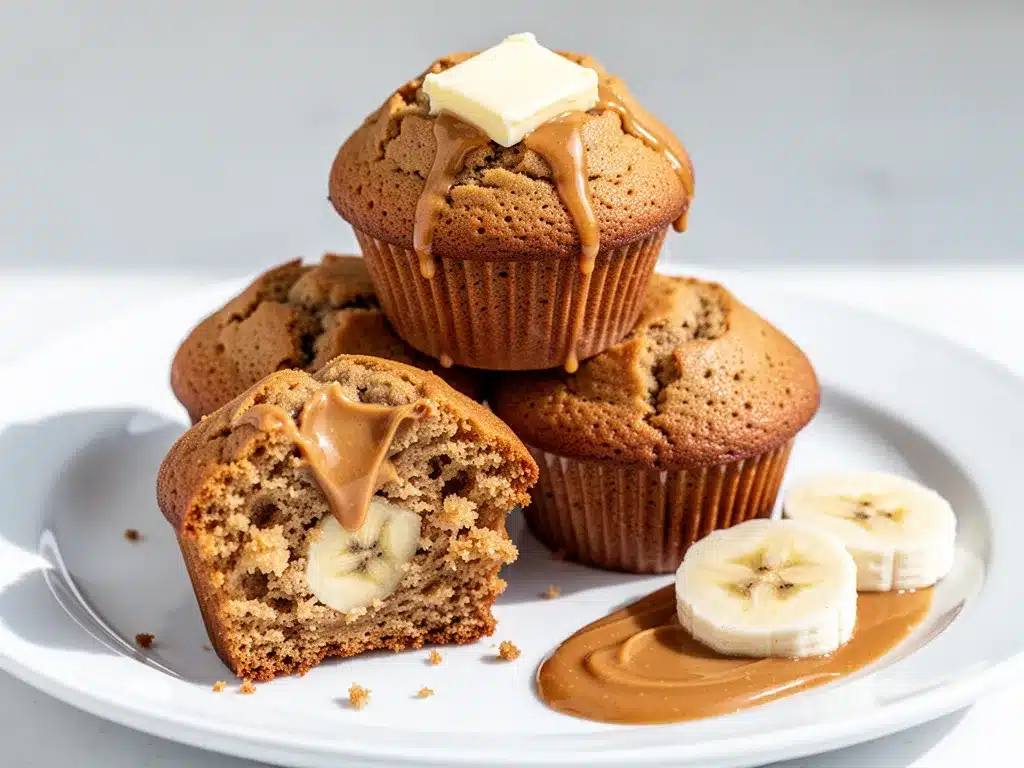
All-Purpose Flour (1 ½ cups / 190g) — Standard flour works perfectly. Don’t try to substitute with almond flour unless you want a dense brick. This is meant to be cakey.
Baking Powder (1 teaspoon) — Check if it’s fresh. If it’s old, your muffins won’t rise. I keep a new can on hand.
Baking Soda (½ teaspoon) — Reacts with the banana and peanut butter to give lift.
Salt (½ teaspoon) — Essential. It balances the sweetness. Never skip salt in baking.
Optional Add-ins
Chocolate Chips (½ cup) — My kids’ favorite version. Semi-sweet or milk chocolate both work.
Walnuts or Pecans (½ cup, chopped) — Adds crunch. I like this version for a more “adult” breakfast feel.
Chia Seeds (2 tablespoons) — For a hidden nutrition boost. You won’t taste them, but they add fiber.
Equipment Needed
You don’t need fancy equipment for this. Here’s what I actually use.
Large Mixing Bowl — I use a 4-quart bowl. It needs to be big enough to mash bananas and mix batter without splattering.
Fork or Potato Masher — For mashing bananas. I prefer a fork for control, but a masher is faster.
Muffin Tin — Standard 12-cup tin. I use a non-stick one, but any tin works. If yours is old and sticky, grease it well.
Measuring Cups and Spoons — Standard stuff. Dollar store versions work fine.
Cooling Rack — Essential for cooling muffins before freezing. If you skip this, they’ll get soggy.
Freezer Bags — Heavy-duty ziplock bags. I buy the gallon size and cut them in half to save space.
Optional: Parchment Paper — I usually just grease the pan, but parchment makes cleanup instant. Worth the extra penny.
How to Make It: Step-by-Step
Alright, let’s make this! I’m walking you through exactly how I do it, including the little tricks I’ve picked up.
Step 1: Prep Your Oven and Pan (2 minutes)
Preheat your oven to 350°F (175°C). Grease your muffin tin with butter or non-stick spray. If you’re using parchment liners, drop them in now. I usually just grease the pan—it’s faster and I’m lazy.
Step 2: Mash the Bananas (2 minutes)
Peel your ripe bananas and put them in a large bowl. Mash them with a fork until they’re smooth. No big chunks. If you leave chunks, you’ll get weird bites of banana in your muffin. Aim for a smooth puree.
Step 3: Mix Wet Ingredients (3 minutes)
To the mashed bananas, add the melted butter, peanut butter, eggs, sugar, and vanilla. Whisk this together vigorously. The peanut butter might clump at first, but keep whisking. It’ll come together. This mixture should look glossy and smooth.
Step 4: Add Dry Ingredients (2 minutes)
Stir in the flour, baking powder, baking soda, and salt. Mix until just combined. Do not overmix! If you mix too much, the muffins will be tough. A few lumps are okay. Stop as soon as the white streaks of flour disappear.
Step 5: Fold in Add-ins (1 minute)
If you’re using chocolate chips or nuts, fold them in gently now. Don’t beat the batter. Just fold.
Step 6: Fill the Muffin Tin (2 minutes)
Divide the batter evenly among the 12 muffin cups. Fill each about ¾ full. Use an ice cream scoop if you want them perfectly even—I do this to save time and ensure uniform baking.
Step 7: Bake (18-20 minutes)
Put them in the oven. Bake for 18-20 minutes, or until a toothpick inserted into the center comes out clean. The tops should be golden brown. If they’re browning too fast, cover them loosely with foil after 10 minutes.
Step 8: Cool Completely (30 minutes)
This is the hardest part: waiting. Let the muffins cool in the pan for 5 minutes, then transfer them to a wire rack. Let them cool completely. If you try to freeze them warm, you’ll get ice crystals and soggy muffins. Patience pays off.
Total Time: About 35 minutes (10 minutes active, 25 minutes mostly hands-off)
Expert Tips & Tricks
Here’s everything I’ve learned from making this dozens of times. These tips will save you from my mistakes.
The Banana Rule
I can’t stress this enough: use the ripest bananas you can find. If they’re still yellow, put them in the oven at 300°F for 15 minutes until they’re black. It speeds up the ripening process and concentrates the sweetness. I do this all the time when I forget to buy bananas a week early.
Don’t Overmix
Overmixing develops gluten, which makes muffins dense and chewy instead of soft and cakey. Mix until you *just* see no more flour. It should look shaggy. That’s perfect.
Freezing Strategy
Wrap each muffin individually in plastic wrap before putting them in the freezer bag. This prevents freezer burn. I’ve tried just throwing them in the bag, and the ones on the outside get icy and dry. Individual wrapping ensures every muffin stays fresh.
Reheating Method
Microwave for 20-30 seconds. That’s it. If you microwave them for a minute, they’ll become rubbery. 20 seconds is the sweet spot. They’ll be warm and soft.
Pro Trick: The Peanut Butter Swirl
For an extra treat, add a teaspoon of peanut butter on top of each muffin before baking. It melts into a gooey center. My kids think this is fancy. It’s just lazy me, but it works.
Variations & Substitutions
Once you’ve nailed the basic version, here’s how you can mix it up. I’ve tried all of these.
Almond Butter Version
Swap peanut butter for almond butter. It’s slightly more expensive but tastes richer. Works exactly the same way. Great for nut-allergy-safe schools if you use sunflower seed butter.
Chocolate Peanut Butter
Add ¼ cup cocoa powder to the dry ingredients and ½ cup chocolate chips to the batter. It’s like a Reese’s cup in muffin form. Warning: these are dangerously addictive.
Gluten-Free
Use a 1:1 gluten-free flour blend (like Bob’s Red Mill). The texture is slightly denser, but still good. I’ve used this for my gluten-sensitive friend, and she loved them.
Vegan
Replace eggs with 2 flax eggs (2 tablespoons ground flax + 6 tablespoons water, let sit 5 minutes). Use maple syrup instead of sugar. Use coconut oil instead of butter. They’re still moist and delicious.
Lower Sugar
Reduce both sugars to ¼ cup each. The bananas provide plenty of sweetness. These are still tasty, just less sweet. Good for a more “breakfast” feel rather than “dessert” feel.
Serving & Storage
How to Serve:
I usually serve these warm from the microwave. But here are other ways I’ve enjoyed them:
- With a glass of cold milk
- With a side of fresh fruit
- With a cup of coffee (for the adults)
- Crushed over yogurt for a parfait
Storage Instructions:
Counter: Store in an airtight container for up to 3 days. They’ll stay soft.
Fridge: Store for up to 5 days. They’ll dry out a bit faster than on the counter.
Freezer: This is the gold standard. Wrap individually in plastic, then put in a freezer bag. They last up to 3 months. When you need one, just microwave for 20 seconds.
Pro Tip: Label your freezer bag with the date. I have a habit of forgetting when I made them, and I don’t want to find a mystery muffin from 2023.
Nutrition Information
I’m not a nutritionist, but here’s the breakdown if you’re tracking. Per muffin (based on 12 muffins, no add-ins):
| Nutrient | Amount |
|---|---|
| Calories | 180 |
| Protein | 5g |
| Carbs | 24g |
| Fiber | 2g |
| Sugar | 14g |
| Fat | 8g |
| Sodium | 150mg |
What’s Good: Decent protein from peanut butter, fiber from bananas, no artificial ingredients.
What to Know: Higher in sugar from bananas and added sugar. If you reduce sugar, you can cut calories. Contains gluten and peanuts.
My Take: This is comfort food with a bit of nutrition. It’s not a diet recipe, but it’s way better than a granola bar. When I want to make it lighter, I reduce the sugar and add chia seeds. But usually? I just eat one and enjoy it.
Final Thoughts
So that’s my go-to Back to School Peanut Butter Banana Muffins! I’ve probably talked your ear off at this point, but when you make a recipe this often, you have a lot to say about it.
This has saved my mornings more times than I can count. It’s my answer to “what’s for breakfast” when I’m tired, don’t want to cook, and still want something that tastes good. My kids are happy, I’m happy, and I’m happy because I’m not stressed about cooking.
Make it yours! Try different add-ins, swap in your favorite nut butter, adjust the sugar. The best recipes are the ones you adapt to your family’s tastes.
If you make this, drop a comment and let me know what you think! I love hearing how recipes turn out in your kitchen. And if something doesn’t work, tell me that too—I’m here to help troubleshoot.
Happy cooking! And I hope your kitchen smells half as good as mine does right now.
Frequently Asked Questions
Can I use crunchy peanut butter?
Yes! Crunchy peanut butter adds nice texture. I actually prefer it for the contrast with the soft muffin. Just make sure the chunks aren’t too big, or you’ll get weird bites. Smooth is safer for little kids, but crunchy is tastier.
Why did my muffins turn out dry?
Usually means you overmixed the batter or baked them too long. Check your oven temperature with an oven thermometer—it might be running hot. Also, make sure your bananas are very ripe. Under-ripe bananas don’t add enough moisture.
Can I freeze the batter instead of the baked muffins?
You can, but it’s tricky. Fill the muffin tin, freeze the tin until solid, then pop the muffins out and store in bags. When you’re ready, bake from frozen, adding 2-3 minutes to the cook time. I prefer freezing the baked muffins because it’s easier and less messy.
Can I use honey instead of sugar?
You can, but reduce the amount to ½ cup total. Honey is sweeter than sugar and adds liquid. You might need to add 1-2 tablespoons more flour to balance it. I haven’t tested this extensively, so start with a small batch if you’re unsure.
How do I reheat frozen muffins without them getting soggy?
Microwave for 20-30 seconds. Do not microwave for longer. If you microwave them for a minute, they’ll become rubbery. 20 seconds is the sweet spot. They’ll be warm and soft. If you want them crispier, toast them in a toaster oven for 3 minutes.
Can I make these gluten-free?
Yes! Use a 1:1 gluten-free flour blend. The texture will be slightly denser, but still good. I’ve used Bob’s Red Mill and King Arthur Gluten-Free Flour, and both work well. Make sure your baking powder is certified gluten-free.
Can I double this recipe?
Absolutely! Double everything and use your biggest bowl. The cooking times stay the same. I do this when I’m meal-prepping for the week. Just make sure your muffin tins are big enough—you might need to use two pans.
Pin This Recipe!
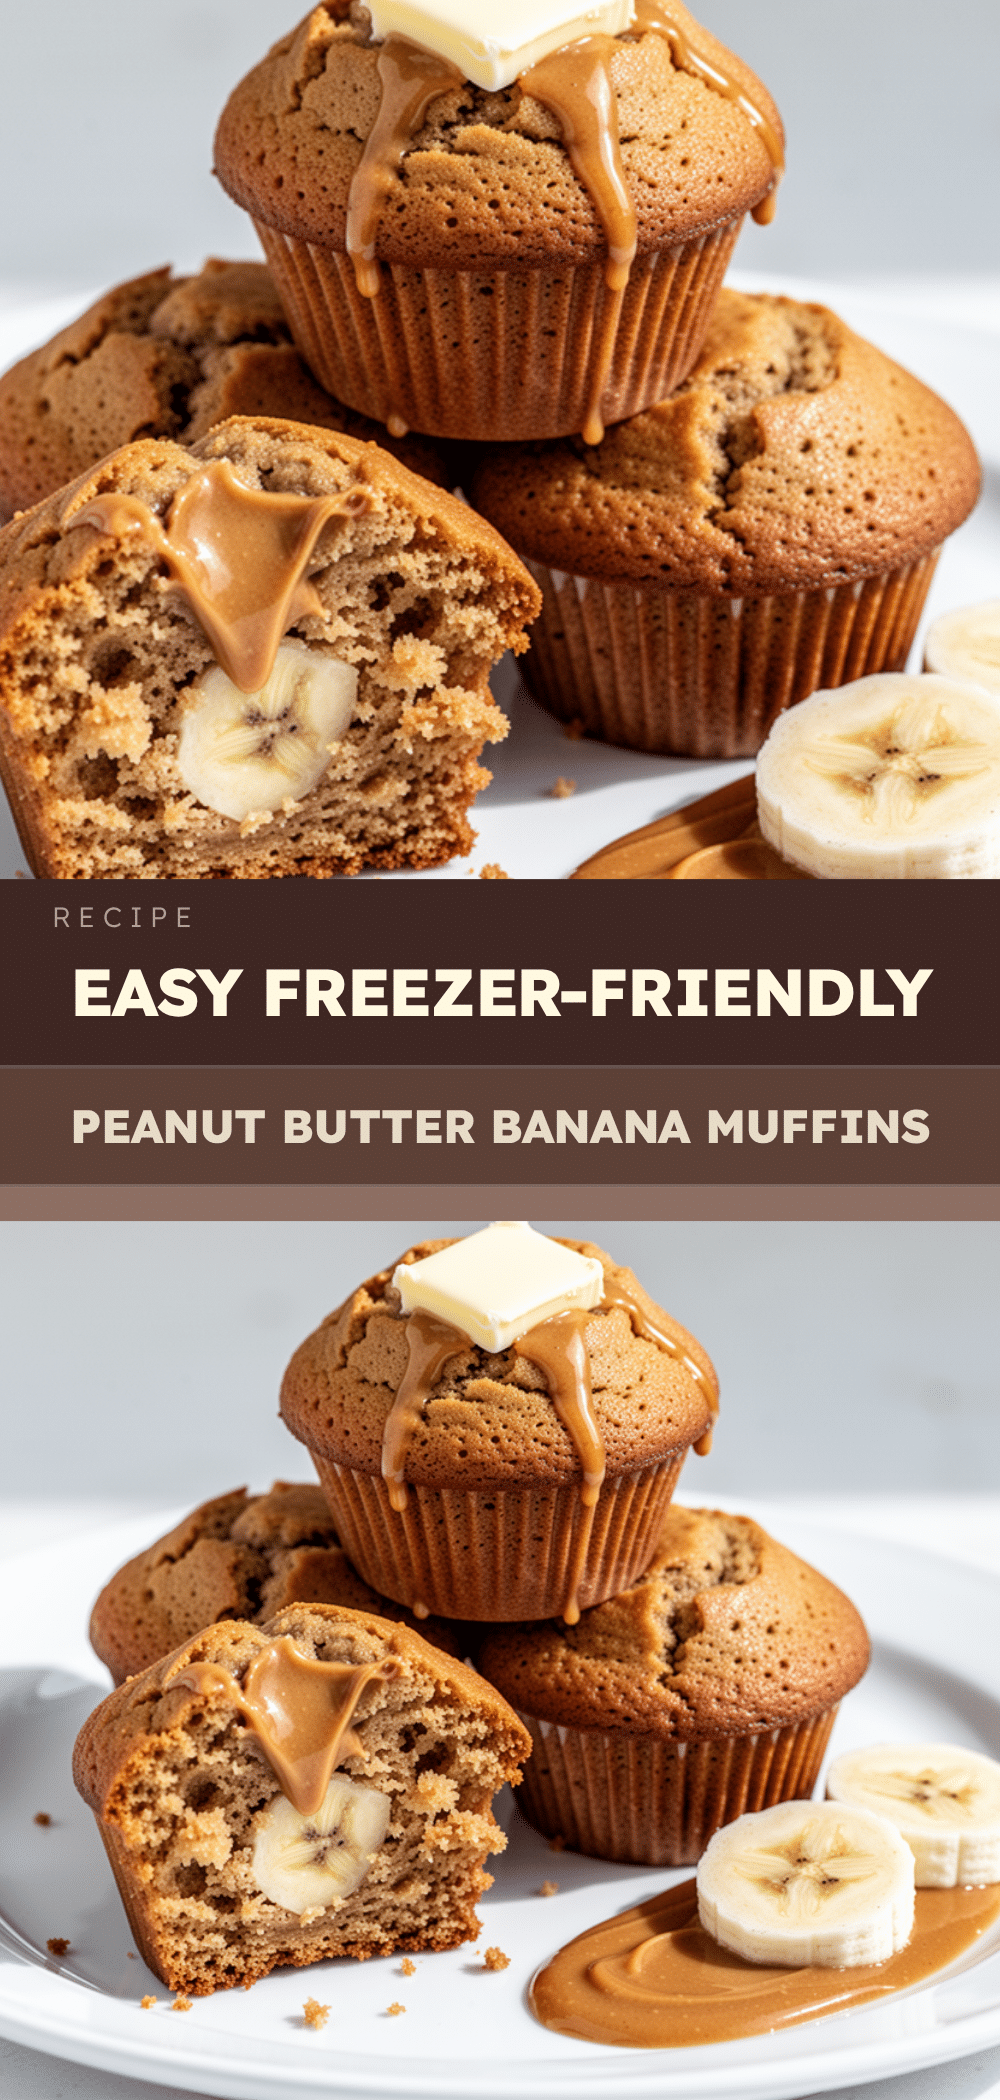
Back to School Peanut Butter Banana Muffins
- Total Time: 35 minutes
- Yield: 12 muffins 1x
Description
Easy, freezer-friendly peanut butter banana muffins that are moist, protein-packed, and perfect for busy school mornings. Made with pantry staples and ready in under 40 minutes.
Ingredients
- 2 large ripe bananas (about 1 cup mashed)
- ½ cup (128g) peanut butter (creamy or crunchy)
- 2 large eggs
- ¼ cup (57g) unsalted butter, melted
- ½ cup (100g) granulated sugar
- ¼ cup (50g) brown sugar
- 1 teaspoon vanilla extract
- 1 ½ cups (190g) all-purpose flour
- 1 teaspoon baking powder
- ½ teaspoon baking soda
- ½ teaspoon salt
- Optional: ½ cup chocolate chips, ½ cup chopped walnuts/pecans, or 2 tablespoons chia seeds
Instructions
- Preheat oven to 350°F (175°C). Grease a standard 12-cup muffin tin or line with parchment.
- In a large bowl, mash the ripe bananas with a fork until smooth.
- Add melted butter, peanut butter, eggs, granulated sugar, brown sugar, and vanilla to the bananas. Whisk vigorously until the mixture is glossy and smooth.
- Add flour, baking powder, baking soda, and salt. Stir until just combined; do not overmix. A few lumps are okay.
- Gently fold in optional add-ins like chocolate chips or nuts if using.
- Divide batter evenly among the 12 muffin cups, filling each about ¾ full.
- Bake for 18-20 minutes, or until a toothpick inserted into the center comes out clean and tops are golden brown.
- Let muffins cool in the pan for 5 minutes, then transfer to a wire rack to cool completely before storing or freezing.
Notes
Use very ripe, black bananas for maximum sweetness and moisture. Do not overmix the batter to avoid tough muffins. For freezing, wrap each cooled muffin individually in plastic wrap to prevent freezer burn. Reheat frozen muffins in the microwave for 20-30 seconds.
- Prep Time: 10 minutes
- Cook Time: 20 minutes
- Category: Breakfast
- Cuisine: American
Nutrition
- Serving Size: 1 muffin
- Calories: 180
- Sugar: 14
- Sodium: 150
- Fat: 8
- Saturated Fat: 3
- Carbohydrates: 24
- Fiber: 2
- Protein: 5
Keywords: peanut butter banana muffins, freezer breakfast, back to school recipes, easy muffins, kid-friendly breakfast, healthy muffins, meal prep


