It was 5:45 PM on a Tuesday in late August. The house was a war zone of unwashed backpacks, scattered permission slips, and that specific, high-pitched whine that only exists when a child realizes summer is officially over. My husband was running late from work, the dog was barking at a leaf, and I was staring into my open refrigerator with the kind of desperation that usually precedes ordering takeout. But takeout was out. We were trying to eat better, and I was trying to keep my sanity intact.
Then I saw it: a bag of frozen chicken breasts in the back, a jar of panko breadcrumbs I’d bought three months ago and forgotten about, and a carton of buttermilk. I didn’t have time to marinate. I didn’t have time to pan-fry a dozen pieces. But I had an oven and I had a deadline.
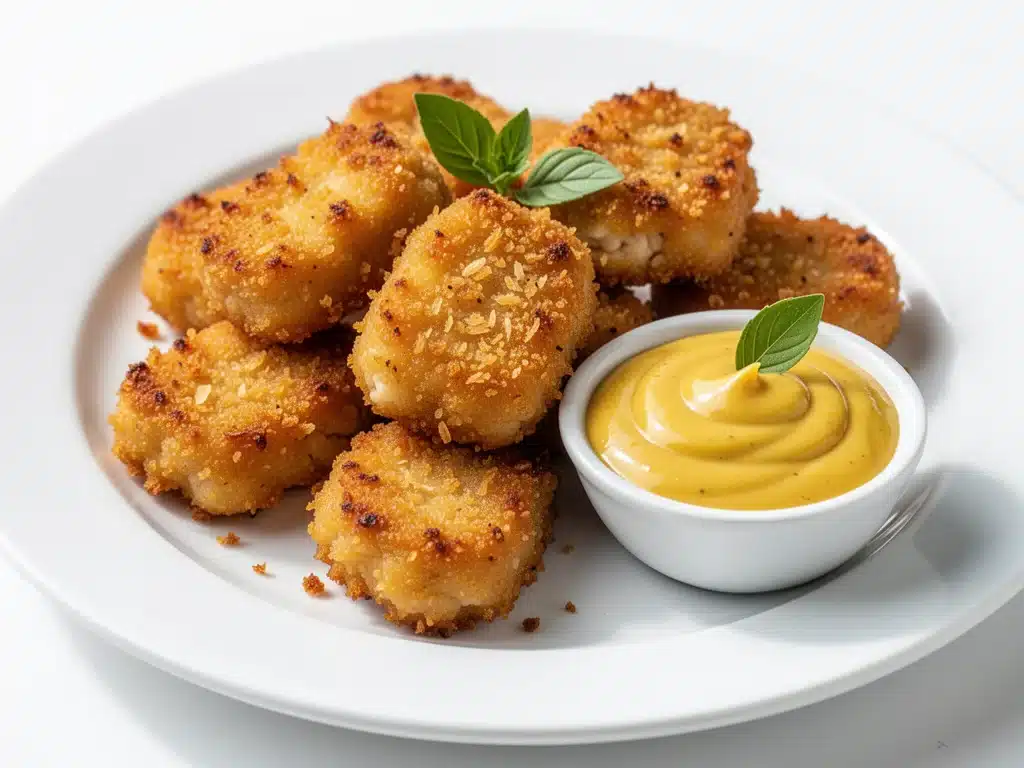
So I threw together what I now call the Back to School Chicken Nuggets. They weren’t the cute, dinosaur-shaped ones from the freezer aisle. They were rustic, jagged, golden-brown, and absolutely crispy. I tossed them in the oven, turned off the lights to save energy, and sat down at the table. Ten minutes later, my kids were devouring them with the kind of enthusiasm that makes you forget you’re tired. My daughter even asked for seconds. Seconds. From a nugget that I’d thrown together in 15 minutes flat.
That night, I realized I’d stumbled onto something. In the chaotic whirlwind of school mornings, homework battles, and soccer practice, we don’t need complicated meals. We need reliable, kid-approved food that comes together faster than a drive-thru line. These 5-ingredient easy dinner nuggets have become my secret weapon. They’re not just for kids, either. I’ve been eating them for lunch at my desk more times than I’d like to admit.
What started as a desperate Tuesday has turned into a weekly staple. I’ve tested this recipe dozens of times, tweaking the coating, the temperature, and the timing, until I landed on the perfect balance of crunchy outside and juicy inside. If you’re drowning in the back-to-school rush, or just looking for a weeknight dinner that doesn’t require a culinary degree, you need to make these. Seriously. Your future self will thank you.
Why You’ll Love This Back-to-School Chicken Nugget Recipe
There are about ten reasons I keep making these nuggets, but let’s be real—you don’t care about my reasons. You care about whether this recipe will actually work in your life. Here’s the truth: this is the easiest dinner I know that doesn’t taste like cardboard.
Stupid Simple — Seriously, if you can dip something in liquid and roll it in crumbs, you can make this. I’ve walked my teenage son through it over FaceTime while he was at a friend’s house. He nailed it. No fancy techniques, no special skills required.
Lightning Fast — From fridge to table in 25 minutes. That’s 5 minutes of prep and 20 minutes of hands-off baking. I make this on weeknights when I get home at 7pm, drop my bag, and realize I haven’t started dinner. It’s a lifesaver.
Pantry-Friendly — You probably have 80% of these ingredients already. Chicken breasts, milk or buttermilk, breadcrumbs, salt, pepper, and garlic powder. That’s it. No weird spices you’ll use once and never again. I keep the key items stocked just so I can make this on a whim.
Crowd-Pleaser — I’ve served these to my vegetarian sister (who steals the chicken), my gluten-free neighbor (using GF crumbs), and my I-only-eat-chicken dad. Everyone loved it. Even the picky eater who usually only eats white foods and bread was impressed.
Makes Amazing Leftovers — Actually tastes better the next day. I deliberately make extra for lunch throughout the week. Reheated in the toaster oven, they stay crispy. Microwave? Okay, they’re still good, but toaster oven is king.
Budget-Smart — Feeds 4-6 people for under $10. That’s less than one meal at a fast-food place, and infinitely healthier. When school lunches and after-school snacks add up, this recipe is your financial best friend.
This is my go-to when I need dinner to just work. No complicated techniques, no weird ingredients, just reliable, delicious food that makes everyone happy. And honestly? It makes me happy because I’m not stressed about cooking.
Ingredients You’ll Need for 5-Ingredient Easy Dinner
Here’s the best part: you probably have most of this already. I’m particular about three ingredients here, and I’ll tell you exactly why. Don’t skip the tips—trust me on this.
Chicken Breasts (1.5 pounds / 680g) — Boneless, skinless is key here. I buy the family pack and freeze what I don’t use immediately. For this recipe, I prefer slightly smaller breasts or tenderloins because they cook faster and stay juicier. If your breasts are huge, slice them in half horizontally to make even nuggets.
Buttermilk (1 cup / 240ml) — This is the magic ingredient. Buttermilk tenderizes the chicken and helps the coating stick. If you don’t have buttermilk, you can make a substitute: add 1 tablespoon of lemon juice or white vinegar to 1 cup of regular milk. Let it sit for 10 minutes until it curdles slightly. It’s not quite the same tang, but it works in a pinch.
Panko Breadcrumbs (1.5 cups / 150g) — Regular breadcrumbs are fine, but Panko is what gives these that restaurant-quality crunch. The flakes are larger and airier, creating a shatteringly crisp exterior. I always use Panko for this. If you’re gluten-free, look for gluten-free Panko—they work just as well.
Garlic Powder (1 teaspoon) — Fresh garlic is great, but for nuggets, powder distributes evenly and doesn’t burn. It adds that savory backbone without any chunks. Don’t skimp. This is where the flavor lives.
Smoked Paprika (½ teaspoon) — This is the secret weapon. It adds a subtle smokiness that makes the nuggets taste like they were grilled, even though they’re baked. If you don’t have smoked paprika, regular paprika works, but you’ll miss that depth. I keep it in my spice rack specifically for this recipe.
Salt (1 teaspoon) — Kosher salt is best because it’s easier to control. If you use table salt, use a little less. Seasoning the coating properly is crucial—don’t just salt the chicken, salt the crumbs too.
Optional Add-ins:
**Parmesan Cheese** (¼ cup / 25g, grated) — Mix this into the Panko for an extra savory kick. It melts slightly and adds a nice umami flavor. I do this when I want to feel fancy.
**Egg Wash** (1 egg, beaten) — Some recipes use egg instead of buttermilk. I prefer buttermilk because it’s lighter, but if you want extra crunch, dip the chicken in egg first, then buttermilk, then crumbs. Double-dipping is a game-changer.
Equipment Needed
You don’t need fancy equipment for this. Here’s what I actually use.
Baking Sheet — I use a half-sheet pan (18×13 inches). It fits all the nuggets in a single layer without crowding. Crowding leads to steaming, not baking, and you want crispy, not soggy.
Wire Rack — This is the pro tip. Place a wire cooling rack on top of your baking sheet. It allows air to circulate underneath the nuggets, ensuring they crisp up on all sides. I learned this the hard way with a sheet of soggy-bottomed chicken. Now, I never bake without a rack.
Three Shallow Bowls — You’ll need three for the dredging station: one for buttermilk, one for the Panko mixture, and one for the finished nuggets. I use pie plates or shallow casserole dishes. Wide bowls work better than deep ones.
Sharp Knife — For cutting the chicken. Dull knives make you slip and create uneven pieces. Learn to slice against the grain for tenderness.
Whisk — For mixing the dry ingredients. Or just use a fork. It’s not rocket science.
Spatula — To flip the nuggets halfway through. Silicone is nice because it won’t scratch your rack.
That’s it. No deep fryer, no special gadgets. Just basic kitchen tools you already own.
How to Make It: Step-by-Step
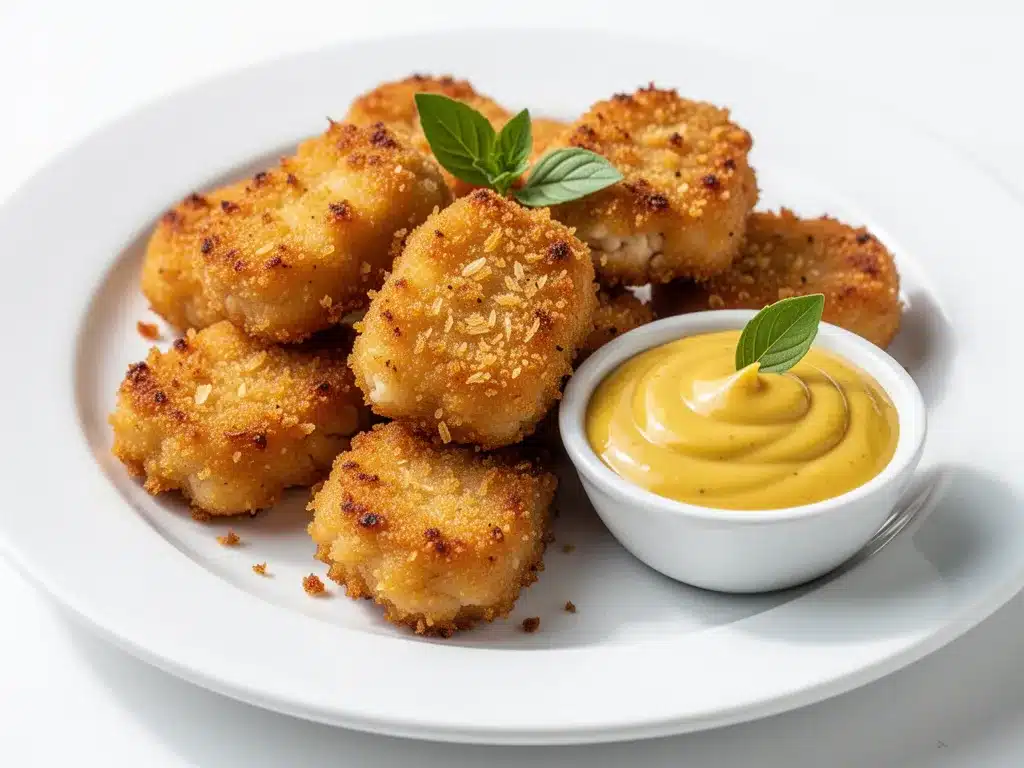
Alright, let’s make this! I’m walking you through exactly how I do it, including the little tricks I’ve picked up.
Step 1: Prep Your Chicken (5 minutes)
Pat the chicken breasts dry with paper towels. Moisture is the enemy of crispiness. If the chicken is wet, the coating won’t stick properly. Cut the chicken into bite-sized pieces, about 1.5 inches wide. Try to keep them uniform so they cook evenly. If you have tenderloins, leave them whole—they’re naturally tender and cook faster.
Step 2: Set Up Your Dredging Station (2 minutes)
Arrange three shallow bowls in a row. Bowl 1: Buttermilk (or your substitute). Bowl 2: Panko breadcrumbs mixed with garlic powder, smoked paprika, and salt. Bowl 3: Empty, for the coated nuggets. Whisk the dry ingredients in Bowl 2 until well combined. This ensures every nugget gets a balanced flavor profile.
Step 3: Dredge the Chicken (5 minutes)
Take a piece of chicken and dip it into the buttermilk, ensuring it’s fully coated. Shake off any excess—don’t drip feed the crumbs. Then, press it into the Panko mixture. Use your hands to press the crumbs firmly onto the chicken. This is crucial. If you just roll it, the coating will fall off in the oven. Press it in. Do this for all the chicken pieces.
Step 4: Arrange on the Rack (2 minutes)
Place the coated nuggets on the wire rack set over the baking sheet. Leave a little space between them. They don’t need to touch, but they don’t need to be miles apart either. Just give them room to breathe. If you’re making a large batch, do two sheets.
Step 5: Bake (20 minutes)
Preheat your oven to 400°F (200°C). This high heat is essential for browning. Place the nuggets in the oven and bake for 20 minutes. Halfway through (at the 10-minute mark), flip the nuggets over. This ensures even browning on both sides. You’ll know they’re done when they’re golden brown and crispy to the touch.
Step 6: Rest and Serve (2 minutes)
Remove from the oven and let them rest for 2 minutes. This allows the juices to redistribute. If you cut into them immediately, the juices will run out and the chicken will be dry. Serve hot with your favorite dipping sauces.
Total Time: About 25 minutes (5 minutes prep, 20 minutes baking)
Troubleshooting Tips:
– Nuggets aren’t crispy? Make sure your oven is fully preheated. A cold oven leads to steaming. Also, check that you’re pressing the crumbs on firmly.
– Chicken is dry? Don’t overcook it. Check at 18 minutes. The internal temperature should reach 165°F (74°C). Use a meat thermometer if you’re unsure.
– Coating falling off? You didn’t press the crumbs in enough, or the chicken was too wet. Pat it dry first, and press firmly.
Expert Tips & Tricks
Here’s everything I’ve learned from making this dozens of times. These tips will save you from my mistakes.
Use a Wire Rack
I can’t stress this enough. Baking directly on the sheet pan leads to soggy bottoms. The rack allows hot air to circulate underneath, creating an all-over crunch. If you don’t have a rack, line the pan with parchment paper and flip the nuggets carefully. But a rack is worth the investment.
Don’t Skip the High Heat
400°F is the sweet spot. Lower temperatures will cook the chicken through but won’t brown the coating. Higher temperatures might burn the crumbs before the chicken is cooked. Stick to 400°F for perfect results.
Press, Don’t Roll
When coating, use your fingers to press the Panko into the chicken. Rolling it in the bowl often results in a thin, patchy coating. Pressing ensures a thick, crunchy crust that stays on during baking.
Freeze for Later
These freeze beautifully! After dredging, place the nuggets on a baking sheet and freeze for 1 hour. Once frozen solid, transfer to a zip-top bag. You can bake them straight from frozen—just add 5-7 minutes to the cooking time. This is perfect for meal prep.
Add Cheese Inside
For a fun twist, make a small pocket in the chicken and stuff it with a cube of mozzarella before coating. When baked, it’s gooey and delicious. My kids love this variation.
Use Leftover Chicken
Got leftover rotisserie chicken? Shred it, mix with a little mayo and mustard, form into patties, and coat. It’s a quick way to use up leftovers. The texture is different, but the flavor is great.
Variations & Substitutions
Once you’ve nailed the basic version, here’s how you can mix it up. I’ve tried all of these.
Spicy Kick
Add 1 teaspoon of cayenne pepper or crushed red pepper flakes to the Panko mixture. If you like it hot, add a dash of hot sauce to the buttermilk. My husband loves this version.
Herb-Infused
Mix 1 teaspoon of dried parsley or Italian seasoning into the Panko. It adds color and a fresh flavor. Great for serving with a yogurt-based dip.
Cheesy Crust
Mix ¼ cup of grated Parmesan or Pecorino Romano into the Panko. The cheese melts and crisps up, adding a savory depth. I do this when I want to feel fancy.
Gluten-Free
Use gluten-free Panko or crushed gluten-free cornflakes. The coating will be slightly different in texture but still crispy and delicious. I’ve used both and prefer the Panko for its lightness.
Dairy-Free
Replace buttermilk with dairy-free milk (like almond or oat) mixed with 1 tablespoon of lemon juice. Use dairy-free Panko if needed. The coating might not stick as well, so press firmly.
Vegan Option
Use chickpeas or tofu cubes instead of chicken. Marinate in buttermilk substitute and coat as usual. The texture is different, but it’s a fun alternative for plant-based eaters.
Serving & Storage
How to Serve:
I usually serve these straight from the oven with a side of ranch dressing, honey mustard, or barbecue sauce. But here are other ways I’ve enjoyed them:
Side Dishes:
– Sweet potato fries (baked, of course)
– Coleslaw (adds a nice crunch and acidity)
– Steamed broccoli or green beans
– Corn on the cob (perfect for summer evenings)
Toppings Bar:
When I have guests, I put out: ranch, honey mustard, BBQ sauce, ketchup, and hot sauce. Everyone customizes their nugget.
Storage Instructions:
**Refrigerator:** Store in an airtight container for up to 3 days. The coating will soften slightly, but they’re still good cold or reheated.
**Reheating:** Best method: Toaster oven or conventional oven at 375°F for 5-7 minutes. This restores the crunch. Microwave? It works, but the coating will get chewy. If you must microwave, do it in 30-second bursts.
**Freezing:** Freeze cooked nuggets in a zip-top bag for up to 3 months. Reheat in the oven for best results.
Pro Tip: If leftovers are drying out, reheat with a small cup of water in the microwave to add steam. It helps keep the chicken moist.
Nutrition Information
I’m not a nutritionist, but here’s the breakdown if you’re tracking. Per serving (based on 6 servings, without dipping sauces):
Calories: 280
Protein: 30g
Carbs: 18g
Fiber: 1g
Sugar: 2g
Fat: 10g
Saturated Fat: 3g
Cholesterol: 85mg
Sodium: 450mg
Calcium: 80mg
What’s Good:
– High protein from the chicken
– Lower in fat than fried nuggets
– Easy to control ingredients
What to Know:
– Sodium can be adjusted by using low-sodium Panko
– Contains gluten and dairy (unless substituted)
My Take:
Look, these are baked, not fried, but they still have breadcrumbs and butterfat in the buttermilk. They’re not a diet food, but they’re a much healthier alternative to fast-food nuggets. When I want to make them lighter, I use skinless chicken and less Panko. But usually? I just enjoy them as a treat.
Final Thoughts
So that’s my go-to Back to School Chicken Nuggets! I’ve probably talked your ear off at this point, but when you make a recipe this often, you have a lot to say about it.
This has saved weeknight dinners more times than I can count. It’s my answer to “what’s for dinner” when I’m tired, don’t want takeout, and still want something that tastes really good. My kids are happy, my husband’s happy, and I’m happy because I’m not stressed about cooking.
Make it yours! Try different add-ins, swap in your favorite vegetables, adjust the spices. The best recipes are the ones you adapt to your family’s tastes. If you make this, drop a comment and let me know what you think! I love hearing how recipes turn out in your kitchen. And if something doesn’t work, tell me that too—I’m here to help troubleshoot.
Happy cooking! And I hope your kitchen smells half as good as mine does right now.
Frequently Asked Questions
Can I use chicken thighs instead of breasts?
Yes, but they have more fat and moisture. You’ll need to pat them very dry and maybe add a minute or two to the cooking time. Thighs are juicier, but breasts are leaner and crisp up better. I prefer breasts for this recipe.
Why did my nuggets get soggy?
Usually, this happens because they were overcrowded on the pan, or you didn’t use a wire rack. Make sure there’s space between them, and always use the rack. Also, don’t cover them immediately after baking—let them steam-free for a minute.
Can I make these in an air fryer?
Absolutely! Cook at 375°F for 10-12 minutes, flipping halfway. Air fryers are great for this because they circulate air so well. You might not even need the rack.
How do I store leftover Panko mixture?
Store it in an airtight container in the pantry for up to a week. It’s great for coating other proteins like fish or tofu. Just keep it dry.
Can I freeze the uncooked nuggets?
Yes! This is my favorite trick. After dredging, freeze them on a baking sheet for 1 hour, then bag them. You can bake them straight from frozen—just add 5-7 minutes to the cooking time. Perfect for busy mornings.
What dipping sauces go best with these?
Ranch is classic, but honey mustard, BBQ sauce, and spicy mayo are also great. I also love them with a simple yogurt-cilantro dip for a fresher taste.
Can I use almond flour instead of Panko?
You can, but it won’t be as crunchy. Almond flour browns quickly, so keep an eye on them. It’s a good low-carb option, but the texture is more like a crust than a crunch.
Pin This Recipe!
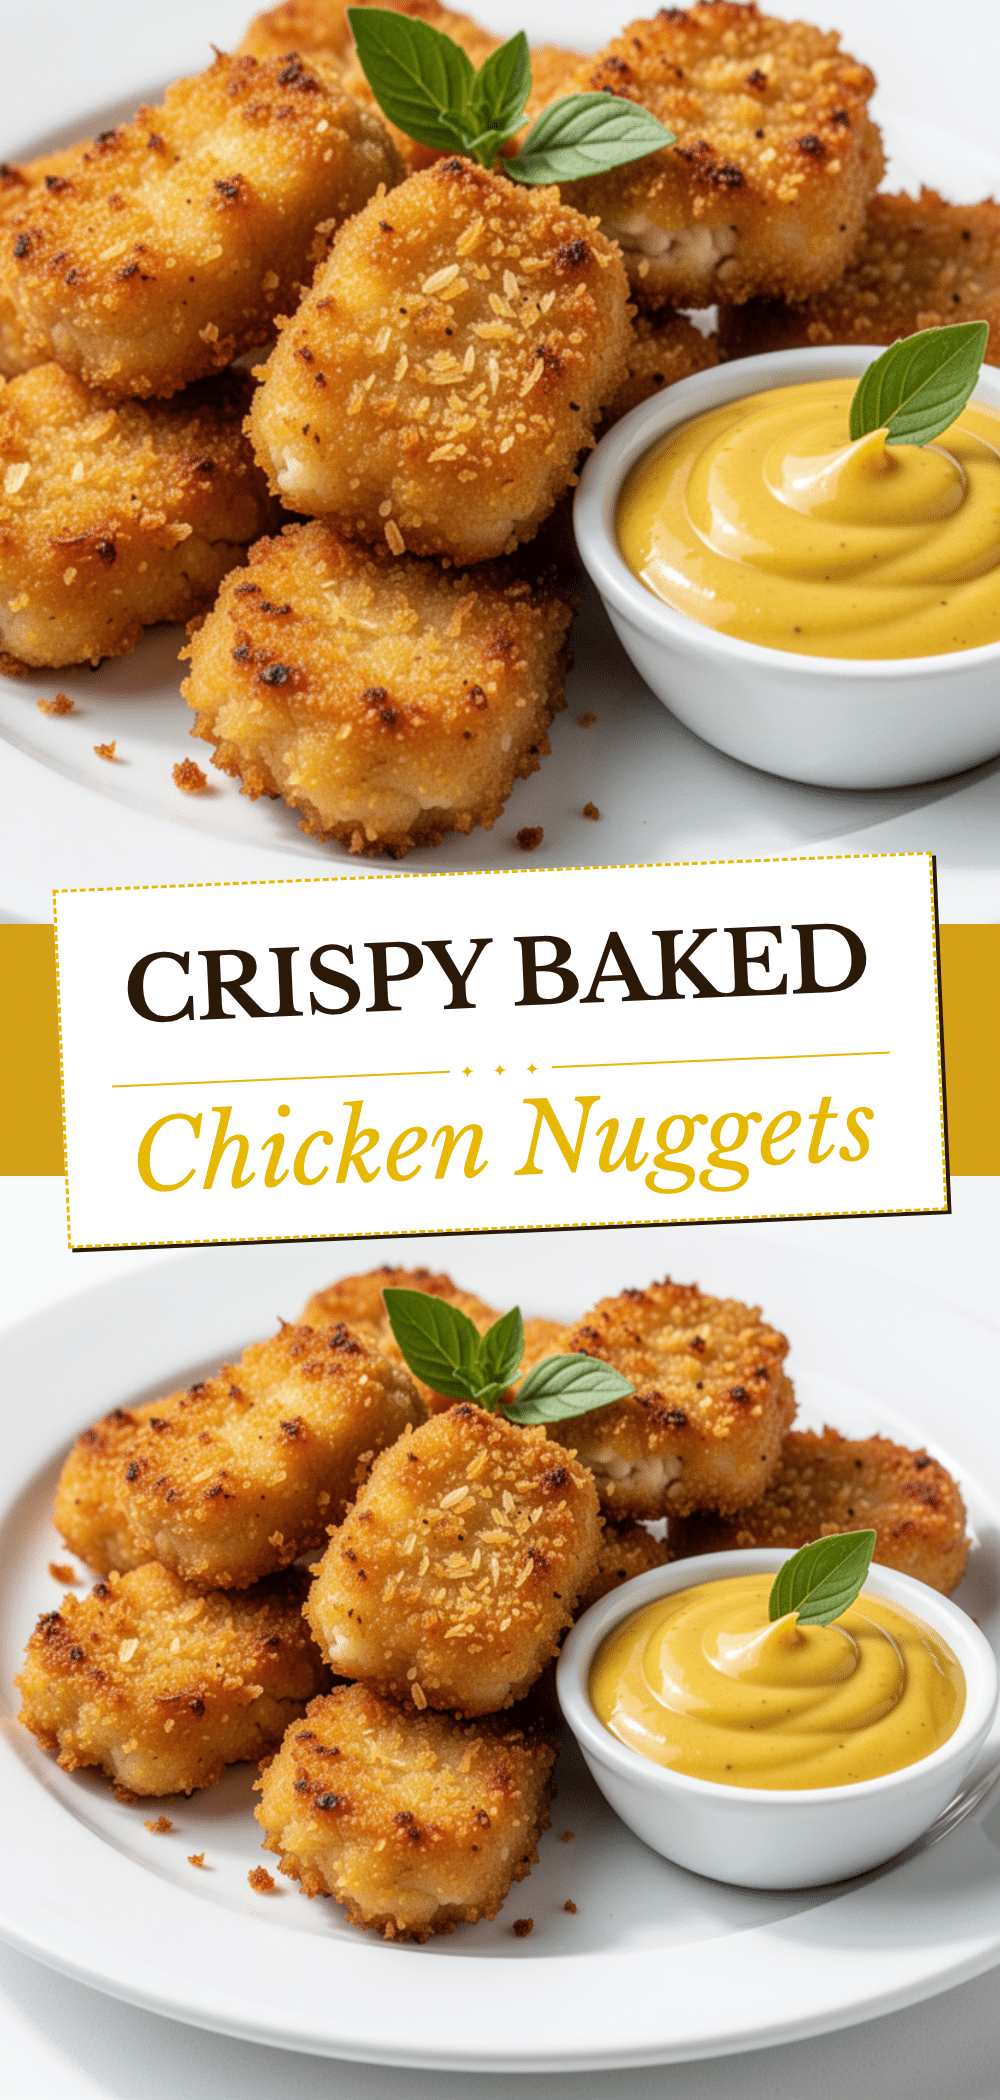
Back to School Chicken Nuggets: 5-Ingredient Easy Dinner
- Total Time: 25 minutes
- Yield: 4-6 servings 1x
Description
A quick, crispy, and kid-approved baked chicken nugget recipe that comes together in just 25 minutes using simple pantry ingredients like buttermilk and panko breadcrumbs.
Ingredients
- 1.5 pounds boneless, skinless chicken breasts (cut into 1.5-inch pieces)
- 1 cup buttermilk (or milk with 1 tbsp lemon juice/vinegar)
- 1.5 cups Panko breadcrumbs
- 1 teaspoon garlic powder
- 1/2 teaspoon smoked paprika
- 1 teaspoon kosher salt
Instructions
- Preheat oven to 400°F (200°C).
- Pat chicken breasts dry with paper towels and cut into bite-sized pieces.
- Set up a dredging station with three shallow bowls: one with buttermilk, one with Panko mixed with garlic powder, smoked paprika, and salt, and one empty for coated nuggets.
- Dip chicken pieces in buttermilk, shake off excess, then press firmly into the Panko mixture to ensure coating sticks.
- Place coated nuggets on a wire rack set over a baking sheet, leaving space between them.
- Bake for 20 minutes, flipping halfway through, until golden brown and crispy.
- Let rest for 2 minutes before serving.
Notes
For extra crispiness, use a wire rack to allow air circulation. Press crumbs firmly onto chicken rather than just rolling. Can be frozen uncooked for meal prep; add 5-7 minutes to baking time if cooking from frozen. Internal temperature should reach 165°F.
- Prep Time: 5 minutes
- Cook Time: 20 minutes
- Category: Main Course
- Cuisine: American
Nutrition
- Serving Size: Approximately 1.5-in
- Calories: 280
- Sugar: 2
- Sodium: 450
- Fat: 10
- Saturated Fat: 3
- Carbohydrates: 18
- Fiber: 1
- Protein: 30
Keywords: chicken nuggets, easy dinner, weeknight meals, kid-friendly, baked chicken, 5-ingredient recipe, back to school dinner


