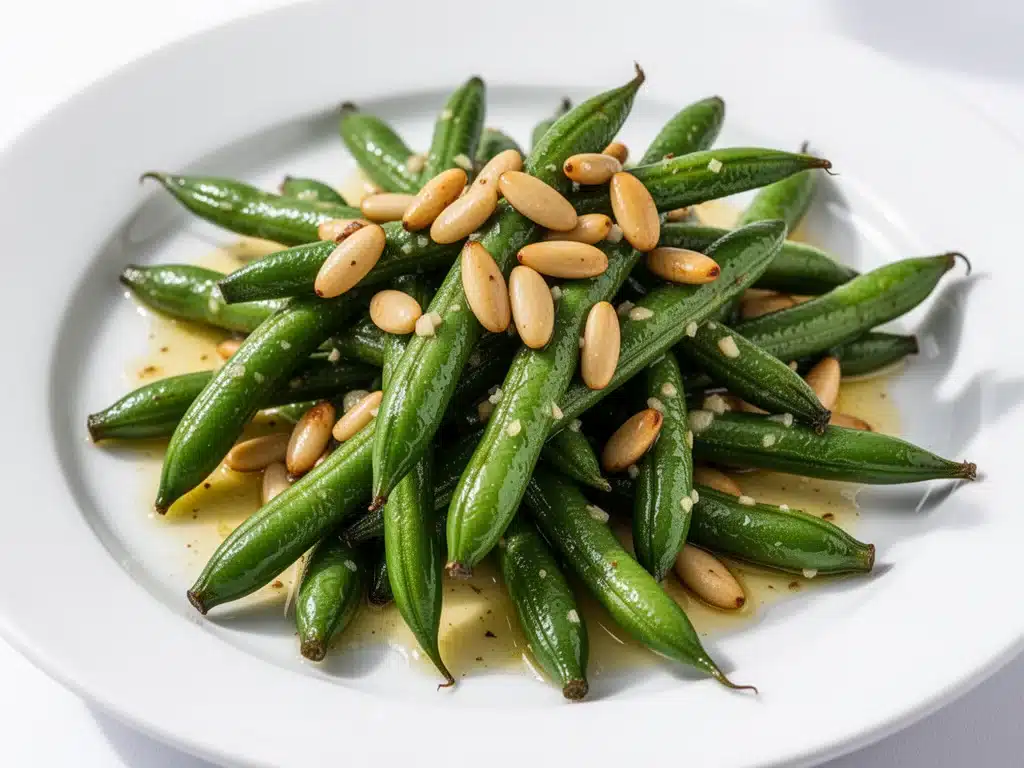
There was a time when “green beans” and “dinner party” were two phrases that never lived in the same sentence. In my house, they were the sad, overcooked side dish that sat on the edge of the plate, looking like little green sticks of regret. You know the type: mushy, bland, and definitely not the highlight of the meal. I used to think that if I wanted my family to actually enjoy vegetables, I had to hide them in sauces or smoothies. But last month, something clicked.
I was exhausted. It was one of those Tuesday nights where I came home, dropped my bag by the door, and stared into the fridge like it held the answers to life’s biggest mysteries. I had a bag of fresh green beans that were starting to look a little limp, some butter in the fridge, and a jar of pine nuts I’d bought for a fancy pasta dish I never made. I didn’t have time to make a complicated sauce or stand over the stove stirring something for an hour. I just needed dinner. So, I threw everything onto a baking sheet and put it in the oven.
When I pulled that tray out twenty minutes later, the kitchen smelled incredible. Not just “cooking” smells, but actually *good*. The beans were crisp-tender, not mushy. The garlic was golden and nutty, and the pine nuts had toasted to perfection. My kids, who usually pick vegetables off their plates like they were doing a science experiment, actually asked for seconds. I was shocked. My husband, who claims he “doesn’t really like veggies,” went back for a third helping.
That was the night Garlic Butter Roasted Green Beans with Toasted Pine Nuts was born. It’s not just a side dish; it’s my secret weapon for busy weeknights when I want something that feels elevated but takes almost zero effort. It’s the perfect companion to roast chicken, grilled steak, or even those 5-ingredient chicken nuggets I make when I’m feeling lazy. And honestly? It’s become my go-to way to use up those random veggies in the crisper drawer. If you’re tired of steamed veggies that taste like cardboard, you need to try this method. It changes everything.
Why You’ll Love This Garlic Butter Green Bean Recipe
I’ve been making this garlic butter roasted green beans with toasted pine nuts recipe for about three months now, and it’s settled into our weekly rotation faster than I expected. There are a few reasons why this specific combination works so well, especially when you’re trying to get dinner on the table before the kids melt down.
Zero Active Effort
This is the biggest selling point for me. Seriously, if you can wash beans and dump them on a pan, you can make this. I’m talking about 5 minutes of prep, tops. The rest is just the oven doing the work. I can chop vegetables for the main dish while the beans roast. It’s the ultimate “set it and forget it” side dish that actually turns out perfectly every single time.
Texture That Actually Matters
Most people ruin green beans by boiling them until they’re limp. Roasting them at a high heat keeps them crisp-tender with a slight char. Then, you add the crunch of toasted pine nuts. That contrast—soft but crisp beans, rich butter, and crunchy nuts—is why people ask for the recipe. It’s not just “boiled vegetables with butter.” It’s a texture experience.
Pantry-Friendly Ingredients
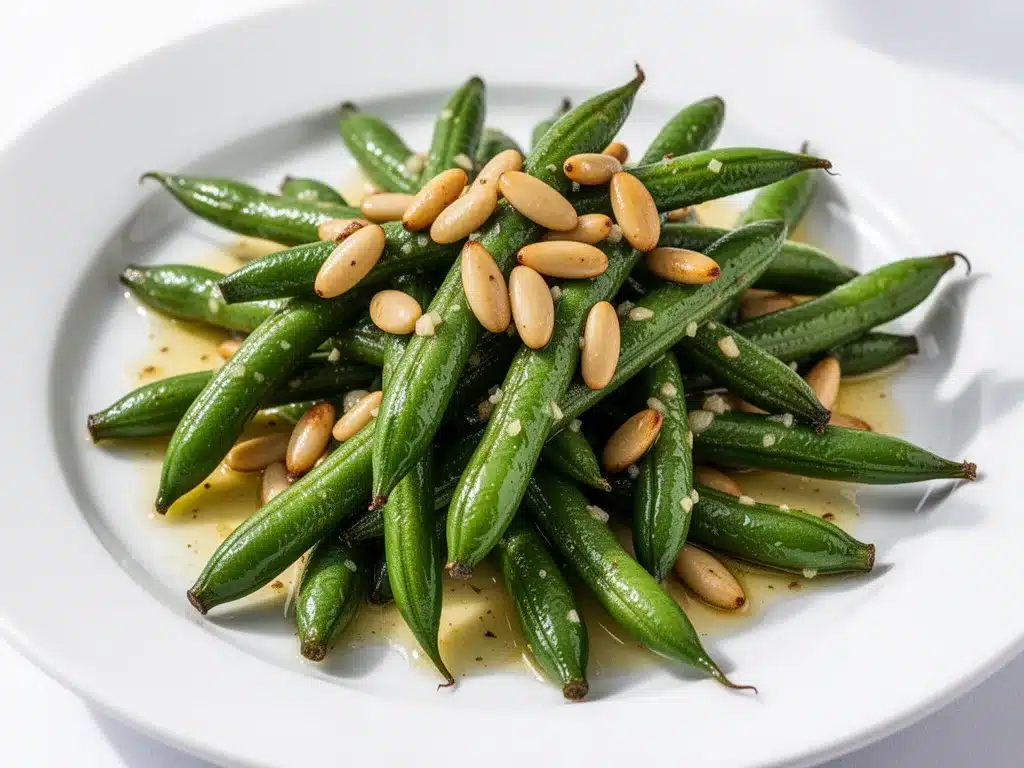
You probably have almost all of this already. Green beans, butter, garlic, salt, pepper, and pine nuts. If you don’t have pine nuts, don’t panic. Walnuts or almonds work too (I’ll explain why below). But pine nuts? They add this nutty, buttery richness that ties the whole dish together. It makes a $3 bag of vegetables feel like a $20 restaurant side.
Kid-Approved (Surprisingly)
I know, I know. I sounded skeptical too. But the garlic and butter mask that “green” taste that kids hate. And the pine nuts? They love the crunch. I’ve served this to my niece, who is notoriously picky, and she actually ate the green beans. That’s a win in my book. It’s also great for meal prep if you’re making lunches like those turkey pinwheel roll-ups—these beans pair perfectly with cold sandwiches.
Ingredients You’ll Need
Here’s the best part: this recipe is incredibly simple. You don’t need a trip to a specialty store. Just grab the basics from your local grocery. I’m particular about a couple of things here, mostly the quality of the butter and the freshness of the garlic, because with only six ingredients, every single one plays a huge role.
For the Beans:
Green beans (1.5 pounds / 680g) — Fresh is non-negotiable here. Look for bright green, firm beans. Avoid any that are slimy or wrinkly. Frozen green beans work in a pinch, but you’ll need to thaw and dry them thoroughly, or they’ll steam instead of roast. Fresh tastes way better.
Unsalted butter (4 tablespoons / 60g) — I use unsalted so I can control the sodium. But don’t cheap out on the quality. Good butter makes a huge difference in flavor. Salted butter works, just reduce the added salt later.
Garlic (4 cloves, minced / about 1 tablespoon) — Fresh garlic is key. Jarred garlic has a metallic taste that doesn’t work well with roasting. Fresh garlic caramelizes beautifully in the butter. If you’re in a huge rush, use a garlic press—it’s faster than chopping.
Extra virgin olive oil (1 tablespoon) — This helps prevent the butter from burning. Butter has a low smoke point, so the oil acts as a buffer. It also adds a nice fruity note.
Salt and black pepper (to taste) — I use kosher salt for seasoning. Freshly cracked black pepper adds a little heat and aroma.
For the Crunch:
Pine nuts (¼ cup / 30g) — This is the star of the show. They get toasted in the oven alongside the beans. Their natural oils release and become incredibly fragrant. If pine nuts are too expensive or you don’t have them, slivered almonds or chopped walnuts are great substitutes. Even pumpkin seeds work if you want a different vibe.
Optional: Parmesan cheese (2 tablespoons, grated) — If you want to make it extra indulgent, sprinkle some parmesan on top during the last 2 minutes of roasting. It gets melty and salty. But honestly, the pine nuts are enough for me.
Equipment Needed
You don’t need fancy gadgets for this. Just standard kitchen basics. Here’s what I actually use.
Large baking sheet — I use a half-sheet pan (18×13 inches). Make sure it’s a good size so the beans aren’t crowded. If they’re piled on top of each other, they’ll steam instead of roast. I prefer rimmed sheets because they catch any butter drips.
Paring knife — For trimming the ends of the green beans. A sharp knife makes this quick. If you have a lot of time, you can snap them by hand, but trimming is faster for a weeknight.
Measuring spoons — For the butter and oil. I’m usually eyeballing it, but if you’re precise, measure them.
Small bowl — To mix the butter, oil, and garlic before pouring it over the beans. This ensures even coating.
Tongs or spatula — For tossing the beans on the pan. I use tongs because they’re easier to handle a large volume of beans.
Small skillet (optional) — Some people toast pine nuts in a pan first. I prefer roasting them on the same sheet as the beans. It saves a dish and infuses the nuts with the garlic butter flavor. But if you’re worried about burning them, toast them in a dry pan for 2 minutes before adding them to the sheet.
How to Make It: Step-by-Step
Alright, let’s get cooking. This is straightforward, but there are a few tricks to get that perfect roast. I’m walking you through exactly how I do it, including the little details that make the difference between okay and amazing.
Step 1: Prep the Oven and Pan (5 minutes)
Preheat your oven to 400°F (200°C). This high heat is crucial. It’s hot enough to roast the beans quickly, giving them that charred edge, but not so hot that the garlic burns immediately. Line your baking sheet with parchment paper or aluminum foil for easy cleanup. I always use foil because I like to see the butter bubbling.
Step 2: Wash and Trim the Green Beans
Wash the green beans thoroughly under cold water. Shake off excess water—you want them dry, not wet. Wet beans steam. Then, trim the ends. You can do this by lining them up and slicing off the tough ends with a knife. It’s faster than snapping them one by one. Toss the trimmed beans onto your prepared baking sheet.
Step 3: Make the Garlic Butter Sauce
In a small bowl, melt the butter. You can do this in the microwave for 30 seconds or in a small saucepan over low heat. Let it cool for a minute so it’s warm, not scorching. Stir in the olive oil and the minced garlic. Mix well. The garlic needs to be suspended in the fat so it coats the beans evenly and doesn’t just fall off into a pile of burnt garlic bits.
Step 4: Coat the Beans
Pour the garlic butter mixture over the green beans. Use your hands or tongs to toss them until every bean is lightly coated. You want a glossy sheen, not a swimming pool of butter. If you have leftover butter-garlic mixture, save it for drizzling over the top after they come out of the oven. That’s pure flavor gold.
Step 5: Add the Pine Nuts
Scatter the pine nuts evenly over the beans. They will toast in the oven, releasing their oils. Keep an eye on them—they can go from perfect to burnt very quickly. If you’re using a dark baking sheet, they might toast faster, so check them a minute early.
Step 6: Roast
Roast for 15-20 minutes. Halfway through (around the 8-minute mark), pull the pan out and give the beans a good toss. This ensures even cooking and prevents the garlic from sticking to the pan and burning. The beans are done when they are tender-crisp and have some browned spots. They should still hold their shape but be easy to pierce with a fork.
Step 7: Season and Serve
Remove from the oven. Sprinkle with salt and pepper to taste. If you saved some garlic butter, drizzle it over now. Toss one more time. Serve immediately while hot. The pine nuts lose their crunch if they sit too long in the steam, so get them on the table fast.
Expert Tips & Tricks
I’ve made this recipe dozens of times, and I’ve learned a few things the hard way. Here’s how to avoid my mistakes.
Don’t Crowd the Pan
This is the most common mistake. If your beans are piled on top of each other, they won’t roast. They’ll steam. Use a large pan. If you’re cooking for a crowd, use two sheets. Space is your friend. I’ve roasted beans in a crowded pan before, and they came out soggy. Never again.
Watch the Garlic
Garlic burns at 350°F. Your oven is at 400°F. That’s why mixing it with butter and oil is important—it lowers the direct heat exposure. But keep an eye on the edges of the pan. If the garlic looks too dark, pull the pan out and cover it with foil for the last few minutes.
Toast the Pine Nuts Carefully
Pine nuts are small and oily. They toast fast. If you’re nervous, toast them in a dry pan on the stove for 2-3 minutes before putting them on the baking sheet. Then add them to the beans for the last 5 minutes of roasting. This gives you total control.
Add Acid at the End
A squeeze of lemon juice right before serving brightens everything up. The richness of the butter and nuts needs a little acidity to balance it. I usually just squeeze half a lemon over the top and toss. It makes the flavors pop.
Use Fresh Garlic
I can’t stress this enough. Jarred garlic tastes different. It’s pickled in oil and has a sulfurous note that doesn’t roast well. Fresh garlic is sweet and nutty when roasted. It’s worth the 2 minutes to peel and chop it.
Variations & Substitutions
Once you’ve got the basic recipe down, here’s how you can mix it up. I’ve tried all of these, and they all work.
Almond Version
Swap pine nuts for slivered almonds. Toast them first if you want extra crunch. Almonds are cheaper and have a stronger flavor. Great for a more rustic taste.
Parmesan Crust
Top the beans with grated parmesan cheese during the last 3 minutes of roasting. It forms a salty, cheesy crust. This is my favorite variation for kids.
Lemon Herb
Add 1 teaspoon of dried thyme or rosemary to the garlic butter. Or use fresh herbs—chopped parsley added after roasting adds freshness.
Spicy Kick
Add a pinch of red pepper flakes to the garlic butter. It adds a nice heat that cuts through the richness.
Dairy-Free Option
Use olive oil instead of butter. Add a splash of balsamic vinegar at the end for depth. It’s still delicious, just less rich.
Nut-Free
Skip the pine nuts. Add toasted breadcrumbs or pepitas (pumpkin seeds) for crunch. Or just leave them out. The garlic butter is still great.
Serving & Storage
How do you serve these? And what do you do with leftovers?
How to Serve
I usually serve these straight from the pan. They look rustic and homey. They pair perfectly with roast chicken, grilled salmon, or slow cooker sloppy joe sliders if you’re doing a casual family night. They’re also great alongside mini pizza bagels for a kid-friendly meal.
Storage
Store leftovers in an airtight container in the fridge for up to 3 days. The beans will soften a bit, which is normal. The pine nuts might lose some crunch.
Reheating
Reheat in a skillet over medium heat for 2-3 minutes to crisp them back up. Or microwave for 30 seconds. Don’t roast them again—they’ll get too dry.
Freezing
I don’t recommend freezing this dish. The texture of the green beans changes when frozen and thawed. They become mushy. Make it fresh.
Nutrition Information
I’m not a nutritionist, but here’s the breakdown if you’re tracking. Keep in mind that nutrition can vary based on brands and exact measurements.
Per Serving (based on 4 servings):
- Calories: 180
- Protein: 5g
- Carbs: 12g
- Fiber: 4g
- Sugar: 4g
- Fat: 14g
- Saturated Fat: 5g
- Sodium: 150mg
What’s Good: High in fiber and vitamins A and C from the green beans. Good fats from the pine nuts and olive oil.
What to Know: Higher in calories due to butter and nuts. Contains nuts and dairy.
My Take: It’s a healthy side dish, but it’s calorie-dense because of the fat. Portion control matters. But honestly, it’s so good you won’t mind the calories.
Final Thoughts
So that’s my Garlic Butter Roasted Green Beans with Toasted Pine Nuts! I know I’ve talked a lot about this simple dish, but when you make a recipe this often, you realize how much impact small details have. This has saved my weeknight dinners more times than I can count. It’s my answer to “what’s for dinner” when I’m tired, don’t want takeout, and still want something that tastes really good.
My kids are happy, my husband’s happy, and I’m happy because I’m not stressed about cooking. It’s fast, it’s healthy, and it’s delicious. Make it yours! Try different nuts, add some cheese, or throw in some red pepper flakes. The best recipes are the ones you adapt to your family’s tastes.
If you make this, drop a comment and let me know what you think! I love hearing how recipes turn out in your kitchen. And if something doesn’t work, tell me that too—I’m here to help troubleshoot. Happy cooking! And I hope your kitchen smells half as good as mine does right now.
Frequently Asked Questions
Can I use frozen green beans?
You can, but fresh is better. If you use frozen, thaw them completely and pat them very dry with paper towels. Excess water will steam them instead of roasting them. You might need to roast them a few minutes longer. But honestly, fresh tastes so much better.
Why are my green beans mushy?
Usually, this means they were crowded on the pan. They steamed instead of roasted. Or you cooked them too long. Check them at 15 minutes. They should be tender-crisp, not soft.
Can I make this ahead?
You can prep the beans and mix the garlic butter ahead of time. Store them separately in the fridge. Then roast them right before serving. But don’t roast them ahead and reheat—they lose their texture.
What if I don’t have pine nuts?
Use slivered almonds, chopped walnuts, or even pistachios. Toast them first for best results. Pumpkin seeds are a great nut-free alternative.
Can I add chicken to this?
Yes! Toss diced cooked chicken with the beans for the last 5 minutes of roasting. It makes a complete meal. I do this sometimes when I’m short on time for a main protein.
How do I store leftovers?
Store in an airtight container in the fridge for up to 3 days. Reheat in a skillet to crisp them back up.
Is this recipe gluten-free?
Yes, naturally gluten-free. Just make sure your butter and pine nuts are certified gluten-free if you have celiac disease.
Pin This Recipe!
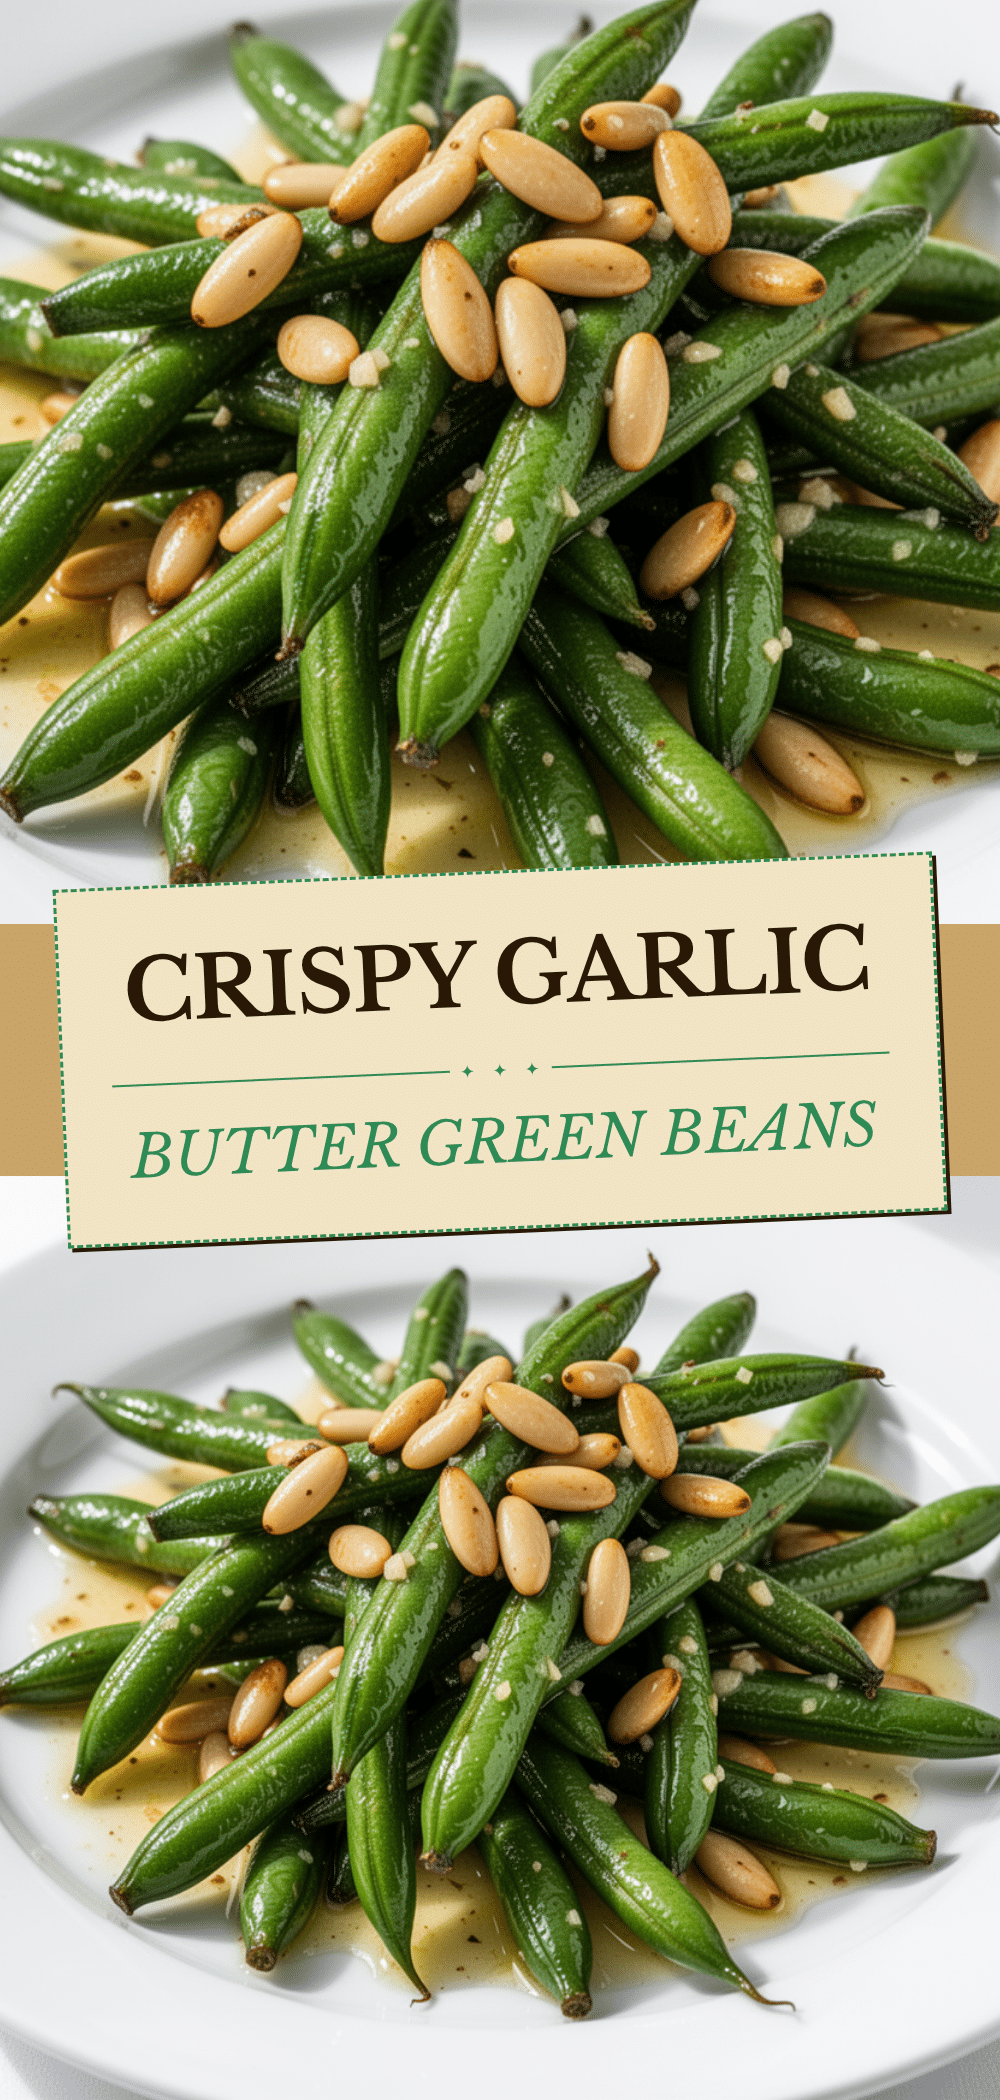
Garlic Butter Roasted Green Beans with Toasted Pine Nuts
- Total Time: 25 minutes
- Yield: 4 servings 1x
Description
A quick and easy weeknight side dish featuring crisp-tender green beans roasted with garlic, butter, and toasted pine nuts. This recipe requires minimal prep time and delivers restaurant-quality flavor.
Ingredients
- 1.5 pounds fresh green beans
- 4 tablespoons unsalted butter
- 1 tablespoon extra virgin olive oil
- 4 cloves garlic, minced
- 1/4 cup pine nuts
- Salt and black pepper to taste
- 2 tablespoons grated Parmesan cheese (optional)
Instructions
- Preheat oven to 400°F (200°C). Line a large baking sheet with parchment paper or aluminum foil.
- Wash green beans thoroughly and shake off excess water. Trim the ends and toss onto the prepared baking sheet.
- In a small bowl, melt the butter and stir in the olive oil and minced garlic.
- Pour the garlic butter mixture over the green beans and toss until evenly coated.
- Scatter pine nuts evenly over the beans.
- Roast for 15-20 minutes, tossing halfway through, until beans are tender-crisp and browned.
- Remove from oven, season with salt and pepper, and serve immediately.
Notes
Do not crowd the pan to ensure roasting instead of steaming. Use fresh garlic for best flavor. If using frozen green beans, thaw and dry thoroughly. Pine nuts toast quickly, so keep an eye on them. For a dairy-free option, substitute butter with olive oil.
- Prep Time: 5 minutes
- Cook Time: 20 minutes
- Category: Side Dish
- Cuisine: American
Nutrition
- Serving Size: 1/4 of the batch
- Calories: 180
- Sugar: 4
- Sodium: 150
- Fat: 14
- Saturated Fat: 5
- Carbohydrates: 12
- Fiber: 4
- Protein: 5
Keywords: green beans, roasted vegetables, garlic butter, pine nuts, weeknight dinner, side dish, gluten-free, easy recipe


