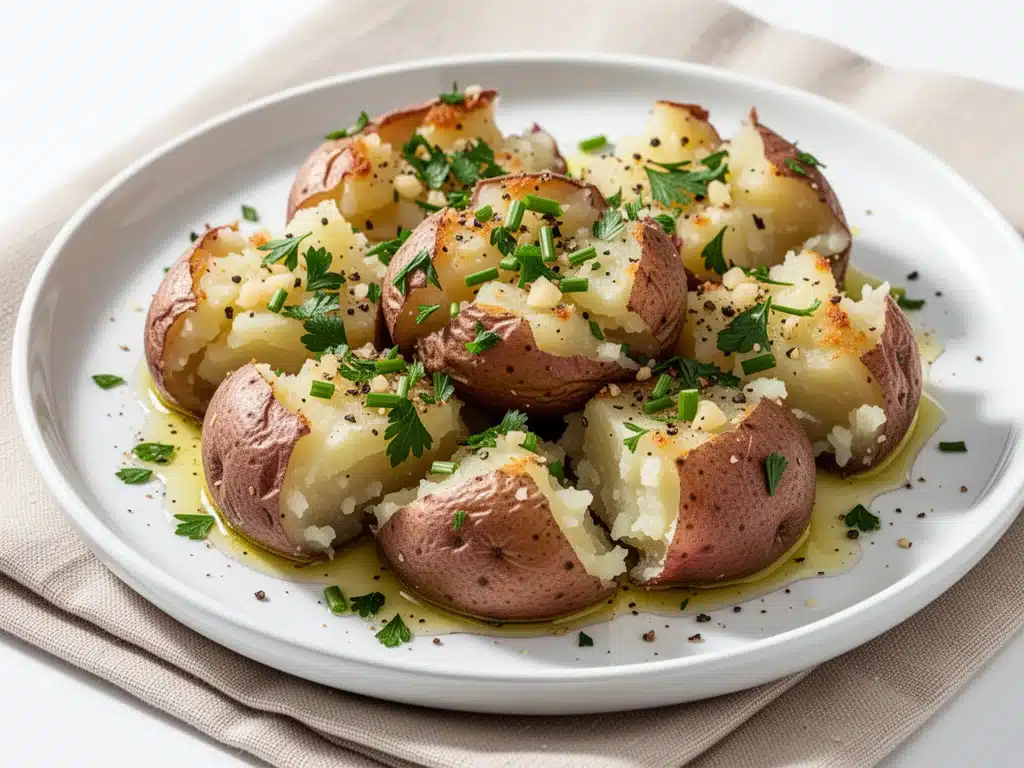
I’ve always been a little obsessed with the idea of the perfect potato. Not the kind that comes out of a bag and tastes like oil and regret, but the kind that has a crust so crunchy it almost sounds like it’s singing when you bite into it, while the inside stays fluffy and soft. For years, I tried roasting them whole, mashing them into submission, and even deep-frying them until I was covered in grease. Nothing stuck. That is, until the Tuesday night I decided to smash some boiled red potatoes flat and roast them with way too much garlic.
I had leftover boiled potatoes from a big family dinner, and instead of letting them sit in the fridge turning into sad, rubbery lumps, I smashed them on a baking sheet, drizzled them with olive oil, and threw them in with some minced garlic and dried herbs. I pulled them out twenty minutes later, expecting just a decent side dish. Instead, my husband took one bite, stopped chewing, and said, “Okay, what is the secret ingredient?” It wasn’t a secret. It was just the texture. The smash creates more surface area for the oil and heat to work on, turning the edges into golden, crispy shards while keeping the center pillowy.
Since then, Crispy Garlic Herb Smashed Red Potatoes have become my absolute go-to. I make them for weeknight dinners when I need something fast but fancy, for Sunday brunches when I want to impress friends without spending hours in the kitchen, and honestly, just because I like eating them straight out of the oven. They pair beautifully with everything, from my 5-ingredient chicken nuggets for a kid-friendly meal to a nice grilled steak for date night. There’s something deeply satisfying about making a humble ingredient look and taste gourmet with just a few simple steps.
I’ve tested this method countless times—adjusting the garlic amount, swapping herbs, trying different oils—and I’ve landed on a formula that works every single time. The secret isn’t fancy equipment or expensive ingredients. It’s technique. It’s knowing when to smash, how much oil to use, and why red potatoes are actually better than russets for this specific dish. If you’ve ever been disappointed by burnt garlic or soggy potatoes, this recipe is going to change your life. Let’s get cooking.
Why You’ll Love This Recipe
There are about ten reasons I keep coming back to smashed potatoes, but if you’re looking for the real deal, here’s why this recipe beats every other potato side out there.
- Maximum Crunch, Minimum Effort — Seriously, if you can boil water and press down with a fork, you can make this. I’ve made these while on a video call with my sister, and they turned out perfectly. The smashing technique does all the heavy lifting for you.
- Lightning Fast — From start to finish, this takes about 45 minutes. That includes boiling the potatoes (which you can do while you chop veggies) and roasting them. It’s the perfect “set it and forget it” side dish that doesn’t actually require you to forget it.
- Pantry-Friendly Ingredients — You probably already have red potatoes, olive oil, garlic, and dried herbs in your kitchen. I don’t buy fancy fresh herbs for this because dried oregano and thyme hold up better to the high heat and give a more consistent flavor. It’s budget-smart and low-stress.
- Crowd-Pleaser Guaranteed — I’ve served these to my picky nine-year-old nephew, my foodie best friend, and my dad who thinks “fancy” means ketchup. Everyone loves them. The garlic and herb combination is universally liked, and the texture is addictive.
- Makes Amazing Leftovers — I know, I know, leftover potatoes can be weird. But these? They reheat beautifully. I deliberately make extra because they’re the best cold snack or quick lunch component. Put them in an air fryer for two minutes and they’re crispy again.
- Visual Appeal — Let’s be honest, we eat with our eyes first. These potatoes look rustic, golden, and professionally plated. They look like something you’d get at a fancy bistro, but they cost less than a dollar per serving.
This is my go-to when I need dinner to just work. No complicated techniques, no weird ingredients, just reliable, delicious food that makes everyone happy. And honestly? The smell of garlic and roasting potatoes filling the house is worth it alone.
Ingredients You’ll Need
Here’s the best part: this recipe doesn’t require a trip to a specialty store. It’s built on simple, accessible ingredients that let the potato shine. I’m particular about a few things here, mostly because I’ve learned the hard way what doesn’t work.
For the Potatoes
Red Potatoes (2 pounds / 900g) — I specifically use red potatoes for this recipe. They have a waxy texture that holds their shape better than russets when boiled and smashed. If you use russets, they might fall apart. Yukon Golds work too, but reds are my favorite for that firm-yet-fluffy bite. Look for medium-sized ones so they cook evenly.
Water (enough to cover) — For boiling. I add a generous pinch of salt to the water, about 1 tablespoon. The potatoes need to be seasoned from the inside out. If you boil them in plain water, they’ll taste bland no matter how good the topping is.
For the Garlic Herb Oil
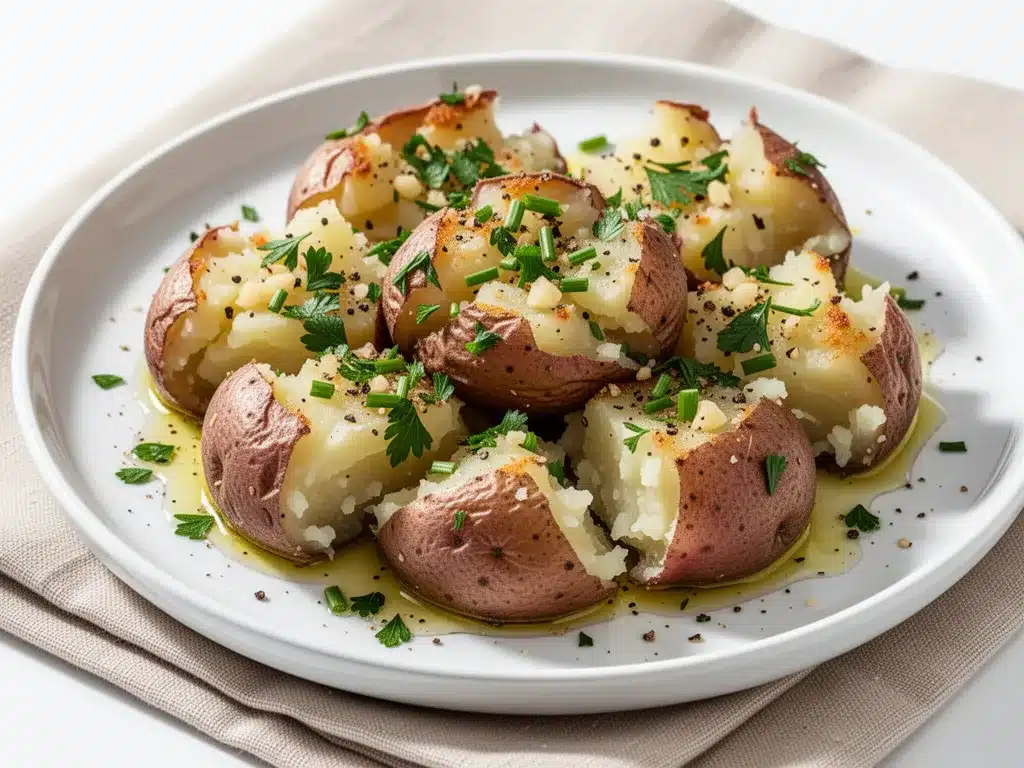
Extra Virgin Olive Oil (¼ cup / 60ml) — Don’t skimp on the oil. The oil is what creates the crispiness. You want enough to coat the potatoes generously but not so much that they’re swimming. I use a good quality extra virgin because the flavor is better, but regular olive oil works if that’s all you have.
Garlic (6-8 cloves, minced / about 3 tablespoons) — Yes, that’s a lot of garlic. But since we’re roasting it, the sharp bite mellows out and becomes sweet and savory. Fresh garlic is non-negotiable here. Jarred garlic has a metallic aftertaste that clashes with the herbs. Mince it finely so it sticks to the potatoes and doesn’t burn as quickly.
Dried Oregano (1 teaspoon) — This is my secret weapon. Dried oregano gets crispier in the oven than fresh, giving you little bursts of herbal flavor. Fresh oregano can burn and turn bitter at high temps. This dried version stays aromatic.
Dried Thyme (½ teaspoon) — Thyme adds an earthy, slightly floral note that pairs perfectly with garlic. Again, dried works better here for texture. If you only have fresh, use half the amount and add it at the very end, but I stick to dried for this roast.
Fresh Parsley (2 tablespoons, chopped) — I add this after they come out of the oven. It adds a bright, fresh pop of color and flavor that balances the richness of the oil and cheese. Don’t skip this—it makes the dish look professional.
Salt and Black Pepper — To taste. I usually add a good pinch of flaky sea salt at the end for that restaurant-style finish.
Optional Add-ins
Feta or Parmesan Cheese (½ cup / 50g, crumbled or grated) — If you want to go fully gourmet, sprinkle some crumbled feta or grated Parmesan on top during the last 5 minutes of roasting. It melts and gets crispy in spots. I love the salty kick it adds.
Red Pepper Flakes (½ teaspoon) — For a little heat. If you like your potatoes with a kick, toss these in with the herbs. It cuts through the richness nicely.
Bacon Bits (2 strips, cooked and crumbled) — Because everything is better with bacon. I add these after roasting so they stay crunchy.
Equipment Needed
You don’t need fancy equipment for this. Here’s what I actually use, and what you can swap if you don’t have it.
Large Pot — I use a 6-quart pot for boiling the potatoes. It needs to be big enough so the potatoes have room to move and cook evenly. Any heavy-bottomed pot works.
Baking Sheet — A standard 13×9 inch sheet pan is perfect. I line it with parchment paper for easy cleanup, but you can use foil or just grease the pan well. Parchment prevents sticking and makes cleanup instant.
Fork or Glass — For smashing. I use the bottom of a heavy glass, but a fork works too. The fork creates a more rustic, jagged edge which I actually prefer for extra crunch. The glass makes a flatter, more uniform smash.
Measuring Spoons — Standard stuff. Dollar store versions work fine.
Small Bowl — For mixing the oil, garlic, and herbs. It makes it easier to drizzle evenly.
Pastry Brush or Spoon — To spread the oil mixture over the smashed potatoes. I usually just use a spoon, but a brush gets into the nooks and crannies better.
How to Make It: Step-by-Step
Alright, let’s make this! I’m walking you through exactly how I do it, including the little tricks I’ve picked up over the years. This process is forgiving, but following these steps ensures you get that perfect crispy texture.
Step 1: Boil the Potatoes (20-25 minutes)
Start by washing your red potatoes thoroughly. You don’t need to peel them—the skins add texture and nutrients. Cut them in half if they’re large, or leave them whole if they’re medium-sized (about 1.5 inches in diameter). Bring a large pot of salted water to a boil. The water should taste like the ocean. Once boiling, add the potatoes and cook for 15-20 minutes, or until they are fork-tender. A fork should slide in with zero resistance. Do not overcook them to mush, or they’ll fall apart when you smash them. Drain them well and let them sit in the colander for 5 minutes to steam off excess moisture. Dry potatoes = crispy potatoes.
Step 2: Prep Your Baking Sheet
While the potatoes are cooling, preheat your oven to 400°F (200°C). Line a large baking sheet with parchment paper. This is crucial for easy cleanup and preventing sticking. If you’re in a rush, foil works, but parchment is better for crispiness.
Step 3: Smash the Potatoes
Arrange the warm potatoes on the baking sheet. Using the bottom of a heavy glass or a fork, gently press down on each potato. You want to flatten them to about ½ inch thick. Don’t press so hard that they break into pieces; you want them intact but thin. The edges will crack and curl up, which is exactly what you want for those crispy bits. If they’re too cold, they’ll break. If they’re too hot, you’ll burn your hands. Warm is the sweet spot.
Step 4: Mix the Garlic Herb Oil
In a small bowl, whisk together the olive oil, minced garlic, dried oregano, dried thyme, salt, and pepper. The garlic should be finely minced so it doesn’t burn. If your garlic is in large chunks, it might char and taste bitter. Whisk until well combined.
Step 5: Oil and Season
Using a spoon or pastry brush, generously drizzle or brush the garlic herb oil over each smashed potato. Make sure to get into the cracks and crevices. You want every surface coated. Don’t be shy with the oil—that’s where the crispiness comes from. If you’re adding red pepper flakes or cheese now, sprinkle it on.
Step 6: Roast
Place the baking sheet in the preheated oven. Roast for 20-25 minutes. You’re looking for golden brown edges and a crispy texture. Halfway through (around the 10-minute mark), check on them. If the garlic looks like it’s browning too fast, rotate the pan or lower the heat slightly. Burnt garlic is bitter, and we don’t want that. The potatoes are done when they’re crispy to the touch and golden.
Step 7: Finish and Serve
Remove from the oven and immediately sprinkle with fresh chopped parsley and a pinch of flaky sea salt. The residual heat will wilt the parsley just enough to release its aroma. Serve hot. These are best eaten right out of the oven, but they hold up well for about 30 minutes.
Total Time: About 45 minutes (20 minutes active, 25 minutes hands-off)
Expert Tips & Tricks
Here’s everything I’ve learned from making this dozens of times. These tips will save you from my mistakes and guarantee restaurant-quality results.
Don’t Skip the Drying Step
This is the #1 mistake people make. After boiling, the potatoes are full of steam and water. If you smash them while they’re wet, they’ll steam in the oven instead of roast. Let them sit in the colander for 5-10 minutes after draining. You can even pat them dry with a towel. Dry potatoes crisp up. Wet potatoes get soggy.
Finely Mince the Garlic
I can’t stress this enough. Large chunks of garlic will burn in 20 minutes at 400°F. Finely minced garlic disperses the flavor and cooks at the same rate as the potato. If you’re worried about burning, you can blanch the garlic in the hot oil for 30 seconds before brushing it on, but finely mincing is usually enough.
Use Enough Oil
I know, it feels like a lot. But potatoes are like sponges. They absorb the oil, and the remaining oil fries the surface. If you skimp on oil, you get boiled potatoes with garlic on top. If you use enough, you get crispy, fried potatoes. Trust the process.
Don’t Crowd the Pan
Give the potatoes space. If they’re touching too much, they’ll steam each other. Use two baking sheets if needed. Air circulation is key for crispiness.
The Fork vs. Glass Debate
I prefer the fork. It creates jagged edges that get extra crispy. The glass makes a smooth surface that’s nice but less textured. Try both and see what you like.
Common Mistakes
- Mistake: Burnt Garlic — Fix: Use finer mince, or lower the oven temp to 375°F if your oven runs hot.
- Mistake: Soggy Potatoes — Fix: You didn’t dry them enough after boiling, or you didn’t use enough oil. Also, make sure your oven is fully preheated.
- Mistake: Potatoes Breaking — Fix: They were overcooked or too cold. Cook until just tender, and let them cool slightly before smashing.
Variations & Substitutions
Once you’ve nailed the basic version, here’s how you can mix it up. I’ve tried all of these, and they all work.
Loaded Potato Style
Add crumbled bacon and shredded cheddar cheese during the last 5 minutes of roasting. This is great for game day or casual dinners. My kids love this version.
Lemon Herb
Skip the oregano and thyme. Use fresh lemon zest and chopped dill. Add the dill after roasting. This is lighter and perfect for spring or summer meals.
Parmesan Crust
Mix ¼ cup grated Parmesan with the garlic oil before brushing. It creates a savory, cheesy crust. Add extra Parmesan on top after roasting.
Spicy Kick
Add 1 teaspoon smoked paprika and ½ teaspoon cayenne pepper to the oil mix. Top with chopped cilantro instead of parsley.
Dietary Modifications
- Gluten-Free — This recipe is naturally gluten-free. Just check your herb blends for hidden additives.
- Dairy-Free — Skip the cheese. The potatoes are naturally dairy-free.
- Vegan — Use olive oil instead of butter (if using) and skip cheese. Naturally vegan.
- Keto/Low-Carb — Potatoes are high in carbs, so this isn’t keto-friendly. Swap for cauliflower florets for a low-carb version (roast at same temp, but cook 10 minutes longer).
Serving & Storage
How to Serve: I usually serve these straight from the baking sheet at the dinner table. They look rustic and stay warm. They pair perfectly with slow cooker sloppy joe sliders for a fun, finger-food meal, or with grilled meats and salads for a more traditional dinner.
Side Dishes: Simple green salad, roasted broccoli, or grilled chicken. These potatoes are flavorful enough to stand alone but complement almost anything.
Reheating: The best way to reheat leftovers is in an air fryer or toaster oven at 375°F for 3-5 minutes. This restores the crispiness. Microwave reheating makes them soft and chewy, which I don’t recommend. If you must microwave, do it in short bursts and follow up with a quick toast in a dry skillet.
Storage: Store leftovers in an airtight container in the fridge for up to 3 days. They do not freeze well. The texture changes upon thawing, becoming mushy. Make them fresh or store in the fridge.
Nutrition Information
I’m not a nutritionist, but here’s the breakdown if you’re tracking. Note that this is an estimate based on standard ingredients.
| Per Serving (approx. 1/6 of recipe) | Amount |
|---|---|
| Calories | 180 |
| Protein | 3g |
| Carbs | 24g |
| Fiber | 2g |
| Fat | 8g |
| Sodium | 120mg |
My Take: These are comfort food. They have carbs and fat, but they’re also made with whole foods and vegetables. When I want to make it lighter, I use less oil and add more herbs. But usually? I just enjoy a reasonable portion and appreciate the joy of good food.
Final Thoughts
So that’s my recipe for Crispy Garlic Herb Smashed Red Potatoes! I’ve talked your ear off, but when you make a dish this often, you have a lot to say about it. This has saved weeknight dinners more times than I can count. It’s my answer to “what’s for dinner” when I’m tired, don’t want takeout, and still want something that tastes really good. My kids are happy, my husband’s happy, and I’m happy because I’m not stressed about cooking.
Make it yours! Try different herbs, add cheese, or go spicy. The best recipes are the ones you adapt to your family’s tastes. If you make this, drop a comment and let me know what you think! I love hearing how recipes turn out in your kitchen. And if something doesn’t work, tell me that too—I’m here to help troubleshoot.
Happy cooking! And I hope your kitchen smells half as good as mine does right now.
Frequently Asked Questions
Can I use russet potatoes instead of red potatoes?
You can, but the texture will be different. Russets are starchy and fluffy, so they might break apart more easily when you smash them. Red potatoes are waxy and hold their shape better, giving you that nice crisp edge without falling apart. If you use russets, be extra gentle when smashing and don’t overcook them.
Why did my garlic burn?
Garlic burns quickly, especially when minced fine and exposed to high heat. To prevent this, make sure your garlic is very finely minced so it disperses. You can also lower the oven temperature to 375°F if your oven runs hot. Another trick is to mix the garlic with the oil and let it sit for 10 minutes before roasting—this helps mellow the flavor and reduces burning risk.
Can I make these ahead of time?
You can boil and smash the potatoes ahead of time, but don’t add the oil until you’re ready to roast. If you add the oil and store them, they’ll get soggy. So, prep the potatoes, store them in the fridge in a single layer, and then add the oil and roast when you’re ready to eat.
How do I reheat leftovers?
Air fryer or toaster oven is best. Heat at 375°F for 3-5 minutes to restore crispiness. Microwave reheating makes them soft, so avoid it if you care about texture. A quick toss in a hot skillet with a tiny bit of oil also works well.
Can I use fresh herbs instead of dried?
Yes, but add them after roasting. Fresh herbs burn in the oven. I recommend using dried oregano and thyme for the roasting step (they crisp up nicely) and adding fresh parsley or basil at the end for freshness and color.
Do I need to peel the potatoes?
No! The skins add texture and nutrients. Just wash them thoroughly. The skins get crispy in the oven, which is part of the appeal. If you really prefer peeled potatoes, you can peel them, but I don’t recommend it.
Can I freeze smashed potatoes?
I don’t recommend it. The high water content in potatoes changes texture when frozen and thawed. They become mushy and lose their crispiness. It’s best to make them fresh.
Pin This Recipe!
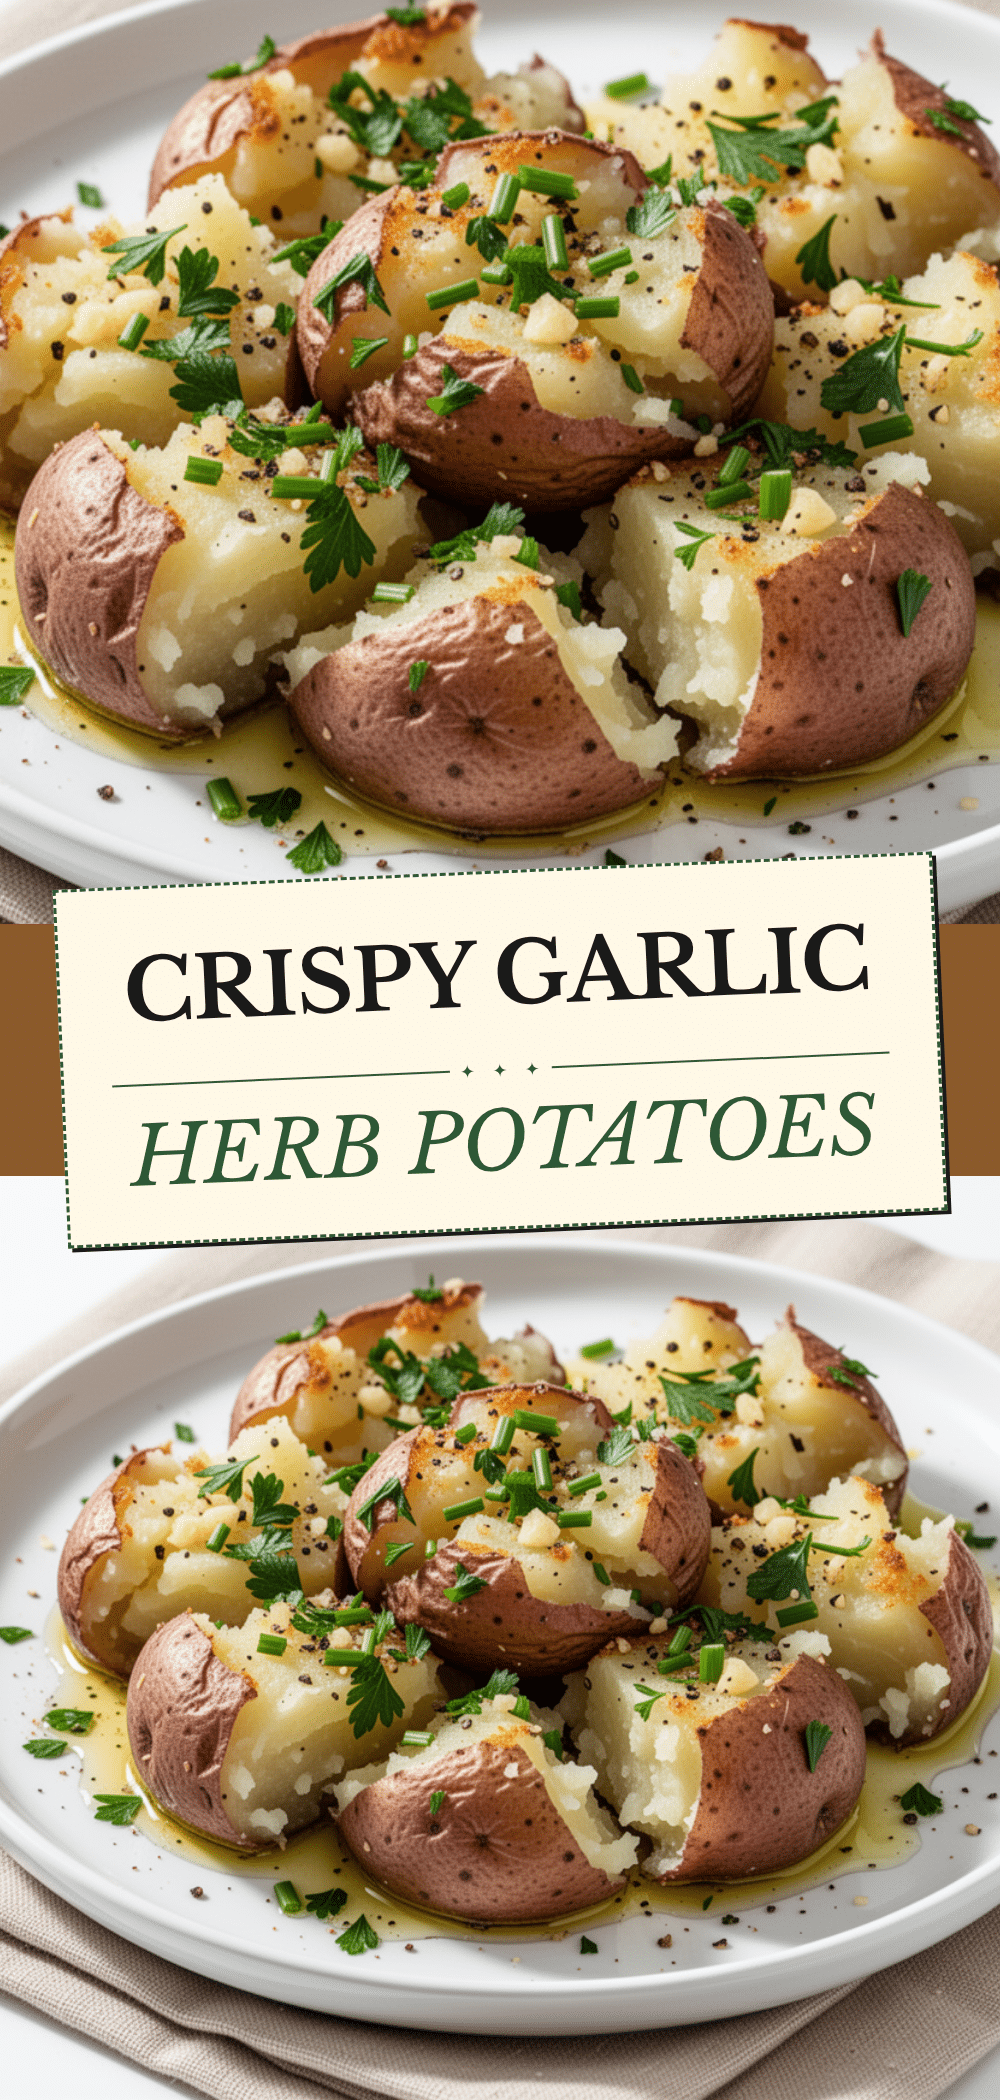

Crispy Garlic Herb Smashed Red Potatoes
- Total Time: 45 minutes
- Yield: 6 servings 1x
Description
These crispy garlic herb smashed red potatoes feature a crunchy, golden exterior and fluffy interior. Made with simple pantry ingredients, this easy side dish is perfect for weeknight dinners or entertaining.
Ingredients
- 2 pounds red potatoes, washed and halved if large
- Water (enough to cover for boiling)
- 1 tablespoon salt (for boiling water)
- 1/4 cup extra virgin olive oil
- 6–8 cloves garlic, finely minced
- 1 teaspoon dried oregano
- 1/2 teaspoon dried thyme
- Salt and black pepper to taste
- 2 tablespoons fresh parsley, chopped
- Flaky sea salt (optional, for finishing)
Instructions
- Preheat oven to 400°F (200°C). Line a large baking sheet with parchment paper.
- Bring a large pot of salted water to a boil. Add potatoes and cook for 15-20 minutes until fork-tender.
- Drain potatoes and let them sit in a colander for 5 minutes to steam off excess moisture. Pat dry if necessary.
- Arrange warm potatoes on the prepared baking sheet. Gently press each potato flat with the bottom of a heavy glass or a fork until about 1/2 inch thick.
- In a small bowl, whisk together olive oil, minced garlic, dried oregano, dried thyme, salt, and pepper.
- Generously drizzle or brush the garlic herb oil mixture over each smashed potato, ensuring all surfaces are coated.
- Roast for 20-25 minutes until edges are golden brown and crispy. Rotate pan halfway through if needed to prevent burning.
- Remove from oven and immediately sprinkle with fresh chopped parsley and flaky sea salt.
- Serve hot.
Notes
Do not skip the drying step after boiling; wet potatoes will steam instead of crisp. Use finely minced garlic to prevent burning. Red potatoes are preferred for their waxy texture which holds shape better than russets. For leftovers, reheat in an air fryer or toaster oven to restore crispiness.
- Prep Time: 20 minutes
- Cook Time: 25 minutes
- Category: Side Dish
- Cuisine: American
Nutrition
- Serving Size: Approximately 1/6 of
- Calories: 180
- Sugar: 1
- Sodium: 120
- Fat: 8
- Saturated Fat: 1
- Carbohydrates: 24
- Fiber: 2
- Protein: 3
Keywords: smashed potatoes, red potatoes, garlic potatoes, crispy potatoes, side dish, vegetarian, gluten-free, easy dinner, oven roasted potatoes


