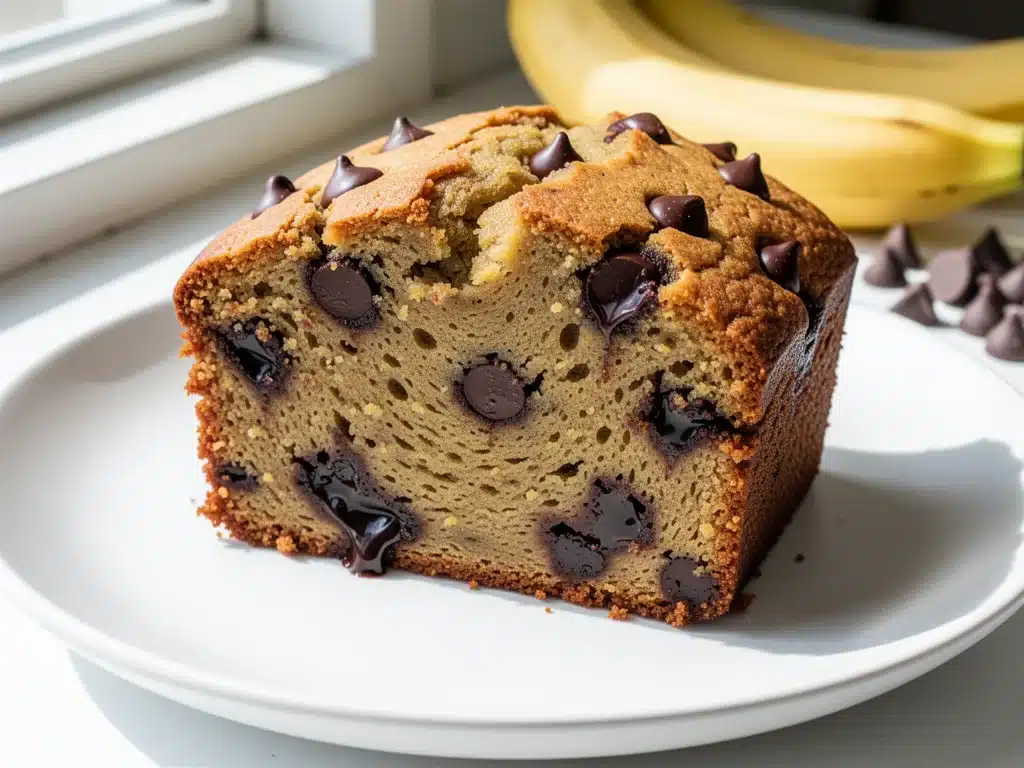
I have a confession to make: I used to think dairy-free banana bread was a sad compromise. You know the kind—the dense, dry bricks that taste like they were baked in a microwave and served with a side of regret. I spent years buying those sad loaves at the grocery store, convinced that if I wanted something moist, rich, and actually delicious, I needed butter, milk, and maybe a little heavy cream.
Then, last summer, I was stuck in a house with a friend who had a severe dairy allergy. I was trying to bake her something special for her birthday because she’d been craving banana bread all week, but I didn’t have any dairy substitutes in the house. I had three overripe bananas, a bag of chocolate chips, and a bottle of olive oil. I threw it all into a bowl, mixed it up, and prayed.
When I pulled it out of the oven, the kitchen smelled like a bakery. When I took a bite, I was shocked. It wasn’t just “good for dairy-free.” It was better than the standard version. The olive oil made it incredibly moist, the bananas did all the heavy lifting for sweetness and texture, and the chocolate chips melted into gooey pockets of joy. My friend took one bite and whispered, “This is the one. I’m never eating regular banana bread again.”
That was three years ago. Since then, I’ve made this dairy-free chocolate chip banana bread you’ll make on repeat at least fifty times. I’ve tested it with coconut oil, I’ve tested it with applesauce (though I still prefer oil), and I’ve tweaked the ratios until it was perfect. It’s now the only banana bread recipe I keep in my rotation. It’s stupidly simple, requires only one bowl, and feeds a crowd without making you feel like you’re missing out on anything. If you’ve been avoiding dairy-free baking because you think it’s complicated or dry, this is your wake-up call.
Why You’ll Love This Recipe
There are about ten reasons I keep coming back to this loaf, but let’s be honest about the ones that actually matter for your weeknight life. This isn’t just a recipe; it’s a solution to the “what do I bake for the friend who can’t have dairy?” problem. Here is why this dairy-free chocolate chip banana bread you’ll make on repeat wins every single time:
One Bowl Magic — Seriously. One bowl. One spoon. You don’t need a stand mixer, you don’t need to soften butter, and you don’t need to worry about dirty dishes. I’ve made this while holding my toddler and trying not to spill flour on the counter. It just works. The simplicity is the biggest selling point.
Actually Moist (No Dryness Allowed) — The biggest fear with dairy-free baking is that it’ll be dry. It’s not. Using oil (olive or neutral) instead of butter keeps the crumb tender and moist for days. In fact, this bread tastes even better on day two, as the flavors meld together. It stays soft, never crumbly.
Pantry-Friendly Ingredients — You probably have everything you need right now. Bananas (the riper, the better), flour, sugar, oil, eggs, and chocolate chips. No weird specialty flours like almond or coconut flour that require a trip to a health food store. No xanthan gum. No flax eggs that take twenty minutes to gel. Just real food.
Gluten-Free Friendly (Optional) — While this recipe uses all-purpose flour, I’ve successfully swapped it for a 1:1 gluten-free flour blend without any texture loss. If you have a gluten-free friend coming over, you can make one batch of batter and split it. Everyone wins.
Sweet but Not Cloying — Some banana breads are so sweet you need a glass of water after one slice. This one strikes the perfect balance. The natural sweetness from the bananas shines through, and the dark chocolate chips add a rich, slightly bitter contrast that keeps it sophisticated.
This is my go-to when I need a quick win. It’s reliable, it’s inclusive, and it tastes incredible. No fancy techniques, just honest, delicious food that makes everyone happy.
Ingredients You’ll Need
Here’s the best part: you probably have most of this already. I’m particular about three ingredients here, and I’ll tell you exactly why, but the rest is straightforward. This isn’t a chemistry experiment; it’s a bake.
Ripe Bananas (3 large / about 1 ½ cups mashed) — This is the most important ingredient. They need to be brown, almost black, on the outside. If they’re yellow, they won’t be sweet enough. I keep a bag of bananas in my fruit bowl and wait until they look like they’re about to give up on life. That’s when I know they’re ready. The riper they are, the more intense the banana flavor.
Neutral Oil or Olive Oil (½ cup / 120ml) — I use a mix of both. Olive oil gives it a subtle, fruity depth that pairs beautifully with chocolate. If you hate the taste of olive oil, use avocado oil or canola oil. Do not use butter. Butter solidifies when it cools, which can make banana bread dense. Oil stays liquid, keeping the bread soft. Trust me on this.
Granulated Sugar (½ cup / 100g) — Some people use brown sugar, but I prefer white for this specific recipe. It keeps the crumb lighter. If you want a deeper, molasses flavor, you can use half brown and half white, but don’t go all brown sugar or it’ll be too heavy.
Eggs (2 large) — These bind everything together. If you need to make this vegan, you can use two flax eggs (2 tbsp ground flax + 6 tbsp water), but the texture will be slightly denser. For this dairy-free version, regular eggs are standard and work perfectly.
Vanilla Extract (1 teaspoon) — Pure vanilla, not imitation. It enhances the banana flavor without overpowering it. I usually just eyeball it, but a teaspoon is the sweet spot.
All-Purpose Flour (1 ½ cups / 190g) — Standard stuff. If you’re using gluten-free flour, make sure it’s a blend that includes xanthan gum, or add ½ teaspoon yourself. I use Gold Medal flour because it’s consistent and cheap.
Baking Soda (1 teaspoon) — This is what makes it rise. Make sure it’s not old. If your baking soda is more than six months old, it might not have enough lift. Test it by dropping a little in vinegar—it should fizz like crazy.
Salt (½ teaspoon) — Crucial. Salt balances the sugar and enhances the chocolate. Don’t skip it. I use kosher salt, so if you use table salt, reduce to ¼ teaspoon.
Dark Chocolate Chips (1 cup / 170g) — I use semi-sweet or dark chocolate chips. Milk chocolate works too, but it’s sweeter. I like the contrast of the dark chocolate against the sweet banana. If you’re allergic to dairy, check the label—many dark chocolate chips are naturally dairy-free, but some contain milk fat. Look for the “dairy-free” label to be safe.
Optional: Walnuts or Pecans (½ cup / 60g) — I usually skip nuts because my kids hate them, but if you like crunch, toss them in. They add a nice texture contrast.
Equipment Needed
You don’t need fancy equipment for this. Here’s what I actually use.
Large Mixing Bowl — I use a 4-quart stainless steel bowl. It needs to be big enough to mash the bananas and mix the batter without splattering. If it’s too small, you’ll end up with batter on your counter.
Fork or Potato Masher — For mashing the bananas. A fork is easier to clean, but a masher works faster if you have very ripe bananas. I usually just mash with a fork because I don’t want to pull out the masher.
Wooden Spoon or Silicone Spatula — For mixing. You want to mix until just combined. Overmixing develops gluten and makes the bread tough. A sturdy spoon works great.
9×5 Inch Loaf Pan — Standard size. I use a metal pan because it conducts heat well. Glass pans take longer to bake and can result in a soggy bottom. If you have a glass pan, reduce the oven temperature by 25 degrees.
Parchment Paper — I line the pan with parchment paper. This is non-negotiable for me. It makes cleanup a breeze and ensures the bread doesn’t stick. I leave the sides hanging over the edge like handles to lift the loaf out easily.
Cooling Rack — For cooling the bread. You can cool it in the pan, but transferring it to a rack prevents the bottom from getting soggy from trapped steam.
How to Make It: Step-by-Step
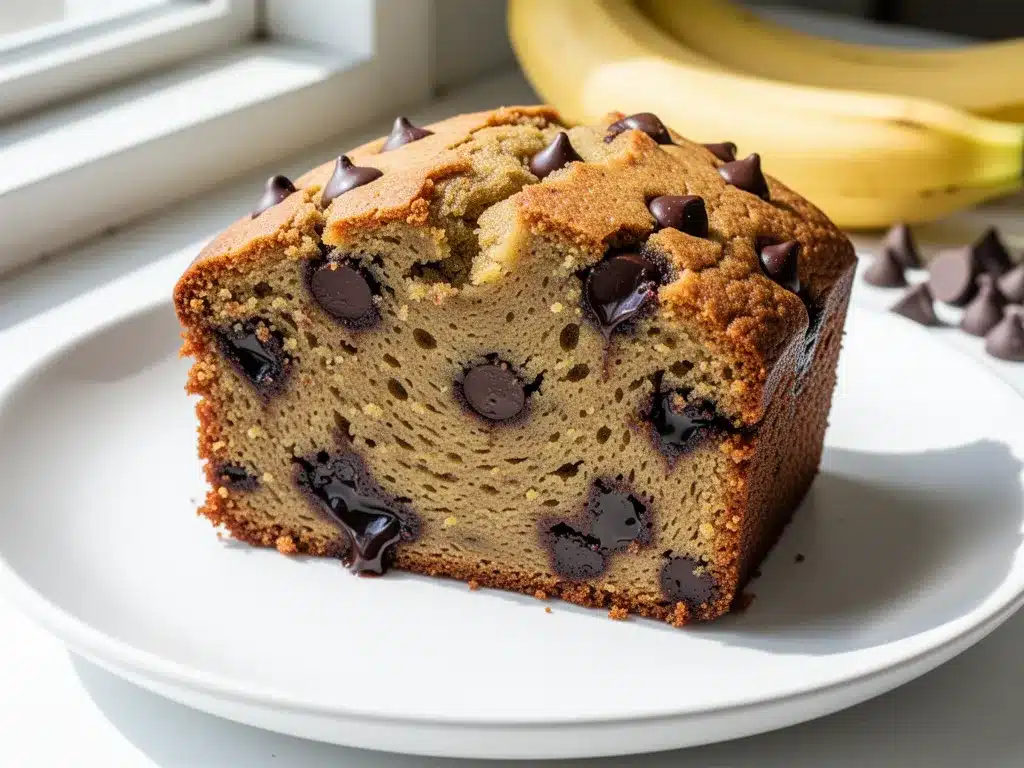
Alright, let’s make this! I’m walking you through exactly how I do it, including the little tricks I’ve picked up.
Step 1: Prep Your Pan and Oven (5 minutes)
Preheat your oven to 350°F (175°C). Line your 9×5 loaf pan with parchment paper. I like to leave a little overhang on the long sides so I can lift the bread out later. Spray the parchment with a little non-stick spray just to be safe. It’s not strictly necessary, but it gives me peace of mind.
Step 2: Mash the Bananas (2 minutes)
Peel your ripe bananas and put them in your large mixing bowl. Mash them with a fork until they’re smooth. I don’t mind a few small lumps, but try to get it mostly liquid. The more mashed, the easier it is to mix. If your bananas are huge, you might only need two. Aim for about 1 ½ cups of mashed banana.
Step 3: Mix Wet Ingredients (2 minutes)
Add the oil, sugar, eggs, and vanilla extract to the mashed bananas. Whisk or stir vigorously with your fork or spoon. You want the sugar to dissolve a bit into the oil and eggs. This mixture should look glossy and smooth. Scrape down the sides of the bowl to make sure everything is incorporated.
Step 4: Add Dry Ingredients (2 minutes)
Add the flour, baking soda, and salt to the wet mixture. Switch to your wooden spoon or spatula. Stir gently until the flour disappears. Stop as soon as you see no more white streaks. Do not overmix. The batter will be thick and slightly lumpy. That’s good. Overmixing is the enemy of tender banana bread.
Step 5: Fold in Chocolate Chips (1 minute)
Gently fold in your chocolate chips. I like to save a small handful to sprinkle on top of the loaf before baking—it looks beautiful and gives you a few extra chips in every slice.
Step 6: Bake (50-60 minutes)
Pour the batter into your prepared loaf pan. Smooth the top with your spoon. Bake for 50-60 minutes. At 50 minutes, check it. Insert a toothpick into the center. If it comes out clean or with just a few moist crumbs, it’s done. If it comes out with wet batter, bake for another 5-10 minutes. Pro tip: If the top is browning too quickly, loosely tent a piece of aluminum foil over the top for the last 15 minutes of baking.
Step 7: Cool (20 minutes)
Let the bread cool in the pan for 10 minutes, then lift it out using the parchment paper handles and transfer it to a cooling rack. Let it cool completely before slicing. I know this is hard, but slicing it hot makes it gummy. Wait 20 minutes minimum, but an hour is better.
Expert Tips & Tricks
Here’s everything I’ve learned from making this dozens of times. These tips will save you from my mistakes.
The Banana Rule
The riper, the better. I mean very ripe. Brown spots are fine, but black skins are ideal. If your bananas are still yellow, put them on the counter for a few days, or speed it up by baking them on a sheet pan at 300°F for 15 minutes until black. It sounds weird, but it works.
Don’t Overmix
I cannot stress this enough. Once you add the flour, mix until just combined. Lumpy batter is fine. Smooth batter means you’ve overworked the gluten, and you’ll get a dense, rubbery loaf. Think “fold” not “stir.”
Check Early
Ovens vary. My oven runs hot, so I check at 45 minutes. Other people’s ovens run cool, so it might take 65 minutes. Use the toothpick test, not just the timer. If the toothpick is clean, it’s done.
Storage is Key
Because this has no dairy preservatives, it stays fresh best when stored properly. Wrap the cooled loaf tightly in plastic wrap, then put it in an airtight container or a freezer bag. It stays good at room temperature for 3 days, in the fridge for 5 days, or in the freezer for 3 months.
Freezing for Later
This bread freezes beautifully. I often bake two loaves at once—one to eat now, one to freeze. Wrap it tightly in plastic and foil. Thaw it at room temperature when you need a quick snack.
Variations & Substitutions
Once you’ve nailed the basic version, here’s how you can mix it up. I’ve tried all of these.
Vegan Version
Swap the eggs for two flax eggs (2 tbsp ground flaxseed meal + 6 tbsp water, let sit for 5 minutes). Use maple syrup instead of sugar if you want it refined-sugar-free. The texture will be slightly denser, but still delicious.
Gluten-Free Version
Use a 1:1 gluten-free flour blend. Make sure it contains xanthan gum, or add ½ teaspoon. The baking time is usually the same. I’ve used Bob’s Red Mill and King Arthur, and both work well.
Add-Ins Galore
Chocolate chips are classic, but you can add chopped walnuts, pecans, or dried cranberries. I also love adding a swirl of peanut butter before baking. Just drop spoonfuls of peanut butter on top and swirl with a knife.
Spiced Version
Add 1 teaspoon of cinnamon and ¼ teaspoon of nutmeg to the dry ingredients. It adds a warm, cozy flavor that pairs well with the chocolate.
Lower Sugar
Reduce the sugar to ⅓ cup. The bananas are still sweet enough, especially if they’re very ripe. You can also use coconut sugar, but it will make the bread darker.
Serving & Storage
How to Serve:
I usually serve this straight from the cooling rack, warm or at room temperature. It’s perfect for breakfast with a cup of coffee, or as a dessert with a scoop of dairy-free ice cream. I also love it toasted with a little dairy-free butter for a crispy edge.
Side Dishes:
This bread stands alone, but if you want sides, try a simple fruit salad, a yogurt parfait (dairy-free yogurt, of course), or a green smoothie.
Storage Instructions:
Room Temperature: Store in an airtight container or wrapped in plastic wrap for up to 3 days. It actually gets moister after a day.
Refrigerator: Store in an airtight container for up to 5 days. The bread will firm up in the fridge, so let it come to room temperature before eating for the best texture.
Freezer: Wrap tightly in plastic wrap and then in aluminum foil or place in a freezer bag. Freeze for up to 3 months. Thaw at room temperature.
Reheating:
If you want warm bread, microwave a slice for 15-20 seconds. It’ll be soft and gooey. You can also toast slices in a toaster oven for a crispy exterior.
Nutrition Information
I’m not a nutritionist, but here’s the breakdown if you’re tracking. This is per slice (assuming 10 slices).
Per Serving (based on 10 servings):
- Calories: 210
- Protein: 3g
- Carbs: 32g
- Fiber: 2g
- Sugar: 18g
- Fat: 8g
- Saturated Fat: 2g
- Cholesterol: 25mg
- Sodium: 180mg
What’s Good:
- Decent potassium from the bananas
- Energy from the carbs for a quick snack
- Plant-based (if you skip eggs)
What to Know:
- Higher in sugar from the bananas and chocolate chips
- Contains gluten (unless GF flour used)
- Contains eggs (unless veganized)
My Take:
Look, this is banana bread. It’s a treat. It’s not a health food, but it’s better than store-bought cake. I use it as a weekend breakfast or an afternoon snack. When I want to make it lighter, I reduce the chocolate chips and add more walnuts. But usually? I just eat a slice and enjoy it.
Final Thoughts
So that’s my go-to dairy-free chocolate chip banana bread! I’ve probably talked your ear off at this point, but when you make a recipe this often, you have a lot to say about it.
This has saved me so many times. It’s my answer to “what do I bring to the party?” or “what can I make for my allergic friend?” It’s reliable, delicious, and incredibly easy. My family loves it, my friends love it, and I love that I can make it without worrying about dairy.
Make it yours! Try different add-ins, swap in your favorite chocolate, or add some nuts. The best recipes are the ones you adapt to your tastes.
If you make this, drop a comment and let me know what you think! I love hearing how recipes turn out in your kitchen. And if something doesn’t work, tell me that too—I’m here to help troubleshoot.
Happy baking! And I hope your kitchen smells half as good as mine does right now.
Frequently Asked Questions
Can I use frozen bananas?
Absolutely. In fact, frozen bananas are often easier to mash because they break down so easily. Just thaw them completely, drain any excess liquid, and use them as directed. The flavor is the same, and it saves you from waiting for bananas to ripen.
Why did my banana bread turn out dry?
Usually, this means you overbaked it. Check it a few minutes before the timer goes off. Also, if your bananas weren’t ripe enough, they won’t have enough moisture. Use very ripe, brown bananas. If you’re using gluten-free flour, note that it can absorb more liquid, so you might need a touch more banana or oil.
Can I make this vegan?
Yes! Swap the eggs for two flax eggs (2 tbsp ground flaxseed meal + 6 tbsp water). Let it sit for 5 minutes until it’s gelatinous. Use dairy-free chocolate chips and maple syrup or coconut sugar instead of regular sugar. The texture will be slightly denser, but still tasty.
How do I store leftover banana bread?
Wrap it tightly in plastic wrap or store it in an airtight container at room temperature for up to 3 days. For longer storage, refrigerate for up to 5 days or freeze for up to 3 months. Always wrap it well to prevent it from drying out.
Can I use coconut oil instead of vegetable oil?
Yes, melted coconut oil works perfectly. Just make sure it’s melted and cooled slightly before adding. It adds a subtle coconut flavor that pairs well with the chocolate. If you don’t like coconut flavor, stick with neutral oil or olive oil.
Why is my bread sinking in the middle?
This usually happens if the oven temperature is too high, causing the bread to rise too fast and then collapse. Or, you might have opened the oven door too early, letting the heat escape. Try checking the bread a few minutes later than the recipe suggests, and avoid opening the oven door until at least 40 minutes have passed.
Can I make mini loaves?
Yes! Divide the batter among 3-4 mini loaf pans. Bake for 25-35 minutes, checking with a toothpick. They bake faster, so keep an eye on them. They’re perfect for gifting or portion control.
Pin This Recipe!
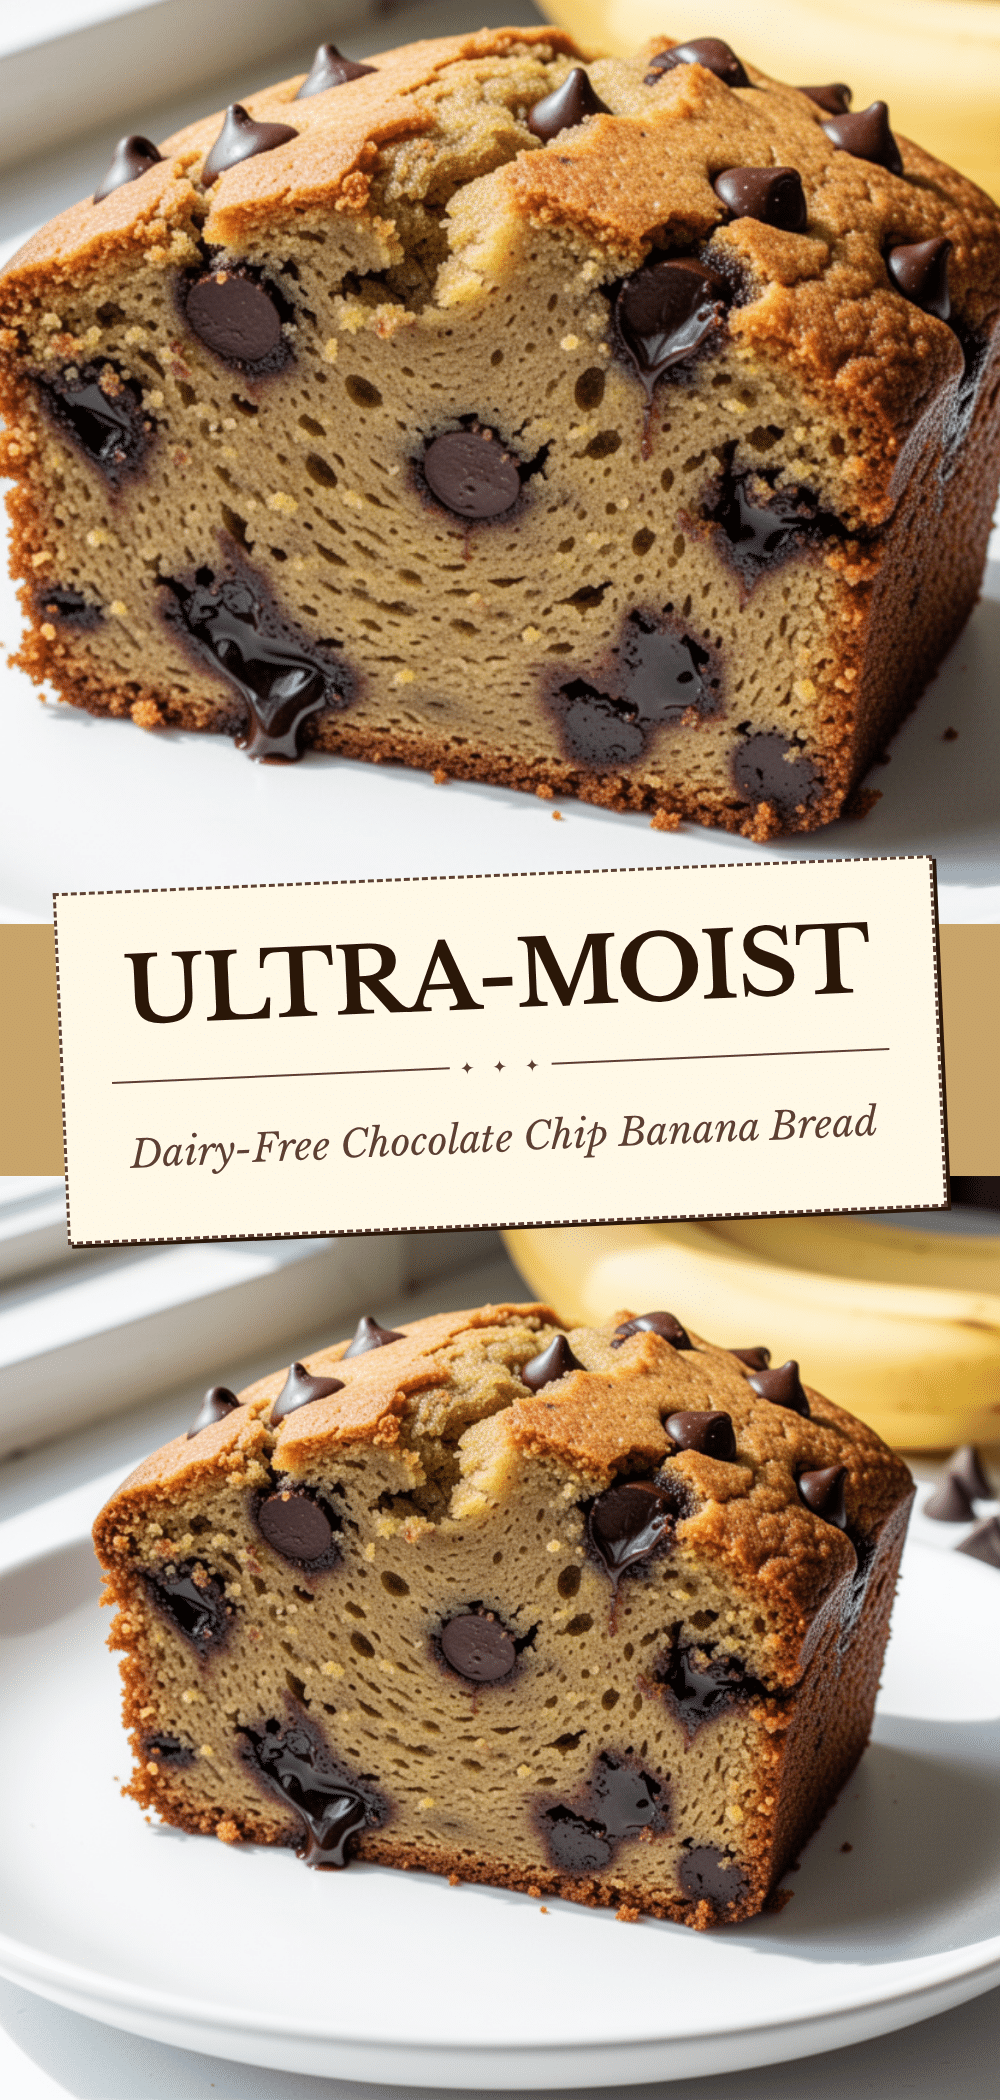
Dairy-Free Chocolate Chip Banana Bread: Best 1-Bowl Recipe
- Total Time: 1 hour 10 minutes
- Yield: 10 servings 1x
Description
A moist, rich, and simple dairy-free chocolate chip banana bread made in just one bowl. Using olive oil and ripe bananas, this loaf is tender, flavorful, and perfect for those with dairy allergies or anyone seeking a delicious treat.
Ingredients
- 3 large ripe bananas (about 1 ½ cups mashed)
- ½ cup neutral oil or olive oil (120ml)
- ½ cup granulated sugar (100g)
- 2 large eggs
- 1 teaspoon vanilla extract
- 1 ½ cups all-purpose flour (190g)
- 1 teaspoon baking soda
- ½ teaspoon salt
- 1 cup dark chocolate chips (170g)
- Optional: ½ cup walnuts or pecans (60g)
Instructions
- Preheat oven to 350°F (175°C). Line a 9×5 inch loaf pan with parchment paper, leaving an overhang on the long sides for easy removal.
- In a large mixing bowl, mash the ripe bananas with a fork until mostly smooth.
- Add the oil, sugar, eggs, and vanilla extract to the mashed bananas. Whisk or stir vigorously until the mixture is glossy and smooth.
- Add the flour, baking soda, and salt to the wet ingredients. Stir gently with a wooden spoon or spatula until just combined and no white streaks remain. Do not overmix.
- Gently fold in the chocolate chips (and nuts if using).
- Pour the batter into the prepared loaf pan and smooth the top.
- Bake for 50-60 minutes. Check at 50 minutes by inserting a toothpick into the center; it should come out clean or with moist crumbs. If the top browns too quickly, tent with foil for the last 15 minutes.
- Let the bread cool in the pan for 10 minutes, then lift it out using the parchment paper handles and transfer to a cooling rack. Cool completely before slicing.
Notes
Use very ripe, brown bananas for maximum sweetness and moisture. Do not overmix the batter once flour is added to avoid a dense texture. This bread can be made vegan by swapping eggs for flax eggs and using maple syrup instead of sugar. It can also be made gluten-free using a 1:1 gluten-free flour blend.
- Prep Time: 10 minutes
- Cook Time: 50-60 minutes
- Category: Dessert
- Cuisine: American
Nutrition
- Serving Size: 1 slice
- Calories: 210
- Sugar: 18
- Sodium: 180
- Fat: 8
- Saturated Fat: 2
- Carbohydrates: 32
- Fiber: 2
- Protein: 3
Keywords: dairy-free, banana bread, chocolate chip, one bowl recipe, gluten-free option, vegan option, easy baking, moist banana bread


