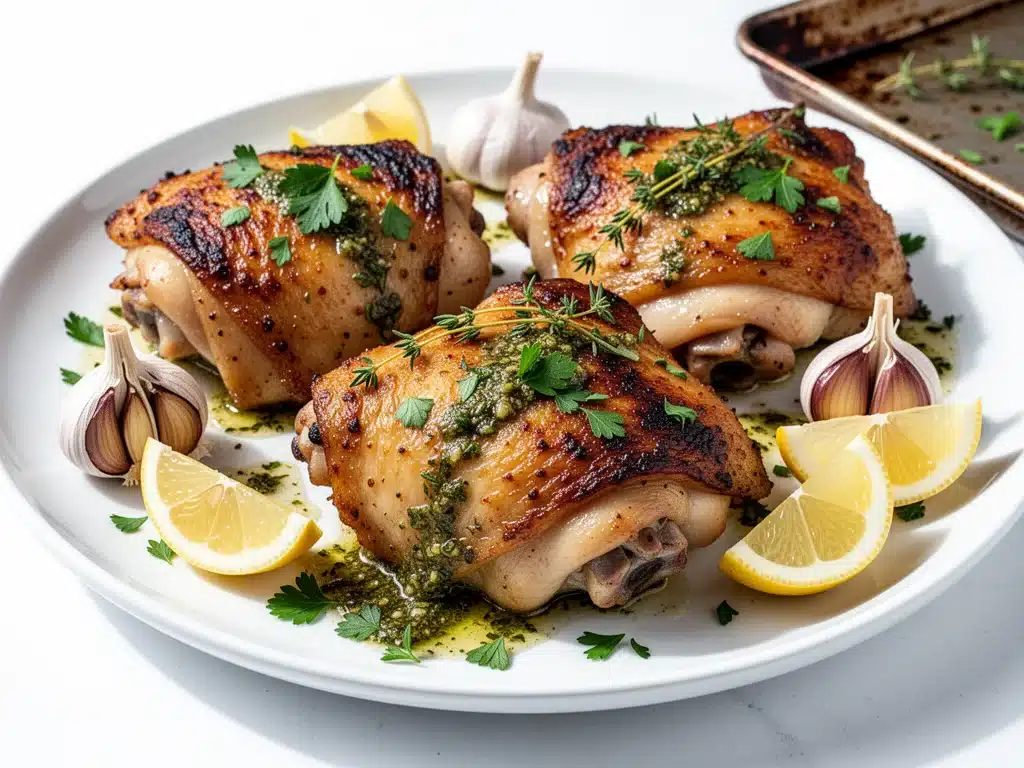
For years, I was that person who bought chicken breasts. You know the type. The lean, the safe, the “I’m trying to be healthy” option. I treated chicken thighs like they were some sort of culinary mistake, worried they were too fatty, too messy, or just… wrong. Then one rainy Tuesday in November, I ran out of breasts. The freezer was empty. The grocery store was closed. All I had was a package of bone-in, skin-on chicken thighs.
I tossed them in the oven with some salt, pepper, and a sad-looking stick of butter, expecting a mediocre dinner. What I got was the crispiest, most flavorful chicken I had ever tasted. The skin rendered down into shatteringly crisp gold. The meat stayed juicy enough to cut with a spoon. And that garlic herb butter? It pooled in every nook and cranny, turning a simple roast into something that tasted like it came from a high-end bistro.
I made it again the next week. And the next. Now, Crispy Baked Chicken Thighs with Garlic Herb Butter is the backbone of our dinner rotation. It’s the recipe I pull out when I’m tired, when I need to impress in-laws, or when I just want dinner to taste amazing without standing over a hot stove for an hour. This isn’t just chicken; it’s comfort food with a serious crunch factor.
If you’ve been stuck in a chicken breast rut, or if you’ve tried baking chicken before and ended up with dry, rubbery meat, this is your sign to switch lanes. The difference between boring chicken and this garlic herb butter version is all in the technique—and the butter. Trust me, once you try this method, you’ll wonder why you ever settled for anything else.
Why You’ll Love This Garlic Herb Butter Chicken
There are a lot of chicken recipes out there, but this specific combination of crispy skin, juicy meat, and herby garlic butter hits a sweet spot that’s hard to beat. Here’s why this recipe has earned a permanent spot in my weekly meal plan:
- Zero Dry Chicken Ever Again — Chicken thighs have more fat and connective tissue than breasts, which means they stay moist even if you overcook them by a few minutes. I’ve accidentally left these in the oven while answering the door, and they were still perfect. That’s not true for breasts.
- The Skin is the Star — We’re not peeling it off. We’re rendering it until it’s like a delicate chip. This recipe uses a high heat start to get that shatter-crisp texture that you usually only get from frying.
- Garlic Herb Butter is Life-Changing — Plain baked chicken is fine. Baked chicken with a compound butter that melts into the meat as it rests? That’s dinner party level. The herbs (parsley, thyme, rosemary) cut through the richness and add fresh brightness.
- It’s Actually Hands-Off — After 10 minutes of prepping and putting it in the oven, you’re done. No flipping, no basting, no babysitting. You can clean the kitchen, help with homework, or actually relax while this cooks.
- Meal Prep Friendly — These reheat beautifully. I make a double batch on Sundays, and the leftovers are great for salads, sandwiches, or just reheating with a splash of broth to keep them moist.
- Gluten-Free and Keto Friendly — Naturally free of gluten and carbs, this fits easily into most dietary lifestyles without needing substitutions. Just check your butter and herbs for hidden additives.
Real talk: this is the easiest way to feel like a gourmet cook without the stress. It’s reliable, it’s delicious, and it makes your house smell incredible.
Ingredients You’ll Need
Good ingredients make good food. You don’t need anything fancy here, but quality matters, especially with the butter and herbs. Here’s what I use and why:
For the Chicken
Chicken thighs, bone-in, skin-on (3-4 pounds) — This is non-negotiable for the best texture. Boneless thighs work, but they cook too fast and don’t get that crispy skin. Skinless thighs? Skip it. The skin protects the meat and becomes the crispiest part. Look for thighs that are uniform in size so they cook evenly.
Vegetable oil or avocado oil (2 tablespoons) — We need a high smoke point oil to help render the fat and crisp the skin. Olive oil can burn at high temps, so stick to neutral oils. Avocado oil is my favorite because it’s healthy and handles heat well.
Sea salt and black pepper — Generous amounts. The skin needs salt to draw out moisture and crisp up. Don’t be shy here.
Garlic powder (1 teaspoon) — Adds a deeper, roasted garlic flavor that complements the fresh garlic in the butter.
For the Garlic Herb Butter
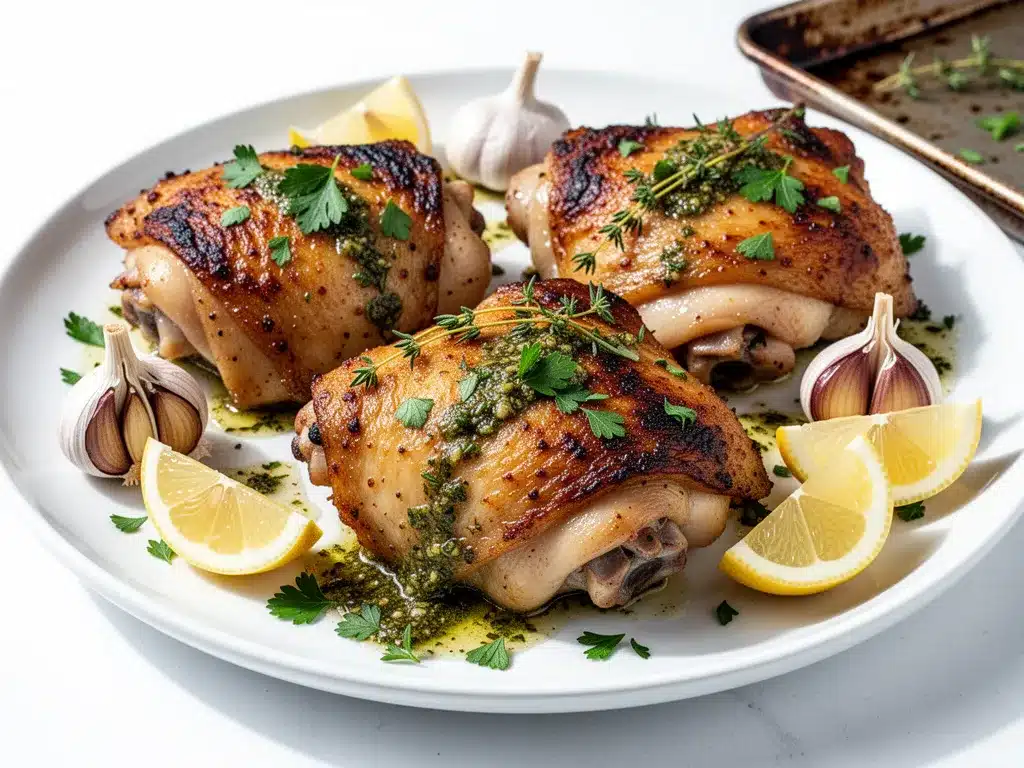
Unsalted butter (½ cup / 1 stick, softened) — Use good butter. If you’re buying cheap margarine or low-quality butter, it’ll taste like it. I use Kerrygold or local dairy butter. Softened is key—you need to be able to mix it easily.
Fresh garlic (4-5 cloves, minced) — Fresh is mandatory. Jarred garlic has a chemical taste that clashes with the delicate herbs. Mince it fine so it distributes evenly.
Fresh parsley (¼ cup, finely chopped) — Adds color and a fresh, grassy note. Flat-leaf (Italian) parsley is best; curly is too tough.
Fresh thyme (1 tablespoon, leaves stripped) — Earthy and subtle. If you only have dried thyme, use 1 teaspoon, but fresh is so much better.
Fresh rosemary (1 tablespoon, finely chopped) — Piney and strong. Don’t overdo it, or it’ll dominate. Finely chopping it helps it infuse into the butter.
Lemon zest (1 teaspoon) — Optional but recommended. It adds a bright acidity that cuts through the rich butter and chicken fat.
Red pepper flakes (½ teaspoon) — Just a pinch for warmth. You won’t taste the heat, just the complexity.
Equipment Needed
You don’t need a fancy kitchen for this. Here’s what I actually use:
Rimmed baking sheet — I use a half-sheet pan (18×13 inches). Make sure it has a rim to catch the rendered fat so it doesn’t burn in your oven. Line it with parchment paper for easy cleanup, or use a wire rack on the sheet for maximum airflow under the skin.
Wire rack (optional but recommended) — Placing the chicken on a rack allows air to circulate all around, making the bottom skin crispier. If you skip this, just flip the chicken halfway through.
Small mixing bowl — For the herb butter.
Fork or small spatula — To mash the butter and herbs together.
Sharp knife and cutting board — For chopping herbs and prepping garlic.
Measuring spoons — Standard stuff.
How to Make It: Step-by-Step
Alright, let’s get cooking. This is straightforward, but attention to detail makes the difference between good and great.
Step 1: Prep the Oven and Chicken (10 minutes)
Preheat your oven to 425°F (220°C). High heat is crucial for rendering the fat and crisping the skin. Pat the chicken thighs completely dry with paper towels. This is the most important step. If the skin is wet, it will steam instead of crisp. Be thorough. Season both sides generously with salt, pepper, and garlic powder.
Step 2: Make the Garlic Herb Butter
In a small bowl, combine the softened butter, minced garlic, chopped parsley, thyme, rosemary, lemon zest, and red pepper flakes. Mix until well combined. Taste it (yes, taste the raw butter) and add more salt if needed. It should smell amazing. If you’re making this ahead, you can scoop this onto parchment paper and roll it into a log, then freeze it. Slice off pats as needed.
Step 3: Arrange and Oil
Place the chicken thighs skin-side up on your prepared baking sheet (or wire rack). Drizzle the vegetable oil over the skin and rub it in gently. This helps the skin crisp up even more.
Step 4: The First Bake
Roast for 20 minutes. You’ll start to see the fat rendering and the skin turning golden. This is the foundation of the crispiness.
Step 5: Add the Butter
Remove the pan from the oven. Carefully place a generous dollop of the garlic herb butter on top of each chicken thigh. The residual heat will start to melt it, but it needs a bit more time to fully infuse.
Step 6: Finish Baking
Return to the oven and bake for another 15-20 minutes, or until the internal temperature reaches 165°F (74°C) at the thickest part, avoiding the bone. The skin should be deep golden brown and crispy.
Step 7: Rest and Serve
Remove from the oven and let the chicken rest for 5-10 minutes. This allows the juices to redistribute. As it rests, the remaining butter will melt into the meat, keeping it incredibly juicy. Serve with the pan juices spooned over the top.
Expert Tips & Tricks
Here’s everything I’ve learned from making this dozens of times. These tips will save you from my mistakes.
Dry Skin = Crispy Skin — I cannot stress this enough. Wet skin steams. Dry skin crisps. Use paper towels and be aggressive about drying the skin. If you have time, leave the uncovered chicken in the fridge for a few hours to air-dry before cooking. This is a pro move.
Don’t Crowd the Pan — Give the chicken space. If the pieces are touching, they’ll steam each other. Use two pans if necessary. Airflow is your friend.
Use a Meat Thermometer — Chicken thighs are forgiving, but they’re also easy to overcook if you guess. A quick-read thermometer takes the guesswork out. Pull them at 165°F. Carryover cooking will add a few degrees.
Softened Butter is Key — If your butter is cold, you’ll get chunks of hard butter in the herb mix. Softened butter blends seamlessly, ensuring every bite has that garlic herb flavor.
Save the Pan Juices — After resting the chicken, pour the pan drippings (minus the excess solidified fat) into a small saucepan. Add a splash of chicken broth or white wine, simmer for 2 minutes, and spoon it over the chicken. It’s liquid gold.
Variations & Substitutions
Once you’ve nailed the basic version, here’s how you can mix it up. I’ve tried all of these.
Lemon Pepper Version — Skip the herbs and add extra lemon zest and cracked black pepper. Simple and zesty.
Spicy Cajun — Add 1 tablespoon Cajun seasoning to the dry rub and use smoked paprika in the butter. Great with cornbread.
Asian-Inspired — Swap the herbs for minced ginger and scallions. Use soy sauce in the pan juices for a glaze. Serve with rice.
Mediterranean — Add oregano and basil to the butter. Serve with roasted potatoes and olives.
Gluten-Free/Keto — This recipe is naturally GF and Keto. Just ensure your spices and butter are certified if you have severe allergies.
Serving & Storage
How to Serve: — I usually serve this with roasted vegetables, mashed potatoes, or a simple green salad. The garlic herb butter makes everything taste better.
Refrigerator: — Store in an airtight container for up to 4 days. The skin might soften, but the flavor remains great.
Reheating: — Best method: Oven or toaster oven at 350°F for 10-15 minutes. This restores the crispiness. Microwave: It will get chewy. If you must, use low power and add a splash of water.
Freezing: — You can freeze cooked chicken, but the skin will lose its crispness. Freeze for up to 3 months. Thaw in the fridge and reheat in the oven.
Nutrition Information
I’m not a nutritionist, but here’s the breakdown if you’re tracking.
| Per Serving (1 thigh) | Amount |
|---|---|
| Calories | 380 |
| Protein | 28g |
| Carbs | 1g |
| Fat | 28g |
| Saturated Fat | 10g |
| Sodium | 320mg |
This is a high-protein, low-carb meal. The fat content comes from the chicken skin and butter, which is satiating and flavorful. It’s not “diet” food, but it’s nutrient-dense and satisfying.
Final Thoughts
So that’s my go-to crispy baked chicken thighs! I’ve probably talked your ear off at this point, but when you make a recipe this often, you have a lot to say about it. This has saved weeknight dinners more times than I can count. It’s my answer to “what’s for dinner” when I’m tired, don’t want takeout, and still want something that tastes really good. My kids are happy, my husband’s happy, and I’m happy because I’m not stressed about cooking.
Make it yours! Try different herbs, swap in your favorite spices, or add some veggies to the pan. The best recipes are the ones you adapt to your family’s tastes. If you make this, drop a comment and let me know what you think! I love hearing how recipes turn out in your kitchen.
Frequently Asked Questions
Can I use boneless, skinless chicken thighs?
You can, but the texture and flavor will be different. Boneless thighs cook faster (about 20-25 minutes total) and won’t get crispy skin. You can still use the garlic herb butter, but brush it on halfway through cooking to prevent burning. For the best results, stick with bone-in, skin-on.
Why isn’t my chicken skin crispy?
Usually, this is due to moisture. If the skin wasn’t patted dry, or if the chicken was crowded in the pan, it steams instead of roasts. Make sure your oven is fully preheated to 425°F, and don’t skip the step of drying the skin thoroughly.
Can I make the garlic herb butter ahead?
Yes! You can make it up to 3 days ahead and store it in the fridge. Or, roll it into a log and freeze it for up to 3 months. It’s a great time-saver for busy weeknights.
What’s the best side dish to serve with this?
I love roasted potatoes, garlic green beans, or a crisp arugula salad with lemon vinaigrette. The chicken is rich, so something acidic or crunchy balances it well.
How do I know when the chicken is done?
Use a meat thermometer. Insert it into the thickest part of the thigh, avoiding the bone. It should read 165°F (74°C). The juices should run clear, and the skin should be deeply golden.
Pin This Recipe!
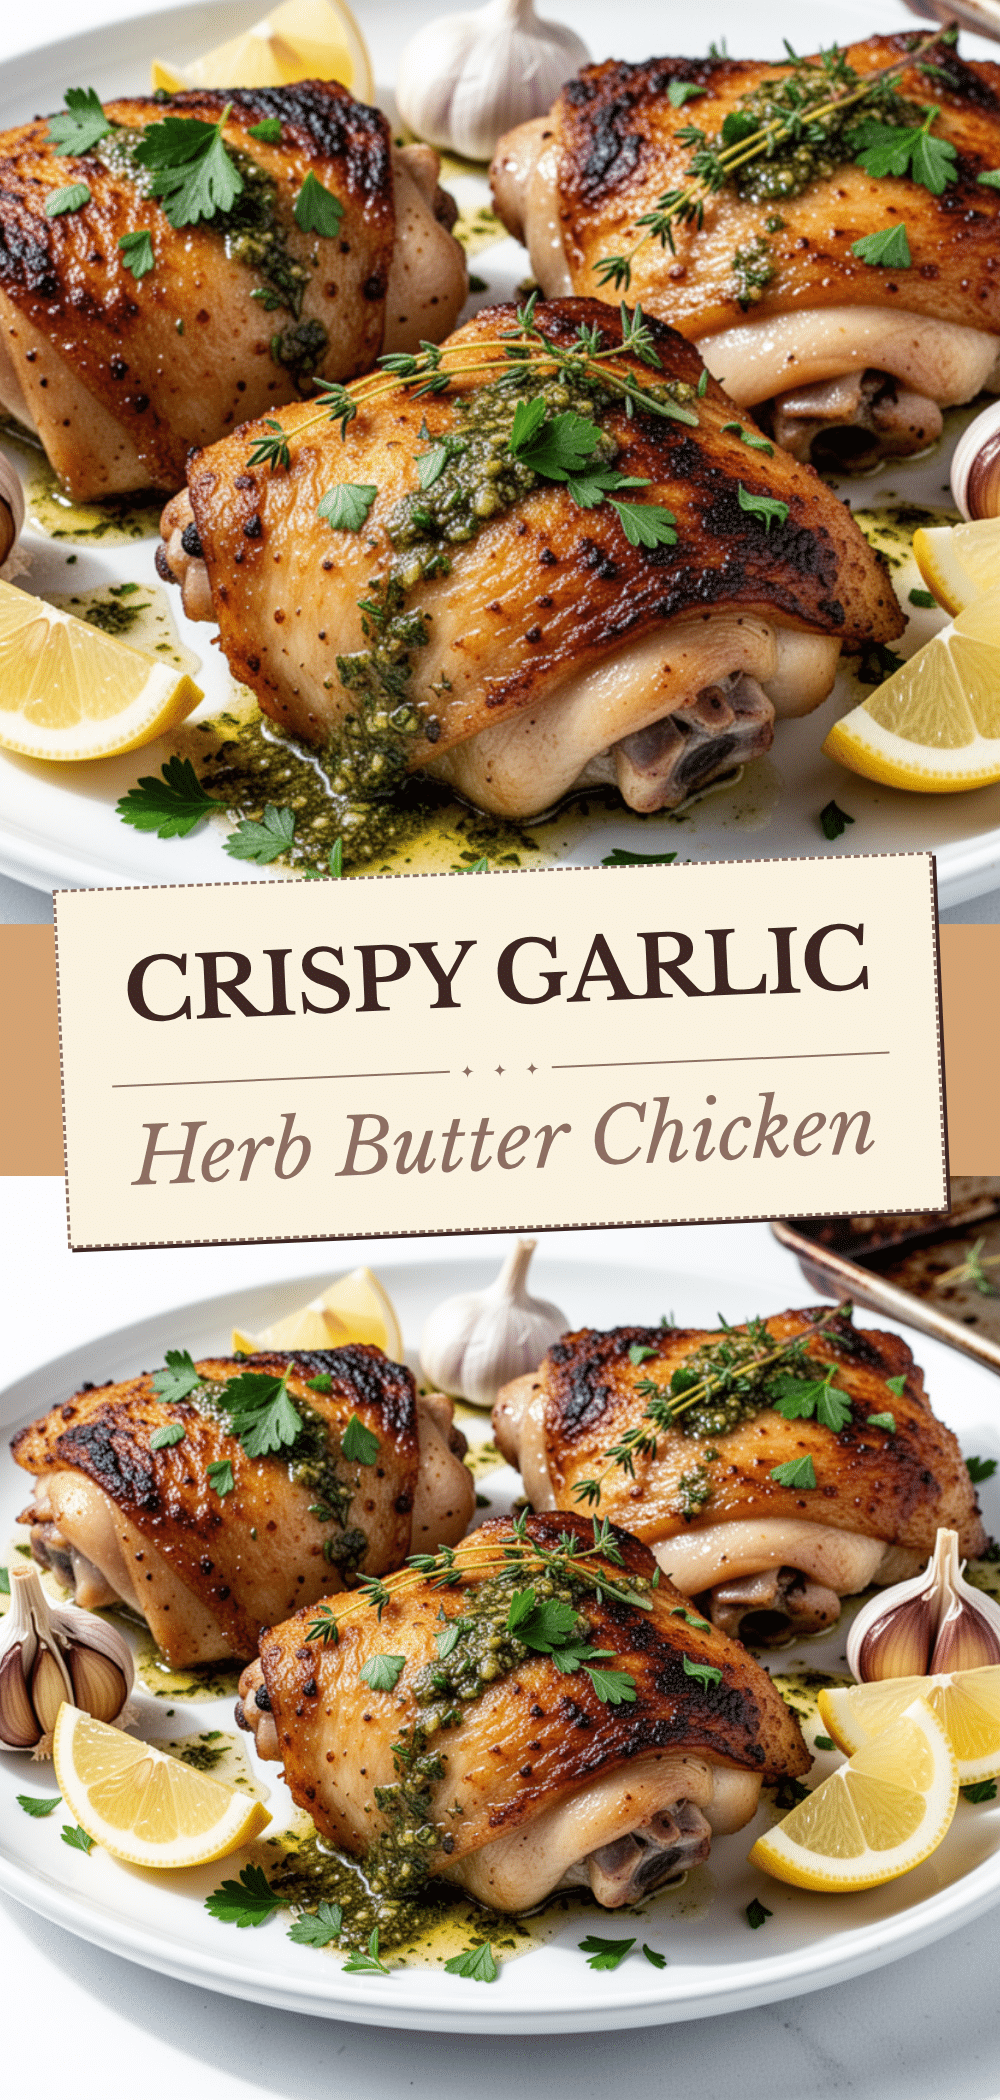
Crispy Baked Chicken Thighs: Easy Garlic Herb Butter Recipe
- Total Time: 45-50 minutes
- Yield: 4 servings 1x
Description
Juicy bone-in, skin-on chicken thighs roasted with a rich garlic herb butter compound. This hands-off recipe delivers shatteringly crisp skin and flavorful meat without the stress of frying.
Ingredients
- 3–4 pounds bone-in, skin-on chicken thighs
- 2 tablespoons vegetable oil or avocado oil
- Sea salt and black pepper (generous amounts)
- 1 teaspoon garlic powder
- ½ cup unsalted butter, softened
- 4–5 cloves fresh garlic, minced
- ¼ cup fresh parsley, finely chopped
- 1 tablespoon fresh thyme leaves
- 1 tablespoon fresh rosemary, finely chopped
- 1 teaspoon lemon zest
- ½ teaspoon red pepper flakes
Instructions
- Preheat oven to 425°F (220°C). Pat chicken thighs completely dry with paper towels and season both sides generously with salt, pepper, and garlic powder.
- In a small bowl, mix softened butter, minced garlic, parsley, thyme, rosemary, lemon zest, and red pepper flakes until combined.
- Place chicken thighs skin-side up on a rimmed baking sheet (preferably on a wire rack). Drizzle with oil and rub into the skin.
- Roast for 20 minutes until fat renders and skin begins to turn golden.
- Remove from oven and place a generous dollop of the garlic herb butter on top of each thigh.
- Return to oven and bake for another 15-20 minutes until internal temperature reaches 165°F (74°C) and skin is deep golden brown.
- Let chicken rest for 5-10 minutes before serving to allow juices to redistribute and butter to melt into the meat.
Notes
Ensure chicken skin is completely dry before seasoning to maximize crispiness. Do not crowd the pan; use two sheets if necessary to allow airflow. The garlic herb butter can be made ahead and frozen in a log for later use. For best results, use bone-in, skin-on thighs as boneless/skinless options will not achieve the same texture.
- Prep Time: 10 minutes
- Cook Time: 35-40 minutes
- Category: Main Course
- Cuisine: American
Nutrition
- Serving Size: 1 thigh per serving
- Calories: 380
- Sodium: 320
- Fat: 28
- Saturated Fat: 10
- Carbohydrates: 1
- Protein: 28
Keywords: chicken thighs, baked chicken, garlic herb butter, crispy chicken skin, keto dinner, gluten-free recipe, easy weeknight dinner, high protein meal


