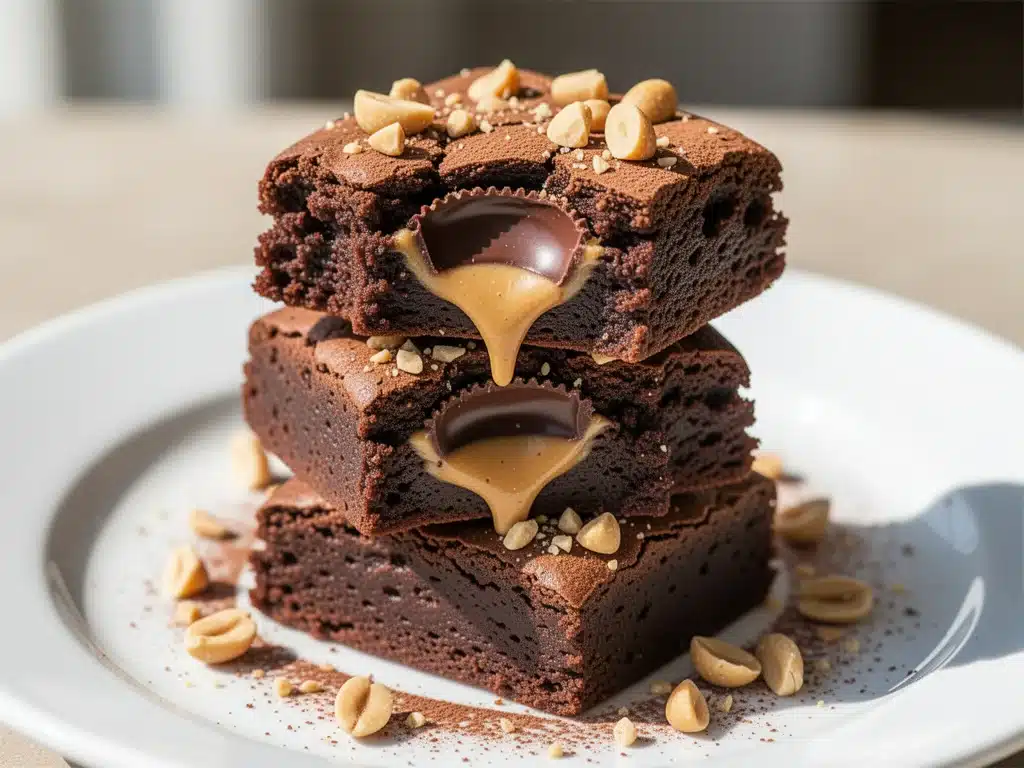
I have to confess something embarrassing. Last weekend, I made a batch of brownies, and my ten-year-old son looked at me with this mixture of pity and concern, asking if I was “feeling okay” because I didn’t have peanut butter in them. It hit me then: I had been making standard brownies for years, completely ignoring the fact that my family’s love language is chocolate and peanut butter. So, I did what any desperate parent would do—I improvised. I grabbed some store-bought peanut butter cups, chopped them up, and stuffed them into the batter.
What came out of the oven wasn’t just a brownie. It was a revelation. The center was gooey and salty, the edges were crisp, and the chocolate was rich enough to make me close my eyes and sigh. I ate one immediately. Then I ate another while waiting for them to cool (don’t judge me). By the time they were fully set, I knew I had found the holy grail of dessert bars. These fudgy peanut butter cup stuffed brownies are the kind of treat that disappears from the counter in about four minutes flat. If you’re looking for a dessert that feels indulgent but is actually surprisingly simple to throw together, this is it. I’ve tested this recipe at least six times now, tweaking the ratio of chocolate to peanut butter until it was perfect. It’s the kind of recipe you’ll make on repeat because it satisfies that specific craving for something sweet, salty, and deeply chocolatey all at once.
There’s something magical about biting into a dense, fudgy brownie and hitting a molten pocket of peanut butter. It’s not just a dessert; it’s an experience. And the best part? You don’t need to be a professional baker to pull this off. I’ve shared plenty of easy peanut butter recipes on the blog before, but this takes that flavor profile to a whole new level. Whether you’re baking for a birthday party, a school bake sale, or just because you need a hug in dessert form, these brownies deliver every single time.
Why You’ll Love This Recipe
I’ve been baking these fudgy peanut butter cup stuffed brownies for my family for months now, and they’ve become a permanent fixture in our rotation. Here’s why they’re winning over everyone from picky eaters to dessert snobs:
- Maximum Flavor, Minimum Effort — Seriously, if you can melt chocolate and mix a batter, you can make this. I’ve made these while on phone calls with work. The prep is mostly just chopping peanut butter cups and dolloping batter. It’s the ultimate lazy-baker’s dream.
- The Perfect Texture Contrast — There’s nothing worse than a dry brownie. These are dense and fudgy, almost like a truffle, but with that satisfying chew. The peanut butter cups melt slightly into the center, creating these gooey pockets that contrast beautifully with the crisp edges.
- Uses What You Have — You don’t need fancy ingredients. Just good chocolate, peanut butter, and basic pantry staples like flour, sugar, and eggs. I keep peanut butter cups in the freezer specifically for emergencies like this, but they’re also great for planned indulgence.
- Kid-Approved (and Adult-Approved) — My kids think these are “magic” because of the hidden peanut butter centers. I think they’re magic because they taste like a premium candy bar but with better texture. It’s a win-win. They’re also perfect for back-to-school treat swaps if you want to skip the lunchbox sandwiches for a Friday treat.
- Make-Ahead Friendly — These actually taste better the next day. The flavors meld together, and the fudginess intensifies. I often make them the night before a party so I don’t have to stress in the morning. They store beautifully at room temperature for days.
This is my go-to when I need a dessert that looks impressive but doesn’t require me to stand over a stove for hours. It’s reliable, delicious, and consistently delicious. No complicated techniques, no weird ingredients, just pure chocolatey bliss.
Ingredients You’ll Need
Here’s the best part: you probably have most of this already in your pantry or freezer. I’m particular about a few things here, specifically the chocolate and the peanut butter, and I’ll tell you exactly why.
For the Brownie Base
Dark Chocolate Chips (12 ounces / 340g) — I use semi-sweet or dark chocolate chips (like Ghirardelli or Lindt). Avoid baking bars unless you know how to temper them. Chips hold their shape better and give that classic brownie texture. The higher the cocoa percentage, the less sweet the brownie, which balances the sugar in the peanut butter cups.
Unsalted Butter (1 cup / 226g) — Use real butter, not margarine. It adds flavor and richness. I let it soften slightly before melting, but you can melt it in the microwave too. Just don’t burn it.
Granulated Sugar (1 ½ cups / 300g) — This gives the brownies their crisp, crackly top. Don’t reduce the sugar unless you want cakey brownies. We want fudgy.
Eggs (4 large) — Room temperature eggs incorporate better into the batter. I usually take them out of the fridge 30 minutes before I start. If I forget, I soak them in warm water for a few minutes.
Vanilla Extract (2 teaspoons) — Pure vanilla makes a huge difference. I use McCormick or Nielsen-Massey. It enhances the chocolate flavor.
All-Purpose Flour (1 cup / 125g) — Just standard white flour. Don’t use whole wheat unless you want a nutty, dense texture. Spoon and level it so you don’t pack it down.
Cocoa Powder (½ cup / 50g) — Unsweetened cocoa powder adds depth. I use Hershey’s Special Dark for a richer flavor. Sift it if it’s lumpy.
Salt (½ teaspoon) — Essential. It makes the chocolate taste more like chocolate. Don’t skip it.
For the Stuffed Centers
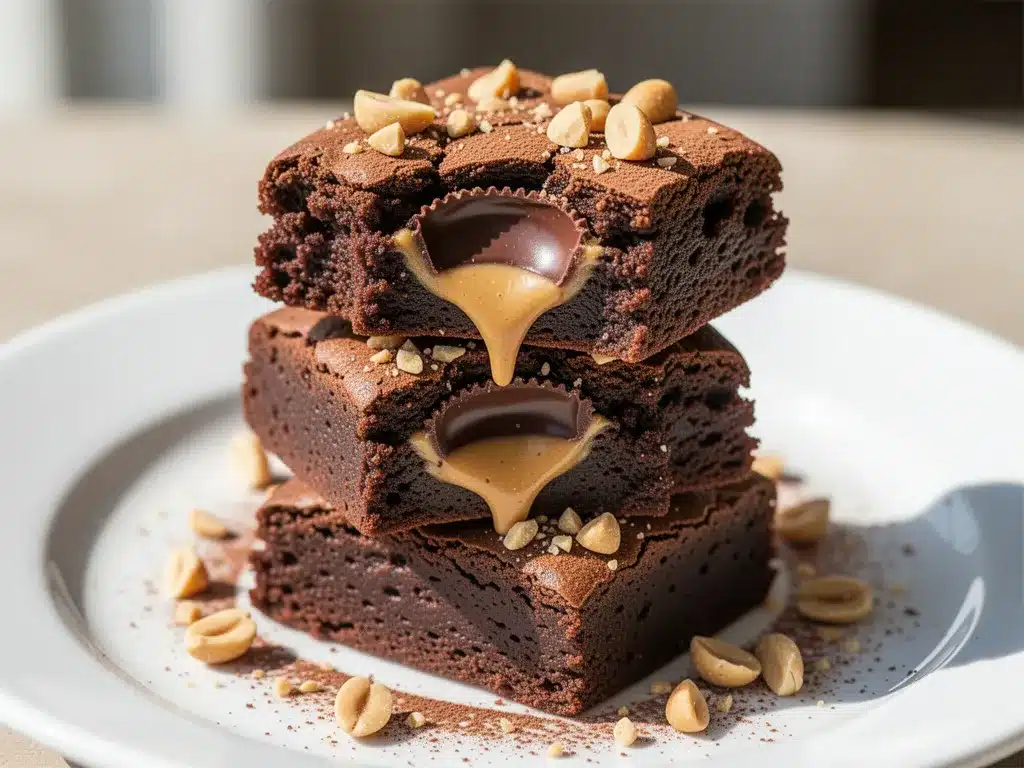
Peanut Butter Cups (24 small cups / about 12 ounces) — I use mini peanut butter cups (like Reese’s Miniatures or generic store brand). If you can’t find mini ones, chop regular peanut butter cups into quarters. The key is having enough centers to stuff every brownie. Don’t skimp on these—they’re the star of the show.
Optional Toppings
Sea Salt Flakes — Sprinkled on top after baking. It elevates the flavor and looks beautiful.
Extra Chocolate Chips — Pressed into the top before baking for a professional look.
Equipment Needed
You don’t need fancy equipment for this. Here’s what I actually use:
9×13 Inch Baking Pan — I prefer a glass or ceramic pan because it heats evenly. Metal pans can sometimes over-bake the edges. Line it with parchment paper for easy removal.
Microwave-Safe Bowl — For melting the chocolate and butter. I use a large glass bowl. Microwave in 30-second intervals, stirring in between.
Large Mixing Bowl — For combining the batter. Glass or stainless steel is best.
Whisk — For beating the eggs and sugar. A silicone spatula works too, but a whisk incorporates air better.
Spatula — A flexible silicone spatula is essential for folding in the flour and scraping the bowl.
Measuring Cups and Spoons — Standard stuff. I use the metal measuring cups for dry ingredients.
Parchment Paper — Non-negotiable. It makes cleanup a breeze and helps you lift the brownies out of the pan.
How to Make It: Step-by-Step
Alright, let’s make this! I’m walking you through exactly how I do it, including the little tricks I’ve picked up.
Step 1: Prep Your Pan and Oven (5 minutes)
Preheat your oven to 350°F (175°C). Line a 9×13 inch baking pan with parchment paper, leaving an overhang on the sides. This is crucial for removing the brownies later. If you don’t have parchment, grease the pan well with butter, but parchment is better.
Step 2: Melt the Chocolate and Butter (3 minutes)
Combine the chopped chocolate and butter in a microwave-safe bowl. Microwave on high for 1 minute, then stir. If it’s not fully melted, microwave in 30-second intervals, stirring after each, until smooth. Let it cool for 5 minutes so it doesn’t cook the eggs when you add them.
Step 3: Mix the Wet Ingredients (2 minutes)
In a large bowl, whisk the eggs and sugar vigorously for about 2 minutes. The mixture should look pale and slightly thickened. This step creates that crackly top. Add the cooled chocolate mixture and vanilla extract. Whisk until combined.
Step 4: Add the Dry Ingredients (2 minutes)
Stir in the flour, cocoa powder, and salt. Mix until just combined. Do not overmix! Overmixing develops gluten and makes the brownies cakey. Stop as soon as you no longer see streaks of flour.
Step 5: Assemble the Brownies (10 minutes)
Pour half of the batter into the prepared pan. Spread it evenly. Place one peanut butter cup in the center of each square (imagine a 6×9 grid, so 54 brownies). You can space them about 1-2 inches apart. Dollop the remaining batter over the peanut butter cups, covering them completely. Use a knife to swirl the batter slightly to hide the peanut butter cups.
Step 6: Bake (25-30 minutes)
Bake at 350°F for 25-30 minutes. The edges should be set and pulling away from the sides, but the center should still look slightly soft. A toothpick inserted into the center should come out with moist crumbs, not wet batter. If you want fudgier brownies, bake for 25 minutes. For more cakey brownies, bake for 30 minutes.
Step 7: Cool and Serve (30 minutes)
Let the brownies cool in the pan for at least 30 minutes before cutting. This allows them to set. If you cut them too soon, they’ll be messy. Once cooled, lift them out using the parchment paper and cut into squares. Sprinkle with sea salt if desired.
Expert Tips & Tricks
Here’s everything I’ve learned from making this dozens of times. These tips will save you from my mistakes.
Don’t Overbake — This is the #1 mistake. Brownies continue to cook in the hot pan after you take them out of the oven. If the center looks done, it’s overdone. Pull them out when they’re slightly underdone for maximum fudginess.
Room Temperature Eggs — I cannot stress this enough. Cold eggs can cause the melted chocolate to seize up. Take your eggs out of the fridge 30 minutes before you start.
Chop the Peanut Butter Cups — If you can’t find mini peanut butter cups, chop regular ones into quarters. Make sure the pieces are small enough to be covered by the batter but large enough to create a center.
Use Good Chocolate — Since the brownie base is simple, the chocolate flavor is key. Use high-quality chocolate chips. Avoid baking chips that are designed for cookies—they often have more stabilizers and don’t melt as smoothly.
Let Them Cool Completely — I know it’s hard to wait, but cutting warm brownies is a disaster. The peanut butter centers will leak out, and the texture will be gummy. Patience pays off.
Add a Pinch of Espresso Powder — If you want to deepen the chocolate flavor, add 1 teaspoon of instant espresso powder to the dry ingredients. It won’t make the brownies taste like coffee; it will just make the chocolate taste more like chocolate.
Variations & Substitutions
Once you’ve nailed the basic version, here’s how you can mix it up. I’ve tried all of these.
Dark Chocolate Peanut Butter Cups — Use dark chocolate peanut butter cups for a less sweet, more sophisticated brownie. This is my personal favorite.
White Chocolate Peanut Butter Cups — For a sweeter, milder flavor. Great for kids who don’t like the bitterness of dark chocolate.
Almond Butter Cups — Swap peanut butter cups for almond butter cups for a nutty variation. Almond butter and chocolate is a classic combo.
Gluten-Free — Use a 1:1 gluten-free flour blend. The texture will be slightly more delicate, but still delicious. I’ve used Bob’s Red Mill and it works great.
Vegetarian — This recipe is already vegetarian. Just ensure your chocolate chips are vegetarian (some contain dairy or other non-vegan ingredients).
Vegan — Use vegan chocolate chips and vegan butter. For the eggs, use flax eggs (1 tablespoon ground flaxseed mixed with 3 tablespoons water per egg). The texture will be slightly different, but still tasty.
Serving & Storage
How to Serve: I usually serve these at room temperature. They’re perfect for parties, potlucks, or just a Tuesday night treat. Pair them with a glass of cold milk or a cup of coffee.
Side Dishes: These are rich, so they don’t need much else. Maybe a side of fresh berries or a simple green salad if you’re eating them for dessert after a heavy meal.
Toppings Bar: For parties, I set out a small bowl of sea salt flakes and maybe some crushed peanuts for people to sprinkle on top.
Storage Instructions: Store in an airtight container at room temperature for up to 5 days. They actually get better after a day or two as the flavors meld.
Refrigerator: You can store them in the fridge for up to 2 weeks. Let them come to room temperature before eating for the best texture.
Freezing: Yes, you can freeze them! Wrap individual brownies in plastic wrap, then place them in a freezer bag. They’ll keep for up to 3 months. Thaw at room temperature for an hour before eating.
Pro Tip: If you’re making them ahead, freeze them before cutting. This prevents them from sticking together. Cut them into squares once they’re thawed.
Nutrition Information
I’m not a nutritionist, but here’s the breakdown if you’re tracking. Note that this is an estimate based on 54 brownies.
- Calories: 180
- Protein: 3g
- Carbs: 24g
- Fiber: 1g
- Sugar: 18g
- Fat: 10g
- Saturated Fat: 5g
- Cholesterol: 20mg
- Sodium: 45mg
Look, this is a dessert. It’s rich in sugar and fat. But it’s also made with real ingredients, and you control the quality. When I make these, I use high-quality chocolate and natural peanut butter, which is better than store-bought candy bars. Enjoy them in moderation and savor every bite.
Final Thoughts
So that’s my go-to fudgy peanut butter cup stuffed brownies! I’ve probably talked your ear off at this point, but when you make a recipe this often, you have a lot to say about it. These brownies have saved my dessert game more times than I can count. They’re my answer to “what can I bring to the party?” or “what can I make to cheer myself up?” My kids are happy, my husband’s happy, and I’m happy because I’m not stressed about baking.
Make it yours! Try different types of peanut butter cups, add chopped nuts, or drizzle with extra chocolate. The best recipes are the ones you adapt to your family’s tastes. If you make this, drop a comment and let me know what you think! I love hearing how recipes turn out in your kitchen. And if something doesn’t work, tell me that too—I’m here to help troubleshoot.
Happy baking! And I hope your kitchen smells half as good as mine does right now.
Frequently Asked Questions
Can I use regular peanut butter cups instead of mini ones?
Yes, but you’ll need to chop them into quarters or smaller pieces. Make sure the pieces are small enough to be covered by the batter. If they’re too big, the batter won’t cover them, and they’ll burn.
Why are my brownies cakey instead of fudgy?
This usually happens if you overmix the batter or overbake the brownies. Make sure you mix the dry ingredients just until combined, and pull the brownies out of the oven when a toothpick comes out with moist crumbs, not clean.
Can I make these ahead for a party?
Absolutely! I recommend baking them 1-2 days ahead. Store them in an airtight container at room temperature. They’ll stay fresh and fudgy for up to 5 days. You can also freeze them for up to 3 months.
Can I use dark chocolate peanut butter cups?
Yes! This is actually my preferred version. The bitterness of the dark chocolate balances the sweetness of the brownie batter. It creates a more sophisticated flavor profile.
How do I store leftover brownies?
Store them in an airtight container at room temperature for up to 5 days. If you live in a hot climate, store them in the fridge to prevent the peanut butter from melting. They’ll keep for up to 2 weeks in the fridge.
Can I double this recipe?
No, this recipe is designed for a 9×13 inch pan. If you double it, the brownies will be too thick and won’t cook evenly. Stick to the single batch for best results.
What if I don’t have parchment paper?
You can grease the pan well with butter or non-stick spray, but parchment paper is highly recommended for easy removal. If you don’t have it, use aluminum foil, but grease it very well.
Pin This Recipe!
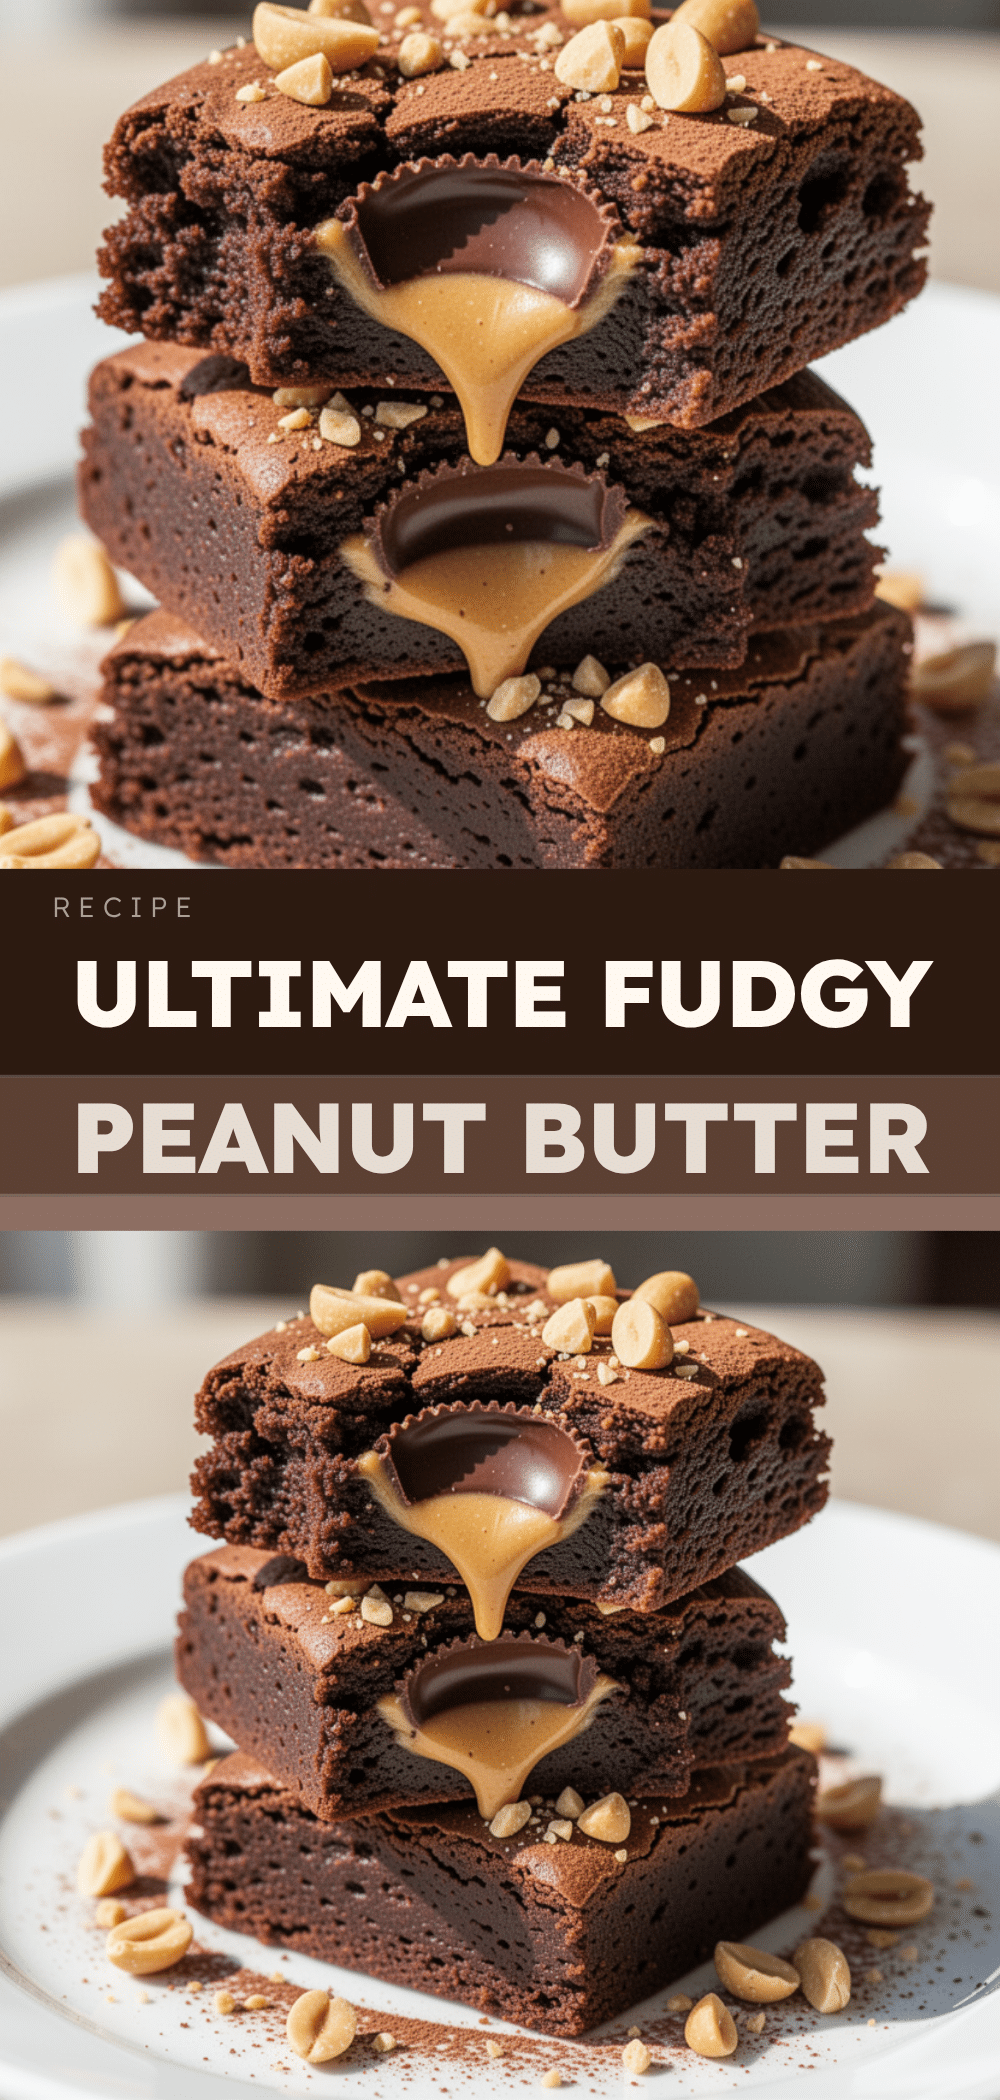
Fudgy Peanut Butter Cup Stuffed Brownies
- Total Time: 45 minutes
- Yield: 54 servings 1x
Description
Rich, fudgy brownies stuffed with mini peanut butter cups for a gooey, salty-sweet center. This easy homemade dessert is kid-approved and perfect for parties.
Ingredients
- 12 ounces (340g) semi-sweet or dark chocolate chips
- 1 cup (226g) unsalted butter
- 1 ½ cups (300g) granulated sugar
- 4 large eggs, room temperature
- 2 teaspoons pure vanilla extract
- 1 cup (125g) all-purpose flour
- ½ cup (50g) unsweetened cocoa powder
- ½ teaspoon salt
- 24 mini peanut butter cups (about 12 ounces)
- Sea salt flakes (optional, for topping)
Instructions
- Preheat oven to 350°F (175°C). Line a 9×13 inch baking pan with parchment paper, leaving an overhang on the sides.
- Combine chocolate chips and butter in a microwave-safe bowl. Microwave on high for 1 minute, stir, then continue in 30-second intervals until smooth. Let cool for 5 minutes.
- In a large bowl, whisk eggs and sugar vigorously for 2 minutes until pale and thickened. Whisk in the cooled chocolate mixture and vanilla extract.
- Stir in flour, cocoa powder, and salt until just combined. Do not overmix.
- Pour half of the batter into the prepared pan. Place one mini peanut butter cup in the center of each square (creating a 6×9 grid). Dollop remaining batter over the cups to cover them completely.
- Bake for 25-30 minutes. Edges should be set, but the center should look slightly soft. A toothpick should come out with moist crumbs.
- Cool in the pan for at least 30 minutes before lifting out and cutting into squares. Sprinkle with sea salt flakes if desired.
Notes
Do not overbake to maintain fudgy texture. Ensure eggs are at room temperature to prevent chocolate from seizing. Brownies taste better the next day as flavors meld. Can be stored at room temperature for 5 days or frozen for 3 months.
- Prep Time: 15 minutes
- Cook Time: 30 minutes
- Category: Dessert
- Cuisine: American
Nutrition
- Serving Size: 1 brownie square
- Calories: 180
- Sugar: 18
- Sodium: 45
- Fat: 10
- Saturated Fat: 5
- Carbohydrates: 24
- Fiber: 1
- Protein: 3
Keywords: brownies, peanut butter, chocolate, dessert, baking, fudgy brownies, stuffed brownies, easy recipe, kid-friendly


