It was 2 AM when I realized I had made a mistake. A big one. I was standing in my kitchen, staring at the digital clock, and realizing that my “quick” brisket plan had gone off the rails. I had forgotten to check the oven temperature, and the brisket I had spent an hour seasoning was now sitting at room temperature while the house filled with the scent of burnt rosemary. My kids were asleep. My husband was asleep. And I was awake, wondering if I should just order pizza and call it a night.
But then I looked at that raw, seasoned slab of meat. It looked so promising. The rub was perfect—smoky, savory, with just a hint of heat. I couldn’t just throw it away. So, I did the only thing I could think of: I lowered the oven to its absolute lowest setting, wrapped the brisket tightly in foil with a cup of beef broth, and set a timer for 14 hours. I went to bed. I didn’t sleep well, mostly because I was worrying about the smell of overcooked beef.
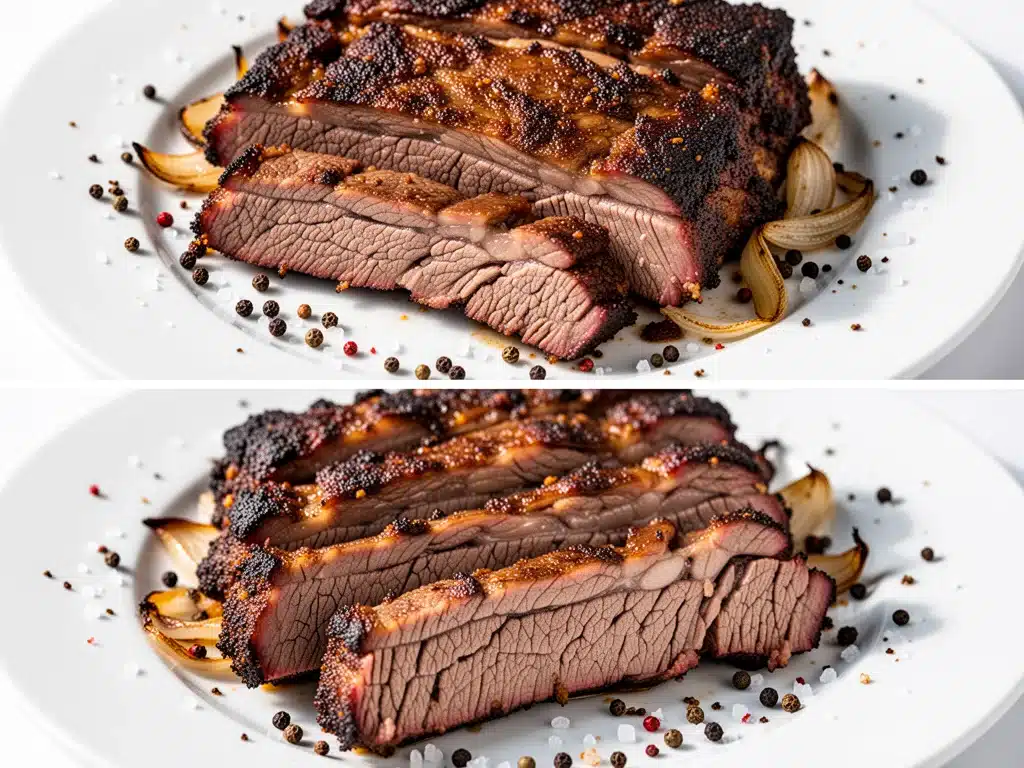
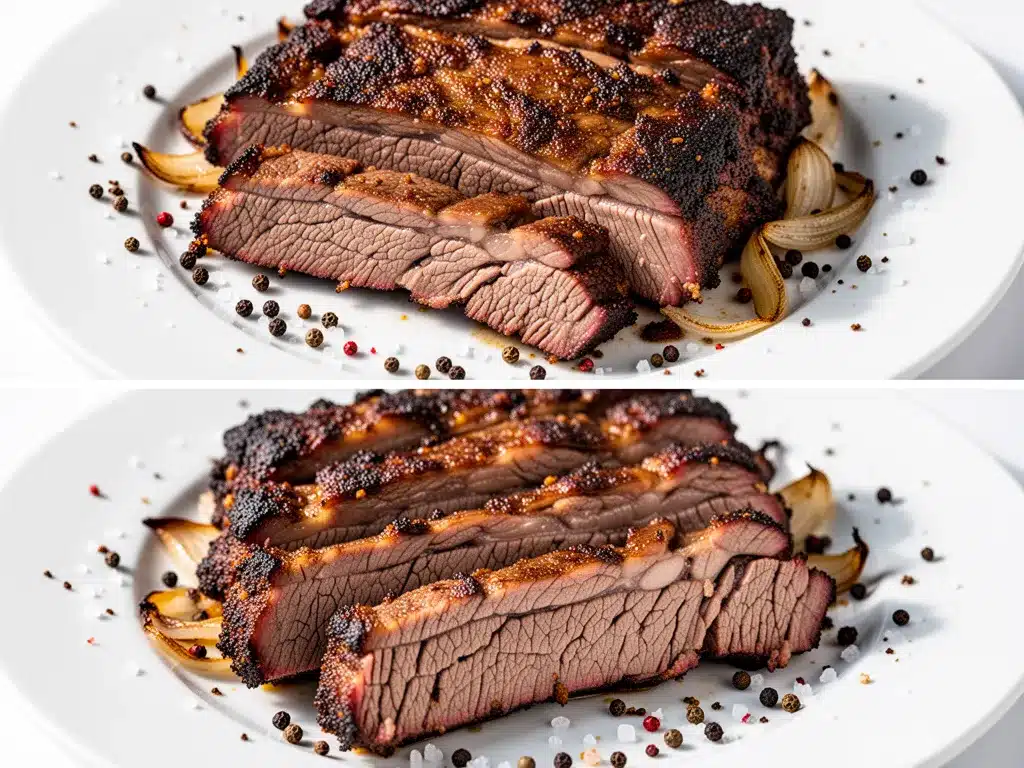
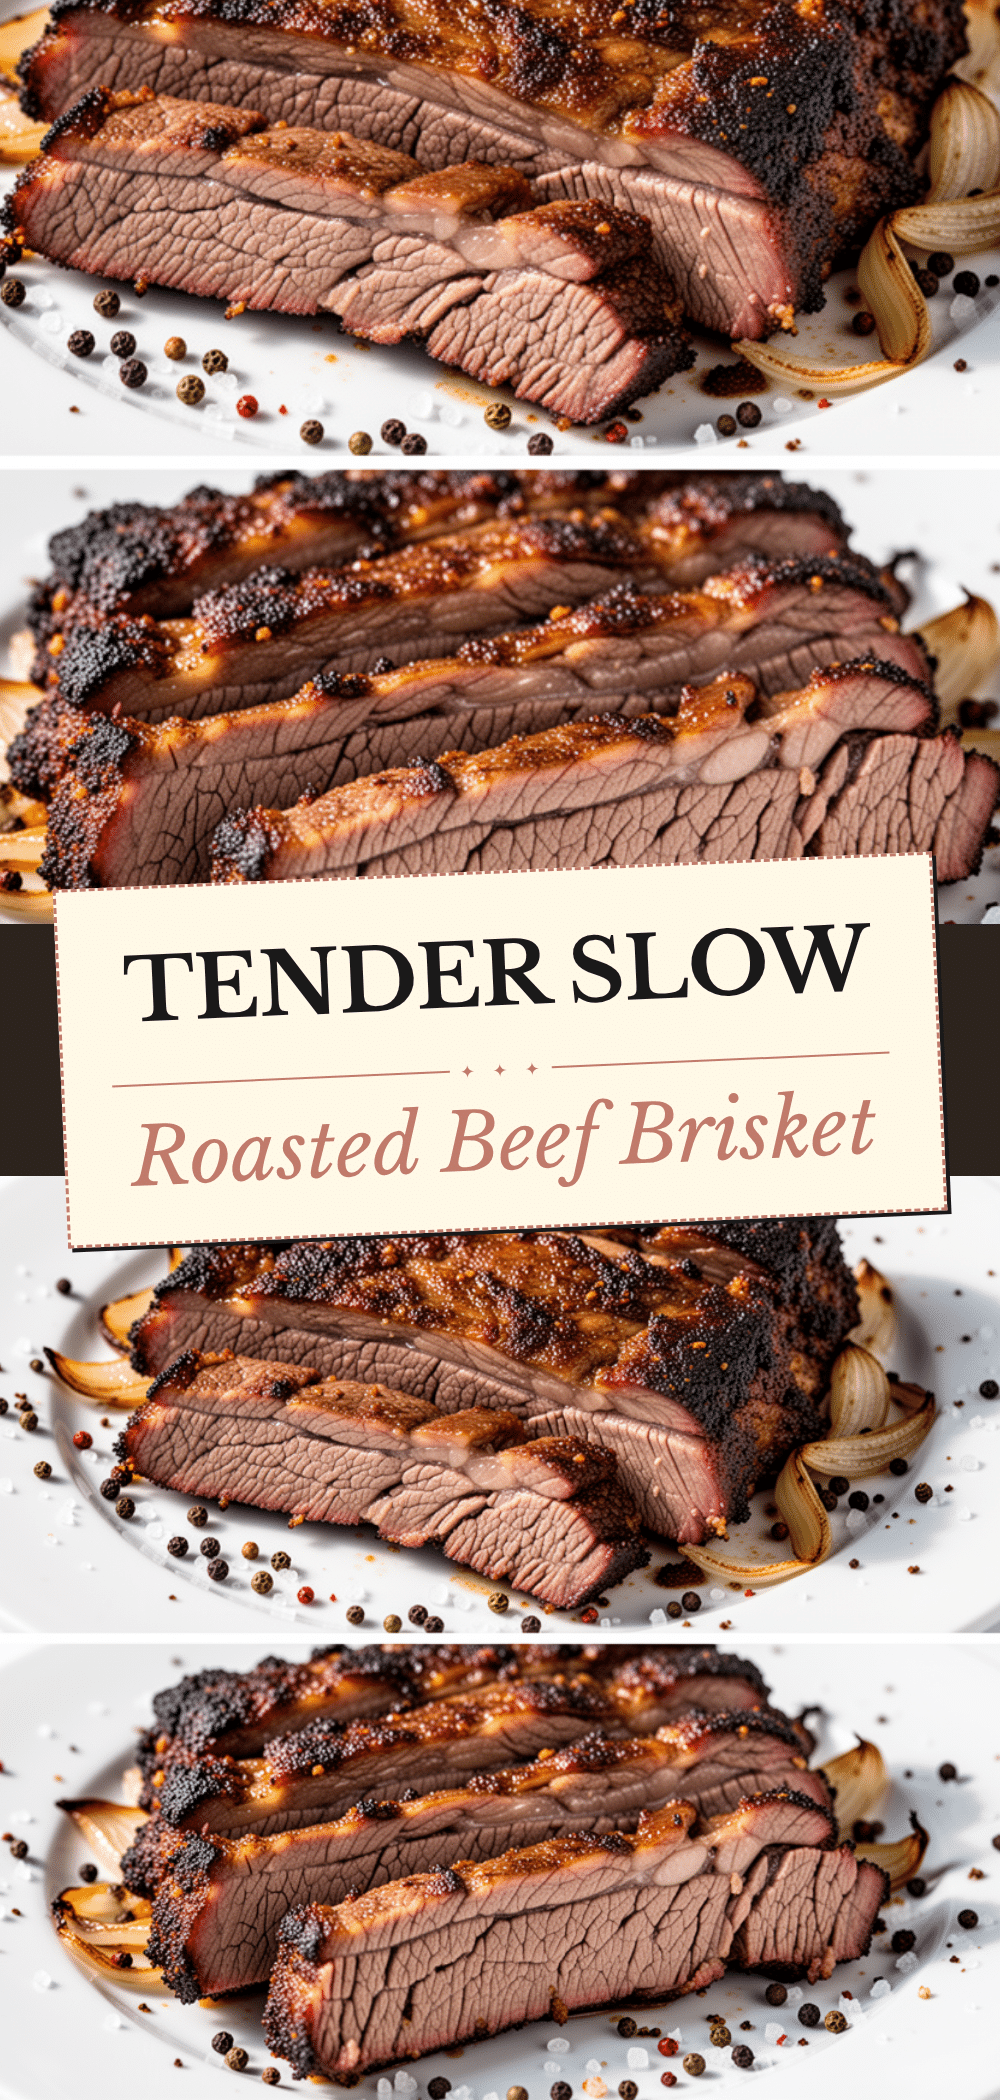
But when I woke up at 6 AM, the smell that hit me wasn’t burnt rosemary. It was rich, smoky, and deeply savory. The kind of smell that makes your stomach growl before your eyes are even open. I pulled the brisket out, and it was falling-apart tender. The bark was dark and crusty, and the meat inside was juicy enough to swim in its own juices. I sliced it, served it on cheap white buns, and watched my picky 10-year-old take three bites before asking for the recipe.
That night taught me two things: First, slow-roasted beef brisket with smoky dry rub is the ultimate comfort food, especially when it comes together without you watching it like a hawk. Second, if you have time, you have no excuse not to make this. It’s not just dinner; it’s an event. It’s the kind of meal that turns a Tuesday into a memory. And now that I’ve perfected the technique (after many more failed attempts, I might add), I’m sharing it with you. This isn’t just about feeding your family; it’s about creating a moment where everyone stops scrolling, puts down their phones, and just enjoys the food.
I’ve tested this method dozens of times. Sometimes it takes 12 hours, sometimes 16, depending on the size of the cut. But the result is always the same: tender, smoky, irresistible brisket that your whole family will crave. It’s easier than you think, and it’s going to change how you think about beef.
Why You’ll Love This Recipe
Look, I know brisket has a reputation. People think it’s complicated, expensive, or requires a massive smoker and a degree in thermodynamics. But this slow-roasted beef brisket with smoky dry rub? It’s different. It’s approachable. It’s reliable. Here’s why it has become a staple in my kitchen, and why I think it will become one in yours too.
- Set It and Forget It — Seriously. You spend about 20 minutes prepping the rub and the meat. Then, you let the oven do the work. I’ve made this while working from home, while watching movies, and even while doing laundry (yes, really). It doesn’t need babysitting. You just check it occasionally, and that’s it.
- Smoky Flavor Without a Smoker — You don’t need a backyard smoker or a charcoal grill to get that deep, wood-fired taste. The secret is in the dry rub and the low-and-slow roasting process. The spices caramelize, creating a bark that tastes like it was smoked over hickory for hours, even though it’s just happening in your standard kitchen oven.
- Incredibly Tender — Brisket is a tough cut of meat. It’s full of connective tissue. But when you roast it slowly, that tissue breaks down into gelatin. The result is meat that shreds with a fork. It’s not chewy. It’s not dry. It’s melt-in-your-mouth perfection.
- Feed a Crowd for Less — Brisket is one of the most economical cuts of beef you can buy. Compared to steaks or roasts, it’s a bargain. And because it yields so much meat, it’s perfect for feeding a large family or a group of friends. Leftovers are amazing, too—though I’ve never had many left over.
- Customizable Spice Level — The dry rub is yours to control. Want it mild? Skip the cayenne. Want it spicy? Add more chili powder. It’s a blank canvas for your flavor preferences. My husband likes it hot, my kids like it mild, and I like it somewhere in the middle. We all get what we want.
This recipe has saved me more times than I can count. It’s my go-to when I want to impress guests without spending all day in the kitchen. It’s my comfort food when I’m having a rough week. And it’s the dish that makes my house smell like a BBQ restaurant, but better, because it’s made with love (and a lot of garlic).
Ingredients You’ll Need
Here’s the best part: you probably have most of these ingredients already. The beauty of this slow-roasted beef brisket with smoky dry rub is that it relies on simple, pantry-friendly spices. You don’t need anything fancy or hard to find. Just good quality basics.
For the Brisket
- Beef Brisket (3-4 pounds / 1.4-1.8 kg) — This is the star. Look for a “flat” cut if you can find it—it’s leaner and easier to slice evenly. A “point” cut is fattier and more flavorful but harder to slice. For this recipe, I recommend a flat cut, or a combination of both (a “packer” brisket) if you’re feeding a crowd. Make sure it’s fresh, not frozen, for best results.
- Beef Broth (1 cup / 240ml) — I use low-sodium broth so I can control the salt. This adds moisture to the oven and helps create a rich jus for the meat. Vegetable broth works if you want a vegetarian option, but beef is best for flavor.
For the Smoky Dry Rub
- Paprika (2 tablespoons) — This is the key to the smoky flavor. Use smoked paprika if you have it—it’s essential. If you only have sweet paprika, add a teaspoon of chipotle powder for heat and smoke.
- Brown Sugar (2 tablespoons) — Helps caramelize the bark and balances the spices. Don’t skip this; it’s what gives the brisket that sticky, sweet-savory crust.
- Garlic Powder (1 tablespoon) — Not fresh garlic, which can burn. Powder distributes evenly and infuses the meat throughout.
- Onion Powder (1 tablespoon) — Adds depth and savory notes. Again, powder is better than fresh here.
- Chili Powder (1 tablespoon) — Not just cayenne. Chili powder is a blend that adds mild heat and earthiness. Adjust to your spice tolerance.
- Cumin (1 teaspoon) — Adds a warm, nutty flavor that pairs perfectly with beef.
- Black Pepper (1 teaspoon, freshly ground) — Freshly ground is crucial. Pre-ground pepper loses its potency quickly. Use a pepper mill if you have one.
- Salt (1 tablespoon, kosher salt) — Kosher salt is best because it’s easier to control. Table salt is finer and can make the rub too salty. Use less if you’re sensitive to sodium.
- Cayenne Pepper (½ teaspoon, optional) — For extra heat. Start with less if you’re sensitive to spice. You can always add more later.
For Cooking
- Aluminum Foil — Heavy-duty foil is best. You’ll need enough to wrap the brisket tightly. This traps the moisture and helps the meat braise in its own juices.
- Cooking Spray or Oil — Lightly grease your roasting pan to prevent sticking. Olive oil or vegetable oil works fine.
Pro Tip: Mix your dry rub in a small bowl before you start. I usually make a double batch because I like to have it on hand for other meats, like chicken or pork. It keeps well in an airtight container for up to 3 months.
Equipment Needed
You don’t need fancy equipment for this. Here’s what I actually use, and what you can substitute if you don’t have it.
- Large Roasting Pan — A 9×13 inch pan is perfect. It needs to fit the brisket comfortably with room for the foil tent. If you don’t have one, a large baking sheet with raised edges works, but be careful of spills.
- Heavy-Duty Aluminum Foil — Regular foil might tear. Heavy-duty is worth the extra few cents. You need a tight seal to keep the moisture in.
- Sharp Knife — For slicing the brisket after it’s cooked. A serrated knife works best for clean slices. I learned this the hard way with a dull knife—it just mashes the meat.
- Small Bowl — For mixing the dry rub. Any bowl will do, but a shallow one makes it easier to mix.
- Measuring Spoons — For the rub. Accuracy helps, but eyeballing is okay if you know your spices.
- Cutting Board — For prepping the brisket. Use a large one to give yourself room to work.
Optional but Nice: A meat thermometer. It’s not strictly necessary for this recipe, but it helps you know when the brisket is done. Aim for an internal temperature of 195-205°F (90-96°C) for maximum tenderness.
How to Make It: Step-by-Step
Alright, let’s make this! I’m walking you through exactly how I do it, including the little tricks I’ve picked up over the years. It’s simple, but there are a few key steps that make all the difference.
Step 1: Prepare the Brisket (10 minutes)
Take your brisket out of the fridge and let it come to room temperature for about 30 minutes. This helps it cook more evenly. Pat it dry with paper towels—this is crucial. A dry surface helps the rub stick and creates a better bark. If the meat is wet, the rub will slide off.
Step 2: Make the Dry Rub (5 minutes)
In a small bowl, combine the paprika, brown sugar, garlic powder, onion powder, chili powder, cumin, black pepper, salt, and cayenne (if using). Mix well with a fork or your fingers. Smell it—it should be aromatic and smoky. If it doesn’t smell good, the rub isn’t good.
Step 3: Season the Brisket (5 minutes)
Place the brisket on your cutting board. Rub it generously on all sides with the spice mix. Don’t be shy—use all of it. The rub should form a thick, even layer. Press it into the meat so it adheres. If you have time, let it sit seasoned for an hour in the fridge. This helps the flavors penetrate. But if you’re in a hurry, you can cook it right away.
Step 4: Prep the Roasting Pan (2 minutes)
Preheat your oven to 300°F (150°C). Grease your roasting pan with cooking spray or oil. Pour the beef broth into the bottom of the pan. This creates steam and keeps the meat moist during the long cooking process.
Step 5: Roast the Brisket (12-16 hours)
Place the seasoned brisket in the roasting pan, fat-side up. Cover the pan tightly with heavy-duty aluminum foil. Make sure there are no gaps—this is essential for trapping moisture. Place the pan in the oven and roast for 12-16 hours. The exact time depends on the size of the brisket. A 3-pound brisket will take about 12 hours. A 4-pound brisket will take closer to 14-16 hours. Don’t open the oven door during this time—it lets the heat escape and slows down the cooking.
Step 6: Check for Doneness (5 minutes)
After 12 hours, check the brisket. It’s done when it’s fork-tender. Insert a fork into the thickest part of the meat. If it slides in and out easily with no resistance, it’s ready. If it’s still tough, continue cooking for another hour or two. You can also check the internal temperature—it should be 195-205°F (90-96°C).
Step 7: Rest and Slice (30 minutes)
Once the brisket is done, remove it from the oven and let it rest in the pan, still covered, for at least 30 minutes. This allows the juices to redistribute. If you cut it too soon, the juices will run out, and the meat will be dry. After resting, remove the foil, transfer the brisket to a cutting board, and slice it against the grain. This is crucial for tenderness. Cut thin slices for serving.
Step 8: Serve
Serve the brisket warm, with the juices from the pan spooned over the top. It’s perfect with baked beans, coleslaw, or cornbread. My family loves it on soft white buns with BBQ sauce. But honestly, it’s so flavorful on its own that you don’t need much else.
Expert Tips & Tricks
Here’s everything I’ve learned from making this dozens of times. These tips will save you from my mistakes.
- Use Smoked Paprika — This is non-negotiable for the smoky flavor. Sweet paprika won’t give you the same depth. Smoked paprika is the key to that BBQ taste without a smoker.
- Don’t Skimp on the Salt — Salt is crucial for flavor. Kosher salt is best because it’s less dense than table salt. Use enough to season the meat thoroughly, but not so much that it’s overpowering.
- Rest the Meat — I know it’s tempting to cut into it right away, but resting is essential. It allows the juices to settle. If you cut it too soon, you’ll lose all that moisture.
- Slice Against the Grain — Look for the direction of the muscle fibers. Cut perpendicular to them. This shortens the fibers and makes the meat tender. If you slice with the grain, it’ll be chewy.
- Save the Juices — The liquid in the pan is liquid gold. Spoon it over the sliced brisket before serving. It adds moisture and flavor. You can also use it as a base for gravy.
Common Mistakes:
- Opening the Oven Too Often — Every time you open the door, you lose heat. Keep it closed until the brisket is done.
- Using Thin Foil — Regular foil can tear. Use heavy-duty foil to ensure a tight seal.
- Cutting Too Soon — Resting is critical. Don’t skip it.
Variations & Substitutions
Once you’ve nailed the basic version, here’s how you can mix it up. I’ve tried all of these, and they all work.
- Spicy Version — Add more cayenne pepper or chipotle powder to the rub. I like to add a teaspoon of crushed red pepper flakes for extra heat.
- Sweet Version — Increase the brown sugar to 4 tablespoons. This creates a sweeter, stickier bark. Great for kids.
- Herb-Focused — Add dried thyme and rosemary to the rub. This gives it a more savory, herbal flavor. Good with roasted vegetables.
- Gluten-Free — This recipe is naturally gluten-free. Just make sure your spices don’t have added gluten (some blends do).
- Dairy-Free — This recipe is naturally dairy-free. No substitutions needed.
Other Proteins:
- Pork Shoulder — You can use this method for pork shoulder. Adjust cooking time to 10-12 hours. It’s also tender and juicy.
- Chicken Thighs — Use bone-in, skin-on chicken thighs. Cook for 4-5 hours. The rub works great on chicken too.
Serving & Storage
How to Serve
I usually serve this straight from the cutting board at the dinner table. It’s rustic and inviting. But here are other ways I’ve enjoyed it:
- BBQ Sandwiches — Slice the brisket and pile it on soft buns. Add coleslaw and BBQ sauce. It’s a classic combo.
- Tacos — Use the brisket as a filling for tacos. Add avocado, cilantro, and lime. It’s a game-changer.
- Salad — Slice the brisket thinly and add it to a green salad with vinaigrette. It’s a lighter option.
- Side Dishes — Serve with baked beans, mac and cheese, cornbread, or roasted potatoes. It pairs well with almost anything.
Storage Instructions
- Refrigerator — Store leftovers in an airtight container for up to 4 days. The meat will keep well, and the flavors actually improve after a day or two.
- Freezing — You can freeze brisket, but it’s not ideal. The texture can change slightly. If you freeze it, wrap it tightly in plastic wrap and foil. It will keep for up to 3 months. Thaw in the fridge before reheating.
- Reheating — Reheat gently in the oven at 300°F (150°C) with a splash of beef broth or water. Cover with foil to keep it moist. Don’t microwave it—it can make the meat dry and chewy.
Nutrition Information
I’m not a nutritionist, but here’s the breakdown if you’re tracking. This is per serving (based on 8 servings).
| Nutrient | Amount |
|---|---|
| Calories | 350 |
| Protein | 30g |
| Carbs | 5g |
| Fat | 22g |
| Sodium | 600mg |
What’s Good: High protein, low carb. It’s a great source of iron and zinc. What to Know: Higher in fat from the brisket. Use leaner cuts if you’re watching fat intake. It’s comfort food, so enjoy it in moderation.
Final Thoughts
So that’s my slow-roasted beef brisket with smoky dry rub! I’ve probably talked your ear off at this point, but when you make a recipe this often, you have a lot to say about it. This has saved weeknight dinners more times than I can count. It’s my answer to “what’s for dinner” when I’m tired, don’t want takeout, and still want something that tastes really good. My kids are happy, my husband’s happy, and I’m happy because I’m not stressed about cooking.
Make it yours! Try different spices, adjust the heat, or add your favorite sides. The best recipes are the ones you adapt to your family’s tastes. If you make this, drop a comment and let me know what you think! I love hearing how recipes turn out in your kitchen. And if something doesn’t work, tell me that too—I’m here to help troubleshoot.
Happy cooking! And I hope your kitchen smells half as good as mine does right now.
Frequently Asked Questions
Can I use a different cut of meat?
Yes, you can use pork shoulder or chicken thighs, but the cooking time will be different. Pork shoulder takes about 10-12 hours. Chicken thighs take 4-5 hours. Brisket is best for this method because of its high connective tissue content, which breaks down slowly.
Why is my brisket dry?
This usually happens if you don’t rest it long enough, or if you cook it at too high a temperature. Make sure you’re cooking at 300°F (150°C) and resting for at least 30 minutes. Also, make sure you’re using enough liquid in the pan.
Can I make this ahead for a dinner party?
Absolutely! You can cook the brisket a day or two ahead. Store it in the fridge, then reheat it gently before serving. The flavors will actually improve. Just make sure to reheat it with some liquid to keep it moist.
How do I know when the brisket is done?
It’s done when it’s fork-tender. Insert a fork into the thickest part. If it slides in and out easily, it’s ready. You can also check the internal temperature—it should be 195-205°F (90-96°C).
Can I freeze the leftovers?
Yes, you can freeze brisket for up to 3 months. Wrap it tightly in plastic wrap and foil. Thaw in the fridge before reheating. The texture might change slightly, but it will still be delicious.
What sides go well with brisket?
BBQ sandwiches, tacos, baked beans, mac and cheese, cornbread, and roasted vegetables are all great options. It pairs well with almost anything, especially things that can soak up the juices.
Can I use a slow cooker instead of the oven?
Yes, you can. Use the same rub and liquid. Cook on low for 8-10 hours. The result will be similar, but the bark might not be as crispy. You can crisp it up under the broiler for a few minutes at the end.
Pin This Recipe!
Slow Roasted Beef Brisket with Smoky Dry Rub
- Total Time: 12 hours 20 minutes
- Yield: 8 servings 1x
Description
A foolproof, slow-roasted beef brisket recipe that delivers tender, fall-apart meat with a smoky, savory bark without needing a smoker. Perfect for feeding a crowd or creating a memorable comfort food meal.
Ingredients
- 3–4 pounds beef brisket (flat cut recommended)
- 1 cup beef broth (low-sodium)
- 2 tablespoons smoked paprika
- 2 tablespoons brown sugar
- 1 tablespoon garlic powder
- 1 tablespoon onion powder
- 1 tablespoon chili powder
- 1 teaspoon cumin
- 1 teaspoon freshly ground black pepper
- 1 tablespoon kosher salt
- 1/2 teaspoon cayenne pepper (optional)
- Heavy-duty aluminum foil
- Cooking spray or oil for greasing pan
Instructions
- Take the brisket out of the fridge and let it come to room temperature for about 30 minutes. Pat it dry thoroughly with paper towels.
- In a small bowl, combine paprika, brown sugar, garlic powder, onion powder, chili powder, cumin, black pepper, salt, and cayenne (if using). Mix well.
- Place the brisket on a cutting board and rub the spice mixture generously over all sides, pressing it into the meat. Let it sit seasoned for an hour in the fridge if possible, or cook immediately.
- Preheat oven to 300°F (150°C). Grease a large roasting pan (9×13 inch) with cooking spray or oil.
- Pour the beef broth into the bottom of the roasting pan.
- Place the seasoned brisket in the pan, fat-side up. Cover the pan tightly with heavy-duty aluminum foil, ensuring no gaps.
- Roast in the oven for 12-16 hours, depending on the size of the brisket. Do not open the oven door during cooking.
- Check for doneness after 12 hours by inserting a fork into the thickest part; it should slide in easily. Internal temperature should be 195-205°F (90-96°C).
- Remove from oven and let the brisket rest in the pan, still covered, for at least 30 minutes.
- Remove foil, transfer brisket to a cutting board, and slice against the grain into thin slices.
- Serve warm, spooning the pan juices over the top.
Notes
Use smoked paprika for authentic smoky flavor. Resting the meat is crucial to retain juices. Slice against the grain for maximum tenderness. The recipe is naturally gluten-free and dairy-free. Leftovers can be refrigerated for up to 4 days or frozen for up to 3 months.
- Prep Time: 20 minutes
- Cook Time: 12-16 hours
- Category: Main Course
- Cuisine: American
Nutrition
- Serving Size: Approximately 1/8 of
- Calories: 350
- Sugar: 3
- Sodium: 600
- Fat: 22
- Saturated Fat: 8
- Carbohydrates: 5
- Fiber: 1
- Protein: 30
Keywords: beef brisket, slow roasted brisket, smoky dry rub, comfort food, oven brisket, fall apart brisket, bbq brisket, easy brisket recipe


