Last July, I made a fatal error. I was hosting a backyard barbecue for about thirty people, and I decided to be “responsible” and buy five gallons of store-bought vanilla bean ice cream. You know the kind. It’s fine. It’s safe. It’s also completely forgettable.
Meanwhile, my neighbor Dave showed up with a tub of his homemade chocolate peanut butter cup ice cream. Just one small tub. But the moment he opened the lid, the entire party stopped. People abandoned their burgers. They forgot about the hot dogs. Everyone just wanted a scoop of Dave’s ice cream.
I stood there with my five gallons of mediocre vanilla, watching my guests line up for Dave’s dessert. It was a humbling moment. It taught me that people don’t want “safe” dessert. They want flavor bombs. They want textures that clash in the best possible way. They want something that tastes like a candy bar but feels like a luxury.
That night, I went home and spent three days testing my own version. I wanted something richer than Dave’s, with more distinct layers of chocolate and peanut butter, and—crucially—I wanted it to be easy enough that I could actually make it without buying an ice cream machine. (I have one, but I rarely use it because cleaning it is a nightmare.)
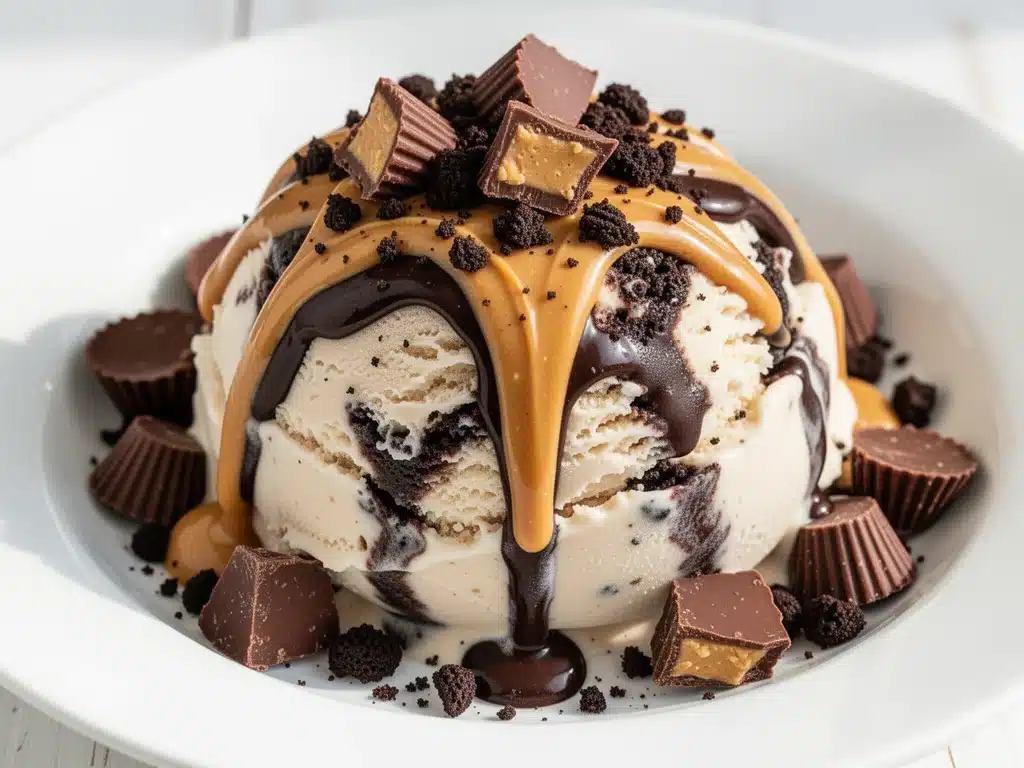
This no-churn chocolate peanut butter cup ice cream is the result. It’s better than takeout. It’s better than the fancy shop down the street. It’s basically Reese’s Cups, but whipped with heavy cream and sweetened condensed milk until it’s cloud-soft. I’ve made this at least a dozen times since that barbecue, and every single time, it disappears faster than I can freeze it. If you’re tired of bland, store-bought desserts, you need to stop reading and start whipping cream.
Why You’ll Love This No-Churn Chocolate Peanut Butter Cup Ice Cream
Look, I get it. Making ice cream at home sounds like a lot of work. You think you need a churning machine, a thermometer, and a degree in food science. But this no-churn chocolate peanut butter cup ice cream is different. It’s stupidly simple, and the results are absolutely insane.
Here’s why this recipe has taken over my kitchen (and your freezer, probably):
- Zero Machine Required — Seriously. You just whip cream, fold in condensed milk, and freeze it. No churning, no custard base, no tempering eggs. If you can use a whisk or a mixer, you can make this. I’ve made this while my kids were screaming in the other room. It’s that low-stress.
- Texture Perfection — The biggest complaint about no-churn ice cream is that it can get icy or hard as a rock. Because we’re using the fat from the heavy cream and the sugar from the condensed milk, this stays scoopable straight from the freezer. It’s creamy, dense, and luxurious without being heavy.
- The Candy Bar Factor — We’re not just making chocolate ice cream. We’re folding in actual peanut butter cups. Chunks of chocolate, swirls of peanut butter, salty crunch. It’s like a dessert inside a dessert. My husband calls it “edible money” because it tastes so expensive.
- Make-Ahead Magic — This needs to freeze for at least 6 hours, which means you can make it two days in advance. It’s the perfect stress-free dessert for parties. You whip it up on Tuesday, freeze it, and serve it on Saturday looking like a hero.
- Customizable Chaos — Do you like more peanut butter? Add more swirls. Do you like dark chocolate? Swap the milk chocolate for dark. This recipe is a canvas, and I love that I can tweak it every time.
This is my go-to when I need to impress people without spending hours in the kitchen. It’s reliable, it’s delicious, and it’s infinitely better than anything you’ll buy at the grocery store.
Ingredients You’ll Need
Here’s the best part: you probably have most of this already. This no-churn chocolate peanut butter cup ice cream relies on simple, high-quality ingredients. The fewer ingredients, the more they need to shine.
For the Base
Heavy whipping cream (2 cups / 480ml) — This is non-negotiable. You need cold, full-fat heavy cream (at least 35% fat). If you use light cream or half-and-half, it won’t whip, and your ice cream will be icy and sad. Keep it in the fridge until the last second.
Sweetened condensed milk (14 oz / 397g can) — This is the sweetener and the thickener. Do not use evaporated milk. They are not the same thing. Condensed milk is thick, syrupy, and sweet. It’s what gives no-churn ice cream its creamy texture without eggs.
Vanilla extract (1 teaspoon) — Use real vanilla, not imitation. It adds depth to the chocolate base. I use pure vanilla bean paste if I have it, but extract works fine.
Cocoa powder (3 tablespoons / 15g) — I use unsweetened natural cocoa powder (like Hershey’s). Dutch-processed cocoa works too, but it’s darker and less chocolatey. For that classic Reese’s vibe, stick with natural.
Salt (½ teaspoon) — Salt is crucial. It cuts the sweetness and makes the chocolate taste more like chocolate. Don’t skip it.
For the Swirls and Mix-ins
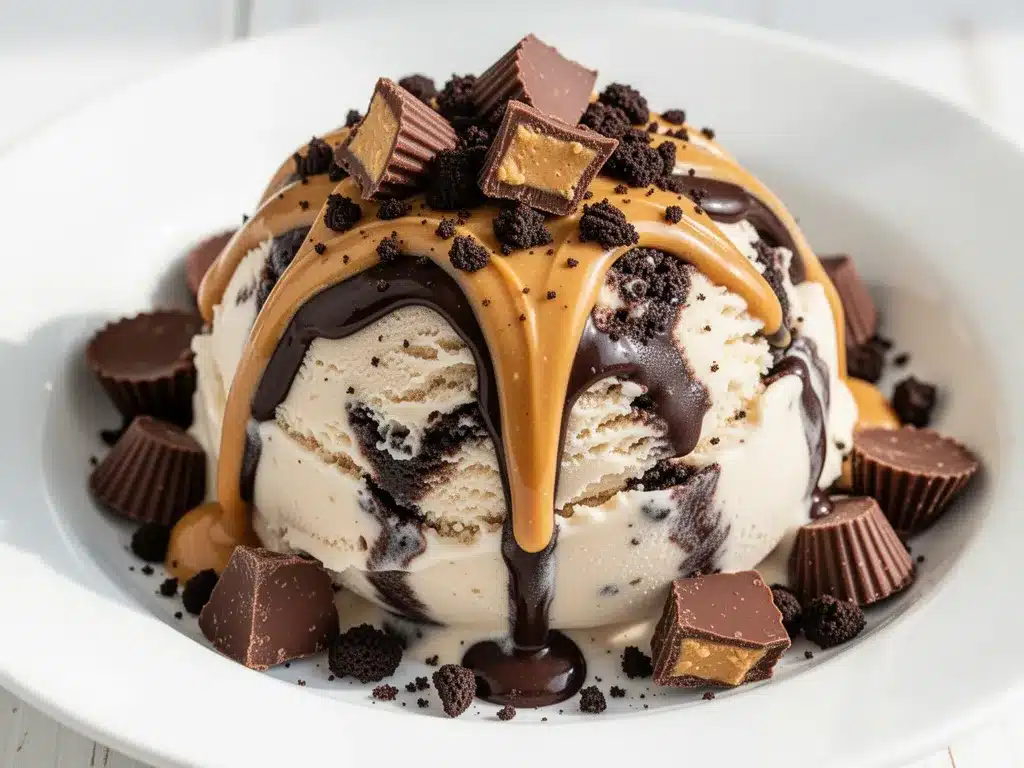
Peanut butter cups (12-15 small cups, chopped) — I use standard Reese’s Pieces cups or mini peanut butter cups. Chop them into rough chunks. Some pieces will be big, some small. That’s good. You want variety in every bite.
Peanut butter (3 tablespoons) — Use creamy, natural peanut butter. Avoid the kind with added oil that separates, or stir it very well. If you use crunchy peanut butter, you’ll get extra texture, but creamy is smoother.
Optional But Recommended
Chocolate chips (½ cup) — I add a handful of semi-sweet chocolate chips for extra chocolatey bits. They stay firm in the freezer, giving you little crunchies.
Sea salt flakes — For sprinkling on top before freezing. It looks fancy and adds a nice salty kick.
Pro Tip: I always buy the mini peanut butter cups in bulk. They’re cheaper per ounce, and I can keep a stash in the freezer for this recipe (and for snacking, don’t judge me).
Equipment Needed
You don’t need fancy gear for this. Here’s what I actually use:
Stand mixer or hand mixer — I use my KitchenAid, but a hand mixer works perfectly. You need something that can whip cream to stiff peaks. A whisk will work, but it’ll take arm-breaking effort.
Large mixing bowls — Two bowls. One for the cream, one for the condensed milk mixture. Make sure they’re clean and dry.
Spatula — A large silicone spatula is best for folding. You want to gently incorporate the ingredients without deflating the whipped cream.
9×5 inch loaf pan — This is the standard size for no-churn ice cream. It fits perfectly in most freezers. Line it with parchment paper or plastic wrap for easy removal later.
Knife — For chopping the peanut butter cups. A serrated knife works well if the cups are frozen solid.
Whisk — For mixing the cocoa powder into the condensed milk.
How to Make It: Step-by-Step
Alright, let’s make this! I’m walking you through exactly how I do it, including the little tricks I’ve picked up over dozens of batches.
Step 1: Prep Your Pan and Peanut Butter Cups (5 minutes)
Line your 9×5 loaf pan with parchment paper, leaving an overhang on the sides. This makes it easy to lift the ice cream out later if you want to slice it or serve it differently. Chop your peanut butter cups into rough chunks. Don’t make them too small, or they’ll disappear into the ice cream. You want to see and taste them.
Step 2: Whip the Cream (3 minutes)
In a large bowl, pour the cold heavy whipping cream. Beat it on medium-high speed until you see soft peaks. Then, keep beating until you have stiff peaks. The cream should hold its shape when you lift the beaters. Be careful not to over-whip it into butter. It should look fluffy and glossy. This usually takes about 2-3 minutes in a mixer.
Step 3: Make the Chocolate Base (2 minutes)
In a separate bowl, whisk the sweetened condensed milk, cocoa powder, vanilla extract, and salt. Whisk vigorously until the cocoa powder is completely dissolved and the mixture is smooth and chocolatey. There should be no lumps. If you have a lumpy base, your ice cream will have lumpy chunks of cocoa, which we don’t want.
Step 4: Fold It Together (3 minutes)
Gently fold the chocolate condensed milk mixture into the whipped cream. Use your spatula to cut down the middle and fold over. Rotate the bowl and repeat. You’re looking for a uniform chocolate color. Do not stir aggressively, or you’ll deflate the cream and end up with dense, icy ice cream. It should take about 30-45 seconds to combine.
Step 5: Add the Mix-ins (2 minutes)
Now, fold in the chopped peanut butter cups and any chocolate chips. Save about half of the peanut butter cup chunks to sprinkle on top later. Fold just until they’re distributed. You don’t want to crush them into dust.
Step 6: Swirl the Peanut Butter (3 minutes)
This is the fun part. Take your 3 tablespoons of peanut butter and drop small dollops across the top of the ice cream mixture in the pan. Use a knife or skewer to swirl them into the chocolate base. Don’t over-swirl. You want marbled ribbons of peanut butter, not a uniform brown color. It should look pretty and chaotic.
Step 7: Freeze (6+ hours)
Cover the pan tightly with plastic wrap or a lid. Freeze for at least 6 hours, but preferably overnight. The longer it freezes, the firmer it gets. I usually make it the night before I plan to serve it.
Step 8: Serve
Let the ice cream sit at room temperature for 5-10 minutes before scooping. This makes it easier to get nice scoops. Sprinkle with sea salt flakes if you’re feeling fancy. Serve in bowls or cones.
Total Time: About 15 minutes active, plus 6+ hours freezing.
Expert Tips & Tricks
Here’s everything I’ve learned from making this dozens of times. These tips will save you from my mistakes.
Cold Cream is Key
Your heavy cream must be ice cold. If it’s warm, it won’t whip. I keep my bowls in the fridge before starting. If your kitchen is hot, you might need to chill the bowl for 15 minutes first. Warm cream = soup, not ice cream.
Don’t Skimp on the Salt
Chocolate and peanut butter are sweet. Salt balances that sweetness and makes the flavors pop. I’ve made this without salt once, and it tasted flat and cloying. Add the salt. Trust me.
Chop, Don’t Puree
When chopping the peanut butter cups, leave them chunky. If you puree them into the mixture, you lose the texture contrast. The whole point of this no-churn chocolate peanut butter cup ice cream is the candy bar experience. Keep the chunks.
Swirl, Don’t Mix
When adding the peanut butter dollops, swirl them gently. If you mix them in completely, you get peanut butter ice cream with chocolate spots. You want ribbons. It’s a visual and textural thing.
Softening Before Scooping
No-churn ice cream can get hard in the freezer. Always let it sit out for 5-10 minutes before scooping. If you try to scoop it straight from the freezer, you’ll break your spoon. And your arm.
Variations & Substitutions
Once you’ve nailed the basic version, here’s how you can mix it up. I’ve tried all of these.
Dark Chocolate Version
Swap the milk chocolate peanut butter cups for dark chocolate peanut butter cups (like Ghirardelli). Add 1 extra tablespoon of cocoa powder. It’s richer and less sweet. Great for adults.
Buttery Pecan Swirl
Skip the peanut butter swirl and use caramel sauce instead. Add ½ cup chopped pecans. It’s like a butter pecan meets chocolate chip cookie. Amazing.
Mint Chocolate Chip Style
Add ½ teaspoon peppermint extract to the base. Use mint chocolate chips instead of peanut butter cups. It’s a totally different vibe, but still creamy and delicious.
Gluten-Free
Most peanut butter cups are gluten-free, but check the label. Some brands use wheat-based fillers. Use certified GF peanut butter cups, and this recipe is naturally gluten-free.
Dairy-Free
Use full-fat coconut cream instead of heavy cream, and dairy-free sweetened condensed milk (coconut based). Use dairy-free chocolate cups. It’s richer and has a coconut flavor, but it works.
Serving & Storage
How to Serve:
I usually serve this straight from the loaf pan with a scoop. It looks rustic and homemade. But here are other ways I’ve enjoyed it:
- Waffle Cones — Warm, crispy waffle cones with cold, creamy ice cream. Classic.
- Chocolate Sauce Drizzle — Warm chocolate sauce poured over the top. Indulgent.
- Cookie Sandwich — Two chocolate chip cookies with a slab of this ice cream in between. It’s like a cookie dough ice cream bar.
Storage Instructions:
Refrigerator: This doesn’t store well in the fridge. It will melt. Store it in the freezer.
Freezer: Store in the freezer for up to 2 weeks. Keep it covered tightly to prevent freezer burn. If you don’t have a loaf pan, transfer it to an airtight container.
Reheating: Never reheat ice cream. Let it soften at room temperature for 5-10 minutes before eating.
Pro Tip: If your ice cream gets too hard after a few days, let it sit out for 10 minutes before scooping. Or, if you’re making it for a party, take it out an hour before serving.
Nutrition Information
I’m not a nutritionist, but here’s the breakdown if you’re tracking. This is a rich, calorie-dense dessert, so portion control is key.
Per Serving (based on 8 servings):
| Calories | 380 |
| Protein | 6g |
| Carbs | 35g |
| Fiber | 2g |
| Sugar | 28g |
| Fat | 24g |
| Saturated Fat | 14g |
| Cholesterol | 60mg |
| Sodium | 120mg |
What’s Good:
- Protein from the peanut butter and milk
- Calcium from the dairy
- No artificial preservatives
What to Know:
- High in sugar and fat (it’s ice cream, after all)
- Contains dairy and peanuts
- Calorie-dense, so a little goes a long way
My Take:
Look, this is a treat. It’s not a health food. But it’s better than store-bought ice cream because you know exactly what’s in it. No gums, no stabilizers, just cream, sugar, chocolate, and peanuts. When I want to make it lighter, I use less peanut butter and more whipped cream. But usually? I just enjoy a small scoop and savor it.
Final Thoughts
So that’s my no-churn chocolate peanut butter cup ice cream! I’ve probably talked your ear off at this point, but when you make a recipe this often, you have a lot to say about it.
This has saved summer dinners more times than I can count. It’s my answer to “what’s for dessert” when I want something special but don’t want to cook. My kids are happy, my husband’s happy, and I’m happy because I’m not stressed about baking a cake.
Make it yours! Try different chocolate chips, swap the peanut butter for almond butter, or add crushed pretzels for a salty-sweet twist. The best recipes are the ones you adapt to your family’s tastes.
If you make this, drop a comment and let me know what you think! I love hearing how recipes turn out in your kitchen. And if something doesn’t work, tell me that too—I’m here to help troubleshoot.
Happy cooking! And I hope your freezer smells half as good as mine does right now.
Frequently Asked Questions
Q: Can I use light cream instead of heavy cream?
A: No, you can’t. Light cream doesn’t have enough fat to whip into stiff peaks. You need heavy whipping cream (35% fat or higher). If you use light cream, your ice cream will be icy and won’t hold its shape. It’s a crucial ingredient.
Q: Why is my ice cream icy?
A: Usually, this means the cream wasn’t whipped enough, or the condensed milk wasn’t fully incorporated. Make sure you whip the cream to stiff peaks and fold gently but thoroughly. Also, make sure your cream is very cold before starting.
Q: Can I make this ahead for a dinner party?
A: Absolutely. This is perfect for make-ahead. Make it 2-3 days in advance. It actually gets better as it freezes. Just make sure to cover it tightly to prevent freezer burn.
Q: Can I use crunchy peanut butter?
A: Yes, you can. It will add extra texture to the swirls. I prefer creamy for a smoother ice cream, but crunchy is a nice variation if you like the bite.
Q: How do I store leftovers?
A: Store in the freezer in an airtight container or the loaf pan covered with plastic wrap. It will last up to 2 weeks. Let it sit at room temperature for 5-10 minutes before scooping.
Q: Can I use milk chocolate instead of peanut butter cups?
A: You can, but you’ll lose the peanut butter flavor. The combination of chocolate and peanut butter is what makes this recipe special. If you skip the peanut butter, it’s just chocolate ice cream, which is fine, but less interesting.
Q: Can I freeze this in a different container?
A: Yes. Any airtight container works. A 9×5 loaf pan is convenient, but you can use a square pan or even a plastic storage bin. Just make sure it’s freezer-safe and airtight.
Pin This Recipe!
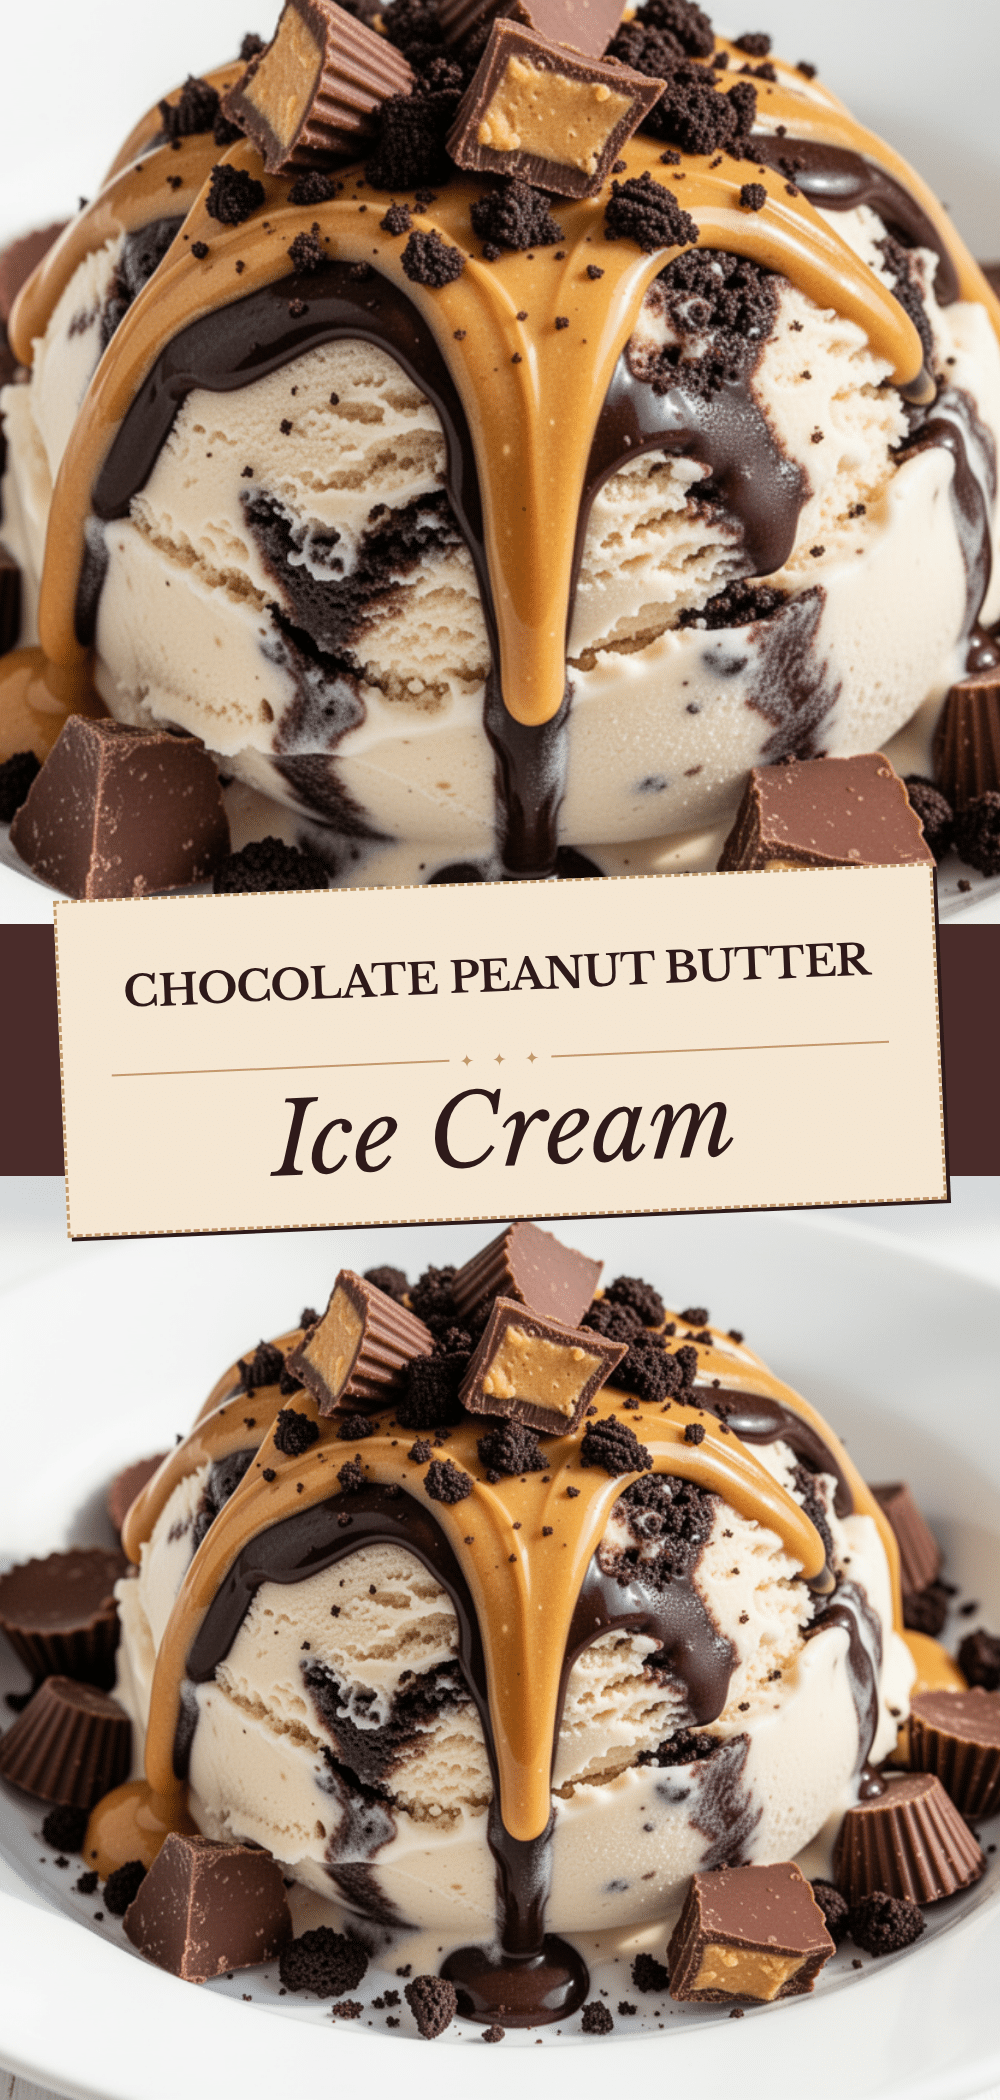
No-Churn Chocolate Peanut Butter Cup Ice Cream
- Total Time: 6 hours 15 minutes
- Yield: 8 servings 1x
Description
A rich, creamy, no-churn ice cream that tastes like a Reese’s Peanut Butter Cup. This easy dessert requires no ice cream machine and features layers of chocolate, peanut butter swirls, and chunky candy pieces.
Ingredients
- 2 cups heavy whipping cream (cold)
- 14 oz sweetened condensed milk
- 1 teaspoon vanilla extract
- 3 tablespoons unsweetened cocoa powder
- 1/2 teaspoon salt
- 12–15 mini peanut butter cups, chopped
- 3 tablespoons creamy peanut butter
- 1/2 cup semi-sweet chocolate chips (optional)
- Sea salt flakes for sprinkling (optional)
Instructions
- Line a 9×5 inch loaf pan with parchment paper, leaving an overhang on the sides for easy removal.
- Chop the peanut butter cups into rough chunks.
- In a large bowl, whip the cold heavy cream on medium-high speed until stiff peaks form.
- In a separate bowl, whisk together the sweetened condensed milk, cocoa powder, vanilla extract, and salt until smooth and lump-free.
- Gently fold the chocolate milk mixture into the whipped cream until uniformly combined, being careful not to deflate the cream.
- Fold in the chopped peanut butter cups and chocolate chips, reserving some peanut butter chunks for the top.
- Pour the mixture into the prepared loaf pan. Drop dollops of peanut butter across the top and swirl gently with a knife to create marbled ribbons.
- Sprinkle with sea salt flakes if desired.
- Cover tightly and freeze for at least 6 hours, preferably overnight.
- Before serving, let the ice cream sit at room temperature for 5-10 minutes to soften slightly for easier scooping.
Notes
Ensure the heavy cream is very cold for best whipping results. Do not use light cream or half-and-half as they will not whip properly. For a gluten-free version, ensure the peanut butter cups are certified gluten-free. The ice cream can be stored in the freezer for up to 2 weeks.
- Prep Time: 15 minutes
- Cook Time: 0 minutes
- Category: Dessert
- Cuisine: American
Nutrition
- Serving Size: 1 scoop
- Calories: 380
- Sugar: 28
- Sodium: 120
- Fat: 24
- Saturated Fat: 14
- Carbohydrates: 35
- Fiber: 2
- Protein: 6
Keywords: no-churn ice cream, chocolate peanut butter, peanut butter cup ice cream, easy dessert, freezer dessert, homemade ice cream, Reese's ice cream


