It was one of those humid July afternoons where the air felt thick enough to chew. I had just spent three hours trying to get my sourdough starter to rise in my overheated kitchen, and the last thing I wanted to do was turn on the oven. I was sweating, stressed, and craving something that felt like a vacation rather than a workout. That’s when I decided to stop fighting the heat and start working with it.
I raided the fridge and found a tub of cream cheese, a bag of slightly bruised blueberries that needed to be used immediately, and a lemon that was screaming to be zested. I didn’t have a recipe. I just had instincts and a desperate need for something cold, sweet, and tangy. I threw together a crust in the food processor, whipped up a filling that tasted like sunshine, and layered it into these little mason jars I’d been saving for years. I popped them in the freezer for an hour while I took a nap, and when I woke up, the world felt right again.
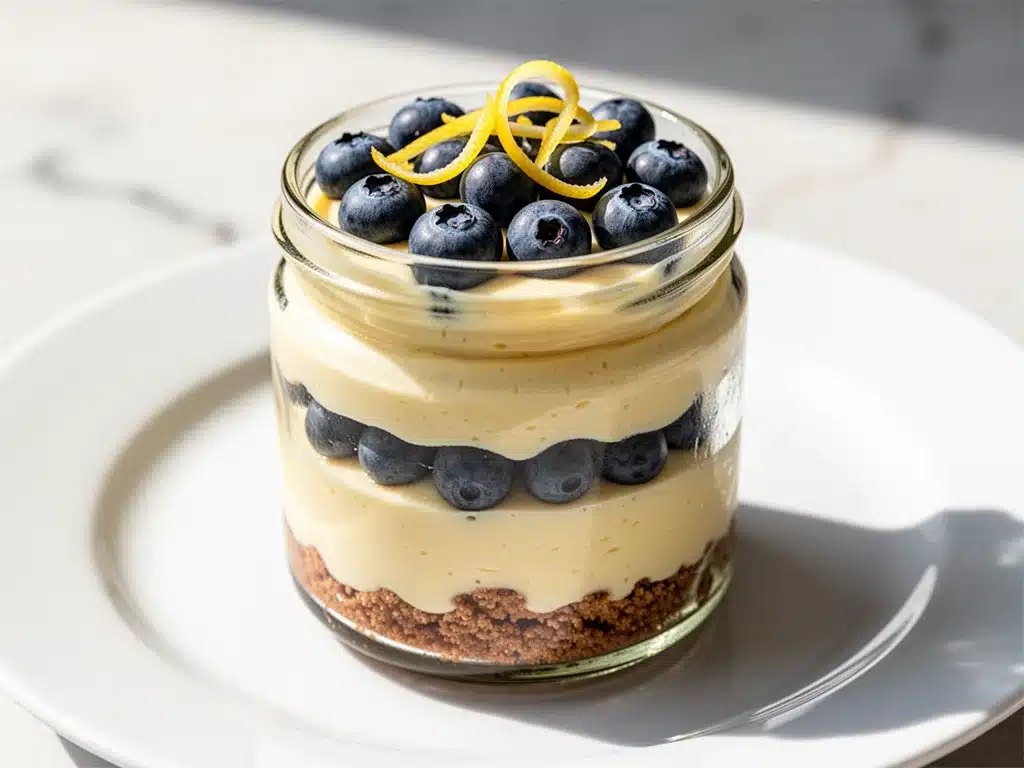
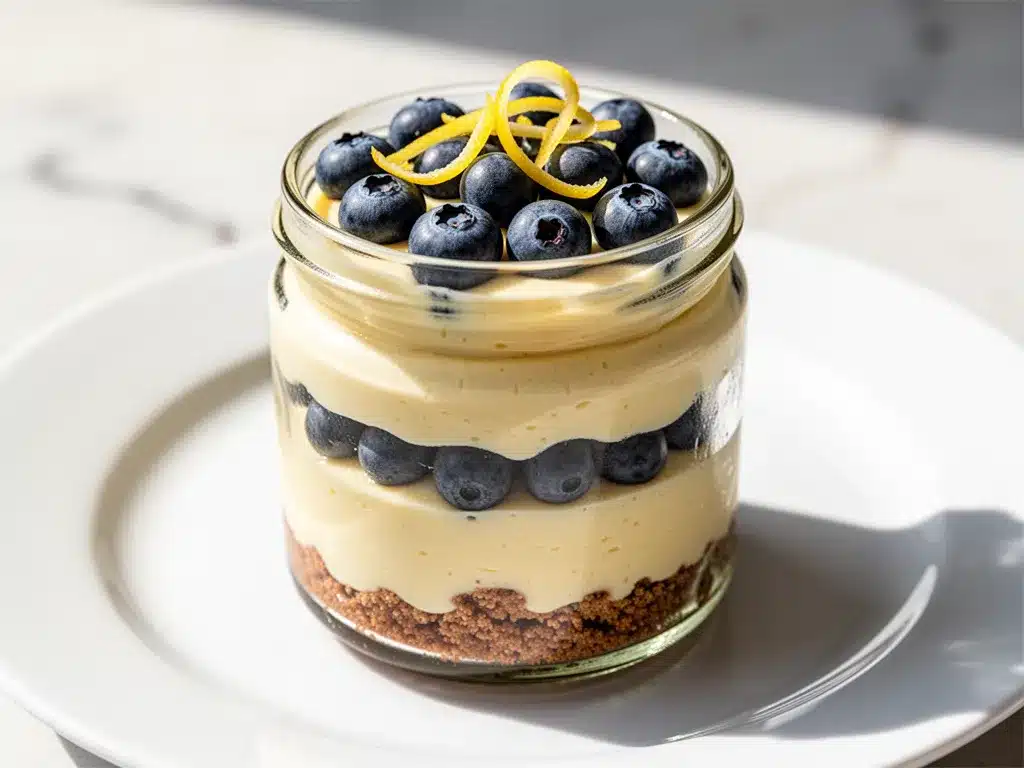
That accidental dessert became my lifeline for the rest of the summer. I’ve made these no-bake lemon blueberry cheesecake jars at least fifteen times since that day. They’ve been my go-to for potlucks, my emergency dessert for unexpected guests, and my personal reward after a long week. There is something deeply satisfying about pulling a jar out of the fridge, seeing that bright yellow and deep purple swirl, and knowing you didn’t have to spend hours in a hot kitchen to get restaurant-quality results.
These jars are more than just a dessert; they’re a solution. They solve the problem of summer heat, the problem of “what do I make when I’m tired,” and the problem of wanting to look like a pro baker when you’re actually just a home cook in sweatpants. The best part? They’re foolproof. If you can blend and spoon, you can make these. And trust me, once you try one, you’ll be making them on repeat. It’s the kind of recipe that changes your summer routine for the better.
Why You’ll Love This Recipe
I know what you’re thinking. “Another cheesecake recipe?” But hear me out. This isn’t your typical heavy, dense cheesecake that leaves you feeling sluggish for hours. These jars are light, airy, and bursting with flavor. I’ve tested this method so many times, and here is exactly why it has taken up permanent residence in my weekly rotation.
- Zero Oven Required — Seriously, this is the biggest selling point. No preheating, no baking time, no cooling rack drama. You just mix, layer, and chill. I made these on a day when my house was 85 degrees inside, and I didn’t break a sweat. Perfect for anyone who hates baking in the summer.
- Make-Ahead Magic — These jars are basically designed to be made ahead. You can assemble them the morning of your party, or even the night before. They taste even better after chilling for 24 hours because the flavors meld together. I love making a batch on Sunday so I have ready-to-go desserts for the week.
- Portion Controlled — Because they’re in jars, you don’t have to slice a whole cake. You get perfect, individual servings every time. No more awkward slices that fall apart. No more debating who gets the biggest piece. Everyone gets their own little masterpiece.
- Texture Perfection — The key to these jars is the contrast. You’ve got the crunch of the graham cracker crust, the smooth creaminess of the cheesecake filling, and the burst of juicy blueberries. It’s not just creamy; it has layers of interest. I’ve served this to people who claim they “don’t like cheesecake,” and they always come back for seconds.
- Super Fast — From start to finish, these take about 20 minutes of active work. The rest is just waiting in the fridge. That’s it. 20 minutes for something that looks like you spent hours at a patisserie. It’s the ultimate cheat code for entertaining.
This recipe has saved me so many times. It’s my answer when I need to impress without the stress. It’s bright, it’s refreshing, and it tastes like summer in a jar. I promise, once you make these, you’ll forget all about complicated bakes.
Ingredients You’ll Need
Here’s the best part: you probably have most of these ingredients already. This isn’t a recipe that requires a trip to three different specialty stores. It’s built on pantry staples and a few fresh touches that make all the difference. I’m particular about a few things here, so pay attention to the details.
For the Crust
Graham cracker crumbs (1 ½ cups / 150g) — You can buy pre-made crumbs, but honestly, crushing your own graham crackers in a food processor gives a better texture. It’s chunkier and more substantial. I use standard honey graham crackers. Don’t use the cinnamon ones unless you want a spicy twist.
Unsalted butter (6 tablespoons / 85g, melted) — This binds the crust. Use real butter, not margarine. The flavor difference is noticeable. Melt it in the microwave or a small saucepan. It should be liquid but not hot.
Granulated sugar (2 tablespoons / 25g) — Just a little bit to sweeten the crust. If your graham crackers are already very sweet, you can skip this, but I find it helps balance the tart lemon.
Pinch of salt — Always add a pinch. It makes the cracker flavor pop.
For the Cheesecake Filling
Full-fat cream cheese (24 ounces / 680g) — This is non-negotiable. Use the block kind, not the spread in the tub. Room temperature is crucial here. If your cream cheese is cold, you’ll get lumps. Take it out of the fridge at least an hour before you start. I’ve ruined batches by rushing this step.
Confectioners’ sugar (1 cup / 120g) — Also known as powdered sugar. Make sure it’s sifted if it’s clumpy. This dissolves into the cream cheese for that silky smooth texture.
Heavy cream (1 cup / 240ml) — Cold heavy cream. Whip this separately to stiff peaks before folding it in. This is what makes the filling light and airy instead of dense and heavy. Don’t skip this step.
Vanilla extract (1 teaspoon) — Use pure vanilla, not imitation. It adds warmth to the tangy filling.
For the Lemon and Berry Layers
Fresh lemons (2 medium) — You’ll need about 3 tablespoons of lemon juice and 2 teaspoons of zest. Bottled lemon juice has a metallic taste that ruins the delicate flavor. Squeeze your own. It takes two minutes.
Blueberries (1 ½ cups / 225g) — Fresh blueberries are best. If you’re using frozen, thaw them and drain them well so they don’t make the filling watery. I like to leave about half of them whole for bursts of flavor, and mash the other half for the swirl.
Honey or maple syrup (1 tablespoon) — Optional, but I add this to the lemon mixture if my lemons are extra tart. It balances the acidity without making it cloyingly sweet.
Optional: Lemon curd (½ cup) — If you want to go all out, you can layer in some store-bought or homemade lemon curd. It adds an extra zing. I sometimes do this for special occasions.
Equipment Needed
You don’t need fancy equipment for this. Here’s what I actually use, along with some alternatives if you’re short on space.
Food processor — This is the easiest way to make the crust. You can do it with a zip-top bag and a rolling pin, but the food processor is faster and gives more even crumbs. I use my Cuisinart, but any standard processor works.
Mixer — A hand mixer or stand mixer is great for whipping the cream cheese and heavy cream. I’ve done this by hand with a whisk before, but it takes about 10 minutes of arm work. If you’re making these once, hand-whisking is fine. If you’re making them regularly, invest in a mixer.
Mason jars or dessert glasses — I use 8-ounce mason jars. They’re cheap, reusable, and look cute. You can also use small dessert cups, parfait glasses, or even ramekins. The key is that they have a lid if you plan to store them in the fridge for a few days.
Spatula — A good rubber spatula is essential for folding in the whipped cream and scraping the sides of the bowl. Don’t use a metal spoon; you won’t get all the air out of the mixture.
Zester or microplane — For getting that fine lemon zest. A regular grater works too, but be careful not to get the white pith, which is bitter. I love my microplane because it’s precise.
How to Make It: Step-by-Step
Alright, let’s make these! I’m walking you through exactly how I do it. It’s simple, but there are a few tricks to keep it perfect.
Step 1: Prep Your Cream Cheese
Start by taking your cream cheese out of the fridge. Let it sit on the counter for at least 30-60 minutes until it’s soft. If you try to beat cold cream cheese, you’ll end up with a lumpy mess that’s hard to fix. Soft cream cheese mixes into a smooth, creamy base instantly.
Step 2: Make the Crust
Pulse your graham cracker crumbs in a food processor until they’re fine. Add the melted butter, sugar, and salt. Pulse again until the mixture looks like wet sand. It should hold together when you pinch it. If it’s too dry, add a little more butter. If it’s too wet, add more crumbs. Press this mixture firmly into the bottom of your jars. Use the bottom of a glass to pack it down tight. You want a solid base, not a crumbly one.
Step 3: Whip the Filling
In a large bowl, beat the softened cream cheese and confectioners’ sugar until smooth and creamy. Scrape down the sides of the bowl. In a separate bowl, whip the cold heavy cream and vanilla extract until stiff peaks form. This means when you lift the whisk, the cream stands up straight. Don’t over-whip it into butter, just stop when it holds its shape.
Step 4: Fold and Flavor
Stir the lemon zest and lemon juice into the cream cheese mixture. Then, gently fold in the whipped cream. Use a spatula and cut down the middle, scrape the bottom, and fold over. Do this just until you see no more white streaks. Over-mixing will deflate the cream and make the filling dense. You want it light and fluffy.
Step 5: Assemble the Jars
Now for the fun part. Spoon a layer of cheesecake filling into each jar, leaving room at the top. Add a spoonful of whole blueberries, then a swirl of mashed blueberries (just mash some with a fork). Add another layer of filling. You can also add a layer of lemon curd here if you’re using it. Repeat until the jars are full. Finish with a dollop of whipped cream and a few fresh blueberries on top for garnish.
Step 6: Chill
Cover the jars with lids or plastic wrap. Refrigerate for at least 4 hours, but ideally overnight. This gives the crust time to set and the flavors time to meld. If you eat them immediately, the crust will be soft and the filling won’t have that creamy, set texture. Patience is key.
Expert Tips & Tricks
Here’s everything I’ve learned from making these dozens of times. These tips will save you from my mistakes.
Room Temperature is Everything
I can’t stress this enough. Your cream cheese MUST be room temperature. I once rushed this by microwaving it, and it melted into a puddle. You can’t whip a puddle. If you forget to take it out, cut it into cubes and let it sit for 15 minutes. It helps.
Don’t Skip the Sift
Powdered sugar often has clumps. If you don’t sift it, you’ll get little sweet pockets in your filling. Sift it into the bowl before you start mixing. It takes 30 seconds and makes a huge difference in texture.
Whip the Cream Properly
Your heavy cream must be cold. If your kitchen is hot, chill your mixing bowl in the fridge for 10 minutes before whipping. If you over-whip the cream, it will curdle. Watch it closely. Once it forms stiff peaks, stop immediately.
The Blueberry Swirl
Don’t just drop whole berries in. Mash half of them into a jam-like consistency and swirl it in. This distributes the blueberry flavor throughout every bite. If you only use whole berries, you might get a bite with no flavor.
Chill Long Enough
I know it’s tempting to eat them right away. But if you chill them for at least 4 hours, the crust sets properly, and the filling firms up. It’s not a soft mousse; it’s a cheesecake. Give it the time it needs.
Variations & Substitutions
Once you’ve nailed the basic version, here’s how you can mix it up. I’ve tried all of these.
Raspberry Lemon
Swap the blueberries for raspberries. Raspberries are even more tart, so you might want to add a little extra sugar to the berry layer. The pink and white swirl is gorgeous.
Strawberry Shortcake
Use crushed strawberry shortcake biscuits instead of graham crackers. Swap the blueberries for sliced strawberries. It’s basically a deconstructed strawberry shortcake in a jar.
Gluten-Free
Use gluten-free graham cracker crumbs or crushed gluten-free cookies. The rest of the recipe is naturally gluten-free. I’ve used GF Oreos crushed up, and they work surprisingly well.
Dairy-Free
This is trickier. Use a dairy-free cream cheese alternative (like Kite Hill) and coconut cream instead of heavy cream. Chill the coconut cream overnight so the solid part separates. Whip the solid part. It’s not exactly the same, but it’s close. I’ve made this for my lactose-intolerant friend, and she loved it.
Extra Zesty
Add an extra tablespoon of lemon juice and a teaspoon more of zest. If you love lemon, this is for you. I sometimes add a little lemon curd to the filling for extra tang.
Serving & Storage
How to Serve:
I usually serve these straight from the fridge. They’re cold and refreshing. I like to garnish with a sprig of mint or a few extra fresh berries. They look elegant on a dessert table, but they’re casual enough for a backyard BBQ.
Side Dishes:
These are rich, so they don’t need much. A simple mixed green salad with a light vinaigrette balances the sweetness. Or serve with some grilled peaches or nectarines for a summer vibe.
Storage Instructions:
Store in the refrigerator in an airtight container for up to 5 days. The crust might get slightly softer over time, but the filling stays good. Don’t freeze them; the texture of the whipped cream changes when thawed. It becomes grainy. Just keep them in the fridge.
Reheating:
Do not reheat. Eat these cold. They are meant to be chilled desserts.
Nutrition Information
I’m not a nutritionist, but here’s the breakdown if you’re tracking. Keep in mind that these are estimates and can vary based on brands and exact measurements.
Per Serving (based on 8 jars):
- Calories: 380
- Protein: 6g
- Carbs: 32g
- Fiber: 1g
- Sugar: 24g
- Fat: 26g
- Saturated Fat: 16g
It’s rich, so a little goes a long way. If you want to lighten it up, use Greek yogurt instead of half the cream cheese, or use light cream cheese. But honestly? It’s a treat. Enjoy it.
Final Thoughts
So that’s my go-to no-bake lemon blueberry cheesecake jars! I’ve probably talked your ear off at this point, but when you make a recipe this often, you have a lot to say about it. These jars have saved me so many times. They’re my answer when I need to impress without the stress. They’re bright, they’re refreshing, and they taste like summer in a jar.
Make it yours! Try different berries, swap the crust, or add a layer of lemon curd. The best recipes are the ones you adapt to your family’s tastes. If you make these, drop a comment and let me know what you think! I love hearing how recipes turn out in your kitchen. And if something doesn’t work, tell me that too—I’m here to help troubleshoot.
Happy cooking! And I hope your kitchen smells half as good as mine does right now.
Frequently Asked Questions
Can I use frozen blueberries?
Yes, but you need to thaw them first and drain them well. Frozen berries release a lot of water, which can make your filling runny. I recommend thawing them in a strainer and patting them dry with paper towels before using. If you use them straight from the freezer, they’ll also turn your filling purple and icy.
Why is my cheesecake filling lumpy?
This almost always happens because the cream cheese wasn’t soft enough. Cold cream cheese doesn’t mix smoothly. If you already have lumps, you can try pressing the mixture through a fine-mesh sieve, but it’s tedious. For next time, plan ahead and leave the cream cheese on the counter for an hour before you start.
Can I make these ahead of time?
Absolutely. These are actually better when made ahead. You can assemble them up to 24 hours in advance. In fact, I recommend making them the night before so the flavors have time to meld. They keep well in the fridge for up to 5 days.
What kind of jars should I use?
I use 8-ounce mason jars with lids. They’re affordable and look cute. You can also use smaller 4-ounce jars if you want bite-sized portions, or larger 12-ounce jars for a bigger dessert. Just adjust the layering accordingly. Any clear glass dessert cup works too.
Can I substitute the graham crackers?
Yes! You can use vanilla wafers, digestive biscuits, or even shortbread cookies for the crust. Just crush them fine and mix with the butter. I’ve used crushed Oreos (remove the filling first) for a chocolate version, and it’s delicious.
Why did my whipped cream deflate?
You might have over-whipped it, or you might have folded it too vigorously. When folding the whipped cream into the cream cheese, be gentle. Use a spatula and cut down the middle, scrape the bottom, and fold over. Do it just until combined. Over-mixing deflates the air you worked so hard to incorporate.
Pin This Recipe!
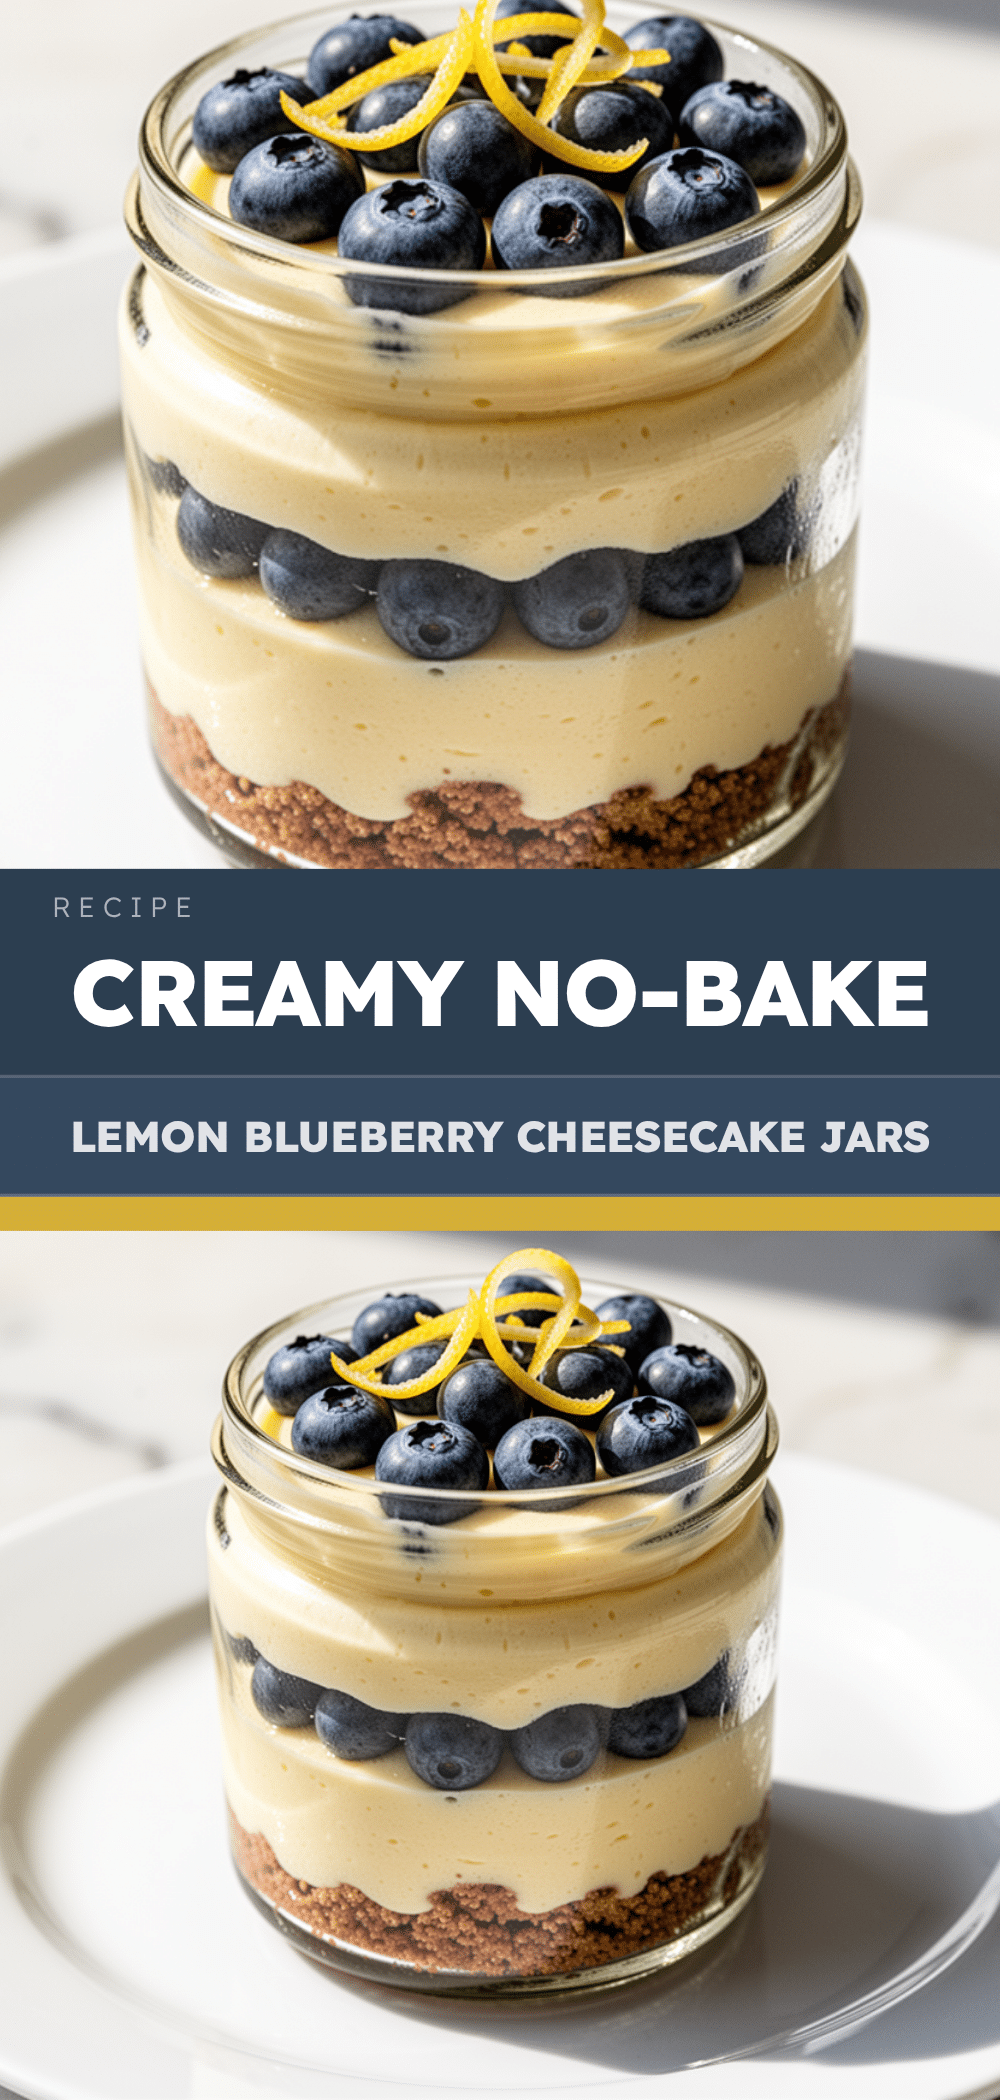
No-Bake Lemon Blueberry Cheesecake Jars
- Total Time: 4 hours 20 minutes
- Yield: 8 servings 1x
Description
Light, airy, and refreshing no-bake cheesecake jars layered with graham cracker crust, lemon-infused cream cheese filling, and fresh blueberries. Perfect for summer entertaining.
Ingredients
- 1 ½ cups graham cracker crumbs
- 6 tablespoons unsalted butter, melted
- 2 tablespoons granulated sugar
- Pinch of salt
- 24 ounces full-fat cream cheese, room temperature
- 1 cup confectioners’ sugar, sifted
- 1 cup heavy cream, cold
- 1 teaspoon vanilla extract
- 2 medium fresh lemons (zest and juice)
- 1 ½ cups fresh blueberries
- 1 tablespoon honey or maple syrup (optional)
- ½ cup lemon curd (optional)
Instructions
- Take the cream cheese out of the fridge and let it sit at room temperature for 30-60 minutes until soft.
- Pulse graham cracker crumbs in a food processor until fine. Add melted butter, sugar, and salt; pulse until the mixture resembles wet sand.
- Press the crust mixture firmly into the bottom of 8-ounce mason jars or dessert glasses using the bottom of a glass.
- In a large bowl, beat the softened cream cheese and confectioners’ sugar until smooth and creamy.
- In a separate bowl, whip the cold heavy cream and vanilla extract until stiff peaks form.
- Stir lemon zest and lemon juice into the cream cheese mixture.
- Gently fold the whipped cream into the cream cheese mixture until no white streaks remain.
- Spoon a layer of filling into each jar, add whole blueberries, and swirl in mashed blueberries. Add another layer of filling.
- Optionally add a layer of lemon curd.
- Repeat layers until jars are full. Garnish with a dollop of whipped cream and fresh blueberries.
- Cover jars and refrigerate for at least 4 hours, ideally overnight, to set.
Notes
Ensure cream cheese is at room temperature to avoid lumps. Sift powdered sugar for a smooth texture. Chill jars for at least 4 hours for the crust to set. Do not freeze as the texture of the whipped cream will become grainy.
- Prep Time: 20 minutes
- Cook Time: 0 minutes
- Category: Dessert
- Cuisine: American
Nutrition
- Serving Size: 1 jar (8 oz)
- Calories: 380
- Sugar: 24
- Fat: 26
- Saturated Fat: 16
- Carbohydrates: 32
- Fiber: 1
- Protein: 6
Keywords: no-bake, cheesecake, lemon, blueberry, summer dessert, mason jar, make-ahead, gluten-free option


