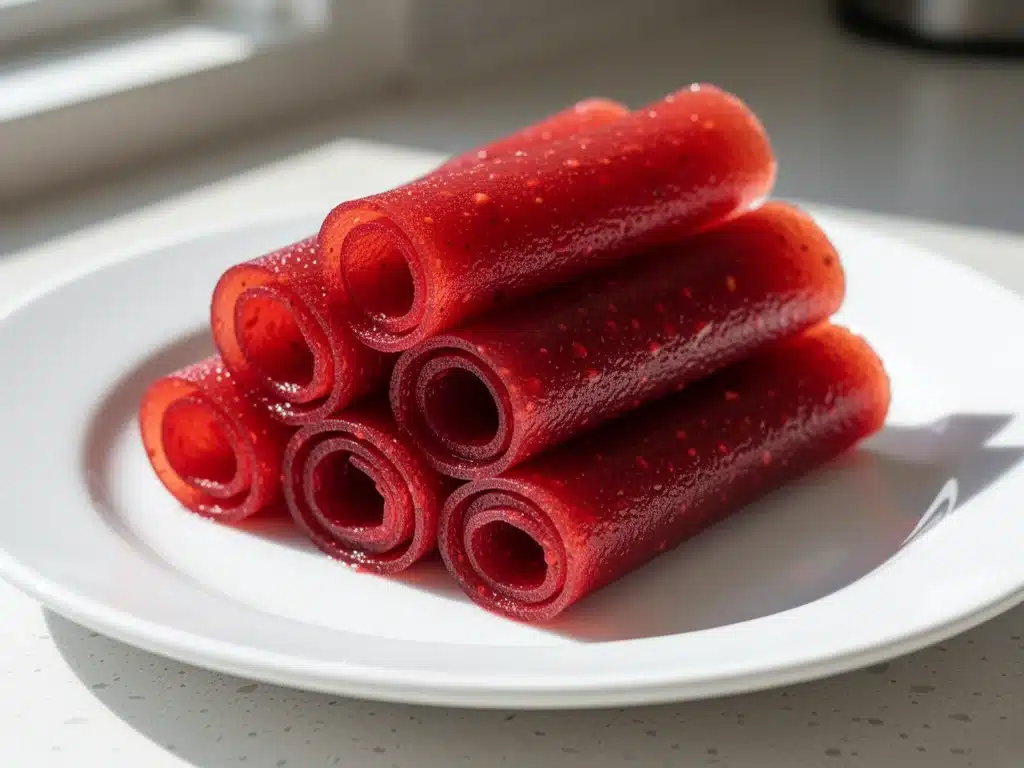
Last Tuesday, I was standing in the cereal aisle of the grocery store, staring at a wall of fruit snacks, and I had a sudden, intense realization: I don’t know what’s in these things. I mean, I *think* I know. Sugar? Corn syrup? Red dye number 6? A mysterious powder that might be actual fruit, or might just be flavoring that smells like fruit? I held up a bright red pouch and read the ingredient list backwards. It was a nightmare. And then I looked at my kid, who was tugging at my pant leg and asking if we could get the “good ones” (the ones that stick to the roof of his mouth and require a dental pick to remove).
I felt that familiar pang of guilt. The one that hits every parent around August when the school year starts and you’re frantically trying to pack lunches that are healthy, cheap, and actually eaten by picky eaters. I wanted to give him real fruit. I wanted him to have a snack that didn’t require a science degree to decode. So, I went home and whipped up a batch of homemade strawberry fruit roll-ups. Not the complicated, dehydrator-required kind that takes three days and costs a fortune. I’m talking about the kind you make on the stovetop in 20 minutes with three ingredients.
I made them that night. He ate one in the car the next morning. Then he ate another one at recess. And then, the miracle happened: he asked for one more. Not because it was sugary junk, but because it was actually delicious. It tasted like summer strawberries. It had the perfect chew. And best of all, I knew exactly what was in it.
This homemade strawberry fruit roll-up recipe has become our go-to for back-to-school season. It’s sticky, it’s sweet, it’s portable, and it’s basically guilt-free candy. If you’ve been looking for a way to ditch the store-bought pouches without spending hours in the kitchen, this is your answer. It’s easier than you think, and it tastes way better than anything in a plastic wrapper.
Why You’ll Love This 3-Ingredient Snack
There are about a dozen reasons I keep making these for my kids, but honestly, they all boil down to three things: simplicity, health, and sanity. Here’s the breakdown of why this homemade strawberry fruit roll-up recipe has replaced every other snack in our house.
Stupid Simple Ingredients — Seriously, you only need three things. Strawberries, lemon juice, and a little bit of honey or maple syrup. That’s it. No pectin, no citric acid, no weird powders. If you can find strawberries at the store, you can make these. I keep frozen strawberries in my freezer specifically for this, because fresh ones are expensive out of season and these work just as well (maybe even better, since they’re picked at peak ripeness).
Lightning Fast Prep — You might think making fruit leather takes forever. It doesn’t. The actual hands-on time is about 10 minutes. The rest is just simmering and drying. I make the puree while the kids do homework, and by the time they’re finished, the sheets are ready to roll up. It fits perfectly into the chaotic back-to-school routine.
Actually Healthy — Let’s be real. Store-bought fruit snacks are basically candy with a fruit story. These are real fruit. They have fiber, natural sugars, and vitamin C. My kids think they’re eating a treat, but they’re getting a vegetable-adjacent snack. I feel good handing them these instead of a granola bar that’s half sugar. Plus, they’re naturally gluten-free and vegan (if you use maple syrup).
Customizable Fun — Once you master the strawberry version, you can make any fruit you want. Raspberry? Blueberry? Mango? Peach? It’s all the same process. You can even mix fruits. I made a strawberry-raspberry batch once that was gorgeous and tart. It keeps the lunchbox interesting without any extra effort.
Budget-Smart — A box of those fancy organic fruit snacks at the store runs you about $4 for two packs. My batch of these costs me about $2 (if I buy frozen berries) and makes enough for 5-6 snack bags. That’s a huge savings over the school year.
This is my answer to the “what’s in his lunchbox?” anxiety. It’s reliable, it’s tasty, and it makes me feel like a pretty decent mom for having it on hand.
Ingredients You’ll Need
Here’s the best part: you probably have most of this already. This homemade strawberry fruit roll-up recipe relies on quality, not quantity. Since there are only three ingredients, the quality of each one matters more than usual.
Strawberries (2 cups, fresh or frozen / about 300g) — This is the star. I use frozen strawberries 80% of the time. Why? Because they’re sweet, soft, and inexpensive. Fresh strawberries are great in summer, but they can be tart or watery depending on the season. Frozen berries are picked at peak ripeness and flash-frozen, so the flavor is consistent. If you use fresh, make sure they’re ripe and red. No white tips!
Lemon Juice (1 tablespoon / 15ml) — This is non-negotiable. The acid brightens up the sweetness of the fruit and helps preserve the color. It also cuts through the cloying sweetness so it doesn’t taste like syrup. Freshly squeezed is best, but bottled juice works fine in a pinch. Don’t skip it—your roll-ups will taste flat without it.
Honey or Maple Syrup (2-3 tablespoons / 30-45ml) — This is where you adjust the sweetness. Strawberries vary in sweetness, so start with 2 tablespoons. Taste the puree after it’s cooked. If it tastes too tart, add more. If it’s already sweet, you might not need any. I prefer honey for its floral notes, but maple syrup gives a nice depth. Use whatever you have.
Optional: Powdered Sugar (1-2 teaspoons) — If you want a smoother texture and don’t mind a tiny bit of extra sugar, a teaspoon of powdered sugar helps dissolve completely. Granulated sugar can leave little gritty bits, so stick to powdered if you use it at all.
For Drying: You’ll need parchment paper or a silicone mat. Do not use aluminum foil—the puree will stick to it like glue, and you’ll lose your mind trying to peel it off. I use a silicone baking mat, which is my favorite kitchen tool ever. It makes cleanup zero. Parchment paper works too, but you might need a light spray of oil if the puree is very wet.
Common Questions:
- Can I use other berries? Yes! Raspberries, blackberries, and blueberries all work. Just note that raspberries have seeds, so you might want to strain the puree if you want a smooth texture.
- Do I need a dehydrator? No. You can use an oven or even just air dry them in a warm, dry spot (though the oven is much faster).
- Can I use sugar-free sweetener? You can, but it might change the texture. Sugar helps with the chewiness. If you’re avoiding sugar, try using less sweet fruit like raspberries or use a sugar substitute that measures 1:1 like sugar.
Equipment Needed
You don’t need fancy equipment for this. Here’s what I actually use, along with some honest opinions on what’s necessary.
Medium Saucepan — I use a 3-quart saucepan. It needs to be wide enough to spread the puree thinly later, but deep enough to handle the bubbling puree without splattering. Stainless steel is great because it heats evenly. I’ve used enamel pots too, which work fine.
Blender or Immersion Blender — A standard blender works perfectly. I blend the cooked berries until smooth. An immersion blender is handy if you’re doing small batches, but a regular blender is faster for 2 cups of fruit. Just be careful with hot liquid—blend in short bursts and hold the lid down.
Baking Sheet — A standard 9×13 inch baking sheet. I use two if I’m making a big batch, but one is enough for this recipe. Make sure it’s a light-colored metal sheet if you’re using an oven. Dark sheets can get too hot and burn the edges.
Parchment Paper or Silicone Mat — As I mentioned, this is crucial. I buy silicone mats in bulk. They’re worth every penny. Parchment paper is a good alternative, but make sure it fits the pan without curling up at the edges.
Offset Spatula — This is the tool that makes spreading the puree easy. I use a small offset spatula to get the puree into the corners and to create an even layer. A regular spatula works, but it’s harder to get that thin, even coat. A thin, even coat dries faster and more consistently.
Knife or Pizza Cutter — For slicing the dried sheets into strips. A pizza cutter is perfect because it rolls cleanly through the sticky leather. A knife works too, but you have to press down firmly, which can be tricky.
Optional: Food Processor — If you’re adding seeds or chunks, a food processor can help break everything down before blending. But for smooth purees, a blender is fine.
How to Make It: Step-by-Step
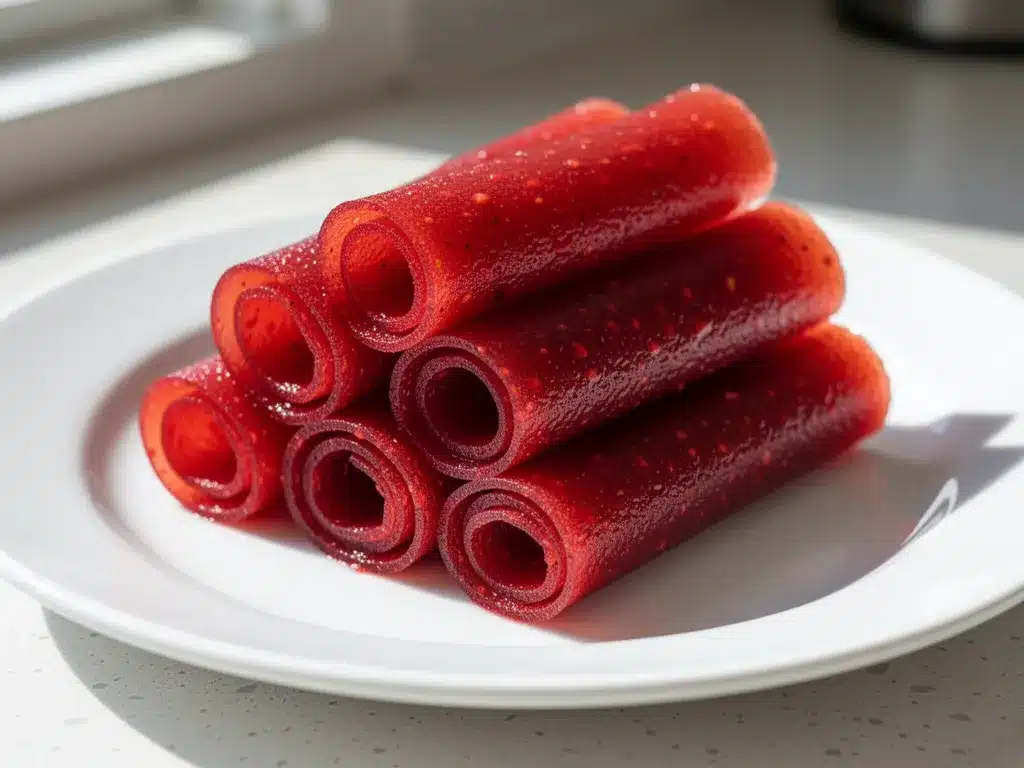
Alright, let’s make this! I’m walking you through exactly how I do it, including the little tricks I’ve picked up so your roll-ups come out perfectly chewy, not crunchy or sticky.
Step 1: Prep Your Pan (2 minutes)
Line your baking sheet with parchment paper or a silicone mat. Make sure it covers the entire bottom. If you’re using parchment, you can lightly spray it with non-stick cooking spray just to be safe. This step is crucial—if you skip the lining, you’ll be scraping fruit leather off metal for hours. I’ve done it. Don’t be me.
Step 2: Cook the Berries (10 minutes)
Put the strawberries, lemon juice, and honey into the saucepan. If you’re using frozen berries, you don’t need to thaw them first—they’ll melt down in the pan. Turn the heat to medium-low. Stir occasionally as the berries break down and release their juices. This takes about 8-10 minutes. You want the mixture to become soft and jammy, not a soupy mess. If it starts to stick to the bottom, lower the heat. The goal is to cook off some of the water so the final product isn’t too wet.
Step 3: Blend Until Smooth (2 minutes)
Remove the pan from the heat. Let it cool for just a minute so you don’t burn yourself. Pour the mixture into your blender. Blend on high until completely smooth. This is important for texture. If you leave chunks, they’ll dry into hard bits that are unpleasant to eat. If you’re using raspberries or blackberries, you can strain the puree through a fine-mesh sieve to remove seeds. I usually skip this for strawberries, but if you’re a texture snob, strain it. Taste the puree now. Is it sweet enough? Add more honey if needed. Remember, it will taste slightly sweeter once it dries.
Step 4: Spread the Puree (5 minutes)
Pour the puree onto your prepared baking sheet. Use your offset spatula to spread it out evenly. You want it to be about 1/8 inch thick. Thicker sheets take longer to dry and might stay sticky. Thinner sheets dry faster but can get brittle. Aim for that sweet spot. Get the puree into the corners! Don’t leave gaps. If you have leftover puree, you can make smaller rounds or just eat it straight from the spoon (I won’t judge).
Step 5: Dry the Roll-Ups (3-6 hours)
This is the waiting game. You have two options: oven drying or air drying.
Oven Method (Faster): Turn your oven to its lowest setting. If your oven goes down to 150°F (65°C), that’s perfect. If it only goes to 170°F or 200°F, prop the door open slightly with a wooden spoon to let moisture escape. Place the sheet in the oven. Dry for 3-4 hours. Check at the 3-hour mark. The edges should pull away from the parchment slightly, and the center should be tacky but not wet. It should feel like a gummy bear—soft and chewy, not hard.
Air Dry Method (Slower but Even): If you have a warm, dry spot in your kitchen (or a sunny windowsill in summer), you can leave the sheet out. Cover it loosely with a clean kitchen towel or a cake dome to keep dust out. Let it dry for 6-12 hours. This method gives a more even texture because there’s no direct heat. I use this method in the winter when my kitchen is cool but not freezing.
Step 6: Roll and Store (5 minutes)
Once the sheet is dry, gently peel it off the parchment paper. It should come off easily. If it sticks, you might need to let it dry a few minutes longer. Cut the sheet into strips about 2 inches wide. You can roll them up like jelly rolls or just fold them into squares. Wrap each piece in parchment paper or plastic wrap. Store them in an airtight container or ziplock bag.
Total Time: About 1 hour 30 minutes (15 minutes active, 1 hour 15 minutes drying)
Expert Tips & Tricks
Here’s everything I’ve learned from making these dozens of times. These tips will save you from my mistakes.
Don’t Rush the Drying
The biggest mistake people make is taking them out too early. If they’re sticky to the touch, they’re not done. They’ll clump together in the bag and get moldy. If you’re unsure, dry them longer. They can always be rehydrated slightly if you add a few minutes of oven time, but you can’t un-dry them.
Watch Your Oven Temperature
Every oven is different. My oven runs hot. I check every hour. If the edges are browning, lower the temperature or move the rack down. You want dehydration, not baking. The color should stay bright red, not dark brown.
Use a Thin Layer
I know it’s tempting to spread it thick because it’s faster to make. But thin layers dry evenly. Thick layers have a wet center and dry edges, which is a texture nightmare. Spread it thin and be patient.
Store Properly
These are moist snacks. If you leave them in a hot car, they’ll melt into a puddle. Keep them in a cool, dry place. They last about 2 weeks in an airtight container at room temperature. In the fridge, they last a month. In the freezer, they last 3 months. I usually freeze them for later in the school year.
Add Texture
If you want a crunch, sprinkle some chia seeds or ground flaxseed on the puree before drying. It adds nutrition and a nice texture. I did this once and my kids loved the little speckles.
Common Mistakes (and how to avoid them):
- Mistake: Roll-ups are too hard. Fix: You dried them too long. Next time, check earlier. If they’re already hard, you can steam them briefly to soften them, but it’s risky.
- Mistake: Roll-ups are too sticky. Fix: They need more drying time. Or, your kitchen is too humid. Try using the oven method if your home is damp.
- Mistake: Puree splatters everywhere. Fix: Stir frequently while cooking. If it bubbles up, turn the heat down immediately.
Variations & Substitutions
Once you’ve nailed the basic strawberry version, here’s how you can mix it up. I’ve tried all of these, and they’re all winners.
Raspberry Lemon
Swap strawberries for raspberries. Strain the seeds if you want smooth. Add an extra teaspoon of lemon juice. This version is tart and sophisticated. Great for older kids or adults.
Blueberry Banana
Use frozen blueberries and one ripe banana. The banana adds natural sweetness and thickness. No honey needed. This version is creamy and mild. Kids who hate tart fruit love this one.
Mango Coconut
Use frozen mango chunks and a splash of coconut milk instead of water. Add a little lime juice. This tastes like a vacation. It’s tropical and bright. Use coconut oil to grease the pan if you’re not using parchment.
Apple Cinnamon
Use peeled, diced apples. Cook them until very soft, then blend. Add a teaspoon of cinnamon. This tastes like apple pie filling rolled up. It’s warm and comforting. Great for fall.
Green Power
Use green grapes or a mix of green apple and pear. Add a little lime juice. It’s less sweet and more refreshing. Good for hot days.
Dietary Modifications:
- Sugar-Free: Use stevia or erythritol instead of honey. Note that the texture might be slightly different.
- Vegan: Use maple syrup or agave instead of honey. Everything else is naturally vegan.
- Gluten-Free: This recipe is naturally gluten-free. Just check your honey and fruit for cross-contamination if you’re severe.
Serving & Storage
How to serve these homemade strawberry fruit roll-ups? They’re perfect for lunchboxes, backpacks, and on-the-go snacking. My kids love to unroll them and eat them like a sheet, or roll them up themselves. It’s fun for them.
Storage Instructions:
Room Temperature: Store in an airtight container for up to 2 weeks. Keep them away from heat and humidity. A pantry or lunchbox cooler bag is ideal.
Refrigerator: Store for up to 1 month. They’ll get firmer in the fridge, so let them sit at room temperature for 10 minutes before eating.
Freezer: Store in a freezer-safe bag for up to 3 months. They freeze well! Thaw in the fridge or at room temperature. This is my favorite method for making a big batch once and using it all month.
Pro Tip: If they stick together in the container, separate them with small squares of parchment paper. I cut parchment into tiny squares and put one between each roll-up. This keeps them from clumping.
Nutrition Information
I’m not a nutritionist, but here’s the breakdown if you’re tracking. This is per serving (based on 6 servings from one batch).
| Nutrient | Amount |
|---|---|
| Calories | 45 |
| Carbs | 11g |
| Fiber | 1.5g |
| Sugar | 8g (natural) |
| Protein | 0.5g |
| Fat | 0g |
What’s Good: Low calorie, no added fat, natural sugars only. Good source of vitamin C from the strawberries. The fiber is modest, but it’s better than nothing.
What to Know: The sugar content is natural, but it’s still sugar. Portion control is key, especially for young kids. These are a treat, not a vegetable replacement. But they’re way better than candy.
Final Thoughts
So that’s my homemade strawberry fruit roll-up recipe! It’s simple, it’s healthy, and it’s a lifesaver for back-to-school lunches. I’ve made this batch at least ten times since August started, and it’s never failed me. My kids think they’re getting a special treat, but I know they’re getting real fruit. That’s a win-win.
Make it yours! Try different fruits, adjust the sweetness, and get your kids involved in the spreading and rolling. It’s a fun kitchen activity. If you make this, drop a comment and let me know what you think! I love hearing how these turn out in your kitchen. And if something doesn’t work, tell me that too—I’m here to help troubleshoot.
Happy snacking! And I hope your kids love these as much as mine do.
Frequently Asked Questions
Can I use fresh strawberries?
Yes! Fresh strawberries work great, especially in the summer. Just make sure they’re ripe and sweet. You might need a little more honey if your berries are tart. Frozen berries are more convenient and consistent, but fresh is delicious.
Why are my roll-ups sticky?
They probably need more drying time. Check them every 30 minutes if they’re still tacky. Sticky roll-ups can clump together, so it’s better to over-dry slightly than under-dry. Also, make sure your kitchen isn’t too humid.
How long do they last?
At room temperature, they last about 2 weeks in an airtight container. In the fridge, up to a month. In the freezer, up to 3 months. I usually freeze them for the longest shelf life.
Can I use a dehydrator?
Yes! Spread the puree on dehydrator sheets and dry at 135°F (57°C) for 6-8 hours. This gives a very even texture and preserves the color beautifully. It’s hands-off, which is nice.
Can I add seeds or nuts?
You can sprinkle chia seeds, flaxseed, or even crushed nuts on the puree before drying. It adds nutrition and texture. Just make sure they stick to the wet puree.
Do I need to strain the seeds?
For strawberries, no. The seeds are small and edible. For raspberries or blackberries, you might want to strain them if you don’t like seeds. It’s a personal preference.
Can I make these sugar-free?
You can use a sugar substitute like stevia or erythritol. However, sugar helps with the texture and chewiness. The result might be slightly different, but it’s still tasty. Try using less sweet fruit like raspberries to balance it out.
Pin This Recipe!
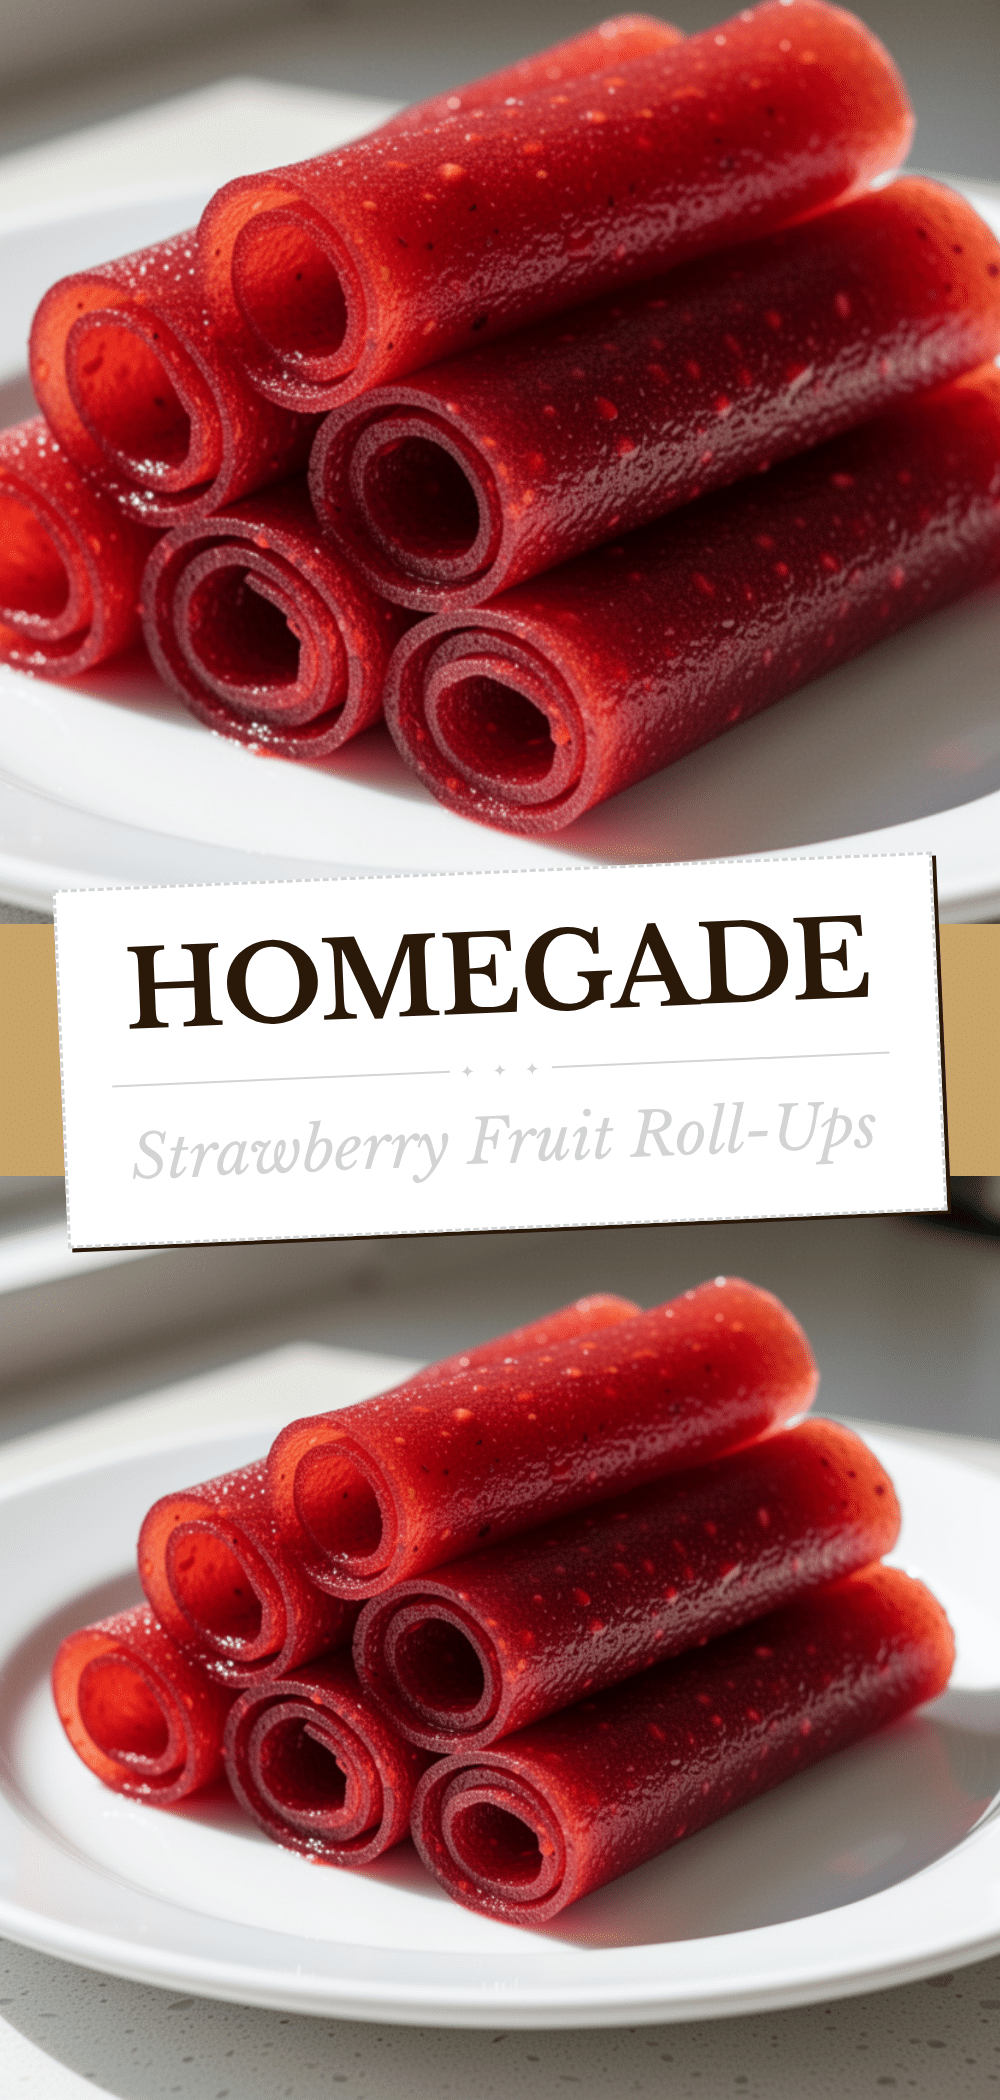

Homemade Strawberry Fruit Roll-Ups: Easy 3-Ingredient Back-to-School Snack
- Total Time: 1 hour 30 minutes
- Yield: 6 servings 1x
Description
A simple, healthy, and customizable homemade fruit snack made with just three ingredients: strawberries, lemon juice, and honey or maple syrup. Perfect for back-to-school lunches and free from artificial additives.
Ingredients
- 2 cups strawberries (fresh or frozen, approx. 300g)
- 1 tablespoon lemon juice
- 2–3 tablespoons honey or maple syrup
- 1–2 teaspoons powdered sugar (optional, for smoother texture)
- Parchment paper or silicone mat (for drying)
Instructions
- Line a 9×13 inch baking sheet with parchment paper or a silicone mat.
- Combine strawberries, lemon juice, and honey in a medium saucepan over medium-low heat.
- Cook for 8-10 minutes, stirring occasionally, until berries break down and become soft and jammy.
- Remove from heat and let cool slightly, then blend until completely smooth.
- Taste the puree and add more honey if needed for sweetness.
- Pour puree onto the prepared baking sheet and spread evenly to about 1/8 inch thickness using an offset spatula.
- Dry in an oven set to the lowest temperature (150°F-170°F) with the door slightly propped open for 3-4 hours, OR air dry in a warm, dry spot for 6-12 hours.
- Check for doneness: edges should pull away, and center should be tacky but not wet.
- Peel dried sheet off the liner, cut into 2-inch strips, and roll or fold.
- Store in an airtight container.
Notes
Frozen strawberries work well and are often more cost-effective. Ensure the puree is spread thinly for even drying. If using raspberries or blackberries, strain the puree to remove seeds. Store in the freezer for up to 3 months for best longevity.
- Prep Time: 15 minutes
- Cook Time: 10 minutes
- Category: Snack
- Cuisine: American
Nutrition
- Serving Size: 1 roll-up
- Calories: 45
- Sugar: 8
- Carbohydrates: 11
- Fiber: 1.5
- Protein: 0.5
Keywords: homemade fruit roll-ups, strawberry snack, back-to-school lunch, healthy kids snacks, 3-ingredient recipe, fruit leather, gluten-free snack, vegan snack


