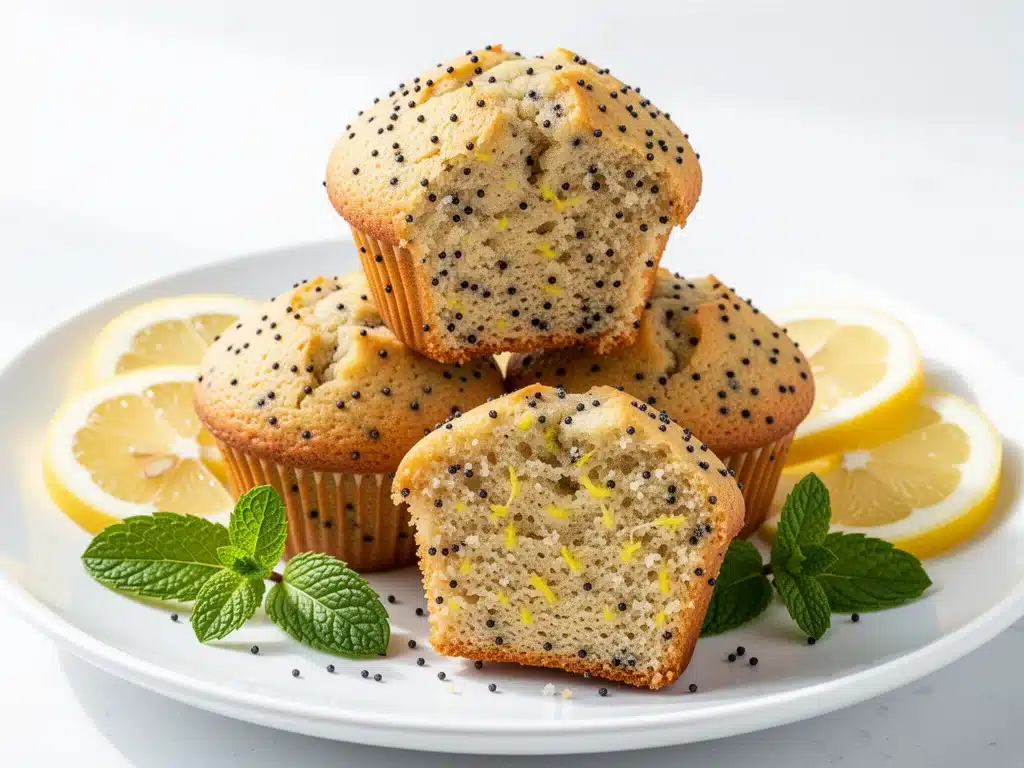
It was 6:45 AM on a Tuesday. The kind of Tuesday that starts with a slammed car door because I forgot my lunchbox inside. I was running late, my toddler was crying because his sock was “wrong,” and I had exactly zero energy for anything complicated. I needed breakfast. I needed it fast. And I needed it to be something my gluten-intolerant husband would actually eat without complaining.
Most muffin recipes are a pain. They require separate bowls, a mixer, and a good hour of waiting. I don’t have that time. Not on a Tuesday. Not when the school bus is literally two minutes away. So, I started experimenting with what I call “dump-and-stir” baking. Just one bowl. Whisk. Pour. Bake. That experimentation led directly to these gluten-free lemon poppy seed muffins. They are now my go-to for busy mornings, last-minute school drop-offs, or when I just need a little pick-me-up that doesn’t make me feel guilty.
I’ve tested this recipe probably two dozen times. Some batches were too dry (too much almond flour, lesson learned), some were too dense (didn’t let the batter rest), and a few were just… okay. But this version? This is the one. It’s bright, tangy, moist, and has that perfect crumb that crumbles just right. The poppy seeds add a nice little crunch that keeps it from being just another sweet muffin. It’s essentially a lemon cake in muffin form, but without the fuss.
What makes these special isn’t just that they’re gluten-free (though that’s huge for us). It’s that they taste like sunshine. The lemon zest is potent, the buttermilk keeps them tender, and they stay fresh for days. I usually make a batch on Sunday, but honestly? I’ve been making them on weeknights because they take literally five minutes of active prep time. You can have these in the oven while you’re brushing your teeth. Or making coffee. Or trying to find the other sock.
Let’s be real. Life is chaotic. Your cooking shouldn’t be. These muffins are my answer to “what’s for breakfast/snack/dessert?” when I’m tired, busy, and just want something delicious. They are light, refreshing, and honestly, better than anything you’ll buy at a gas station. And unlike those dry, cardboard-like gluten-free bakery muffins, these are actually moist and flavorful. I’m not saying I’m perfect, but I am pretty proud of this recipe.
Why You’ll Love These Gluten-Free Lemon Poppy Seed Muffins
There are a lot of muffin recipes out there. So why this one? Why spend five minutes reading about it instead of just grabbing a granola bar? Here’s the deal. These muffins solve the biggest problems I’ve had with gluten-free baking for years. They’re not dry. They’re not crumbly (well, except in the good way). And they don’t require a PhD in chemistry to make.
Zero Mixer Required — Seriously. If you can whisk a fork, you can make these. I use one large bowl. That’s it. No stand mixer, no hand mixer, no washing up a dozen attachments. Just a whisk and a spoon. This is crucial for those mornings when I’m already overwhelmed. I’ve made these while holding a crying baby in one arm. It works.
Actually Gluten-Free Texture — I’m not going to lie to you. Some gluten-free flour blends make muffins that feel like you’re eating a sponge. These don’t. The combination of almond flour and rice flour gives them a tender, cake-like crumb that feels indulgent, not “diet.” My husband, who is very particular about texture, asks for these regularly. And he’s never once asked if they’re “really” gluten-free. He just knows they’re good.
Bright and Flavorful — Lemon can be tricky. Too little, and it’s bland. Too much, and it’s sour. I’ve nailed the balance here. The zest gives you that aromatic punch, the juice adds tang, and the poppy seeds add a nutty depth. It’s not just sweet; it’s complex. I’ve served these to non-gluten-free friends, and they always ask for the recipe. They don’t care that it’s gluten-free; they just care that it tastes amazing.
Make-Ahead Friendly — I bake these on Sundays, but I also bake them on Wednesday nights for Thursday breakfasts. They taste fresh the next day, and they’re still good on day three. I keep them in an airtight container at room temperature, and they stay moist. This is huge for meal prep. I can grab one, throw it in my bag, and have a healthy snack for the afternoon. No more reaching for chips.
Budget-Friendly — You don’t need fancy, expensive ingredients. Almond flour is affordable now. Buttermilk is cheap. Lemons are in season most of the year. This recipe costs about $2 to make for a dozen muffins. That’s less than a dollar each. Compare that to the $4 muffin at the coffee shop, and you’ll see why I’m obsessed. Plus, you control the sugar. I use less than most recipes, so they’re not cloyingly sweet.
This recipe has saved my mornings more times than I can count. It’s reliable, delicious, and forgiving. If you mess up the whisking a little, it’s fine. If you add an extra tablespoon of milk, it’s fine. It’s the kind of recipe that makes you feel like a good parent, a good cook, and a human being who actually enjoys their kitchen. Win-win-win.
Ingredients You’ll Need
Here’s the best part: you probably have most of these ingredients already. I’m particular about a few things, but for the most part, this is standard pantry stuff. I’m using a simple blend of flours that you can find in any grocery store. I’ll tell you exactly what works and what doesn’t, because I’ve wasted money on bad blends before.
Gluten-Free All-Purpose Flour Blend (1 ½ cups / 190g) — This is the base. I recommend a blend that includes xanthan gum, like Bob’s Red Mill 1-to-1 or King Arthur Measure for Measure. If your blend doesn’t have xanthan gum, you’ll need to add ½ teaspoon separately. Don’t use just almond flour or just rice flour alone; they don’t bind right. A blend is key.
Almond Flour (½ cup / 50g) — This adds moisture and a tender crumb. It’s what keeps these from being dry. Use fine-ground almond flour, not meal. The texture matters here. I buy mine in bulk to save money.
Granulated Sugar (¾ cup / 150g) — Standard white sugar works best for texture. You can use coconut sugar, but it will make them denser and darker. I prefer the light, fluffy texture sugar gives. Don’t reduce it too much, or they won’t brown nicely.
Baking Powder (2 teaspoons) — Make sure it’s fresh! Old baking powder is the #1 reason muffins don’t rise. If yours is over a year old, toss it. I keep a fresh can on hand.
Salt (½ teaspoon) — Essential. It balances the sweetness and enhances the lemon flavor. Don’t skip it.
Poppy Seeds (1 tablespoon) — For that classic crunch and visual appeal. You can find them in the spice aisle. If you hate them, you can skip them, but I don’t recommend it. They’re part of the charm.
Unsalted Butter (¼ cup / 57g, melted) — Adds richness. Melt it beforehand so it’s ready to go. I use real butter, not margarine. Margarine doesn’t give the same flavor.
Buttermilk (½ cup / 120ml) — This is the secret to tenderness. The acidity reacts with the baking powder for a lift, and the fat keeps them moist. If you don’t have buttermilk, make a “sour milk” by adding 1 tablespoon lemon juice to ½ cup milk and letting it sit for 5 minutes. It works surprisingly well.
Eggs (2 large) — Room temperature eggs mix better. I take them out of the fridge when I start prepping. If they’re cold, the batter can seize up a bit.
Lemon Zest (2 medium lemons) — Use organic lemons if you can, since you’re eating the peel. The zest is where all the flavor is. Grate it finely. I use a microplane for this. It’s worth the extra second.
Lemon Juice (2 tablespoons fresh) — Bottled juice tastes metallic and fake. Squeeze fresh lemons. It’s easy, and the difference is night and day. Two medium lemons usually gives you enough juice.
Vanilla Extract (1 teaspoon) — Just a hint. It rounds out the lemon flavor. Don’t add too much, or it will overpower the citrus.
Optional Topping — Coarse sugar or extra lemon zest. I sprinkle a little coarse sugar on top before baking for a crunchy, sweet crust. It looks fancy but is totally optional.
Equipment Needed
You don’t need fancy equipment for this. Here’s what I actually use. Most of this is stuff you already have in your kitchen drawer.
One Large Mixing Bowl — I use a 4-quart stainless steel bowl. It’s big enough to mix everything without spilling. Any bowl works, just make sure it’s big.
Whisk — A standard balloon whisk. You need to aerate the dry ingredients and emulsify the wet ones. A fork works in a pinch, but a whisk is faster.
Muffin Tin — Standard 12-cup tin. I use a non-stick one. If you don’t have non-stick, grease it well or use liners.
Muffin Liners — Paper liners make cleanup instant. I use white ones because they look clean and professional. You can bake them naked, but they’ll stick unless you grease the tin well.
Microplane or Zester — For the lemon zest. A regular grater works, but a microplane gives you fine, fluffy zest that mixes in better. I’m obsessed with mine.
Measuring Cups and Spoons — For dry and wet ingredients. Level off your flour. Don’t pack it. Spoon it into the cup and level it with a knife.
Pastry Brush or Spoon — For greasing the tin if you’re not using liners. I rarely do this anymore since I use liners, but it’s good to have.
Wire Rack — For cooling the muffins. If you leave them in the hot tin, they’ll keep cooking and get soggy on the bottom. Let them cool for 5 minutes, then move them to a rack.
Small Zester or Knife — For cutting the lemons. Obviously.
Coffee Mug — For holding the melted butter while you mix. Just a small bowl or mug works.
Timer — Your phone timer. Because I always forget how long I started baking.
That’s it. No electric mixer, no special pans, no fancy gadgets. Just basic kitchen tools. If you can handle a whisk and a spoon, you’re good to go.
How to Make It: Step-by-Step
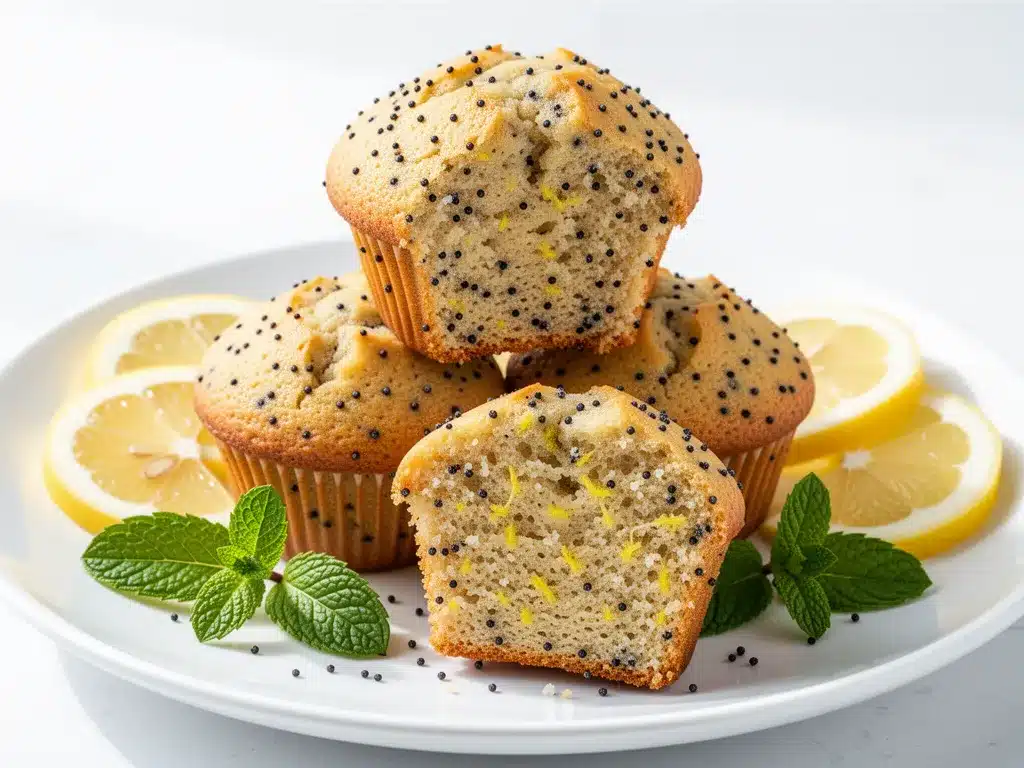
Alright, let’s make these! I’m walking you through exactly how I do it, including the little tricks I’ve picked up over the years. This is designed to be foolproof, even if you’re tired or distracted.
Step 1: Prep Your Oven and Pan (2 minutes)
Preheat your oven to 350°F (175°C). This is crucial. If your oven is cold, the muffins won’t rise properly. While it heats, line your muffin tin with paper liners. Or grease them if you’re not using liners. I line them because cleanup is easier. Set the tin aside.
Step 2: Mix the Dry Ingredients (2 minutes)
In your large bowl, whisk together the gluten-free flour blend, almond flour, sugar, baking powder, salt, and poppy seeds. Whisk them well. This distributes the baking powder evenly so your muffins rise uniformly. I usually whisk for about 30 seconds. Make sure there are no clumps of flour or baking powder.
Step 3: Mix the Wet Ingredients (2 minutes)
In a separate medium bowl or large measuring cup, whisk the melted butter, buttermilk, eggs, lemon zest, lemon juice, and vanilla extract. Whisk until the eggs are fully incorporated and the mixture looks smooth. The butter should be warm but not hot. If it’s boiling, let it cool for a minute so it doesn’t cook the eggs.
Step 4: Combine Wet and Dry (1 minute)
Pour the wet ingredients into the dry ingredients. Use a spatula or spoon to gently fold them together. Stop mixing as soon as the flour is moistened. Do not overmix! Overmixing makes muffins tough. It’s okay if there are a few small lumps. The batter will be thick and slightly lumpy. That’s perfect.
Step 5: Fill the Muffin Cups (2 minutes)
Divide the batter evenly among the 12 muffin cups. I use an ice cream scoop for this—it’s the easiest way to get even portions. If you don’t have a scoop, use two spoons. Fill each cup about ¾ full. This gives them room to rise without spilling over.
Step 6: Bake (18-20 minutes)
Place the tin in the center of the oven. Bake for 18-20 minutes. Don’t open the oven door for the first 15 minutes! Opening it lets heat escape and can cause them to collapse. After 18 minutes, check them. Insert a toothpick into the center of a muffin. If it comes out clean or with a few moist crumbs, they’re done. If it’s wet, give them 2 more minutes.
Step 7: Cool (10 minutes)
Remove the tin from the oven and let it sit on the counter for 5 minutes. This sets the structure. Then, transfer the muffins to a wire rack to cool completely. If you try to eat them hot, they’ll be fragile. Let them cool for at least 10 minutes before digging in.
Total Time: About 25 minutes (5 minutes active, 20 minutes baking). Perfect for a quick morning routine.
Expert Tips & Tricks
Here’s everything I’ve learned from making these dozens of times. These tips will save you from my mistakes.
Don’t Overmix the Batter — I can’t stress this enough. Overmixing is the enemy of tender muffins. Once the flour is moistened, stop. Lumps are fine. Overmixing develops gluten (even in GF blends, some starches can get gummy) and makes them dense.
Use Fresh Lemon Juice — Bottled lemon juice has preservatives that can taste bitter. Fresh juice is bright and clean. Squeeze it yourself. It takes 30 seconds.
Check Your Baking Powder — If your muffins don’t rise, your baking powder is likely old. Test it by dropping a teaspoon into hot water. If it fizzes vigorously, it’s good. If it’s weak, replace it.
Room Temperature Ingredients — Cold eggs and buttermilk can cause the batter to separate. Bring them to room temperature before mixing. It takes 15 minutes on the counter.
Let Them Cool — I know it’s hard to wait. But hot muffins fall apart. Let them cool on a rack. This ensures they hold their shape.
Storage — Store in an airtight container at room temperature for up to 3 days. They stay moist. For longer storage, freeze them. Wrap individually in plastic wrap, then put in a freezer bag. They thaw in 30 minutes.
Variations & Substitutions
Once you’ve nailed the basic version, here’s how you can mix it up. I’ve tried all of these.
Berry Lemon — Fold in ½ cup fresh or frozen blueberries or raspberries. The tartness pairs perfectly with the lemon. Don’t use too many, or they’ll sink.
Coconut Lemon — Replace almond flour with shredded coconut. Add ½ teaspoon coconut extract. It’s tropical and delicious.
Gluten-Free Oat — Use certified gluten-free oats instead of almond flour. Blend them into flour first. It adds a hearty texture.
Sugar-Free — Use erythritol or monk fruit sweetener. Note: it may change the texture slightly. They might be less browned.
Dairy-Free — Use coconut oil instead of butter, and oat milk or almond milk with lemon juice instead of buttermilk. It works well.
Vegan — Use flax eggs (2 tablespoons ground flax + 5 water) instead of eggs, and coconut oil instead of butter. They’re still tasty, but slightly denser.
Serving & Storage
How to Serve: I usually serve these warm, straight from the oven or reheated in the microwave for 20 seconds. They’re great with a cup of coffee or tea. I also pack them in lunchboxes for a healthy afternoon snack.
Side Dishes: Pair with fresh fruit, yogurt, or a smoothie. They’re light enough to not weigh you down.
Storage: Keep in an airtight container at room temperature for 3 days. For longer storage, freeze them. They freeze beautifully. Thaw at room temperature or microwave for 30 seconds.
Reheating: Microwave for 20-30 seconds. Don’t overheat, or they’ll get tough. Oven reheating at 300°F for 5 minutes also works if you want them crisp on the outside.
Nutrition Information
I’m not a nutritionist, but here’s the breakdown if you’re tracking. Per muffin (makes 12):
- Calories: 140
- Protein: 3g
- Carbs: 18g
- Fiber: 1g
- Sugar: 10g
- Fat: 7g
- Saturated Fat: 3g
- Cholesterol: 25mg
- Sodium: 110mg
What’s Good: They’re relatively low in calories and have some protein from the almond flour and eggs. They’re a better option than store-bought pastries.
What to Know: They contain sugar and dairy. If you’re watching sugar, reduce it slightly or use a sugar substitute. They’re not a diet food, but they’re a reasonable treat.
Final Thoughts
So that’s my go-to gluten-free lemon poppy seed muffin recipe! I’ve probably talked your ear off at this point, but when you make a recipe this often, you have a lot to say about it. These muffins have saved my mornings more times than I can count. They’re my answer to “what’s for breakfast?” when I’m tired, busy, and just want something delicious.
Make it yours! Try different add-ins, swap in your favorite citrus, or adjust the sugar. The best recipes are the ones you adapt to your family’s tastes. If you make this, drop a comment and let me know what you think! I love hearing how recipes turn out in your kitchen. And if something doesn’t work, tell me that too—I’m here to help troubleshoot.
Happy baking! And I hope your kitchen smells half as good as mine does right now.
Frequently Asked Questions
Can I use a different gluten-free flour blend?
Yes, but stick to a 1-to-1 blend that includes xanthan gum. If you use a blend without xanthan gum, add ½ teaspoon. Avoid using just rice flour or just almond flour, as they don’t bind well on their own. I’ve tested several brands, and Bob’s Red Mill and King Arthur work best.
Why did my muffins turn out dry?
This usually happens if you overbake them or use too much flour. Make sure you’re measuring your flour correctly (spoon and level, don’t scoop). Also, check your oven temperature. If it’s too hot, they’ll dry out. Use an oven thermometer to verify. Under-baking slightly is better than over-baking.
Can I make these ahead for a party?
Absolutely. Bake them a day ahead and store them in an airtight container. They taste fresh the next day. For longer storage, freeze them. They thaw well and are perfect for breakfast bars or office parties.
Can I use bottled lemon juice?
You can, but fresh juice tastes so much better. Bottled juice has a metallic aftertaste that can ruin the bright lemon flavor. If you must use it, use half the amount and add a bit of zest to compensate. But fresh is worth the effort.
How do I store leftovers?
Store in an airtight container at room temperature for up to 3 days. For longer storage, freeze them. Wrap individually in plastic wrap and put in a freezer bag. They last up to 3 months in the freezer.
Can I double this recipe?
Yes, double everything and use two muffin tins. The baking time stays the same. Just make sure your oven has room for both tins, or rotate them halfway through. I usually bake them in batches if my oven is small.
Why did my muffins not rise?
This is usually due to old baking powder or overmixing the batter. Check your baking powder freshness. Also, make sure you didn’t overmix. Once the flour is moistened, stop. Overmixing makes them dense and prevents rising.
Pin This Recipe!
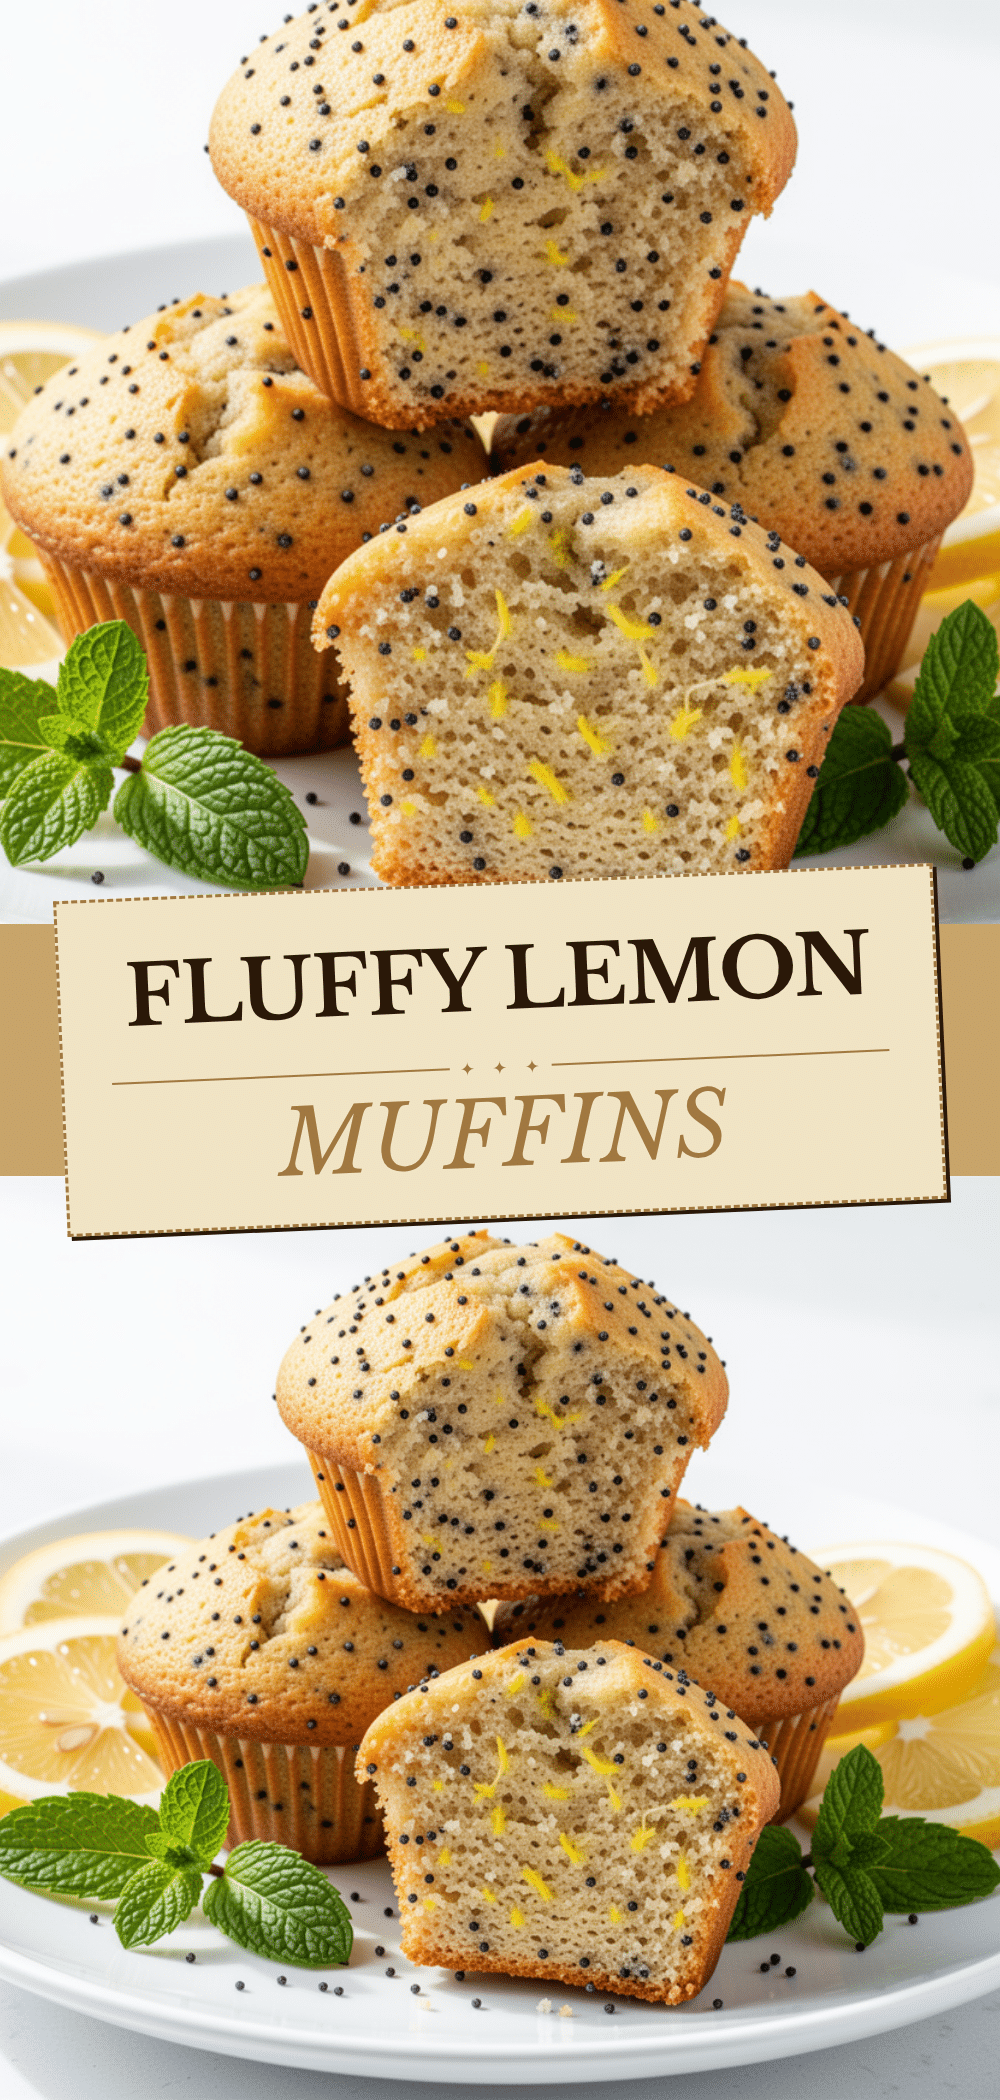

Gluten-Free Lemon Poppy Seed Muffins
- Total Time: 25 minutes
- Yield: 12 servings 1x
Description
A quick, moist, and tangy gluten-free muffin recipe that requires only one bowl and five minutes of active prep time. Perfect for busy mornings and school drop-offs.
Ingredients
- 1 ½ cups Gluten-Free All-Purpose Flour Blend (with xanthan gum)
- ½ cup Almond Flour (fine-ground)
- ¾ cup Granulated Sugar
- 2 teaspoons Baking Powder
- ½ teaspoon Salt
- 1 tablespoon Poppy Seeds
- ¼ cup Unsalted Butter (melted)
- ½ cup Buttermilk
- 2 large Eggs (room temperature)
- Zest of 2 medium lemons
- 2 tablespoons Fresh Lemon Juice
- 1 teaspoon Vanilla Extract
- Coarse sugar for topping (optional)
Instructions
- Preheat oven to 350°F (175°C). Line a standard 12-cup muffin tin with paper liners or grease well.
- In a large mixing bowl, whisk together the gluten-free flour blend, almond flour, sugar, baking powder, salt, and poppy seeds until well combined and free of clumps.
- In a separate medium bowl or large measuring cup, whisk the melted butter, buttermilk, eggs, lemon zest, lemon juice, and vanilla extract until smooth.
- Pour the wet ingredients into the dry ingredients. Gently fold together with a spatula or spoon until just moistened. Do not overmix; small lumps are acceptable.
- Divide the batter evenly among the 12 muffin cups, filling each about ¾ full. Sprinkle with coarse sugar if desired.
- Bake for 18-20 minutes, or until a toothpick inserted into the center comes out clean or with a few moist crumbs. Do not open the oven door for the first 15 minutes.
- Let the muffins cool in the pan for 5 minutes, then transfer to a wire rack to cool completely before serving.
Notes
Ensure baking powder is fresh for proper rising. Do not overmix the batter to avoid tough muffins. Room temperature ingredients help prevent separation. Store in an airtight container at room temperature for up to 3 days, or freeze for longer storage.
- Prep Time: 5 minutes
- Cook Time: 20 minutes
- Category: Breakfast
- Cuisine: American
Nutrition
- Serving Size: 1 muffin
- Calories: 140
- Sugar: 10
- Sodium: 110
- Fat: 7
- Saturated Fat: 3
- Carbohydrates: 18
- Fiber: 1
- Protein: 3
Keywords: gluten-free, lemon poppy seed muffins, quick breakfast, busy weeknight recipe, dairy-free option, vegan option, muffin recipe, one bowl baking


