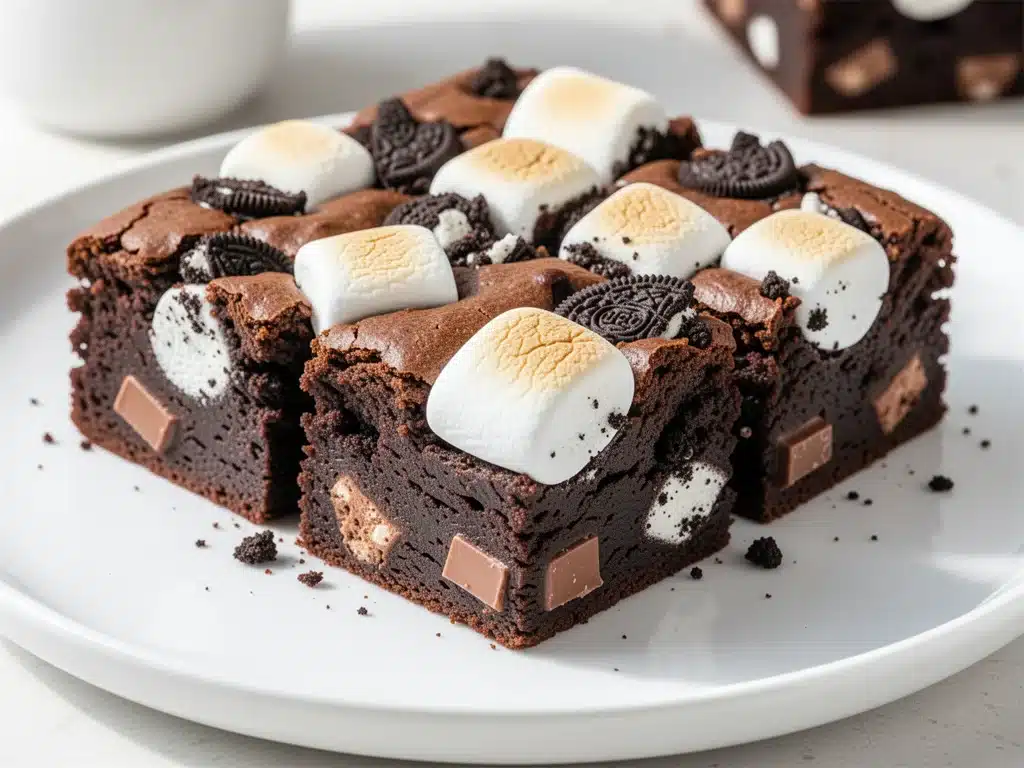
There is a specific kind of magic that happens when chocolate meets marshmallow. It’s not just dessert; it’s a memory. For me, that memory smells like burnt sugar and warm cocoa powder, echoing the Sunday afternoons I spent in my aunt’s kitchen watching her fold giant, squishy marshmallows into thick, dark batter. I was always the kid who wanted the brownies with the gooey centers, the ones that stained your fingers black and made you argue with your siblings over the last piece. Those weren’t just brownies. They were Rocky Road brownies.
I’ve been making Fudgy Rocky Road Brownies with Marshmallows for years, and honestly, they’ve never failed to get a reaction. Whether it’s a potluck where people are picking at random snacks or a late-night craving that hits at 10 PM, these brownies deliver. The first time I made them for my book club, the room went quiet for about thirty seconds of pure chewing silence. Then came the questions: “Where did you buy these?” “Can I get the recipe?” “Is it possible to have two?”
That’s the thing about this particular batch of brownies. They look complicated—layered, studded with goo, slightly messy—but they’re actually incredibly straightforward. I used to think making Rocky Road brownies from scratch was some high-level patisserie skill. Turns out, it’s just about getting the chocolate right and not overbaking them. I’ve tested this recipe at least a dozen times, tweaking the ratio of marshmallows to chocolate, adjusting the baking time by minutes, and learning exactly how to keep those marshmallows from sinking to the bottom (spoiler: you have to layer them right). Now, they’re my go-to for impressing people without spending hours in the kitchen. If you want a treat that’s rich, nostalgic, and absolutely impossible to resist, you need to try these.
Why You’ll Love This Recipe
Look, there are a million brownie recipes out there. But Fudgy Rocky Road Brownies with Marshmallows sits in a category all its own. It’s not just chocolate; it’s texture. It’s contrast. Here’s why these keep ending up on my counter:
- The Texture Battle — This is the big one. You get that dense, fudgy, almost cake-like (but not cakey) chocolate base, then you have the chewy, sticky marshmallows, and often a crunch of nuts or chips. Every bite is different. One moment you’re biting into rich dark chocolate, the next you’re pulling apart a string of melted marshmallow. It keeps your palate interested.
- Marshmallow Magic — Regular brownies are great, but adding marshmallows changes the game. When baked correctly, the marshmallows puff up slightly, then settle into gooey pockets. They add a sweetness that balances the bitterness of high-quality cocoa. It’s the same vibe as s’mores, but in a brownie form. It’s comforting in a way that feels indulgent but not heavy.
- Impressive Without Effort — I can’t tell you how many times I’ve walked into a party with a pan of these brownies and been treated like a celebrity. They look artisanal. They look like they came from a fancy bakery. But really, you just dumped ingredients into a bowl, melted some chocolate, and waited. It’s the ultimate “I didn’t try too hard but I still look like a genius” move.
- Customizable Base — While I stick to my classic version, these are a blank canvas. Do you like peanuts? Add them. Do you like white chocolate chips? Throw them in. Do you prefer a minty Rocky Road? Swap the chocolate. The structure holds up to whatever you throw at it.
Real talk? These are my answer to “What should I bring to the barbecue?” or “What should I make when I need a pick-me-up?” They work for breakfast (okay, maybe not breakfast, but you get it), dessert, midnight snacks, or gifts in mason jars. They’re versatile, reliable, and always delicious.
Ingredients You’ll Need
One of the best things about Fudgy Rocky Road Brownies with Marshmallows is that you likely have most of this in your pantry already. I’m not asking for exotic spices or hard-to-find flours. This is about quality chocolate and good butter. Here’s what you need:
For the Brownie Base
Dark Chocolate (60-70% cocoa) (8 ounces / 225g) — This is the star. Don’t use chocolate chips; they have stabilizers that prevent proper melting. Buy a bar of good quality dark chocolate and chop it yourself. I love Ghirardelli or Lindt. The higher the cocoa percentage, the more intense the flavor, but 60% is the sweet spot for fudginess.
Unsalted Butter (½ cup / 115g) — Room temperature is fine, but melted works too. I usually melt it along with the chocolate. Butter adds richness and helps create that shiny, crackly top. Use real butter, not margarine. It makes a huge difference in flavor.
Granulated Sugar (1 cup / 200g) — White sugar helps create that thin, crispy crust on top. If you want a chewier brownie, you can swap half for brown sugar, but I stick to white for the classic Rocky Road look.
Eggs (2 large) — Room temperature eggs mix better. Don’t skip these; they provide structure. If you’re egg-sensitive, you can try a flax egg, but the texture will be different.
Vanilla Extract (1 teaspoon) — Pure vanilla is best. It rounds out the chocolate flavor and adds warmth. Artificial vanilla tastes chemical in brownies.
All-Purpose Flour (¾ cup / 95g) — Don’t overmeasure this. Spoon it into the cup and level it off. Too much flour makes them cakey. We want fudgy.
Cocoa Powder (¼ cup / 20g) — Unsweetened cocoa powder adds extra chocolate depth. I use Hershey’s or Droste. Sift it if it’s lumpy.
Salt (½ teaspoon) — Essential. Salt makes chocolate taste more like chocolate. Don’t skip it.
For the Rocky Road Layer
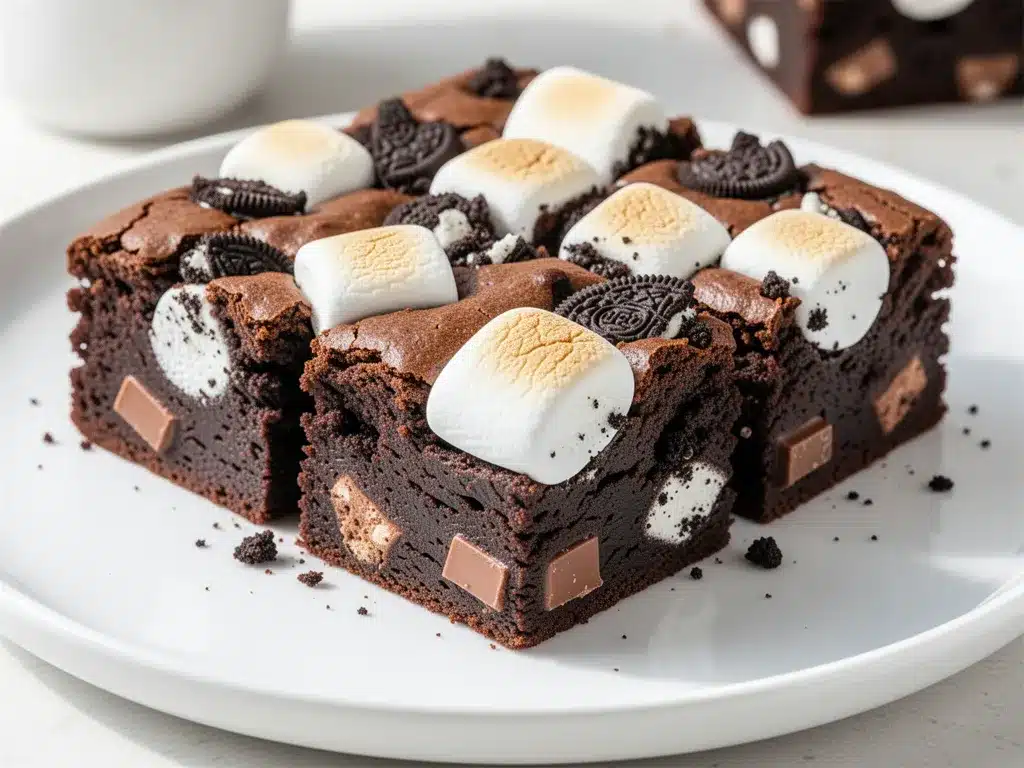
Mini Marshmallows (2 cups / 150g) — Use mini marshmallows. They distribute evenly and melt into little pockets. Large marshmallows will just sit on top and burn. I buy the store-brand bags; they’re cheaper and work just as well.
Chocolate Chips (½ cup / 85g) — Semi-sweet or dark chocolate chips. These add extra chocolate bursts. You can also use chopped chocolate bar pieces if you prefer.
Roasted Peanuts (½ cup / 60g) — Classic Rocky Road. I use salted roasted peanuts. If you hate peanuts, swap for walnuts or pecans. Or skip them entirely if you’re a purist.
White Chocolate Chips (Optional) (½ cup / 85g) — This adds a creamy contrast and looks pretty. I like it, but it’s not traditional. Feel free to omit if you want it all dark.
Equipment Needed
You don’t need fancy gadgets. Here’s what I actually use:
9×9 Inch Baking Pan — I prefer square for thicker brownies. Line it with parchment paper, leaving an overhang on the sides. This is crucial for lifting the brownies out later. Grease the parchment lightly.
Microwave-Safe Bowl or Double Boiler — For melting chocolate and butter. I use the microwave in 30-second intervals, stirring in between. It’s faster and easier than a double boiler if you’re careful.
Mixing Bowls — Two medium bowls. One for wet ingredients, one for dry.
Whisk and Spatula — A silicone spatula is your best friend for scraping the bowl. You don’t want to waste any batter.
Knife — For chopping the chocolate bar. A serrated knife works well for chocolate.
Cooling Rack — To cool the brownies before cutting. Cutting warm brownies is messy and they’ll fall apart.
How to Make It: Step-by-Step
Alright, let’s make these bad boys. It’s easy, but there are a few tricks to keep them fudgy and the marshmallows from sinking.
Step 1: Prep Your Pan and Oven (5 minutes)
Preheat your oven to 350°F (175°C). Line your 9×9 inch pan with parchment paper. Leave a little overhang on the long sides—that’s your handle for lifting the brownies out later. Lightly grease the parchment with butter or cooking spray. This ensures nothing sticks.
Step 2: Melt the Chocolate and Butter (3 minutes)
Break your dark chocolate into chunks and place them in a microwave-safe bowl with the butter. Microwave on high for 30 seconds. Stir. If it’s not fully melted, microwave for another 15-20 seconds. Stir until smooth and glossy. Let it cool for a minute so it doesn’t cook the eggs when you add them.
Step 3: Mix the Wet Ingredients (2 minutes)
To the melted chocolate mixture, add the sugar, eggs, and vanilla extract. Whisk vigorously. You want to incorporate air here, which helps with that shiny crust. Whisk until the mixture looks thick and glossy. This might take a minute. Don’t rush it.
Step 4: Add the Dry Ingredients (2 minutes)
In a separate bowl, whisk together the flour, cocoa powder, and salt. Then, gently fold the dry ingredients into the wet chocolate mixture using your spatula. Stop as soon as you no longer see streaks of flour. Overmixing develops gluten, which makes brownies cakey. We want fudgy. If there are a few tiny lumps of flour, that’s okay.
Step 5: Prepare the Rocky Road Mix (2 minutes)
In a small bowl, toss the mini marshmallows, chocolate chips, and peanuts together. This helps distribute them so you don’t get a whole clump of marshmallows in one square.
Step 6: Layer the Brownies (3 minutes)
Here’s the secret to getting marshmallows *inside* the brownie without them sinking: Pour half of the brownie batter into the prepared pan. Spread it out evenly. Sprinkle half of your marshmallow/chip/nut mix over the batter. Pour the remaining batter on top and spread it gently. Finally, sprinkle the remaining marshmallow mix on top. The top layer of marshmallows will puff up and look beautiful. The middle layer gets embedded in the fudgy center.
Step 7: Bake (25-30 minutes)
Place the pan in the center of the oven. Bake for 25-30 minutes. The edges should be set and pulling away slightly from the pan. The center should still look slightly soft and jiggly. Do not overbake! They continue to cook as they cool. If you bake them until the center is firm, they’ll be dry. A toothpick inserted into the center should come out with moist crumbs, not wet batter, and definitely not clean.
Step 8: Cool and Cut (1 hour)
Let the brownies cool in the pan on a wire rack for at least 30 minutes, preferably an hour. They need to set. If you cut them warm, they’ll be a mess. Once cooled, use the parchment overhang to lift them out of the pan. Cut into squares. Enjoy!
Expert Tips & Tricks
After making these dozens of times, here’s what I’ve learned to make them perfect every time.
Don’t Skimp on the Chocolate
This is the most important tip. Cheap chocolate tastes waxy and sweet. Good chocolate tastes like chocolate. Invest in a decent bar. It’s worth the extra few dollars.
The Marshmallow Trick
If you just dump marshmallows on top, they might melt into a single layer. Layering them (half in the middle, half on top) ensures gooey pockets throughout. Also, using mini marshmallows is key. They melt faster and more evenly.
Room Temperature Eggs
It sounds like a basic tip, but cold eggs can cause the melted chocolate to seize up slightly or not emulsify properly. Take your eggs out of the fridge 20 minutes before you start.
Don’t Overmix
I cannot stress this enough. Once you add the flour, mix until *just* combined. Lumpy batter is better than overmixed batter for fudgy brownies.
The Toothpick Test
Everyone’s oven is different. Start checking at 25 minutes. If the toothpick comes out with wet batter, give it 2 more minutes. If it comes out with moist crumbs, pull it out. If it’s clean, you’ve overbaked it.
Variations & Substitutions
Once you’ve mastered the basic Fudgy Rocky Road Brownies with Marshmallows, here are some ways to mix it up.
White Chocolate Rocky Road
Skip the dark chocolate in the base and use white chocolate chips instead. It’s sweeter and creamier. Add crushed pretzels instead of peanuts for a salty-sweet twist.
Mint Rocky Road
Add 1 teaspoon of peppermint extract to the batter. Use mint chocolate chips instead of regular chocolate chips. It tastes like an After Eight candy bar.
Nut-Free Version
Simply omit the peanuts. The brownies are still great with just the marshmallows and chocolate chips. Or swap peanuts for toasted coconut flakes for a different crunch.
Vegan Option
Use dairy-free chocolate and butter. Use flax eggs (1 tbsp ground flaxseed + 3 tbsp water per egg). Use vegan marshmallows (most standard marshmallows contain gelatin, which isn’t vegan, but many brands now make vegan ones). Use dairy-free chocolate chips.
Serving & Storage
These brownies are best served at room temperature. They’re too gooey to eat straight from the fridge.
Storage
Store leftovers in an airtight container at room temperature for up to 3 days. If your kitchen is hot, they might get too soft, so maybe the fridge is better, but let them come to room temperature before eating. They can also be frozen. Wrap individual squares in plastic wrap and freeze for up to 2 months. Thaw at room temperature.
Serving Suggestions
Serve with a cold glass of milk, a scoop of vanilla ice cream, or a dollop of whipped cream. I like them with a sprinkle of sea salt on top right before serving. The salt contrasts beautifully with the sweet marshmallows.
Nutrition Information
I’m not a nutritionist, but here’s a rough estimate per brownie (based on 16 squares):
- Calories: 320
- Fat: 18g
- Carbs: 38g
- Sugar: 28g
- Protein: 4g
These are indulgent treats. High in sugar and fat, but that’s the point. Enjoy them in moderation or share them with friends so you don’t eat the whole pan alone (I won’t judge).
Final Thoughts
So there you have it. My go-to recipe for when I need to impress, comfort, or just satisfy a serious chocolate craving. Fudgy Rocky Road Brownies with Marshmallows are easy to make, hard to resist, and always a crowd-pleaser. I hope you make them and love them as much as I do. If you do, drop a comment and let me know how they turned out. Did you add extra peanuts? Did you use white chocolate? I want to hear about your variations. Happy baking!
Frequently Asked Questions
Can I use large marshmallows?
You can, but they won’t melt as evenly. They’ll likely stay whole and create big pockets of chewiness. For the classic Rocky Road texture, mini marshmallows are best. If you only have large ones, cut them in half.
Why did my brownies turn out cakey?
You probably overmixed the batter or used too much flour. Also, baking them too long can dry them out. Remember, fudgy brownies need less flour and less mixing than cakey ones. Underbake slightly for fudginess.
Can I make these ahead of time?
Yes! Make them a day ahead. They actually taste better the next day as the flavors meld. Store them in an airtight container at room temperature.
Can I freeze the batter?
It’s better to bake them and then freeze the baked brownies. Freezing raw batter with marshmallows can cause them to get soggy or sink unevenly when thawed.
What if I don’t have peanuts?
Swap them for walnuts, pecans, or even pretzel pieces. Or just omit them. The brownies are still delicious without nuts.
Pin This Recipe!
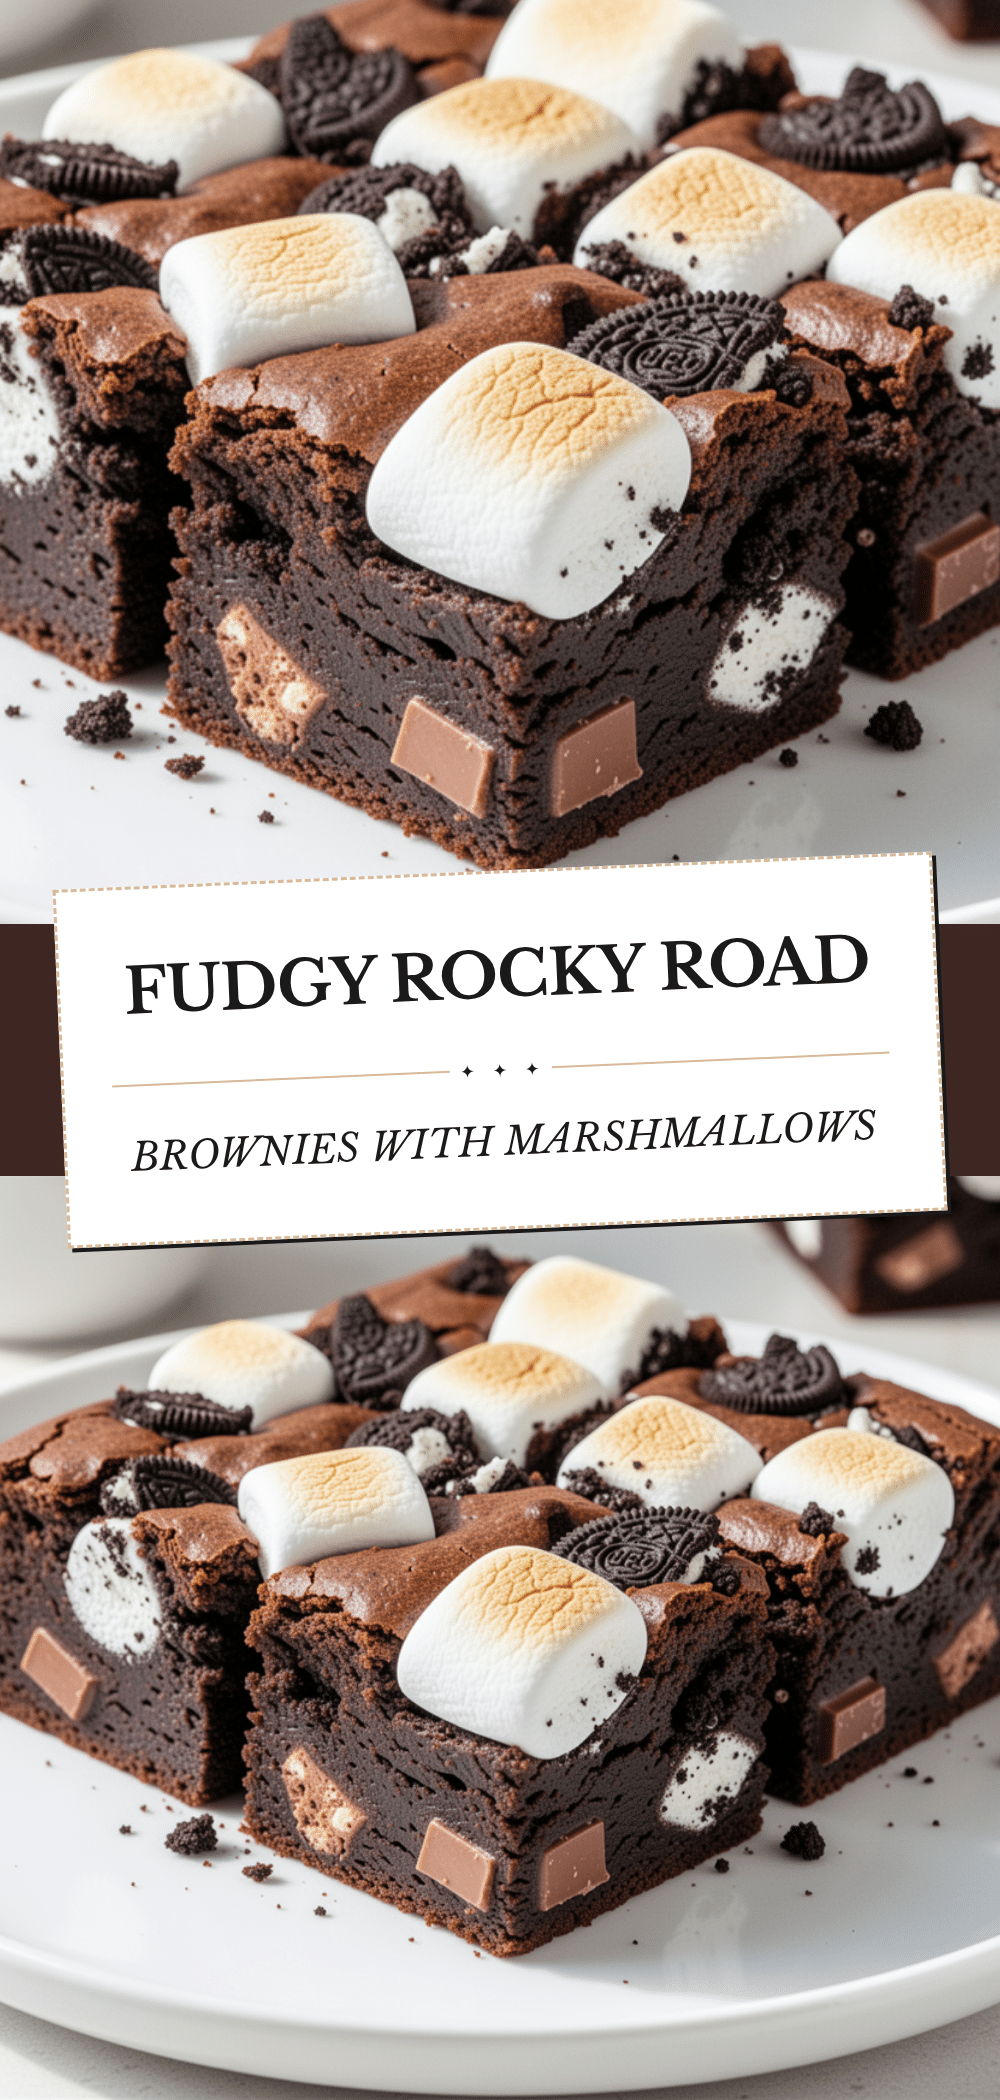
Fudgy Rocky Road Brownies with Marshmallows
- Total Time: 45 minutes
- Yield: 16 servings 1x
Description
Rich, fudgy brownies layered with mini marshmallows, chocolate chips, and roasted peanuts for a nostalgic Rocky Road treat that is easy to make but impressive enough for any occasion.
Ingredients
- 8 ounces (225g) dark chocolate (60-70% cocoa), chopped
- ½ cup (115g) unsalted butter
- 1 cup (200g) granulated sugar
- 2 large eggs, room temperature
- 1 teaspoon vanilla extract
- ¾ cup (95g) all-purpose flour
- ¼ cup (20g) unsweetened cocoa powder
- ½ teaspoon salt
- 2 cups (150g) mini marshmallows
- ½ cup (85g) semi-sweet or dark chocolate chips
- ½ cup (60g) roasted peanuts, salted
- ½ cup (85g) white chocolate chips (optional)
Instructions
- Preheat oven to 350°F (175°C). Line a 9×9 inch baking pan with parchment paper, leaving an overhang on the sides, and lightly grease the parchment.
- Break dark chocolate into chunks and place in a microwave-safe bowl with butter. Microwave on high for 30 seconds, stir, then microwave in 15-20 second intervals until smooth. Let cool slightly.
- Whisk sugar, eggs, and vanilla extract into the melted chocolate mixture until thick and glossy.
- In a separate bowl, whisk together flour, cocoa powder, and salt.
- Gently fold the dry ingredients into the wet mixture using a spatula until just combined; do not overmix.
- In a small bowl, toss mini marshmallows, chocolate chips, and peanuts together.
- Pour half of the brownie batter into the prepared pan. Sprinkle half of the marshmallow/nut mix over the batter. Pour remaining batter on top and spread gently. Sprinkle remaining mix on top.
- Bake for 25-30 minutes until edges are set and center is slightly jiggly. A toothpick should come out with moist crumbs.
- Cool in the pan on a wire rack for at least 30 minutes to 1 hour before lifting out and cutting into squares.
Notes
For best results, use high-quality dark chocolate and mini marshmallows. Layering the marshmallows ensures they stay embedded in the brownie rather than sinking. Do not overbake to maintain fudgy texture. Can be stored in an airtight container at room temperature for up to 3 days or frozen for up to 2 months.
- Prep Time: 15 minutes
- Cook Time: 30 minutes
- Category: Dessert
- Cuisine: American
Nutrition
- Serving Size: 1 square
- Calories: 320
- Sugar: 28
- Sodium: 120
- Fat: 18
- Saturated Fat: 10
- Carbohydrates: 38
- Fiber: 2
- Protein: 4
Keywords: brownies, rocky road, marshmallow brownies, chocolate dessert, fudgy brownies, easy baking, party snacks


