It was 7:45 AM on a Tuesday in mid-September, and my kitchen looked like a bomb had gone off in the middle of a cereal aisle. My eight-year-old, Leo, was standing in his backpack, trying to put on his left shoe with one hand while eating a granola bar with the other. My nine-year-old, Maya, was crying because she’d spilled her juice on her clean shirt. I was standing there in my robe, holding a Tupperware container of what I hoped was a “healthy” snack, feeling like I had already failed before the school bus even arrived.
That was the moment I realized our back-to-school snack strategy was broken. We were relying on granola bars that were basically candy in disguise, fruit snacks with more corn syrup than fruit, and the occasional apple that got mushy by third period. I needed something that was actually nutritious, something that wouldn’t melt into a sticky mess in a lunchbox, and something that the kids would actually be excited to eat instead of trading it for a bag of chips.
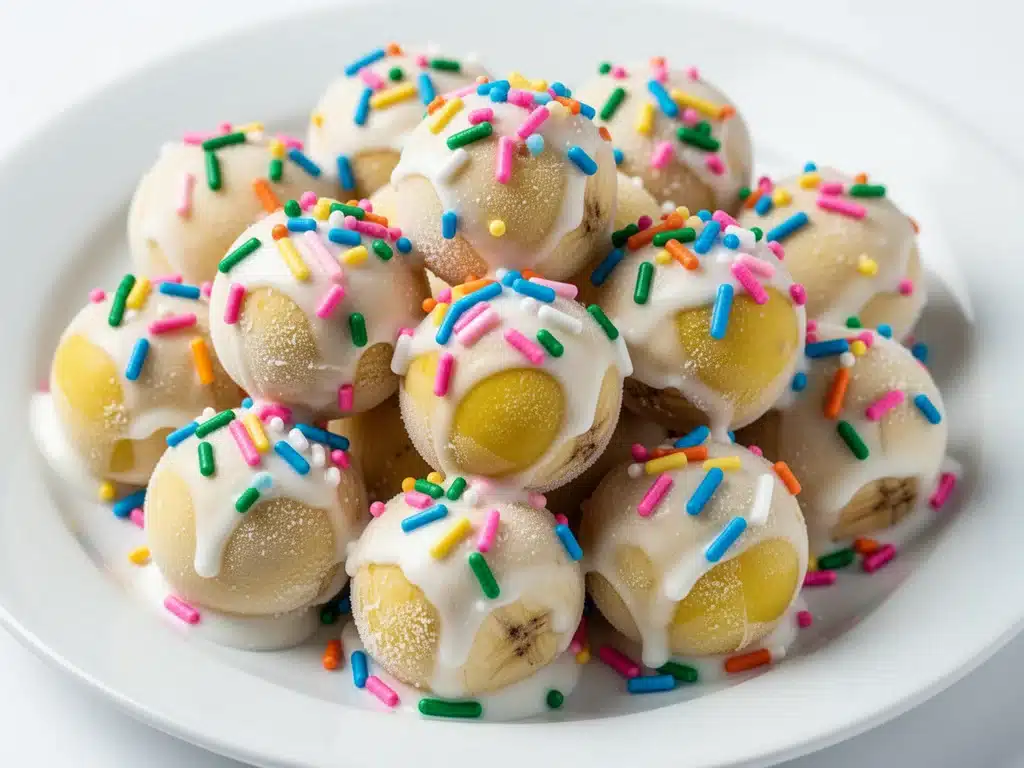
That’s when I stumbled onto frozen banana yogurt bites. At first, I thought it was just another one of those internet food trends that looked cute on Pinterest but tasted like cardboard. But desperate times call for desperate measures, so I gave it a shot. Three weeks later, those little bites are the hero of our lunchboxes. They’re sturdy enough to survive a car ride, sweet enough to satisfy a sugar craving, and packed with protein to keep my kids’ energy levels stable during math class. If you’re drowning in the back-to-school chaos too, this is the game-changer you’ve been looking for.
Why You’ll Love This Back-to-School Snack
Let’s be real: when the morning routine is a sprint, you don’t have time for complicated recipes. But you also don’t want to feed your kids junk. These frozen banana yogurt bites sit in that perfect sweet spot. Here’s why they’ve become a non-negotiable in our house:
- Zero Melting Worry — Unlike chocolate or cheese sticks, these stay frozen solid until lunchtime. I’ve tested them in hot cars and warm classrooms. They don’t turn into soup. They stay cute and compact.
- Grab-and-Go Prep — I make a batch on Sunday night. It takes about 10 minutes of active time. During the week, my kids just grab one or two from the freezer and go. No assembly required at 7:30 AM.
- Actually Nutritious — We’re talking banana (potassium and fiber), Greek yogurt (protein and probiotics), and a touch of honey or maple syrup. No artificial dyes, no weird preservatives. Just real food.
- Kid-Approved Taste — I was skeptical they’d like the texture, but the yogurt freezes into a creamy, sorbet-like consistency that kids love. It’s sweet, but not overwhelmingly so. Maya actually asks for “the banana pops” now.
- Versatile for Allergies — We can easily swap dairy yogurt for coconut yogurt or use nut-free granola toppings. It’s one recipe that adapts to our changing needs without extra shopping trips.
This snack has saved me from the afternoon slump and the 3 PM snack rage. It’s simple, it’s effective, and it makes me feel like a good mom even when I’m running on three hours of sleep.
Ingredients You’ll Need
Here’s the best part: you probably have most of this already. I’m not asking you to go to three different stores for obscure ingredients. This is pantry-friendly, freezer-friendly goodness.
The Base
Ripe Bananas (3 large) — This is crucial. They need to be spotted brown. Green bananas won’t be sweet enough, and they’ll taste starchy. If your bananas are green, put them in a paper bag with an apple for a day to speed up ripening. I usually buy a bunch, let them turn, and freeze them immediately.
Greek Yogurt (1 cup / 245g) — I use plain, full-fat Greek yogurt. It’s thicker and creamier than regular yogurt, which means the bites hold their shape better. Skim milk yogurt can be a bit icy. If you want a tangier bite, stick with plain. If you prefer sweeter, you can use vanilla, but you’ll need to reduce the added sweetener.
Honey or Maple Syrup (2 tablespoons) — I use raw honey for its subtle floral notes, but pure maple syrup works just as well for a vegan option. Don’t skip this entirely unless you’re avoiding all sugars, as the bananas need a little boost to balance the tartness of the yogurt.
The Mix-Ins (The Fun Part)
Mini Chocolate Chips (1/4 cup) — Semi-sweet or milk chocolate. These add little pockets of sweetness. If you’re worried about sugar, skip these or use dark chocolate chips.
Chopped Walnuts or Pecans (1/4 cup) — Adds crunch and healthy fats. I chop them roughly so they’re easy to eat. If your kids are nut-sensitive, swap for sunflower seed kernels or omit entirely.
Granola (1/4 cup) — I use this as a coating instead of mixing it in. It adds a nice crunch on the outside. Look for low-sugar granola if you’re watching the sweet intake.
For Coating (Optional)
Shredded Coconut (1/4 cup) — Toasted coconut adds a tropical vibe and extra texture. It sticks well to the yogurt.
Crushed Cereal (1/4 cup) — I love crushing up some Cheerios or Honey Nut Cheerios for a mild, crunchy coating. It’s a great way to use up stale cereal.
Pro Tip — I keep a “snack mix” in the fridge with these ingredients pre-measured. On Sunday, I just dump them into bowls and go. It speeds up the process so much.
Equipment Needed
You don’t need fancy gadgets for this. Here’s what I actually use:
Muffin Tin — I use a standard 12-cup muffin tin. It’s the perfect size for bite-sized snacks. Silicone muffin liners are great for easy removal, but I usually just spray the tin with non-stick cooking spray.
Spoon or Piping Bag — A teaspoon works fine for dolloping the yogurt mixture into the cups. If you want them to look uniform and pretty, use a piping bag with a round tip. It makes the process faster and neater.
Freezer-Safe Container — Once frozen, you’ll transfer these to a Ziploc bag or airtight container. I use gallon-sized bags and squeeze out as much air as possible to prevent freezer burn.
Sharp Knife — For chopping nuts or bananas if you decide to mix them in (though I usually just mash the banana).
Measuring Spoons — Standard stuff. I eyeball it sometimes, but for the yogurt and honey, measuring is better for consistency.
Optional: Parchment Paper — If you don’t have a muffin tin, you can line a baking sheet with parchment paper and make spoonfuls directly on the sheet. Just make sure they’re spaced out so they don’t touch.
How to Make Frozen Banana Yogurt Bites: Step-by-Step
Alright, let’s make these! It’s incredibly simple, but there are a few tricks to get that perfect texture.
Step 1: Prep Your Bananas
Peel your ripe bananas and break them into chunks. I like to mash them in a bowl with a fork until they’re mostly smooth but still have a few small lumps. I don’t want them completely pureed because I like a bit of banana texture. If you prefer a smoother bite, use a blender or food processor.
Step 2: Mix the Yogurt Base
Add the Greek yogurt and honey to the mashed bananas. Stir until well combined. The mixture should be thick and creamy. If it’s too thick to spoon, add a splash of milk. If it’s too runny, add a bit more yogurt. You want it to hold its shape in the muffin tin.
Step 3: Add Mix-Ins
Stir in the chocolate chips and chopped nuts if you’re using them. Be gentle so you don’t break up the chocolate chips too much. If you’re doing a coating method, skip this step and save the mix-ins for later.
Step 4: Fill the Muffin Tin
Lightly spray your muffin tin with non-stick cooking spray. Spoon the yogurt mixture into each cup, filling them about 3/4 full. If you’re using a piping bag, pipe them in. Try to make them all roughly the same size for even freezing.
Step 5: Add Coatings (Optional)
If you’re using granola, coconut, or crushed cereal, press a little bit of it onto the top of each bite. Gently press down so it sticks. The yogurt is sticky enough to hold them in place.
Step 6: Freeze
Place the muffin tin in the freezer. Freeze for at least 2-3 hours, or until completely solid. I usually leave them overnight. If you try to remove them too early, they’ll be soft and messy.
Step 7: Store and Serve
Once frozen solid, pop the bites out of the tin. They should slide right out. Place them in a freezer-safe bag or container. They’ll keep in the freezer for up to 2 months. When you’re ready to pack lunch, toss 2-3 bites into the lunchbox. They’ll be frozen solid when your kid opens it at lunchtime.
Total Time: About 10 minutes active, plus 3 hours freezing.
Expert Tips & Tricks
Here’s everything I’ve learned from making these dozens of times. These tips will save you from my mistakes.
Use Very Ripe Bananas
I can’t stress this enough. The browner the banana, the sweeter the bite. If you don’t have ripe bananas, buy green ones and let them sit on the counter for 3-4 days. Or, bake them at 300°F for 15 minutes to speed up the process. Peeled, baked bananas turn dark and sweet in minutes.
Don’t Skimp on the Yogurt Thickness
If your yogurt is too thin, your bites will be icy. Greek yogurt is key here. If you only have regular yogurt, strain it through a cheesecloth or coffee filter for an hour to remove excess whey. It makes a huge difference in texture.
Prevent Freezer Burn
When storing these, squeeze out all the air from the Ziploc bag. Freezer burn makes the bites dry and tasteless. I also like to put a piece of parchment paper between layers if I’m stacking them in a container.
Customize for Preferences
Not all kids like the same things. Make a few different batches. One with chocolate chips, one with coconut, one plain. It’s easy to split the mixture into separate bowls before filling the tin.
Thawing Time
If your kids like them slightly softer, take them out of the freezer 5-10 minutes before eating. But for lunchbox purposes, keep them frozen. They’ll thaw slowly throughout the day.
Variations & Substitutions
Once you’ve nailed the basic version, here’s how you can mix it up. I’ve tried all of these, and they’re all winners.
Peanut Butter Banana Bites
Swirl 1 tablespoon of peanut butter into each cup before freezing. Add a drizzle of honey on top. This is my husband’s favorite. It’s like a homemade Reeses cup.
Berry Blast
Swap the nuts for chopped strawberries or blueberries. I fold them into the yogurt mixture. The berries freeze well and add a nice tartness.
Tropical Coconut
Add 1 tablespoon of coconut extract to the yogurt. Coat with shredded coconut. It tastes like a piña colada. I use unsweetened coconut to keep the sugar down.
Apple Pie
Add 1/4 cup of finely diced apples (tossed in cinnamon) to the yogurt. Coat with granola that has a cinnamon flavor. It’s like apple pie in bite form.
Dairy-Free Option
Use coconut yogurt or almond yogurt instead of Greek yogurt. The texture might be slightly softer, so freeze them longer. I’ve used So Delicious coconut yogurt, and it works great.
Nut-Free Option
Skip the nuts and use sunflower seed butter or pumpkin seeds. Great for school-friendly snacks.
Serving & Storage
How to Serve:
I usually pack 2-3 bites per lunchbox. They’re small, so they don’t take up much space, but they’re satisfying. I also serve them as a post-workout snack or a dessert alternative. They’re great for parties too—just leave them in the muffin tin for easy serving.
Side Dishes:
These pair well with a piece of fruit, a handful of crackers, or a small juice box. I often pack them with a veggie stick for a balanced snack.
Storage Instructions:
Refrigerator: These are meant to be frozen. If you leave them in the fridge, they’ll get mushy and melt. Store in the freezer.
Freezer: They’ll keep for up to 2 months. After that, they might start to develop freezer burn. I usually make a new batch every 2 weeks.
Reheating: Don’t reheat these! Eat them frozen or slightly thawed. If you try to warm them, they’ll turn into yogurt soup.
Pro Tip: Label your freezer bag with the date. I have a habit of forgetting when I made things, and I don’t want to pull out a bag of freezer-burned bites.
Nutrition Information
I’m not a nutritionist, but here’s the breakdown if you’re tracking. This is per serving (based on 12 bites, 2 bites per serving).
Per Serving (2 bites):
- Calories: 85
- Protein: 4g
- Carbs: 12g
- Fiber: 1g
- Sugar: 9g
- Fat: 3g
- Saturated Fat: 2g
- Cholesterol: 10mg
- Sodium: 15mg
What’s Good:
- Decent protein from the Greek yogurt
- Potassium from the banana
- Probiotics for gut health
- Low in saturated fat (if you don’t use chocolate chips)
What to Know:
- Sugar content comes from the banana and honey. It’s natural sugar, but still counts.
- Contains dairy (unless you use non-dairy yogurt)
- Can be made nut-free
My Take:
Look, these are a snack, not a meal replacement. But they’re a *good* snack. They’re better than a cookie or a chip. They provide energy and nutrients without the crash. I feel good about packing these for my kids.
Final Thoughts
So that’s my go-to frozen banana yogurt bites recipe! I’ve probably talked your ear off at this point, but when you find a recipe that actually works for your family, you have a lot to say about it.
This has saved our back-to-school mornings. It’s my answer to “what’s for lunch?” when I’m tired, don’t want to buy expensive snacks, and still want my kids to eat something healthy. My kids are happy, my husband’s happy, and I’m happy because I’m not stressed about cooking.
Make it yours! Try different mix-ins, swap in your favorite toppings, adjust the sweetness to your family’s taste. The best recipes are the ones you adapt to your family’s tastes.
If you make this, drop a comment and let me know what you think! I love hearing how recipes turn out in your kitchen. And if something doesn’t work, tell me that too—I’m here to help troubleshoot.
Happy snacking! And I hope your lunchboxes are half as cute as mine are right now.
Frequently Asked Questions
Can I use frozen bananas instead of fresh?
Yes! In fact, I often use frozen bananas because they’re sweeter and easier to mash. Just thaw them slightly before mixing with the yogurt. If they’re too watery, let the excess liquid drain off. Frozen bananas work perfectly for this recipe.
Why did my bites turn out icy?
This usually happens if the yogurt is too thin or if you didn’t use enough banana. Banana adds creaminess and fat, which prevents ice crystals. Make sure you’re using thick Greek yogurt and very ripe bananas. Also, don’t skip the honey—it adds sugar which helps with texture.
Can I make these ahead of time?
Absolutely! That’s the best part. I make a batch every Sunday, and they last in the freezer for up to 2 months. Just make sure they’re completely frozen before storing them in a bag to prevent them from sticking together.
Are these safe for school nut policies?
If you use nuts in the mix-ins, they might not be safe for nut-free schools. To be safe, skip the nuts and use sunflower seeds, pumpkin seeds, or just chocolate chips. Always check your school’s policy.
Can I use regular yogurt instead of Greek yogurt?
You can, but the texture will be different. Regular yogurt is thinner and has more water content, which can make the bites icy. If you must use regular yogurt, strain it first to remove excess liquid. Greek yogurt is definitely the better choice for this recipe.
How do I get them out of the muffin tin?
If they’re stuck, let them sit at room temperature for 2-3 minutes. The metal tin will warm up slightly, and they should pop out easily. If you’re using silicone liners, they should slide right out. If you don’t have a muffin tin, freeze them on a parchment-lined baking sheet and store them in a bag.
Can I add protein powder?
Yes, but be careful. Protein powder can make the mixture dry and chalky. If you want to add it, start with 1 tablespoon and mix it well. You might need to add a splash more yogurt or milk to compensate. I usually stick to the natural protein from the Greek yogurt.
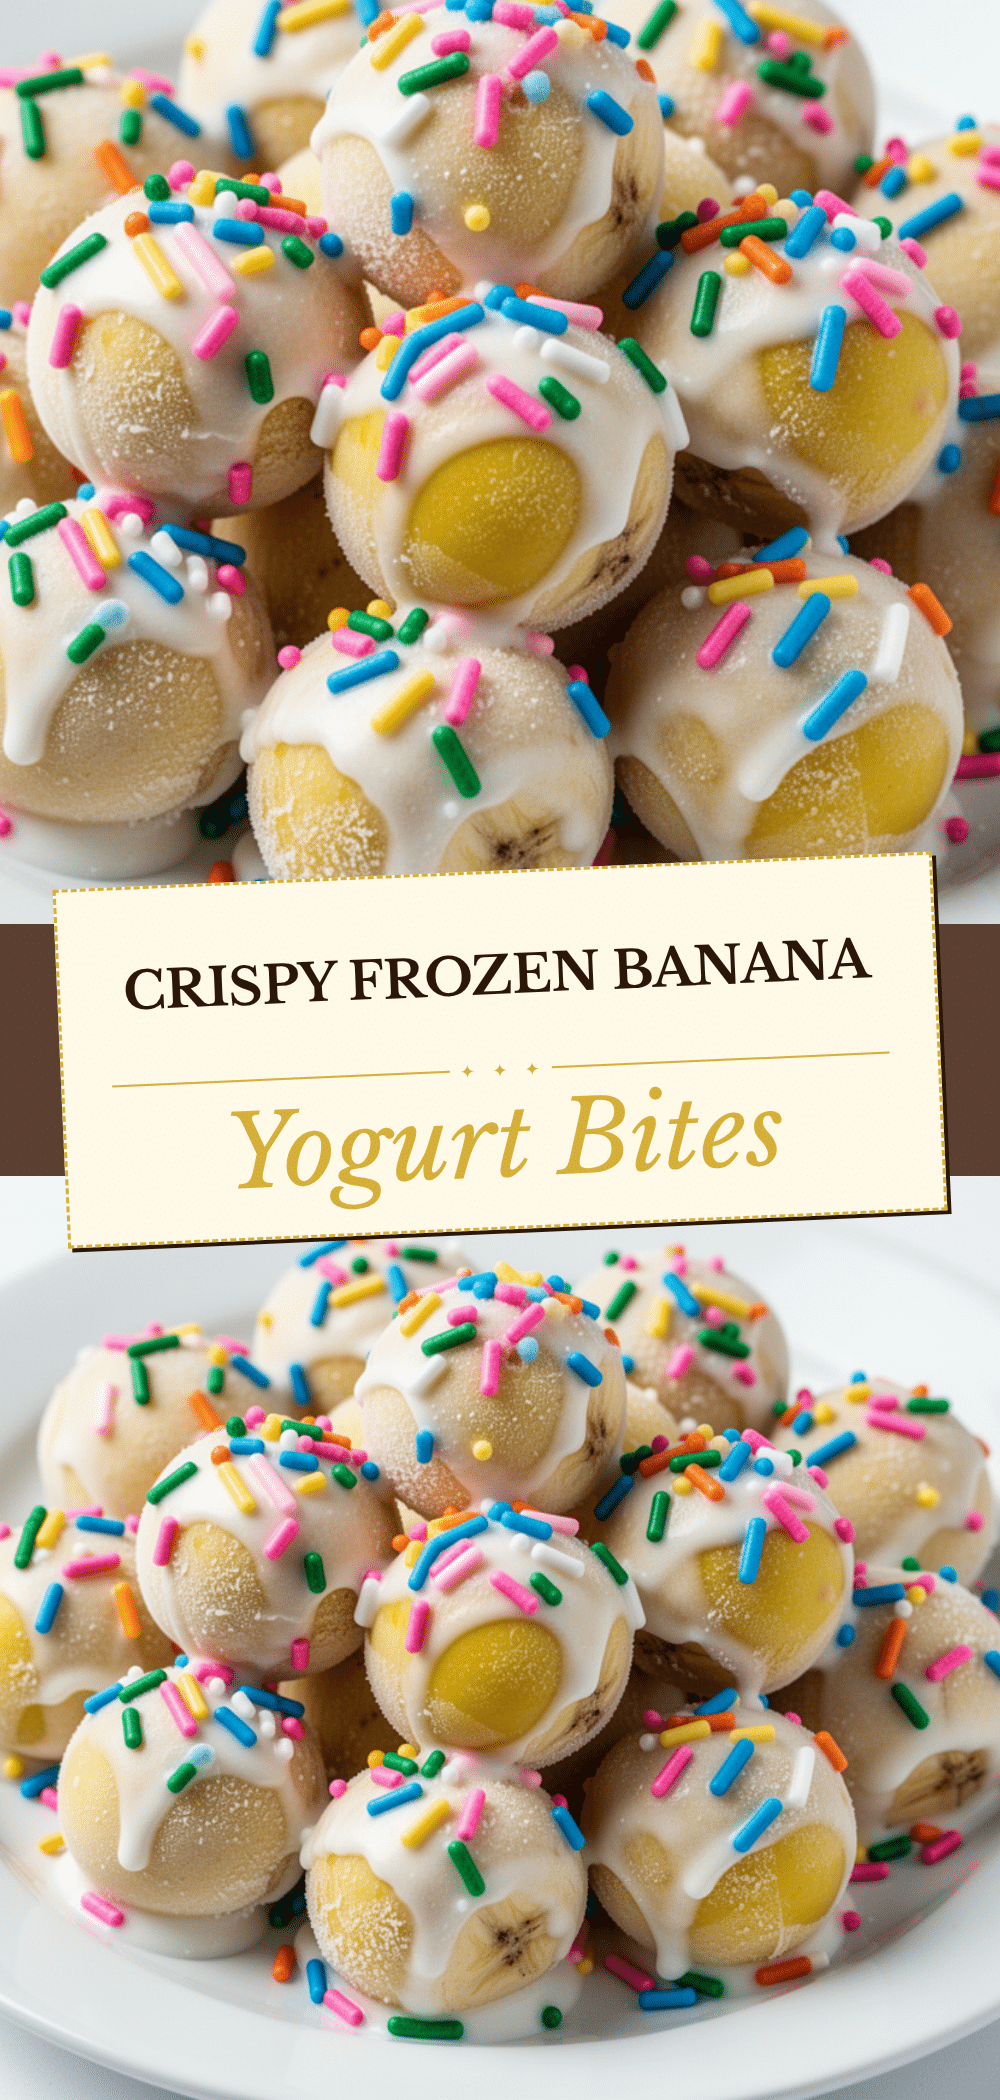
Pin This Recipe!
Frozen Banana Yogurt Bites
- Total Time: 3 hours 10 minutes
- Yield: 12 servings 1x
Description
A healthy, kid-approved back-to-school snack made with ripe bananas, Greek yogurt, and optional mix-ins. These frozen bites are sturdy, nutritious, and perfect for lunchboxes.
Ingredients
- 3 large ripe bananas
- 1 cup (245g) plain full-fat Greek yogurt
- 2 tablespoons honey or pure maple syrup
- 1/4 cup mini chocolate chips (semi-sweet or milk)
- 1/4 cup chopped walnuts or pecans
- 1/4 cup granola (for coating)
- 1/4 cup shredded coconut (optional, for coating)
- 1/4 cup crushed cereal (optional, for coating)
Instructions
- Peel ripe bananas and mash them in a bowl with a fork until mostly smooth but with some small lumps.
- Add the Greek yogurt and honey (or maple syrup) to the mashed bananas. Stir until well combined. The mixture should be thick and creamy.
- Stir in the chocolate chips and chopped nuts if using them as mix-ins.
- Lightly spray a standard 12-cup muffin tin with non-stick cooking spray.
- Spoon or pipe the yogurt mixture into each cup, filling them about 3/4 full.
- If using coatings like granola, coconut, or crushed cereal, press a small amount onto the top of each bite and gently press down to stick.
- Place the muffin tin in the freezer for at least 2-3 hours, or until completely solid (overnight is best).
- Once frozen solid, pop the bites out of the tin and transfer them to a freezer-safe bag or airtight container.
- Store in the freezer for up to 2 months. Serve 2-3 bites per lunchbox.
Notes
Use very ripe, spotted brown bananas for maximum sweetness. If using regular yogurt instead of Greek yogurt, strain it through a cheesecloth to remove excess whey to prevent icy texture. Ensure bites are completely frozen before storing to prevent sticking. For nut-free schools, substitute nuts with sunflower seeds or omit entirely.
- Prep Time: 10 minutes
- Cook Time: 0 minutes
- Category: Snack
- Cuisine: American
Nutrition
- Serving Size: 2 bites
- Calories: 85
- Sugar: 9
- Sodium: 15
- Fat: 3
- Saturated Fat: 2
- Carbohydrates: 12
- Fiber: 1
- Protein: 4
Keywords: frozen banana yogurt bites, back to school snacks, healthy kids snacks, yogurt bites, banana snacks, freezer snacks, gluten-free snacks, nut-free options


