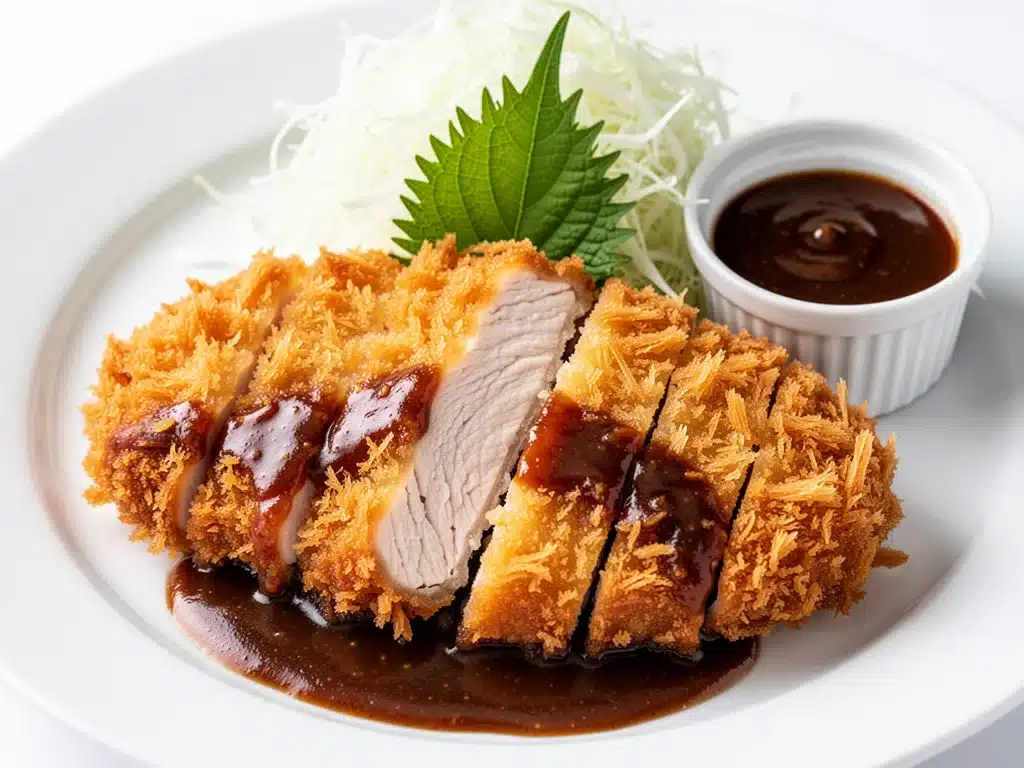
I still remember the first time I tried chicken katsu at a tiny, hole-in-the-wall spot in Portland. It was raining—because of course it was—and I was shivering, hungry, and ready to give up on life. Then this plate arrived: thick, juicy chicken breast, breaded to a golden crunch, drowning in a sweet-savory tonkatsu sauce that tasted like pure comfort. I ate it so fast I didn’t even notice my husband trying to get my attention. That was three years ago. Since then, I’ve tried to recreate it at home dozens of times.
Most homemade versions fail. They’re either soggy from frying in too much oil, or they taste like dry cardboard because the chicken was overcooked trying to get that crunch. I was ready to just buy the frozen stuff from the grocery store again. But then I figured out the baking hack that changed everything. Now, I make crispy baked chicken katsu at least twice a week. It takes about 20 minutes of active time, uses ingredients I already have, and the tonkatsu sauce? I make it in two minutes while the chicken cooks. It’s better than takeout, healthier, and honestly? It’s become our family’s favorite weeknight dinner.
If you’re tired of ordering expensive, greasy takeout, you need to try this crispy baked chicken katsu with tonkatsu sauce. It’s the perfect busy weeknight dinner because it’s fast, forgiving, and absolutely delicious. I’ve tested this method so many times that I can practically do it blindfolded. And once you taste that crunch, you’ll never go back to fried chicken again.
Why This Baked Chicken Katsu Recipe Is a Weeknight Hero
There are a million reasons I keep making this, but let’s be real: it’s because it actually works when you’re exhausted. Here’s why this crispy baked chicken katsu with tonkatsu sauce has earned a permanent spot in our rotation:
- Stupid Simple Technique — Seriously, if you can dip chicken in egg and roll it in panko, you can make this. I’ve walked my teenage son through it over FaceTime. No fancy skills required. The baking method means no splattering oil, no standing over the stove, and no greasy cleanup.
- Lightning Fast — 20 minutes from start to finish. I’m talking about the time from when you pull the chicken out of the fridge to when you’re sitting down to eat. The oven does the heavy lifting. I make this on Tuesdays when I get home at 6:30 pm and have zero energy.
- Pantry-Friendly Panko — You probably have the breadcrumbs already. Panko is different from regular breadcrumbs—it’s flakier and crunchier. If you don’t have it, grab a box at the store. It’s cheap and lasts forever in the pantry.
- Sauce That’s Better Than Store-Bought — The tonkatsu sauce takes five minutes to whisk together. Ketchup, Worcestershire, a little brown sugar, and soy sauce. It’s sweet, tangy, and savory. Trust me, homemade beats the bottled stuff every single time.
- Makes Amazing Leftovers — This actually tastes great cold or reheated. I deliberately make extra for my husband’s lunch the next day. He says it’s better than the original dinner. Weird, right? But true.
- Budget-Smart — Feeds 4 people for under $12. That’s less than one order of takeout katsu curry. And you know exactly what’s in it. No mystery meats or weird preservatives.
This is my go-to when I need dinner to just work. No complicated techniques, no weird ingredients, just reliable, delicious food that makes everyone happy. It’s the kind of meal that feels special but doesn’t require special effort.
Ingredients You’ll Need for Crispy Baked Chicken Katsu
Here’s the best part: you probably have most of this already. I’m particular about three ingredients here, and I’ll tell you exactly why. This crispy baked chicken katsu with tonkatsu sauce relies on simple, high-quality basics.
For the Chicken
Chicken breasts (4 large, about 1.5 lbs / 680g) — I use boneless, skinless breasts. Look for ones that are relatively uniform in thickness so they cook evenly. If they’re huge, pound them down a bit. I buy them from the local butcher when possible, but grocery store works fine too.
Panko breadcrumbs (2 cups / 120g) — This is non-negotiable. Regular breadcrumbs are too dense. Panko creates those big, airy, crunchy flakes. I always buy the Japanese-style panko, but any brand works. Just don’t substitute with standard breadcrumbs unless you want a harder crust.
All-purpose flour (1 cup / 125g) — Just a light dusting. It helps the egg stick to the chicken. Don’t skip this step.
Eggs (2 large) — Beaten. I whisk them in a shallow bowl. Some people add a splash of milk, but I keep it plain. It’s cleaner that way.
Salt and pepper — To season the chicken before dredging. Don’t be shy with the salt. Seasoning each layer is key.
Cooking spray or olive oil — To spray the panko before baking. This is the secret to getting them golden without frying. I use avocado oil spray because it has a higher smoke point, but regular olive oil spray works too.
For the Tonkatsu Sauce
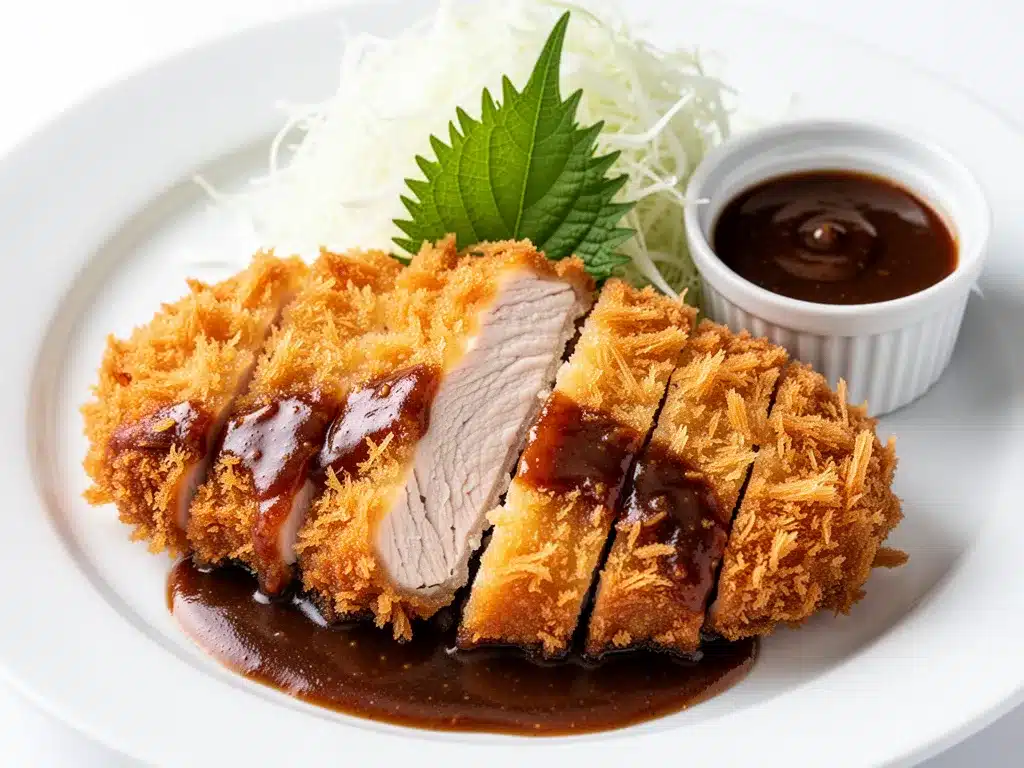
Ketchup (½ cup / 120g) — The base. Use a good quality ketchup. Heinz is my go-to.
Worcestershire sauce (2 tablespoons) — Adds that deep, umami savory note. Don’t skip it.
Soy sauce (1 tablespoon) — For saltiness and depth. Low-sodium is better so you can control the salt level.
Brown sugar (1 tablespoon) — Balances the acidity of the ketchup. Use light or dark, doesn’t matter much.
Apple cider vinegar (1 teaspoon) — Just a splash to cut the sweetness. If you don’t have it, white vinegar works.
Garlic powder (½ teaspoon) — Fresh garlic is too strong here. Powder blends in smoothly.
Onion powder (½ teaspoon) — Adds subtle sweetness and depth.
Optional: Grated daikon radish — Traditionally, katsu is served with shredded daikon. It’s refreshing and cuts the richness. I sometimes add it, but it’s not essential.
Equipment Needed
You don’t need fancy equipment for this. Here’s what I actually use:
Large baking sheet — I use a rimmed half-sheet pan. Make sure it’s big enough to fit all four chicken cutlets in a single layer. Crowding leads to steaming, not crisping.
Wire rack — This is optional but highly recommended. Placing a wire rack on the baking sheet allows air to circulate under the chicken, making the bottom crispy too. I use a cooling rack from the dollar store. If you don’t have one, just spray the pan directly.
Three shallow bowls — For the dredging station: flour, egg, and panko. I use pie plates or shallow casserole dishes.
Meat mallet or rolling pin — To pound the chicken breasts to even thickness. This ensures they cook evenly and quickly. I use a heavy skillet if I forget my mallet.
Whisk — For the sauce. A small bowl is fine.
Cooking spray — Or a brush for oil. Spray is easier for even coverage.
Oven — Obviously. Preheat to 425°F (220°C). That high heat is what crisps the panko.
How to Make Crispy Baked Chicken Katsu: Step-by-Step
Alright, let’s make this! I’m walking you through exactly how I do it, including the little tricks I’ve picked up. This crispy baked chicken katsu with tonkatsu sauce is easier than it looks.
Step 1: Prep the Chicken (5 minutes)
Start by pounding the chicken breasts. Place them between two sheets of plastic wrap or in a zip-top bag. Use a meat mallet or rolling pin to pound them to about ½-inch thickness. This is crucial. Thin, even pieces cook faster and stay juicier. If you skip this, the outside will burn before the inside is cooked. Season both sides generously with salt and pepper.
Step 2: Set Up Your Dredging Station (3 minutes)
Get three shallow bowls ready. Bowl 1: flour. Bowl 2: beaten eggs. Bowl 3: panko breadcrumbs. I like to add a pinch of salt and pepper to the panko too, for extra flavor. Arrange them in order: flour, egg, panko. This workflow makes the process smooth and fast.
Step 3: Dredge the Chicken (5 minutes)
Take a piece of chicken and dredge it in the flour, shaking off any excess. Dip it into the egg, letting the excess drip off. Finally, press it firmly into the panko breadcrumbs. Use your hands to press the crumbs onto the chicken—don’t just sprinkle them. You want a thick, even coating. Place the breaded chicken on a clean plate. Repeat with the remaining pieces.
Step 4: Bake Until Golden (12-15 minutes)
Preheat your oven to 425°F (220°C). Line a baking sheet with parchment paper or place a wire rack on it. Arrange the chicken cutlets on the sheet, leaving space between them. Spray the tops generously with cooking spray or brush with oil. This is the magic step. The oil helps the panko brown and crisp up in the oven. Bake for 12-15 minutes, flipping halfway through, until the chicken is golden brown and cooked through (internal temp of 165°F / 74°C). I usually flip them at the 7-minute mark.
Step 5: Make the Tonkatsu Sauce (5 minutes)
While the chicken bakes, whisk together the ketchup, Worcestershire sauce, soy sauce, brown sugar, apple cider vinegar, garlic powder, and onion powder in a small bowl. Taste it. It should be sweet, tangy, and savory. Adjust to your liking. If it’s too sweet, add a splash more vinegar. If it’s too tangy, add a pinch more sugar. Set aside.
Step 6: Rest and Serve (2 minutes)
Take the chicken out of the oven and let it rest for 2-3 minutes. This keeps the juices inside. Slice the chicken into strips. Serve immediately with the tonkatsu sauce on the side and shredded daikon radish if you’re feeling fancy. Don’t skip the slicing—it’s easier to eat and looks better on the plate.
Total Time: About 20 minutes (5 minutes prep, 15 minutes bake).
Expert Tips & Tricks for the Crispiest Katsu
Here’s everything I’ve learned from making this dozens of times. These tips will save you from my mistakes.
Pound the Chicken Evenly
This is the #1 tip. Uneven chicken means uneven cooking. I’ve ruined dinners by rushing this step. Now I always take the time to pound them. It takes two minutes and makes a huge difference.
Press the Panko Firmly
Don’t just shake the chicken in the crumbs. Press them on. You want a thick crust. If the coating is thin, it’ll fall off in the oven. I press with my palms, then tap off the excess.
Spray, Don’t Pour
When adding oil, spray is better than pouring. It coats evenly without making the chicken greasy. I learned this the hard way with a pool of oil at the bottom of the pan that made the bottom soggy.
Use a Wire Rack
If you have one, use it. Air circulation under the chicken prevents sogginess. If you don’t, flip the chicken halfway through to ensure even browning on both sides.
Don’t Overcrowd the Pan
Leave space between the cutlets. If they’re touching, they’ll steam instead of bake. Use two pans if you’re making a double batch.
Rest Before Slicing
Cutting into the chicken immediately releases the juices. Let it rest for 2-3 minutes. It’s worth the wait.
Variations & Substitutions
Once you’ve nailed the basic version, here’s how you can mix it up. I’ve tried all of these.
Pork Katsu
Use pork loin cutlets instead of chicken. Pound them thin and bake for 15-18 minutes. Pork katsu is traditional, and I love the richer flavor. Just make sure the internal temp reaches 145°F.
Vegetarian Katsu
Use thick slices of eggplant or tofu. For tofu, press it first, then freeze and thaw it for a meatier texture. Dredge and bake as usual. It’s surprisingly good.
Spicy Katsu
Add 1 teaspoon of gochujang or sriracha to the tonkatsu sauce. It adds a kick that balances the sweetness. My kids love it spicy now.
Gluten-Free
Use gluten-free panko (available in most stores) and tamari instead of soy sauce. The rest is naturally gluten-free. I’ve used Panko brand gluten-free and it works great.
Low-Carb
Use almond flour instead of panko. It won’t be as crunchy, but it’s lower carb. Or just skip the breading and serve with sauce on top. Not traditional, but works.
Serving & Storage
How to Serve:
I usually serve this straight from the plate at the dinner table. It looks rustic and stays warm. But here are other ways I’ve enjoyed it:
- Katsu Curry — Serve the sliced chicken over steamed rice and pour curry sauce over it. This is my favorite way to eat it.
- Katsu Sando — Put the chicken in a sandwich with mayo, cabbage, and tonkatsu sauce. Toast the bread. It’s a Japanese favorite.
- Salad Topper — Slice the chicken and put it over a green salad with a sesame dressing. Lighter, but still satisfying.
Side Dishes:
– Steamed white rice (obviously)
– Shredded cabbage or daikon radish
– Miso soup
– Pickled vegetables
Storage Instructions:
Store in an airtight container in the fridge for up to 3 days. The panko will soften slightly, but it’s still good.
Reheating:
Best method: Oven or toaster oven at 375°F for 5-7 minutes. This restores the crunch.
Microwave method: It will get soggy. If you must, use a low setting and cover with a paper towel. Not recommended.
Freezing:
You can freeze the breaded chicken before baking. Freeze on a tray, then transfer to a bag. Bake from frozen, adding 5-7 minutes to the cook time. I do this for meal prep.
Nutrition Information
I’m not a nutritionist, but here’s the breakdown if you’re tracking. Per serving (based on 4 servings, with sauce):
- Calories: 380
- Protein: 35g
- Carbs: 32g
- Fiber: 1g
- Sugar: 8g
- Fat: 12g
- Saturated Fat: 2g
- Cholesterol: 95mg
- Sodium: 650mg
What’s Good:
– High protein from the chicken
– Lower fat than fried katsu
– Can add veggies to boost nutrition
What to Know:
– Higher sodium from soy sauce and ketchup
– Contains gluten and dairy (if using butter in sauce, though this recipe uses none)
My Take:
Look, this is comfort food. It’s not a diet recipe. But it’s way better than takeout, costs less, and I know exactly what’s in it. When I want to make it lighter, I skip the sauce and use it as a dip. But usually? I just eat a reasonable portion and enjoy it.
Final Thoughts
So that’s my crispy baked chicken katsu with tonkatsu sauce! I’ve probably talked your ear off at this point, but when you make a recipe this often, you have a lot to say about it.
This has saved weeknight dinners more times than I can count. It’s my answer to “what’s for dinner” when I’m tired, don’t want takeout, and still want something that tastes really good. My kids are happy, my husband’s happy, and I’m happy because I’m not stressed about cooking.
Make it yours! Try different add-ins, swap in your favorite vegetables, adjust the garlic (though more is always better in my opinion). The best recipes are the ones you adapt to your family’s tastes.
If you make this, drop a comment and let me know what you think! I love hearing how recipes turn out in your kitchen. And if something doesn’t work, tell me that too—I’m here to help troubleshoot.
Happy cooking! And I hope your kitchen smells half as good as mine does right now.
Frequently Asked Questions
Can I fry the chicken instead of baking it?
You can, but baking is easier and less messy. If you want to fry, heat about 1 inch of oil in a skillet to 350°F. Fry for 3-4 minutes per side until golden. It will be crispier, but also greasier. I prefer baking for weeknights.
Why is my panko not getting crispy?
Usually, it’s because you didn’t spray it with enough oil, or the oven temperature was too low. Make sure you spray generously and preheat the oven fully. Also, don’t overcrowd the pan.
Can I make the tonkatsu sauce ahead?
Yes! It actually tastes better after sitting for an hour. Store it in a jar in the fridge for up to 1 week. Just whisk it before using.
What if I don’t have panko?
You can use regular breadcrumbs, but the texture will be denser and less crunchy. Crushed cornflakes also work surprisingly well for a different crunch.
How do I reheat leftovers without them getting soggy?
Air fryer or oven is best. 375°F for 5 minutes. Microwave will make them soft. If you must microwave, do it on low power and check frequently.
Can I use chicken thighs?
Yes, boneless skinless thighs work great. They’re juicier but cook slightly faster. Check at 12 minutes. Just make sure they’re pounded to even thickness.
Is tonkatsu sauce the same as katsu sauce?
Yes, they’re the same. Tonkatsu is pork katsu, but the sauce is used for chicken katsu too. It’s a Japanese condiment that’s sweet, tangy, and savory.
Pin This Recipe!
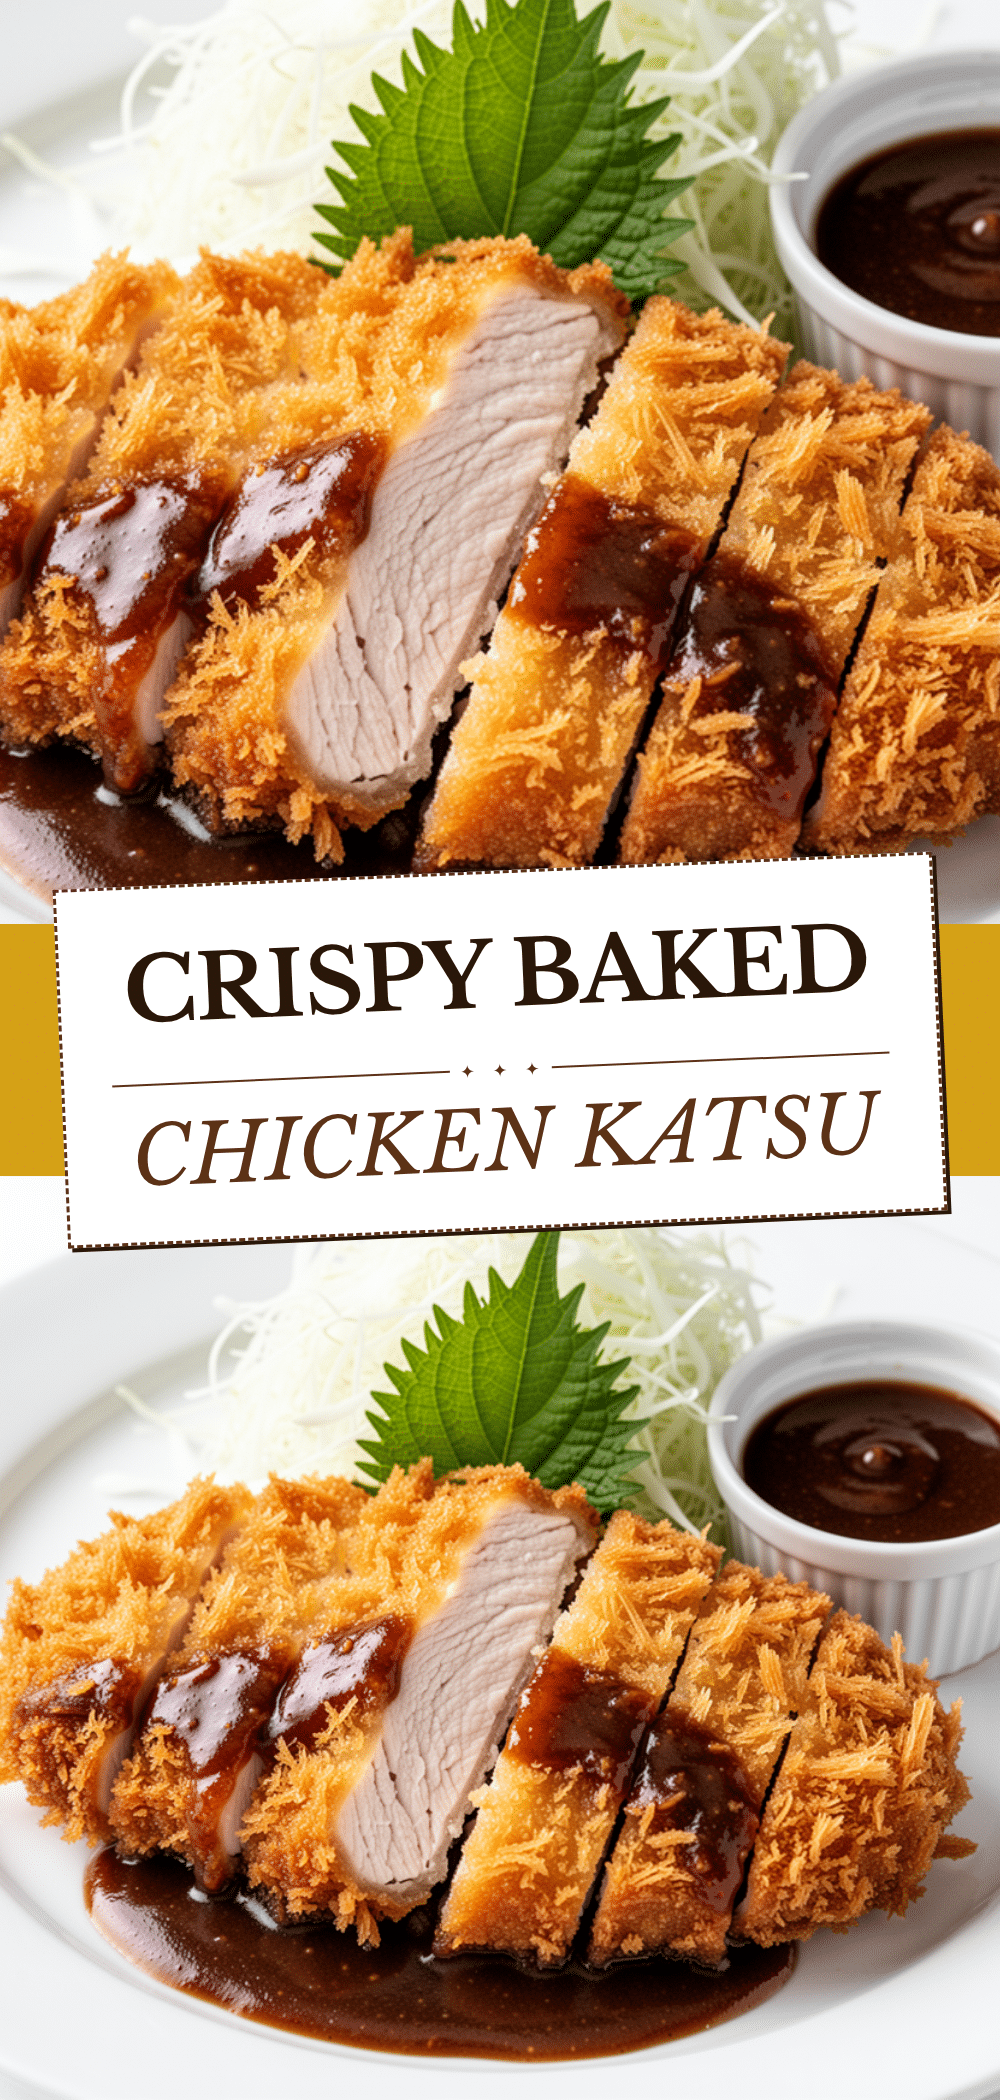
Crispy Baked Chicken Katsu: Best 20-Min Dinner
- Total Time: 20 minutes
- Yield: 4 servings 1x
Description
A fast, healthy, and crispy baked chicken katsu recipe that mimics the texture of fried chicken without the grease. Served with a homemade sweet-savory tonkatsu sauce, this weeknight dinner is ready in just 20 minutes.
Ingredients
- 4 large boneless, skinless chicken breasts (about 1.5 lbs / 680g)
- 2 cups panko breadcrumbs (120g)
- 1 cup all-purpose flour (125g)
- 2 large eggs, beaten
- Salt and pepper, to taste
- Cooking spray or olive oil (for spraying)
- 1/2 cup ketchup (120g)
- 2 tablespoons Worcestershire sauce
- 1 tablespoon soy sauce
- 1 tablespoon brown sugar
- 1 teaspoon apple cider vinegar
- 1/2 teaspoon garlic powder
- 1/2 teaspoon onion powder
- Grated daikon radish (optional, for serving)
Instructions
- Preheat oven to 425°F (220°C). Line a large rimmed baking sheet with parchment paper or place a wire rack on it.
- Place chicken breasts between plastic wrap or in a zip-top bag. Pound them to an even 1/2-inch thickness using a meat mallet or rolling pin. Season both sides generously with salt and pepper.
- Set up a dredging station with three shallow bowls: one with flour, one with beaten eggs, and one with panko breadcrumbs.
- Dredge each chicken piece in flour, shaking off excess. Dip into the egg, letting excess drip off. Press firmly into the panko breadcrumbs to ensure a thick, even coating. Place on a clean plate.
- Arrange breaded chicken cutlets on the prepared baking sheet, leaving space between them. Spray the tops generously with cooking spray or brush with oil.
- Bake for 12-15 minutes, flipping halfway through (around the 7-minute mark), until the chicken is golden brown and reaches an internal temperature of 165°F (74°C).
- While chicken bakes, whisk together ketchup, Worcestershire sauce, soy sauce, brown sugar, apple cider vinegar, garlic powder, and onion powder in a small bowl to make the tonkatsu sauce. Adjust seasoning to taste.
- Remove chicken from oven and let rest for 2-3 minutes. Slice into strips and serve immediately with tonkatsu sauce and optional shredded daikon radish.
Notes
Pound the chicken evenly to ensure it cooks quickly and stays juicy. Press the panko firmly onto the chicken to prevent it from falling off. Use a wire rack for better air circulation and crispiness. Do not overcrowd the pan. For gluten-free, use gluten-free panko and tamari. For low-carb, use almond flour.
- Prep Time: 15 minutes
- Cook Time: 15 minutes
- Category: Main Course
- Cuisine: Japanese
Nutrition
- Serving Size: 1 chicken cutlet wit
- Calories: 380
- Sugar: 8
- Sodium: 650
- Fat: 12
- Saturated Fat: 2
- Carbohydrates: 32
- Fiber: 1
- Protein: 35
Keywords: chicken katsu, baked chicken, tonkatsu sauce, weeknight dinner, crispy chicken, japanese food, healthy dinner, 20 minute meals


