Last Tuesday, I was standing in my kitchen at 4:15 PM, staring into the refrigerator with that specific kind of dread that only parents know. The clock was ticking. The house was quiet—too quiet. My kids were supposed to be getting off the bus in ten minutes, my husband was working late, and I had exactly zero plan for dinner. I had a half-empty carton of eggs, some sad-looking spinach, and a bag of frozen peas that had been there since March.
I used to just order takeout. I know, I know. But between the delivery fees, the wait times, and the fact that we’d end up eating cold fries out of the box while watching TV, it felt like I was losing control of our weeknights. So, I started trying something different. I started prepping “snack boxes” on Sunday mornings. Not elaborate, Pinterest-perfect arrangements with toothpicks and fancy cheeses. Just simple, colorful, grab-and-go containers filled with raw veggies, dips, and crunchy bits.
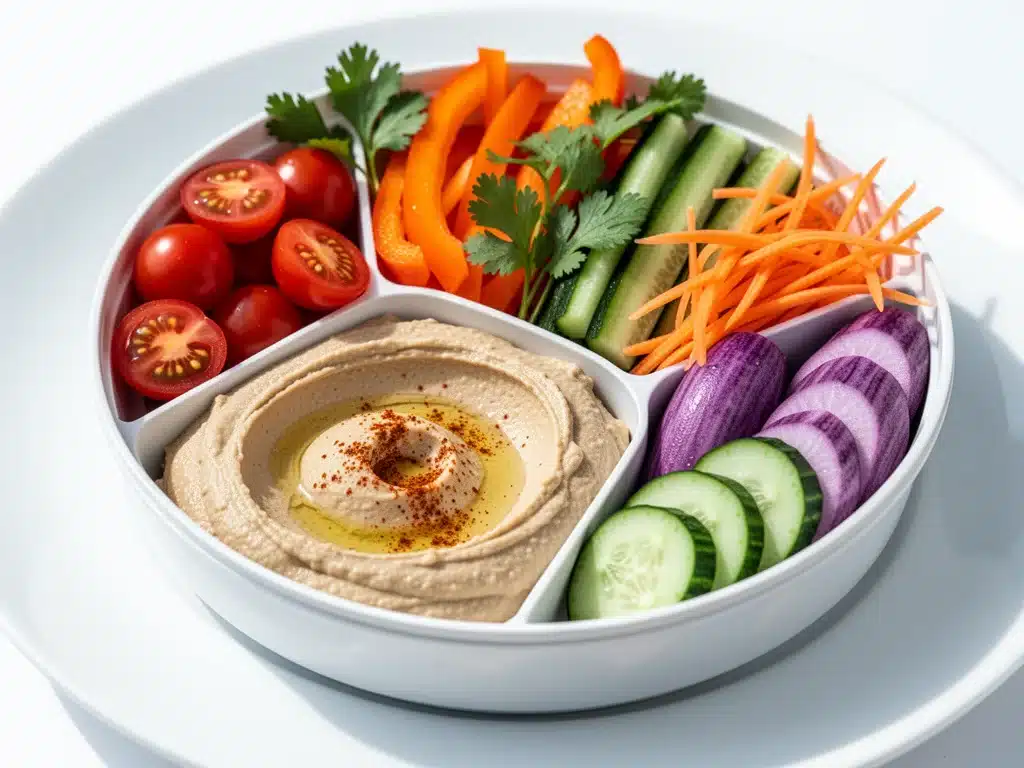
Here’s the thing: these Back to School Rainbow Veggie Snack Boxes aren’t just for kids. They’ve become my secret weapon for busy weeknights. When the school day ends and the hunger begins, instead of rushing to chop onions and sauté garlic, I hand out these boxes. The kids eat their veggies before they even realize they’re being healthy. And by the time they’re done, I’ve had twenty minutes of peace to throw together a simple pasta or roast some chicken. It’s not a full meal, but it keeps the hangry monsters at bay until I can serve dinner.
I’ve tested this system for three school years now, tweaking the contents based on what my family actually eats (spoiler: they love crunch, but they hate mush). If you’re tired of the 5 PM panic and want a strategy that actually works, this is it. It’s colorful, it’s easy, and it saves your sanity.
Why You’ll Love These Snack Boxes
There are about ten reasons I keep making these boxes every single week, but here are the big ones that changed our household dynamic.
They Buy You Time — Seriously, this is the main benefit. While the kids are munching on bell peppers and hummus, you have a 20-minute window to start dinner without being asked “what’s for dinner?” every thirty seconds. I’ve cooked entire meals while listening to my daughter explain why her friend’s dog is cooler than mine.
Zero Food Waste — I used to buy a bag of carrots, use two, and throw the rest out when they got slimy. Now, I chop them all at once and put them in boxes. They stay crisp for days because they’re stored properly. I’ve cut our vegetable waste by about 70%.
Visual Appeal Matters — We eat with our eyes first. If a plate is brown (chicken, rice, potatoes), my kids lose interest. But if it’s red, green, yellow, and orange? Suddenly, they’re excited. The “rainbow” aspect isn’t just for show; it’s a trick to get them to eat a variety of nutrients without a fight.
Customizable for Picky Eaters — My son hates anything with a dip, while my daughter only eats veggies if they’re submerged in ranch. With individual boxes, I can make two versions. One with ranch, one without. No arguments, no negotiation. Just eating.
Budget-Friendly — Buying pre-cut veggies at the store is expensive. Buying them whole and chopping them yourself costs a fraction of the price. Plus, you’re using up those veggies that were about to go bad anyway.
This is my go-to strategy when I need dinner to just work. No complicated techniques, no weird ingredients, just reliable, colorful food that keeps everyone happy until the real meal is ready.
Ingredients You’ll Need
Here’s the best part: you probably have most of this already. I’m particular about a few things here, mostly regarding freshness and texture, but the rest is pantry staples.
For the Crunch (The Base)
Carrots (2 large, cut into sticks) — Use fresh, firm carrots. If they’re bendy, they’re old and won’t crunch. Peel them if you want, but I leave the skin on for extra nutrients. The peel has the most flavor.
Celery (3 stalks, sliced) — Don’t skip this. Celery adds that classic snap and helps cleanse the palate. I buy a whole bunch and cut all of it at once, even if you don’t use it all. It lasts longer that way.
Cherry Tomatoes (1 pint) — Sweet, juicy, and pop in your mouth. Make sure they’re firm. If they’re soft, they’ll leak and make the other veggies soggy. I wash them right before packing.
Cucumber (1 English cucumber, sliced into rounds or half-moons) — English cucumbers are better because they have fewer seeds and less water. Regular cucumbers can get watery and make the box soggy. I always peel the skin if it’s waxed, but if it’s organic, leave it on for color.
For the Color and Flavor
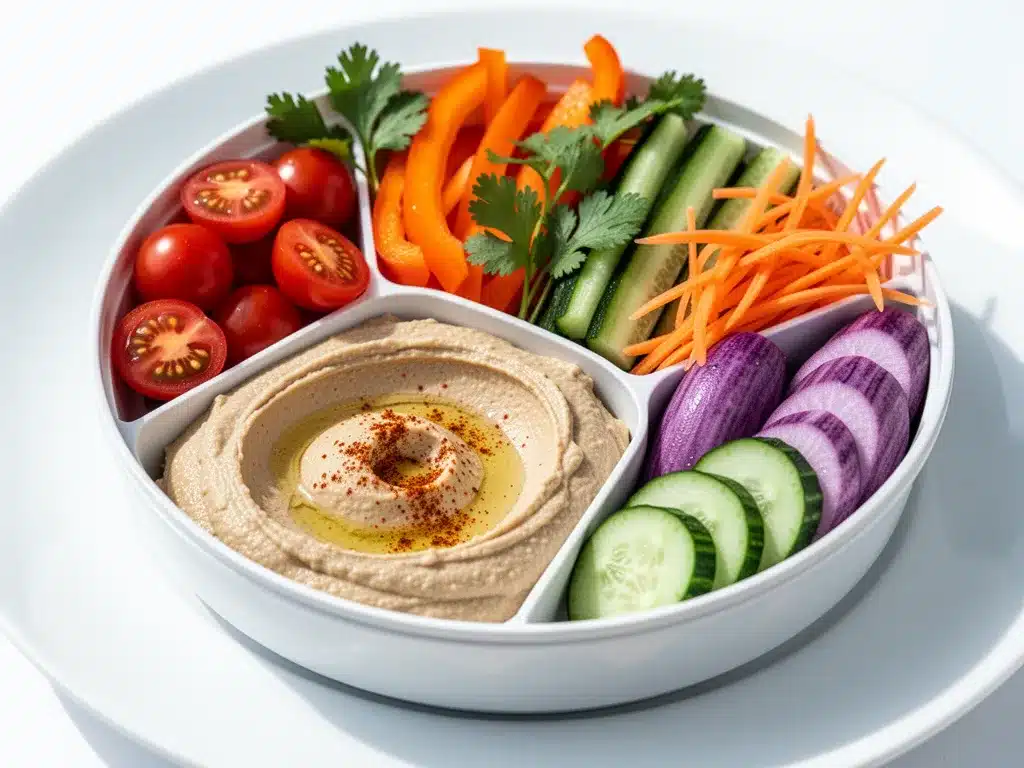
Red Bell Pepper (1 large, sliced into strips) — Red peppers are sweeter than green ones, which kids prefer. If your kids hate sweet peppers, use green, but add a few red ones for the rainbow effect. Remove all seeds and white membranes—those are the bitter parts.
Yellow or Orange Bell Pepper (1 medium, sliced) — Adds visual variety and a slightly different flavor profile. Yellow peppers are milder, orange are in between.
Radishes (1 dozen, sliced thinly) — These are the secret weapon. They’re peppery and crunchy. Most kids love them because they’re fun to eat. Slice them thin so they’re not overwhelming.
For the Dip and Protein
Hummus (1 cup) — I buy store-bought because it’s consistent, but homemade works too. Classic chickpea is best. Roasted garlic is popular, but sometimes too strong. Have a backup option.
Ranch Dressing (½ cup) — For the picky eaters. I make my own with Greek yogurt for a protein boost, but store-bought is fine. Keep it separate in a small container so the veggies don’t get soggy.
Cottage Cheese or Ricotta (1 cup) — This is my new favorite dip. It’s high in protein and pairs well with veggies. Season it with a little black pepper and dried oregano. It feels fancy but is super simple.
Whole Grain Crackers (1 pack) — Adds texture and carbs. I like wheat thins or whole grain squares. Avoid the overly salty ones so the veggies shine.
Cheddar Cheese Cubes (½ cup) — Sharp cheddar adds flavor. Cut into small cubes so they fit in the compartments. If your kids prefer string cheese, use that, but cubes are easier to pack neatly.
Optional Add-ins
Olives (Kalamata or green, pitted) — For the Mediterranean vibe. Slice them in half. Kids who like olives will go crazy for these.
Chickpeas (1 can, drained and rinsed) — Toss with a little olive oil and paprika for a crunchy protein boost. Great for older kids.
Equipment Needed
You don’t need fancy equipment for this. Here’s what I actually use.
Compartmentalized Containers — I use BPA-free plastic containers with dividers. They keep the dips separate from the veggies. I have a set of 6, which is perfect for a week. Glass works too, but it’s heavier.
Sharp Knife — For chopping veggies. A dull knife makes you cry more—learned this the hard way. I use a chef’s knife for peppers and cucumbers.
Cutting Board — Any size works. I use a large plastic one for easier cleanup.
Vegetable Peeler — For peeling cucumbers if needed. Also great for making veggie ribbons if you want to get fancy.
Measuring Cups — For portioning dips. I like to keep the portions consistent so everyone gets the same amount.
Small Squeeze Bottles — Optional, but nice for putting hummus or ranch into the containers without making a mess.
How to Make It: Step-by-Step
Alright, let’s make this! I’m walking you through exactly how I do it, including the little tricks I’ve picked up over three years of Sunday prep.
Step 1: Wash and Dry Everything (10 minutes)
Before you chop, wash all your veggies. This is crucial. If they’re wet, they’ll get slimy. I use a salad spinner for leafy greens, but for hard veggies, I pat them dry with paper towels. Dry veggies last longer. I learned this the hard way with a box of soggy cucumbers.
Step 2: Chop the Hard Veggies (10 minutes)
Start with carrots and celery. Cut carrots into sticks about the thickness of your finger. Cut celery on the diagonal—it looks nicer and is easier to pick up. Place them in a bowl with a damp paper towel on top to keep them crisp while you chop the rest.
Step 3: Slice the Soft Veggies (5 minutes)
Cut the bell peppers into strips. Remove all seeds and white membranes. Slice the cucumber into rounds or half-moons. Slice the radishes thinly. Place them in separate bowls. Keep them separate until you’re ready to pack to prevent color bleeding.
Step 4: Prepare the Dips (5 minutes)
If you’re making yogurt ranch, mix Greek yogurt, ranch seasoning, and a splash of milk until smooth. If using store-bought hummus, give it a stir. Taste and adjust seasoning if needed. Add a pinch of salt or pepper to the cottage cheese if you’re using that.
Step 5: Pack the Boxes (15 minutes)
Take your containers. Place the dip in one compartment. Fill the other compartments with the veggies. Aim for color variety in each box. I try to get red, green, yellow, and orange in every single one. Add cheese cubes and crackers. If using olives or chickpeas, add those now.
Step 6: Store Properly (2 minutes)
Seal the containers tightly. Lay them flat in the fridge. If they’re standing up, the dip might leak. I pack them on a shelf where they won’t be bumped. They’ll last up to 4 days.
Expert Tips & Tricks
Here’s everything I’ve learned from making these boxes dozens of times. These tips will save you from my mistakes.
Keep Dips Separate — This is the #1 tip. If the dip touches the veggies, they get soggy. Use small containers for dips or compartments in your box. I learned this after a week of mushy carrots.
Pat Dry, Always — Moisture is the enemy of crisp veggies. If they’re wet, they’ll slim. I keep a stack of paper towels ready and pat everything dry. It takes an extra minute but makes a huge difference.
Use Sharp Knives — Dull knives crush veggies, releasing water and making them limp. A sharp knife gives you clean cuts and keeps the veggies firm. Sharpen your knives regularly.
Prep in Batches — I chop all carrots at once, then all peppers, then all cucumbers. It’s faster than switching back and forth. I also keep a bowl of water nearby to rinse my knife between cuts to prevent cross-contamination of flavors.
Rotate the Veggies — Don’t make the same box every day. Mix it up. If you have zucchini, use it. If you have snap peas, use them. Variety keeps kids interested.
Add Protein — Veggies alone aren’t enough. Add cheese, chickpeas, or hard-boiled eggs. This makes the box more satisfying and keeps the kids full longer.
Variations & Substitutions
Once you’ve nailed the basic version, here’s how you can mix it up. I’ve tried all of these.
Mediterranean Box — Swap hummus for tzatziki. Add olives, feta cheese, and cucumber. Use pita bread instead of crackers. My kids love the tangy flavor.
Asian-Inspired Box — Swap hummus for edamame or peanut sauce. Add snap peas, bell peppers, and carrots. Use rice crackers. Add a sprinkle of sesame seeds. It’s a fun twist.
Italian Box — Swap hummus for marinara or pesto. Add mozzarella balls, cherry tomatoes, and basil leaves. Use Italian breadsticks. It’s like a mini antipasto.
Breakfast Box — For busy mornings, swap veggies for fruit. Add yogurt, granola, and berries. It’s a sweet alternative that still feels healthy.
Dietary Modifications — Gluten-Free: Use gluten-free crackers or rice cakes. Dairy-Free: Use hummus or guacamole instead of cheese and yogurt dips. Low-Carb: Skip the crackers and cheese, focus on veggies and hummus.
Serving & Storage
How to Serve: I usually serve these straight from the fridge. No heating needed. Just grab and go. When I have guests, I put them out on a platter with small bowls of dips. It looks festive and is easy for everyone to help themselves.
Side Dishes: These boxes work well as a starter or snack. If serving as a pre-dinner snack, they should be substantial enough to curb hunger but not so filling that they ruin dinner. If serving as a light lunch, add more protein like cheese or chickpeas.
Storage Instructions: Store in the refrigerator for up to 4 days. The veggies will stay crisp if kept dry. The dips should be consumed within 3 days for best quality. If you notice any sliminess or off-smells, toss them.
Freezing: I don’t recommend freezing these boxes. The veggies will become mushy when thawed. Make them fresh or store in the fridge. If you want to prep ahead, chop veggies and store them in airtight containers with paper towels for up to 3 days.
Pro Tip: If leftovers are drying out, add a splash of water to the container and shake it gently. It can revive slightly soggy veggies. But prevention is better than cure—keep them dry!
Nutrition Information
I’m not a nutritionist, but here’s the breakdown if you’re tracking. This is per box, assuming 6 boxes with a variety of veggies and dips.
Per Serving (1 Box):
– Calories: 150-200 (varies based on dip and add-ins)
– Protein: 5-8g (from cheese, hummus, or chickpeas)
– Carbs: 15-20g (from veggies and crackers)
– Fiber: 3-4g (from veggies)
– Sugar: 5-7g (natural sugars from veggies)
– Fat: 8-10g (from dips and cheese)
What’s Good: High in fiber and vitamins. Low in added sugar. Good source of plant-based protein if you add chickpeas or hummus.
What to Know: Sodium can vary based on the dip. Use low-sodium hummus or make your own to control salt. The calorie count is low, so it’s a great snack for weight management.
My Take: Look, this is a snack, not a meal replacement. But it’s way better than chips or candy. It’s packed with nutrients and keeps the kids happy. When I want to make it more filling, I add more protein like cheese or chickpeas. But usually? I just serve it as a pre-dinner snack and enjoy the peace it brings.
Final Thoughts
So that’s my Back to School Rainbow Veggie Snack Boxes! I’ve probably talked your ear off at this point, but when you make a strategy this often, you have a lot to say about it.
This has saved weeknight dinners more times than I can count. It’s my answer to “what’s for dinner?” when I’m tired, don’t want takeout, and still want something that tastes really good. My kids are happy, my husband’s happy, and I’m happy because I’m not stressed about cooking.
Make it yours! Try different add-ins, swap in your favorite vegetables, adjust the dips. The best recipes are the ones you adapt to your family’s tastes. If you have kids who hate carrots, try zucchini sticks. If they love ranch, make your own with Greek yogurt.
If you make this, drop a comment and let me know what you think! I love hearing how recipes turn out in your kitchen. And if something doesn’t work, tell me that too—I’m here to help troubleshoot.
Happy cooking! And I hope your kitchen smells half as good as mine does right now.
Frequently Asked Questions
Can I use pre-cut veggies?
Yes, you can, but they’re more expensive and often have a shorter shelf life. I’ve tried both, and homemade chopped veggies last longer and taste fresher. If you’re short on time, pre-cut is fine, but pat them dry before packing to remove excess moisture.
My veggies got soggy—what happened?
Usually means they were wet when packed, or the dip leaked. Always pat veggies dry with paper towels. Keep dips in separate containers or compartments. If you’re using a single container, line it with paper towels to absorb moisture.
Can I make these ahead for the whole week?
Yes, I make them every Sunday. They’ll last up to 4 days in the fridge. I pack 5 boxes for the week, so I have a couple of spare. If you notice any veggies getting soft, use them first. Rotate the boxes in the fridge so you use the oldest ones first.
Why did my dip turn watery?
If you’re making your own dip, it might have separated. Stir it well before packing. If using store-bought, check the expiration date. Sometimes dips break down over time. Keep them cold and use them within 3 days.
Can I freeze these boxes?
No, I don’t recommend it. The veggies will become mushy when thawed. Make them fresh or store in the fridge. If you want to prep ahead, chop veggies and store them in airtight containers with paper towels for up to 3 days.
How do I reheat leftovers without it getting dry?
You don’t need to reheat these boxes—they’re served cold or room temperature. If you want to eat them warm, you can microwave the veggies for 30 seconds, but they’ll lose their crunch. Best enjoyed fresh.
Can I double this recipe?
Absolutely! Double everything and use your biggest containers. The prep time stays the same. I do this when I’m meal-prepping or feeding a crowd. Just make sure your containers are big enough for the veggies—you might need to use two pans or a very large bowl.
Pin This Recipe!
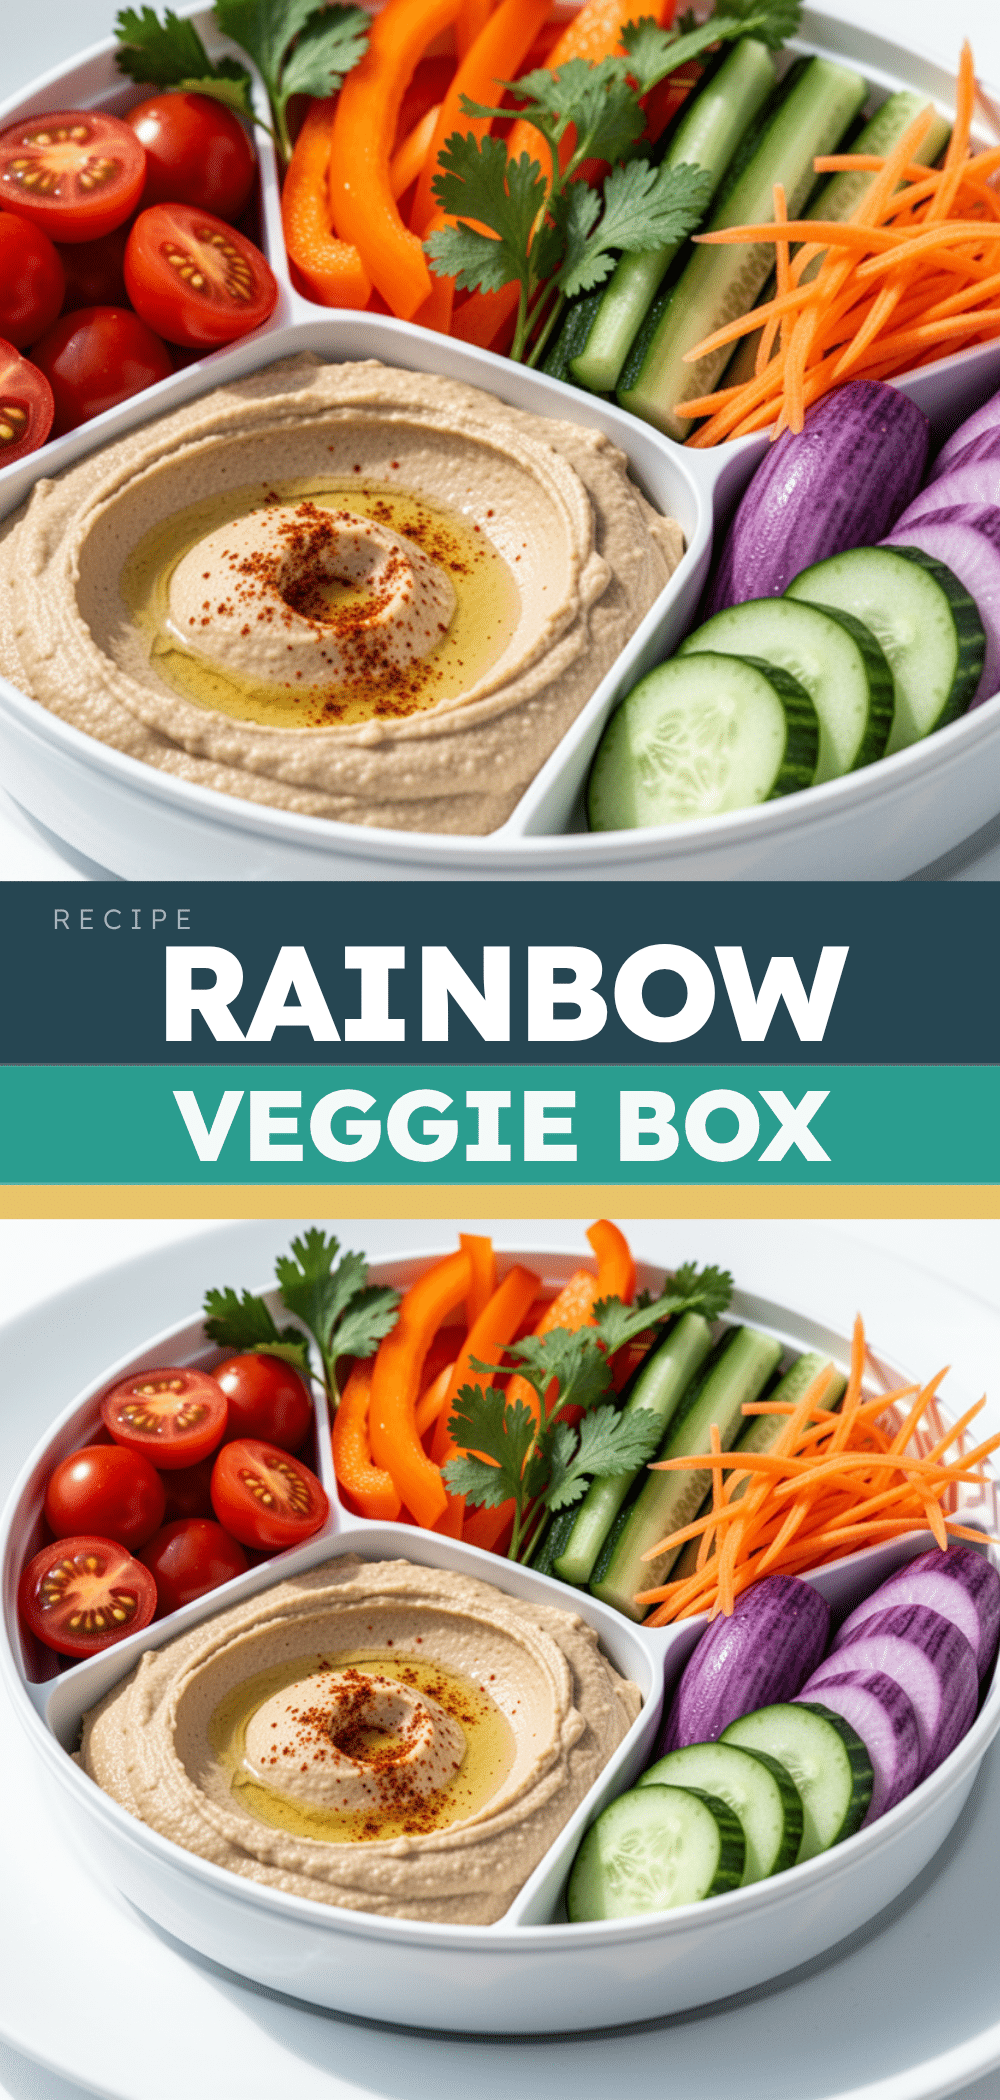
Back to School Rainbow Veggie Snack Boxes
- Total Time: 45 minutes
- Yield: 6 servings 1x
Description
A simple, colorful, and customizable snack box strategy designed to keep kids happy and parents sane during busy weeknights. These grab-and-go containers feature fresh raw veggies, dips, and crunchy bits to curb hunger before dinner.
Ingredients
- 2 large carrots, cut into sticks
- 3 stalks celery, sliced diagonally
- 1 pint cherry tomatoes, washed and dried
- 1 English cucumber, sliced into rounds or half-moons
- 1 large red bell pepper, sliced into strips
- 1 medium yellow or orange bell pepper, sliced
- 1 dozen radishes, sliced thinly
- 1 cup hummus
- 1/2 cup ranch dressing (or Greek yogurt ranch)
- 1 cup cottage cheese or ricotta (seasoned with black pepper and oregano)
- 1 pack whole grain crackers
- 1/2 cup cheddar cheese cubes
- Optional: Kalamata or green olives, pitted and halved
- Optional: 1 can chickpeas, drained, rinsed, and tossed with olive oil and paprika
Instructions
- Wash all vegetables thoroughly and pat them completely dry with paper towels or use a salad spinner to prevent sogginess.
- Chop hard vegetables first: cut carrots into finger-thick sticks and slice celery diagonally. Place in a bowl with a damp paper towel on top to maintain crispness.
- Slice soft vegetables: cut bell peppers into strips (removing seeds and membranes), slice cucumber into rounds, and thinly slice radishes. Keep them in separate bowls until packing.
- Prepare dips: Mix Greek yogurt with ranch seasoning and a splash of milk for homemade ranch, or stir store-bought hummus. Season cottage cheese with pepper and oregano.
- Pack the boxes: Place dip in one compartment of a divided container. Fill remaining compartments with a variety of colored vegetables (red, green, yellow, orange). Add cheese cubes and crackers.
- Seal containers tightly and store them flat in the refrigerator to prevent leaking. They will keep for up to 4 days.
Notes
Always pat vegetables dry before packing to ensure they stay crisp. Keep dips in separate compartments to prevent sogginess. Rotate vegetable varieties to keep children interested. These boxes are best served cold or at room temperature and are not recommended for freezing.
- Prep Time: 45 minutes
- Cook Time: 0 minutes
- Category: Snack
- Cuisine: American
Nutrition
- Serving Size: 1 box
- Calories: 175
- Sugar: 6
- Sodium: 250
- Fat: 9
- Saturated Fat: 3
- Carbohydrates: 17
- Fiber: 3.5
- Protein: 6.5
Keywords: snack boxes, veggie snacks, back to school meals, healthy snacks for kids, meal prep, weeknight dinner strategy, rainbow veggies, gluten-free options, dairy-free options


