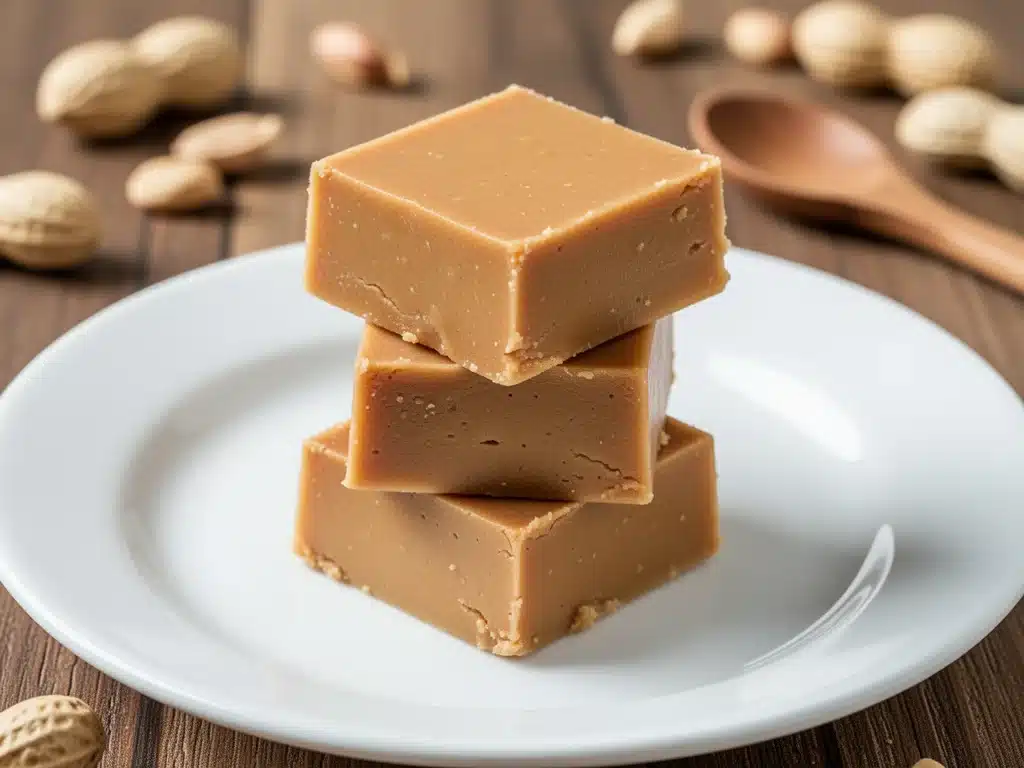
Three years ago, I walked into a specialty grocery store with a specific mission: find something sweet that wouldn’t wreck my blood sugar but would still satisfy my 3 PM chocolate craving. I didn’t want kale chips. I didn’t want a protein bar that tasted like chalk and regret. I wanted fudge. Thick, chewy, melt-in-your-mouth fudge.
I found it in the freezer section. It was labeled “Sugar-Free” and “Keto-Friendly” in bold, appealing letters. I bought four packages. I ate one piece, and my heart sank. It tasted like wax. Not even good wax—cheap, chemical wax with a weird aftertaste that lingered on my tongue for hours. It had the texture of cold plastic. I threw the rest away and went to bed hungry.
That night, I made a promise to myself: I would never buy that stuff again. I would make my own. I didn’t care if it took me a week. I wanted real peanut butter, real sweetness, and a texture that actually felt like indulgence.
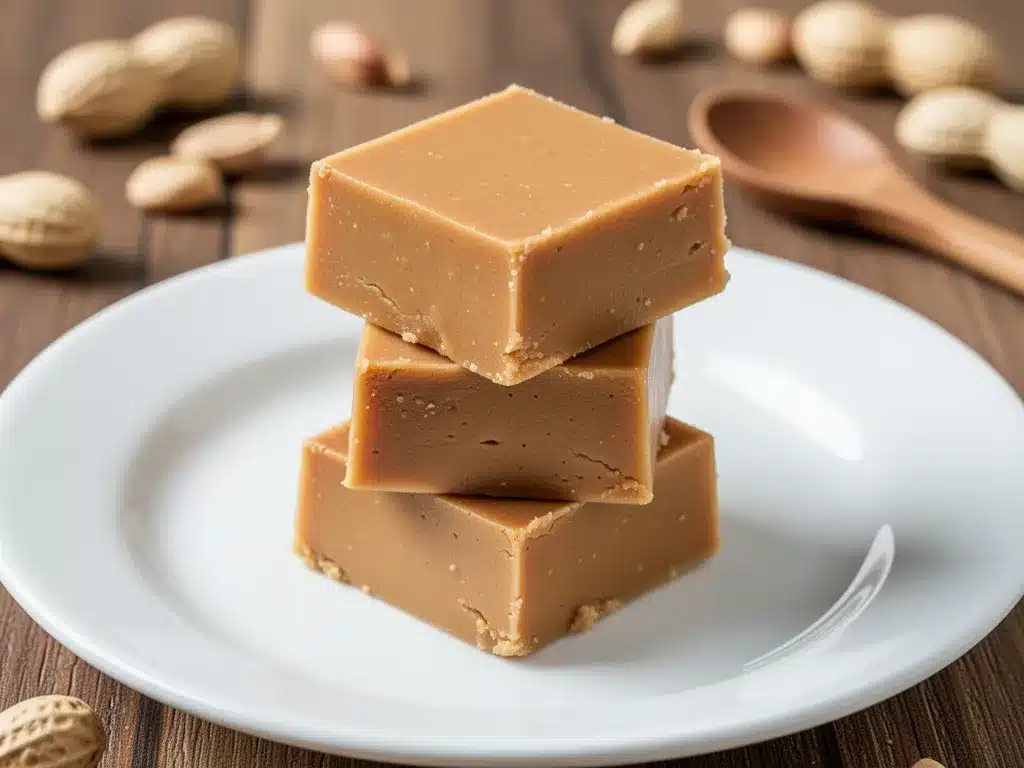
What I created wasn’t just a substitute. It’s better than the real thing. This sugar-free peanut butter fudge is the holy grail of low carb desserts. It’s rich, it’s dense, and it takes less time than it takes to boil water. I’ve made this for my family, for my keto friends, and for myself when I’m having a particularly stubborn sugar crisis. It has saved my sanity on low-carb journeys more times than I can count.
Here’s the thing about low-carb baking: most people overcomplicate it. They try to bake cakes that require almond flour, eggs, and an hour in the oven. But sometimes? Sometimes you just want a spoon and a bowl. You want something you can throw together in five minutes and eat with your hands while you’re folding laundry. That’s what this recipe is. It’s not a science experiment. It’s a miracle in a pan.
Why You’ll Love This Sugar-Free Peanut Butter Fudge
Look, I get it. Giving up sugar is hard. The cravings hit you like a truck. But giving up *treats* is what makes people quit. If your “healthy” lifestyle feels like punishment, you’re doing it wrong. This fudge is proof that you can have your cake (or fudge, in this case) and eat it too.
Here’s why this sugar-free peanut butter fudge has become a staple in my kitchen:
- Five Minutes, Max — Seriously. From opening the jars to having the fudge ready to eat, it’s five minutes. Maybe six if you’re being dramatic. I’ve made this at 11 PM on a Tuesday when I just needed something sweet before bed. No baking, no oven, no mess.
- Only Four Ingredients — You don’t need a pantry full of obscure keto flours or sweeteners you’ve never heard of. You need peanut butter, a sweetener, butter, and vanilla. That’s it. If you have these, you have dessert.
- Texture Perfection — Most sugar-free fudge is either gritty (from the sweetener) or crumbly (from the lack of sugar). This one is smooth, chewy, and dense. It feels like a treat, not a diet food.
- Protein Boost — Peanut butter is a protein powerhouse. This isn’t just empty calories. It actually keeps you full. I often eat a square with my morning coffee and it stops the hunger pangs before lunch.
- Freezer Friendly — I make a batch on Sunday and keep it in the freezer. It lasts for weeks. When a craving hits, I just pull out a square. It’s like having a dessert ice cream stash, but for fudge.
This recipe has changed the way I think about low-carb living. It’s not about restriction; it’s about finding better versions of the things you love. And this fudge? It’s the best version.
Ingredients You’ll Need
Before we get into the “how,” let’s talk about the “what.” You might think making sugar-free fudge requires fancy ingredients, but the beauty of this recipe is its simplicity. However, because there are only four ingredients, quality matters. You can’t hide bad peanut butter behind chocolate chips here.
The Base: Peanut Butter
Natural Peanut Butter (1 cup / 250g) — This is the star. Use creamy, natural peanut butter. Not the kind with hydrogenated oils and added sugar. I prefer brands like Smucker’s Natural or Kirkland Signature, but any brand where the ingredients list is just “peanuts” (and maybe salt) works. If you use oil-free peanut butter, the fudge will be denser. If you use runny natural peanut butter with oil on top, stir it in thoroughly before measuring. Don’t skimp on the stirring.
The Sweetener
Erythritol or Monk Fruit Sweetener (½ cup / 60g) — This is where people get tripped up. Do not use granulated sugar substitutes that are measured cup-for-cup like sugar unless they are specifically labeled as such. I use a powdered erythritol or a monk fruit blend. Powdered is crucial here because granular sweeteners don’t dissolve fully in this no-bake method, leaving you with a gritty texture. If you only have granular, pulse it in a blender or food processor until it’s fine powder. Trust me, the grit is not worth it.
The Fat
Unsalted Butter (2 tablespoons / 30g) — Butter adds richness and helps bind the fudge. Use real butter, not margarine. Margarine has water content that can mess with the texture. If you’re dairy-free, you can use coconut oil, but the flavor will be different. I stick with butter because it tastes like actual fudge.
The Flavor
Vanilla Extract (1 teaspoon) — Pure vanilla extract. Not imitation. The vanilla cuts the peanutty richness and makes it taste like a bakery dessert. If you don’t have vanilla, you can skip it, but I highly recommend adding it. It’s the secret ingredient that makes it taste “grown up.”
Optional Add-Ins: I sometimes add a handful of sugar-free chocolate chips or crushed sugar-free peanuts on top before it sets. It adds crunch and visual appeal. For Pinterest photos? Definitely add the chips. For eating? Pure peanut butter is satisfying enough.
Equipment Needed
You don’t need much. In fact, if you have too much equipment, you’re probably overthinking this.
- Microwave-Safe Bowl — A large microwave-safe bowl is essential. Glass or ceramic works best. Make sure it’s big enough to stir without splashing.
- Microwave — Standard kitchen appliance. You’ll use it in 30-second bursts.
- Spatula — A silicone spatula is best for scraping the bowl. You want every bit of that peanut butter.
- 8×8 Inch Pan — Or any small baking dish. Line it with parchment paper for easy removal. This is non-negotiable if you want clean squares.
- Small Spoon — For stirring. A regular tablespoon works fine.
I once tried making this in a mug because I was being lazy. It worked, but I couldn’t get it to set into squares. Just use the pan. It’s easier to clean than you think.
How to Make It: Step-by-Step
Alright, let’s make this sugar-free peanut butter fudge. I’m walking you through exactly how I do it. It’s so simple that you’ll wonder why you ever bought that wax-like fudge from the store.
Step 1: Prep Your Pan (2 minutes)
Line your 8×8 inch pan with parchment paper. Leave some overhang on the sides like handles. This is the trick to getting the fudge out in one piece later. If you don’t have parchment, grease the pan well with butter or coconut oil, but parchment is better. Set it aside.
Step 2: Combine Ingredients (1 minute)
Add the peanut butter, powdered sweetener, and butter to your microwave-safe bowl. If your peanut butter is cold from the fridge, let it sit out for 5 minutes so it’s soft. Hard peanut butter is a nightmare to mix.
Step 3: Microwave in Bursts (2 minutes)
Microwave the mixture on high for 30 seconds. Remove and stir vigorously. The butter will start to melt. Microwave for another 30 seconds. Stir again. The mixture should be smooth, glossy, and runny. If it’s still chunky with unmelted butter, do one more 15-second burst. Do not overheat! Peanut butter can seize up if it gets too hot. You want it warm and fluid, not boiling.
Step 4: Add Vanilla and Mix
Stir in the vanilla extract. The mixture will look shiny and delicious. If you’re adding chocolate chips or crushed nuts, fold them in now.
Step 5: Pour and Set (1 minute + chill time)
Pour the mixture into your prepared pan. Use the spatula to spread it out evenly. Smooth the top. You want it flat so your squares look neat. Place the pan in the refrigerator for at least 30 minutes. Or, if you’re impatient like me, put it in the freezer for 15 minutes.
Step 6: Cut and Enjoy
Once firm, lift the fudge out using the parchment handles. Place it on a cutting board. Use a sharp knife to cut into squares. I like 16 squares, but do what feels right for your household. Eat immediately, or store in the fridge/freezer.
Total Time: 5 minutes active, 30 minutes inactive.
Troubleshooting: If the fudge is too soft, you didn’t chill it long enough. If it’s too hard, you microwaved it too long or used too little butter. If it’s gritty, your sweetener wasn’t powdered fine enough.
Expert Tips & Tricks
Here’s everything I’ve learned from making this dozens of times. These tips will save you from my mistakes.
Use Powdered Sweetener
I can’t stress this enough. Granular erythritol or stevia will not dissolve in cold peanut butter. It will sit at the bottom of the bowl, and you’ll bite into a crunchy crystal of sweetness. Buy powdered, or blend your own. I keep a bag of powdered monk fruit sweetener in my pantry specifically for this. It’s worth the extra step.
Stir Your Natural Peanut Butter
If you buy natural peanut butter, the oil separates. You must stir it back in until it’s uniform. If you measure from the top where there’s just oil, your fudge will be greasy. If you measure from the bottom where it’s dry, it’ll be crumbly. Get the consistency right before you measure.
Don’t Overheat
Peanut butter burns easily. If you microwave it for too long, it becomes thick and pasty instead of smooth and pourable. It’s better to under-microwave and stir in residual heat than to overdo it. If it gets too thick, add a tiny splash of warm water or more butter to loosen it up.
Chill, Don’t Freeze (Usually)
The fridge is perfect for setting this fudge. The freezer can make it too hard to cut, especially if your freezer is cold. If you prefer very firm fudge, freeze it, but let it sit on the counter for 5 minutes before cutting.
Variations & Substitutions
Once you’ve nailed the basic version, here’s how you can mix it up. I’ve tried all of these.
Chocolate Peanut Butter Fudge
Add 2 tablespoons of unsweetened cocoa powder to the dry ingredients. This turns it into a mocha-like fudge. It’s rich and intense. Great for chocolate lovers who are also on low carb.
Peanut Butter Cup Style
Make half the batch and spread it in the pan. Freeze for 10 minutes. Melt sugar-free chocolate chips and pour over the top. Freeze again. This is the ultimate treat. It tastes like a Reese’s Cup but without the sugar crash.
Salted Caramel Peanut Butter
Add a pinch of flaky sea salt on top before it sets. The salt enhances the peanut flavor and makes it taste gourmet. I do this when I’m hosting dinner parties.
Almond Butter Version
Substitute almond butter for peanut butter. It’s more expensive but tastes luxurious. The texture is slightly different but still delicious. Great for those with peanut allergies.
Dairy-Free Option
Replace butter with coconut oil. The fudge will be slightly softer and have a coconut aftertaste. Add a pinch of salt to balance the coconut flavor. It works well if you’re strict dairy-free.
Serving & Storage
How to Serve: I usually serve this straight from the fridge. It’s firm and satisfying. But if you want a softer texture, let it sit on the counter for 10 minutes. I often pair it with black coffee or unsweetened almond milk. It’s the perfect afternoon pick-me-up.
Side Dishes: This doesn’t really need sides. It’s a standalone treat. But if you’re having a party, serve it with fruit skewers or nuts to balance the richness.
Storage Instructions:
- Refrigerator: Store in an airtight container for up to 2 weeks. The cold keeps it firm and fresh.
- Freezer: Store in a freezer-safe bag or container for up to 3 months. Thaw in the fridge for 30 minutes before eating. This is my preferred method for long-term storage.
Reheating: You don’t need to reheat this. It’s best eaten cold or at room temperature. If you accidentally warm it up, just pop it back in the fridge.
Pro Tip: If you’re meal-prepping, cut the fudge into individual squares and store them in a ziplock bag. Grab one when you need it. No unwrapping required.
Nutrition Information
I’m not a nutritionist, but here’s the breakdown if you’re tracking. Please note that nutrition values depend on the specific brands of ingredients you use, especially the sweetener and peanut butter.
Per Serving (based on 16 squares):
- Calories: 90
- Protein: 3g
- Carbs: 2g
- Fiber: 1g
- Sugar: 0g (net carbs: 1g)
- Fat: 7g
What’s Good: Low carb, high fat, moderate protein. It’s a satiating snack that won’t spike your blood sugar.
What to Know: It’s calorie-dense because of the peanut butter. Portion control is key. One or two squares are plenty. Don’t eat the whole block in one sitting (I’m looking at you, past me).
Dietary Notes: Gluten-free, keto-friendly, low-carb, paleo (if using compliant sweetener), nut-free (if using sunflower seed butter instead).
Final Thoughts
So that’s my go-to sugar-free peanut butter fudge! I’ve probably talked your ear off at this point, but when you make a recipe this often, you have a lot to say about it.
This fudge has saved me from sugar binges more times than I can count. It’s my answer to “what’s for dessert” when I’m tired, don’t want to cook, and still want something sweet. My kids love it, my husband loves it, and I love it because it aligns with my health goals without making me feel deprived.
Make it yours! Try different sweeteners, add chocolate chips, or sprinkle sea salt on top. The best recipes are the ones you adapt to your tastes. This fudge is a canvas, not a rigid formula.
If you make this, drop a comment and let me know what you think! I love hearing how recipes turn out in your kitchen. And if something doesn’t work, tell me that too—I’m here to help troubleshoot.
Happy cooking! And I hope your kitchen smells half as good as mine does right now.
Frequently Asked Questions
Q: Can I use granulated sweetener instead of powdered?
A: You can, but the texture won’t be as smooth. Granular sweeteners don’t dissolve in cold peanut butter, so you’ll get gritty spots. If you must use granulated, pulse it in a blender until it’s fine powder first. It’s worth the extra minute.
Q: Why is my fudge too soft?
A: This usually happens if you didn’t chill it long enough, or if your peanut butter was too runny. Make sure to chill it for at least 30 minutes in the fridge. If it’s still soft, try freezing it for 15 minutes. Also, check your peanut butter consistency—if it’s very oily, it might affect the set.
Q: Can I use almond butter instead of peanut butter?
A: Yes! Almond butter works beautifully. It’s more expensive, but the flavor is rich and delicious. The texture might be slightly denser, but it’s still great. Just make sure to use a natural almond butter without added oils.
Q: How long does this fudge last?
A: In the fridge, it lasts up to 2 weeks. In the freezer, it lasts up to 3 months. I usually make a batch and keep it in the freezer, taking out what I need as I go. It stays fresh and delicious.
Q: Can I double this recipe?
A: Absolutely! Double all ingredients and use a larger microwave-safe bowl. Microwave in 30-second bursts, stirring in between, just like the single batch. It’s great for meal prep or when you have guests.
Q: Is this recipe gluten-free?
A: Yes, naturally! Peanut butter, butter, and most keto sweeteners are gluten-free. Just make sure to check your sweetener label to ensure it’s processed in a gluten-free facility if you have celiac disease.
Q: Can I make this without a microwave?
A: Yes, you can melt the butter and peanut butter together on the stove over low heat. Stir constantly until smooth, then add the sweetener and vanilla. Be careful not to burn it. The microwave is just faster and easier.
Pin This Recipe!
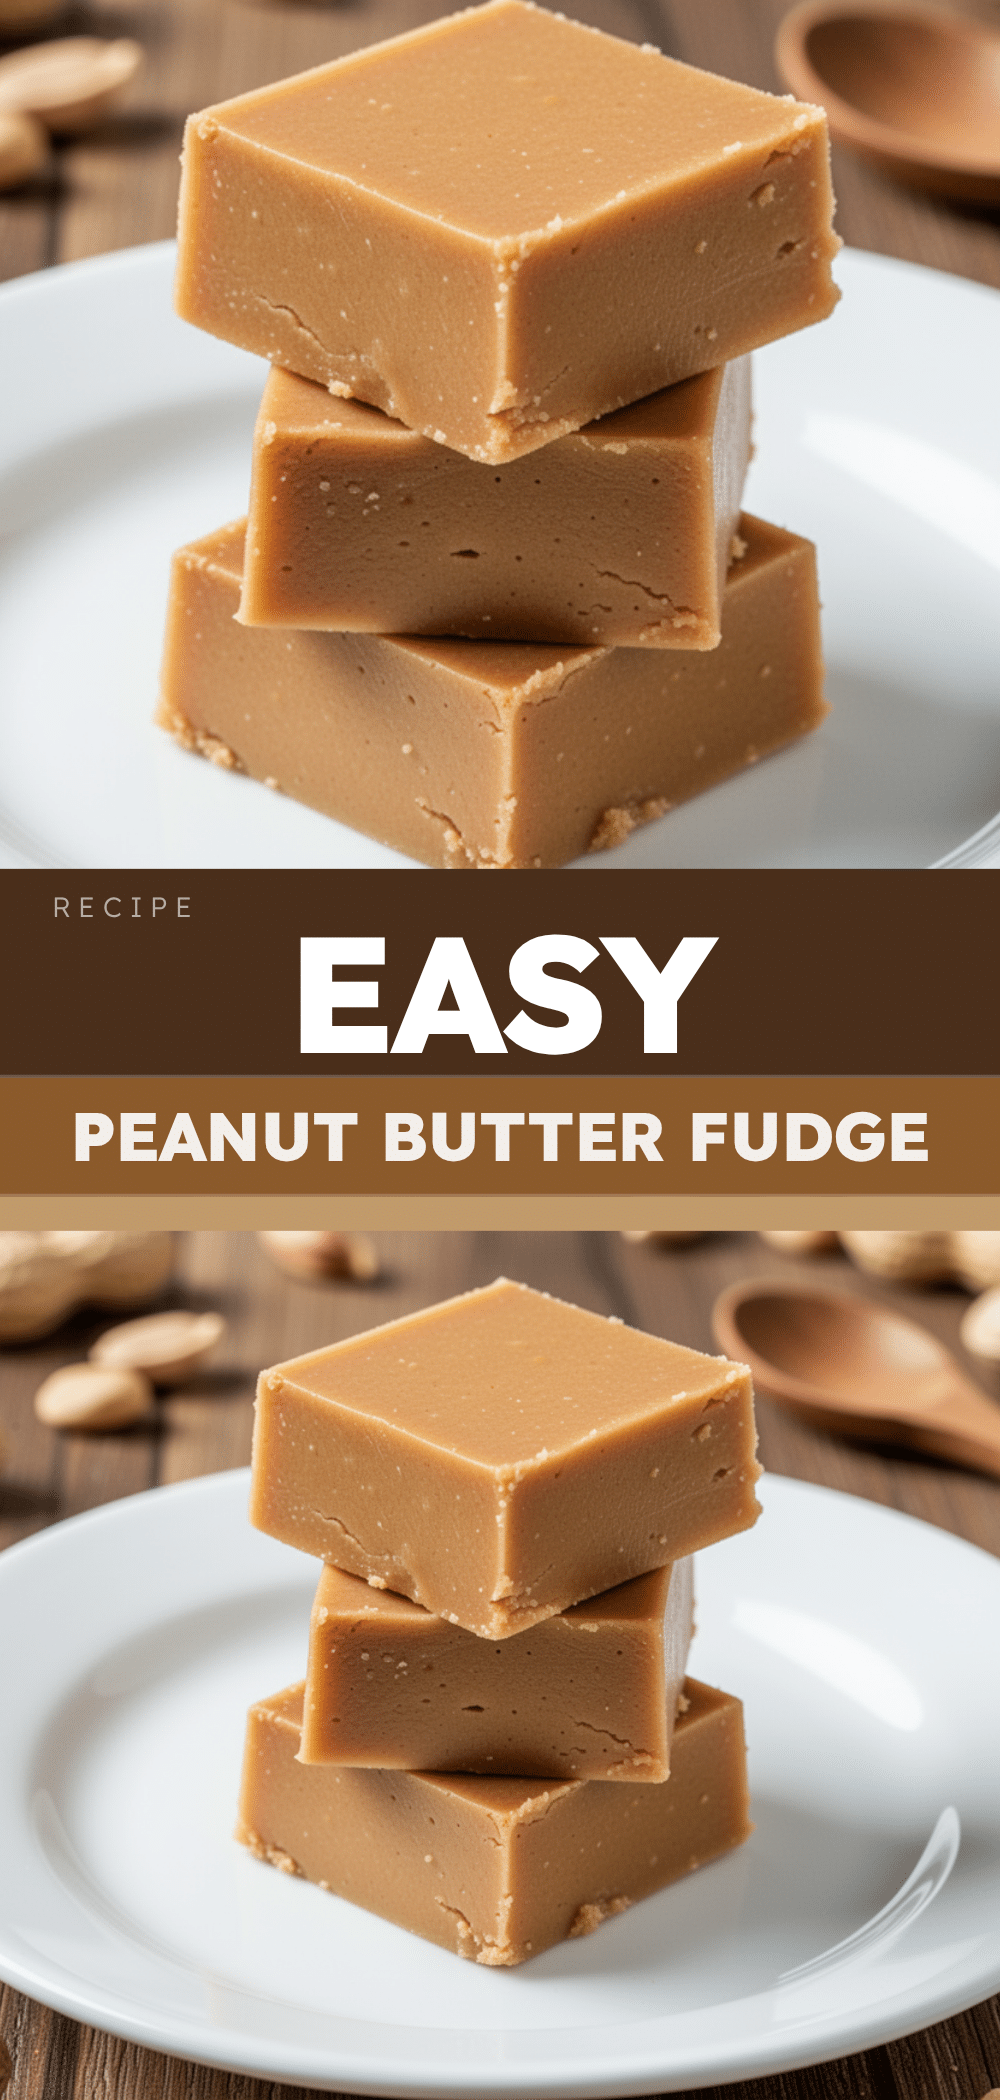
Sugar-Free Peanut Butter Fudge: Best 5-Min Low Carb Treat
- Total Time: 35 minutes
- Yield: 16 servings 1x
Description
A rich, dense, and chewy sugar-free peanut butter fudge that requires only four ingredients and five minutes of active prep time. This no-bake keto-friendly dessert is perfect for satisfying sweet cravings without spiking blood sugar.
Ingredients
- 1 cup (250g) creamy natural peanut butter
- 1/2 cup (60g) powdered erythritol or monk fruit sweetener
- 2 tablespoons (30g) unsalted butter
- 1 teaspoon pure vanilla extract
Instructions
- Line an 8×8 inch pan with parchment paper, leaving overhang on the sides for easy removal.
- Combine peanut butter, powdered sweetener, and butter in a large microwave-safe bowl.
- Microwave on high for 30 seconds, then stir vigorously until the butter begins to melt.
- Microwave for another 30 seconds and stir again until the mixture is smooth, glossy, and runny. If needed, add one more 15-second burst, but do not overheat.
- Stir in the vanilla extract (and optional add-ins like sugar-free chocolate chips or crushed nuts).
- Pour the mixture into the prepared pan and spread evenly with a spatula.
- Refrigerate for at least 30 minutes or freeze for 15 minutes until firm.
- Lift the fudge out using the parchment handles and cut into 16 squares.
- Serve immediately or store in the refrigerator or freezer.
Notes
Ensure sweetener is powdered to avoid grittiness. Stir natural peanut butter thoroughly before measuring to incorporate separated oil. Do not overheat peanut butter as it can seize up. For best results, chill in the fridge rather than the freezer to maintain a cuttable texture.
- Prep Time: 5 minutes
- Cook Time: 0 minutes
- Category: Dessert
- Cuisine: American
Nutrition
- Serving Size: 1 square
- Calories: 90
- Sodium: 15
- Fat: 7
- Saturated Fat: 2
- Carbohydrates: 2
- Fiber: 1
- Protein: 3
Keywords: sugar-free, keto, low carb, peanut butter fudge, no bake, gluten-free, paleo, healthy dessert, 5 minute recipe


