It was 6:15 PM on a Tuesday in September, and the house was already a mess. Backpacks were dumped by the door, homework was scattered across the kitchen island, and my seven-year-old was asking “what’s for dinner?” for the third time in an hour. I was staring at a sheet pan that still had the residue from last night’s roasted veggies, wondering if I had the energy to stand over a stove for forty-five minutes.
The answer, obviously, was no. But I also didn’t want to order takeout. We were trying to save money for the new school year, and I knew exactly how much a single order of fajitas would cost us. So, I did what I do best: I raided the pantry and the fridge, threw together something that looked chaotic, and hoped for the best.
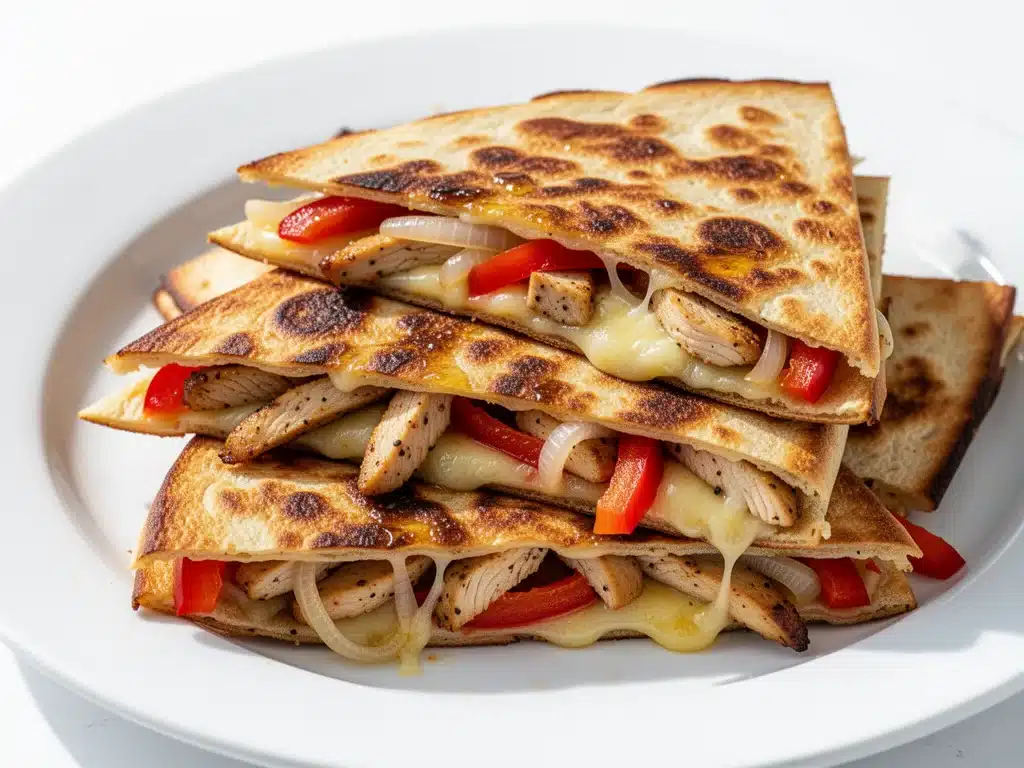
That night, I made Back to School Sheet Pan Chicken Fajita Quesadillas. And honestly? It was the best thing we ate all week.
Here’s the thing about sheet pan dinners—they’re supposed to be easy. But most of them end up with dry chicken or soggy peppers. I wanted something that actually tasted like a proper quesadilla, with that crispy, golden-brown cheese crust, but without the hassle of flipping individual tortillas on a hot skillet while managing three different kids’ schedules.
I’ve tested this recipe at least a dozen times since that chaotic Tuesday. I’ve tweaked the spice blend, adjusted the cooking time for thinner vs. thicker chicken breasts, and even convinced my picky eater to eat bell peppers (okay, he ate the cheese, but he swallowed the peppers too). This recipe has become our anchor. It’s fast, it’s messy in a fun way, and it uses ingredients I already have stocked for school lunches.
If you’re drowning in the back-to-school rush—bus schedules, sports practice, and dinner decisions—this is your lifeline. It’s one pan, minimal cleanup, and maximum flavor. Let’s get into why this specific combination works so well and how you can make it yours.
Why You’ll Love This Recipe
There are a hundred reasons I keep coming back to this meal, but if I had to narrow it down to the big ones, here’s why this back to school sheet pan chicken fajita quesadilla is a game-changer for busy families.
One Pan, Zero Excuses — Seriously. You roast the veggies and chicken on one sheet pan, then assemble the quesadillas. If you use parchment paper (which I highly recommend), cleanup is literally wiping the pan with a paper towel. I’ve made this on nights when I was too tired to stand up, and the cleanup took less time than the cooking.
Lightning Fast — From preheating the oven to the first bite, you’re looking at about 30-35 minutes. But the active time? Maybe 15 minutes. That’s it. I can chop the veggies and season the chicken while the oven heats up. It’s perfect for those nights when practice ends at 6 PM and you need food on the table by 6:45.
Kid-Approved (Even the Picky Ones) — I know the struggle of getting kids to eat vegetables. With this recipe, the peppers and onions roast until they’re sweet and caramelized, losing that raw, bitter crunch. Wrapped in a crispy tortilla with melted cheese, they’re practically invisible to the skeptical eater. My son, who usually picks peppers out of his pizza, asked for seconds.
Customizable for Everyone — One person wants extra spicy? Add jalapeños. Another wants mild? Skip the cayenne. Some want extra cheese, some want less. You can make each quesadilla exactly how that person likes it. It’s like a build-your-own-fajita bar, but way easier to manage.
Budget-Friendly — Chicken breasts, frozen or fresh peppers, onions, and tortillas are some of the cheapest staples in the grocery store. This feeds 4-6 people for under $20, depending on your local prices. That’s less than half the cost of ordering fajitas from a restaurant.
This is my go-to when I need dinner to just work. No complicated techniques, no weird ingredients, just reliable, delicious food that makes everyone happy. It’s comfort food that doesn’t feel like a chore.
Ingredients You’ll Need
Here’s the best part: you probably have most of this already. This isn’t a recipe that requires a special trip to a specialty store. I’m particular about three ingredients here, and I’ll tell you exactly why.
For the Sheet Pan Filling
Chicken Breasts (1.5 lbs / 680g) — Boneless, skinless is easiest. I prefer buying them fresh rather than frozen because they cook more evenly, but frozen works if you thaw them completely in the fridge overnight. Cut them into 1-inch cubes. Uniform pieces mean even cooking.
Bell Peppers (3 medium, any color) — I like using a mix of red, yellow, and green for color and sweetness. Red and yellow peppers are sweeter and better for kids. Green peppers are a bit more bitter but add a nice crunch. Don’t skip the variety—it makes the dish look vibrant and appetizing.
Yellow Onion (1 large, sliced) — Yellow onions are the standard for a reason. They caramelize beautifully and add depth without being too sharp. Slice them into half-moons, about ¼-inch thick.
Olive Oil (3 tablespoons) — Use a good quality extra virgin olive oil for drizzling. It adds a fruity note that complements the spices. Don’t skimp here; the oil helps the veggies roast and crisp up.
Fajita Seasoning (2-3 tablespoons) — I usually make my own (see below), but store-bought works fine if you’re in a rush. Look for one that doesn’t have too much salt or anti-caking agents. I like McCormick or a generic brand from the grocery store.
Garlic (4 cloves, minced) — Fresh garlic is non-negotiable. Jarred garlic has a metallic taste that really shows up in roasted veggies. Mince it yourself. If you’re really lazy, buy pre-peeled cloves, but mince them fresh.
Butter (2 tablespoons, melted) — This is my secret weapon. Adding melted butter to the chicken and veggies before roasting adds richness and helps the spices stick. It makes the chicken juicy and the peppers slightly crispier.
For the Quesadillas
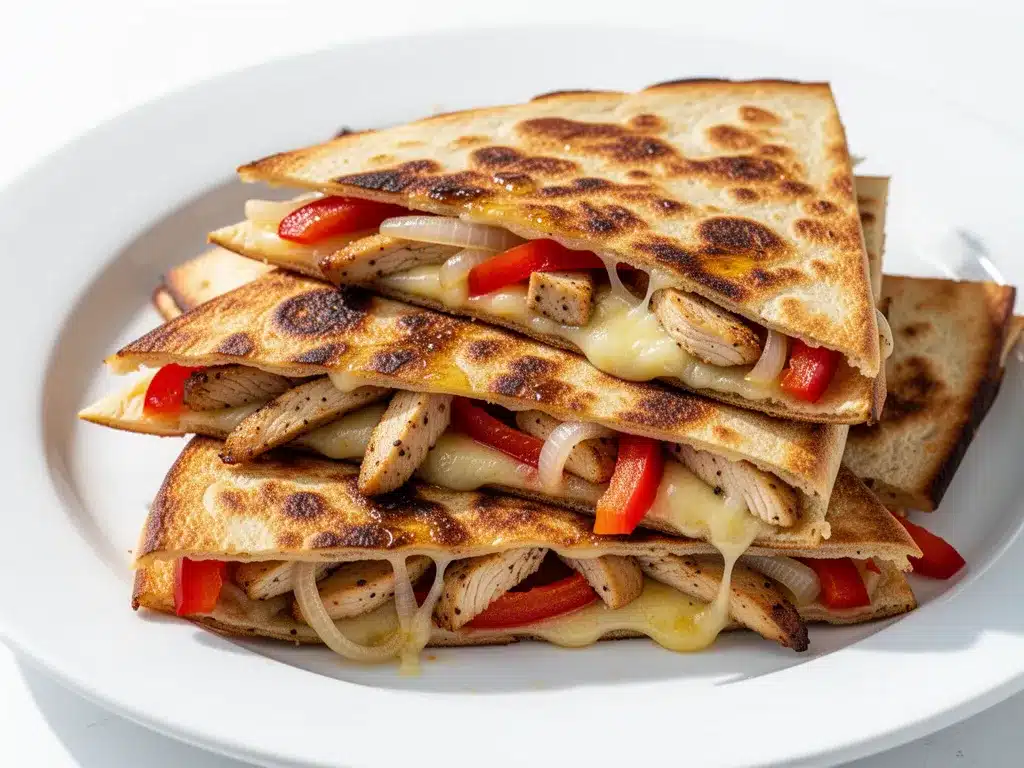
Flour Tortillas (8-10 large, 10-inch) — I use flour tortillas because they’re more pliable and don’t crack like corn tortillas when you fold them. Look for ones that are large enough to fold over comfortably. I like Mission brand, but any large flour tortilla works.
Shredded Mexican Cheese Blend (2 cups) — A mix of cheddar, Monterey Jack, and asadero melts beautifully. I buy pre-shredded for convenience, but if you have time, shred a block yourself. Pre-shredded has anti-caking agents that can make the cheese slightly grainy, but it’s not a dealbreaker.
Optional Add-ins — Sour cream, salsa, guacamole, chopped cilantro, sliced jalapeños. I keep these on the side so everyone can customize their quesadilla.
Equipment Needed
You don’t need fancy equipment for this. Here’s what I actually use.
Large Sheet Pan — I use a 13×18 inch half-sheet pan. It needs to be big enough to hold the chicken and veggies in a single layer. If your pan is too small, the veggies will steam instead of roast, and you won’t get that nice char. I’ve ruined batches by overcrowding the pan—don’t make my mistake.
Parchment Paper — I line my sheet pan with parchment paper. It makes cleanup instant. Just roll up the used paper and toss it. I also find that roasted veggies slide off easier without sticking.
Large Bowl — For tossing the chicken and veggies with oil, butter, and seasoning. A wide bowl makes it easier to get everything coated evenly.
Sharp Knife & Cutting Board — For chopping the chicken and slicing the peppers and onions. A sharp knife makes this step much faster and safer.
Small Skillet or Grill Pan — To finish the quesadillas. I use a cast-iron skillet because it holds heat well and gives a nice crispy crust. Non-stick works too, but you won’t get the same browning.
Spatula — A thin, flexible spatula is best for flipping quesadillas. I use a silicone one that doesn’t scratch my pans.
How to Make It: Step-by-Step
Alright, let’s make this! I’m walking you through exactly how I do it, including the little tricks I’ve picked up.
Step 1: Prep the Oven and Pan (5 minutes)
Preheat your oven to 425°F (220°C). Line your large sheet pan with parchment paper. This step is crucial for easy cleanup and even roasting. While the oven heats up, you’ll start prepping the ingredients.
Step 2: Chop and Season the Filling (10 minutes)
Cut the chicken breasts into 1-inch cubes. Slice the bell peppers into strips and the onion into half-moons. Place the chicken and veggies in a large bowl. In a small bowl, whisk together the olive oil, melted butter, minced garlic, and fajita seasoning. Pour this mixture over the chicken and veggies. Toss everything with your hands until everything is evenly coated. Make sure the chicken pieces are well-seasoned—this is where most of the flavor comes from.
Step 3: Roast the Filling (15-18 minutes)
Spread the chicken and veggies in a single layer on the prepared sheet pan. Don’t overcrowd the pan! If the pieces are touching too much, they’ll steam instead of roast. Roast in the preheated oven for 15-18 minutes, flipping the veggies halfway through, until the chicken is cooked through (165°F internal temperature) and the veggies are tender with some charred edges. The char is important—it adds a smoky flavor that mimics a grill.
Step 4: Assemble the Quesadillas (5 minutes)
While the filling roasts, set out your tortillas and shredded cheese. Remove the sheet pan from the oven. Take a tortilla and place it on a clean surface. Sprinkle a layer of cheese on one half of the tortilla. Add a generous scoop of the roasted chicken and veggies on top of the cheese. Top with another layer of cheese. This “cheese sandwich” technique helps the filling stick to the tortilla so it doesn’t fall out when you flip it.
Step 5: Cook the Quesadillas (5-6 minutes)
Heat a large skillet over medium heat. No oil needed if you’re using a non-stick pan, but a light brush of oil or butter helps with browning. Place the assembled quesadilla in the skillet. Cook for 2-3 minutes until the bottom is golden brown and crispy. Flip carefully with a spatula and cook the other side for 2-3 minutes. The cheese should be fully melted. Repeat with remaining quesadillas. You might need to do this in batches, so keep the finished ones warm in a 200°F oven.
Step 6: Serve and Enjoy
Let the quesadillas cool for a minute (the cheese will be molten hot). Cut them into wedges and serve immediately with sour cream, salsa, and guacamole. They’re best eaten right out of the pan.
Total Time: About 35 minutes (10 minutes active prep, 25 minutes cooking).
Expert Tips & Tricks
Here’s everything I’ve learned from making this dozens of times. These tips will save you from my mistakes.
Don’t Overcrowd the Pan
This is the #1 mistake people make. If the chicken and veggies are piled on top of each other, they’ll steam. You want them in a single layer with a little space between them. This ensures they roast and get that delicious char. If you have a lot of filling, use two sheet pans or roast in batches.
Cheese is the Glue
I know it sounds silly, but putting cheese on both sides of the filling is key. It acts as a binder. If you just put filling between two tortillas without cheese, it’s going to fall apart. The cheese melts and holds everything together.
High Heat for Crispy Tortillas
Use medium-high heat when cooking the quesadillas in the skillet. You want the tortilla to crisp up quickly before the filling gets too hot. If the heat is too low, the tortilla will get soggy. If it’s too high, the cheese will burn before the tortilla crisps. Find that sweet spot.
Keep Them Warm
If you’re making a large batch, keep the finished quesadillas warm in a 200°F oven on a wire rack. This keeps them crispy. Don’t stack them on a plate, or they’ll steam and get soft.
Make-Ahead Strategy
You can prep the chicken and veggies ahead of time. Chop everything the night before and store it in an airtight container in the fridge. When you’re ready to cook, just toss with seasoning and roast. This saves so much time on busy weeknights.
Variations & Substitutions
Once you’ve nailed the basic version, here’s how you can mix it up. I’ve tried all of these.
Turkey or Beef Version
Swap chicken for ground turkey or beef. If using ground meat, brown it in a skillet before adding to the quesadillas. It changes the flavor profile but still works well.
Vegetarian Option
Skip the chicken and add more veggies. Roasted cauliflower, zucchini, or black beans work great as a protein substitute. Add a can of drained black beans for extra fiber.
Spicy Kick
Add diced jalapeños to the filling. Or mix some chipotle peppers in adobo sauce into the seasoning. If you like it hot, serve with spicy salsa or hot sauce.
Gluten-Free
Use gluten-free flour tortillas. Most brands work well, but check the packaging for flexibility. Corn tortillas are an option, but they’re more fragile and harder to flip. I prefer gluten-free flour tortillas for this recipe.
Dairy-Free
Use dairy-free cheese shreds and skip the butter in the roasting mix. There are many good plant-based cheeses that melt well, like Daiya or Violife. It’s not quite the same, but it’s still tasty.
Serving & Storage
How to Serve:
I usually serve these straight from the skillet, cut into wedges. They look rustic and inviting. Serve with a side of cilantro-lime rice or a simple green salad. I also like to set out small bowls of sour cream, salsa, guacamole, and sliced jalapeños so everyone can customize their quesadilla.
Leftovers:
Store leftover quesadillas in an airtight container in the fridge for up to 3 days. The filling will stay good for up to 4 days.
Reheating:
The best way to reheat is in a skillet over medium heat. This brings back the crispiness. Microwave them if you’re in a rush, but they’ll get soft. Place them in a toaster oven or air fryer for a few minutes to crisp them up again.
Freezing:
You can freeze assembled but uncooked quesadillas. Wrap them tightly in plastic wrap and then foil. Freeze for up to 2 months. When ready to eat, thaw in the fridge overnight and cook in the skillet. Cooked quesadillas don’t freeze well because the tortillas get soggy.
Nutrition Information
I’m not a nutritionist, but here’s the breakdown if you’re tracking. This is per quesadilla, based on 8 servings.
| Nutrient | Amount |
|---|---|
| Calories | 380 |
| Protein | 22g |
| Carbs | 35g |
| Fat | 18g |
| Fiber | 3g |
It’s a decent balance of protein and carbs. The veggies add fiber and vitamins. If you’re watching calories, use less cheese or a lighter tortilla. But honestly? This is a treat meal. Enjoy it without too much guilt.
Final Thoughts
So that’s my go-to back to school sheet pan chicken fajita quesadillas! I’ve probably talked your ear off at this point, but when you make a recipe this often, you have a lot to say about it.
This has saved weeknight dinners more times than I can count. It’s my answer to “what’s for dinner” when I’m tired, don’t want takeout, and still want something that tastes really good. My kids are happy, my husband’s happy, and I’m happy because I’m not stressed about cooking.
Make it yours! Try different add-ins, swap in your favorite vegetables, adjust the spice level. The best recipes are the ones you adapt to your family’s tastes.
If you make this, drop a comment and let me know what you think! I love hearing how recipes turn out in your kitchen. And if something doesn’t work, tell me that too—I’m here to help troubleshoot.
Happy cooking! And I hope your kitchen smells half as good as mine does right now.
Frequently Asked Questions
Can I use frozen peppers and onions?
Yes, but they’ll release more water. I recommend thawing them first and patting them dry with a paper towel before roasting. Otherwise, your sheet pan will be soggy. Fresh veggies are always better for roasting, but frozen works in a pinch.
Why did my quesadillas fall apart?
Usually, this means there wasn’t enough cheese to bind the filling. Make sure you put cheese on both sides of the filling. Also, don’t overload the quesadilla. Less filling is more. If you pack it too tight, it’s hard to flip without breaking.
Can I make this in an air fryer?
You can roast the chicken and veggies in an air fryer, but it’s tricky to fit everything in a single layer. For the quesadillas, you can cook them in an air fryer at 375°F for 3-4 minutes. They’ll get crispy, but be careful not to burn the cheese. A skillet gives the best results.
What’s the best cheese to use?
A Mexican blend or a mix of cheddar and Monterey Jack is ideal. These cheeses melt well and have a good flavor. Avoid pre-shredded cheese if you can help it, as it doesn’t melt as smoothly. Shred your own from a block for the best results.
Can I prep this ahead of time?
You can chop the veggies and season the chicken the night before. Store them in the fridge. In the morning, just pop the sheet pan in the oven. For the quesadillas, it’s best to assemble and cook them fresh, but you can prep the filling ahead.
How do I keep the quesadillas warm for a crowd?
Set your oven to 200°F. Place a wire rack on a baking sheet and put the cooked quesadillas on the rack. This allows air to circulate and keeps them crispy. Don’t stack them, or they’ll steam and get soft.
Pin This Recipe!
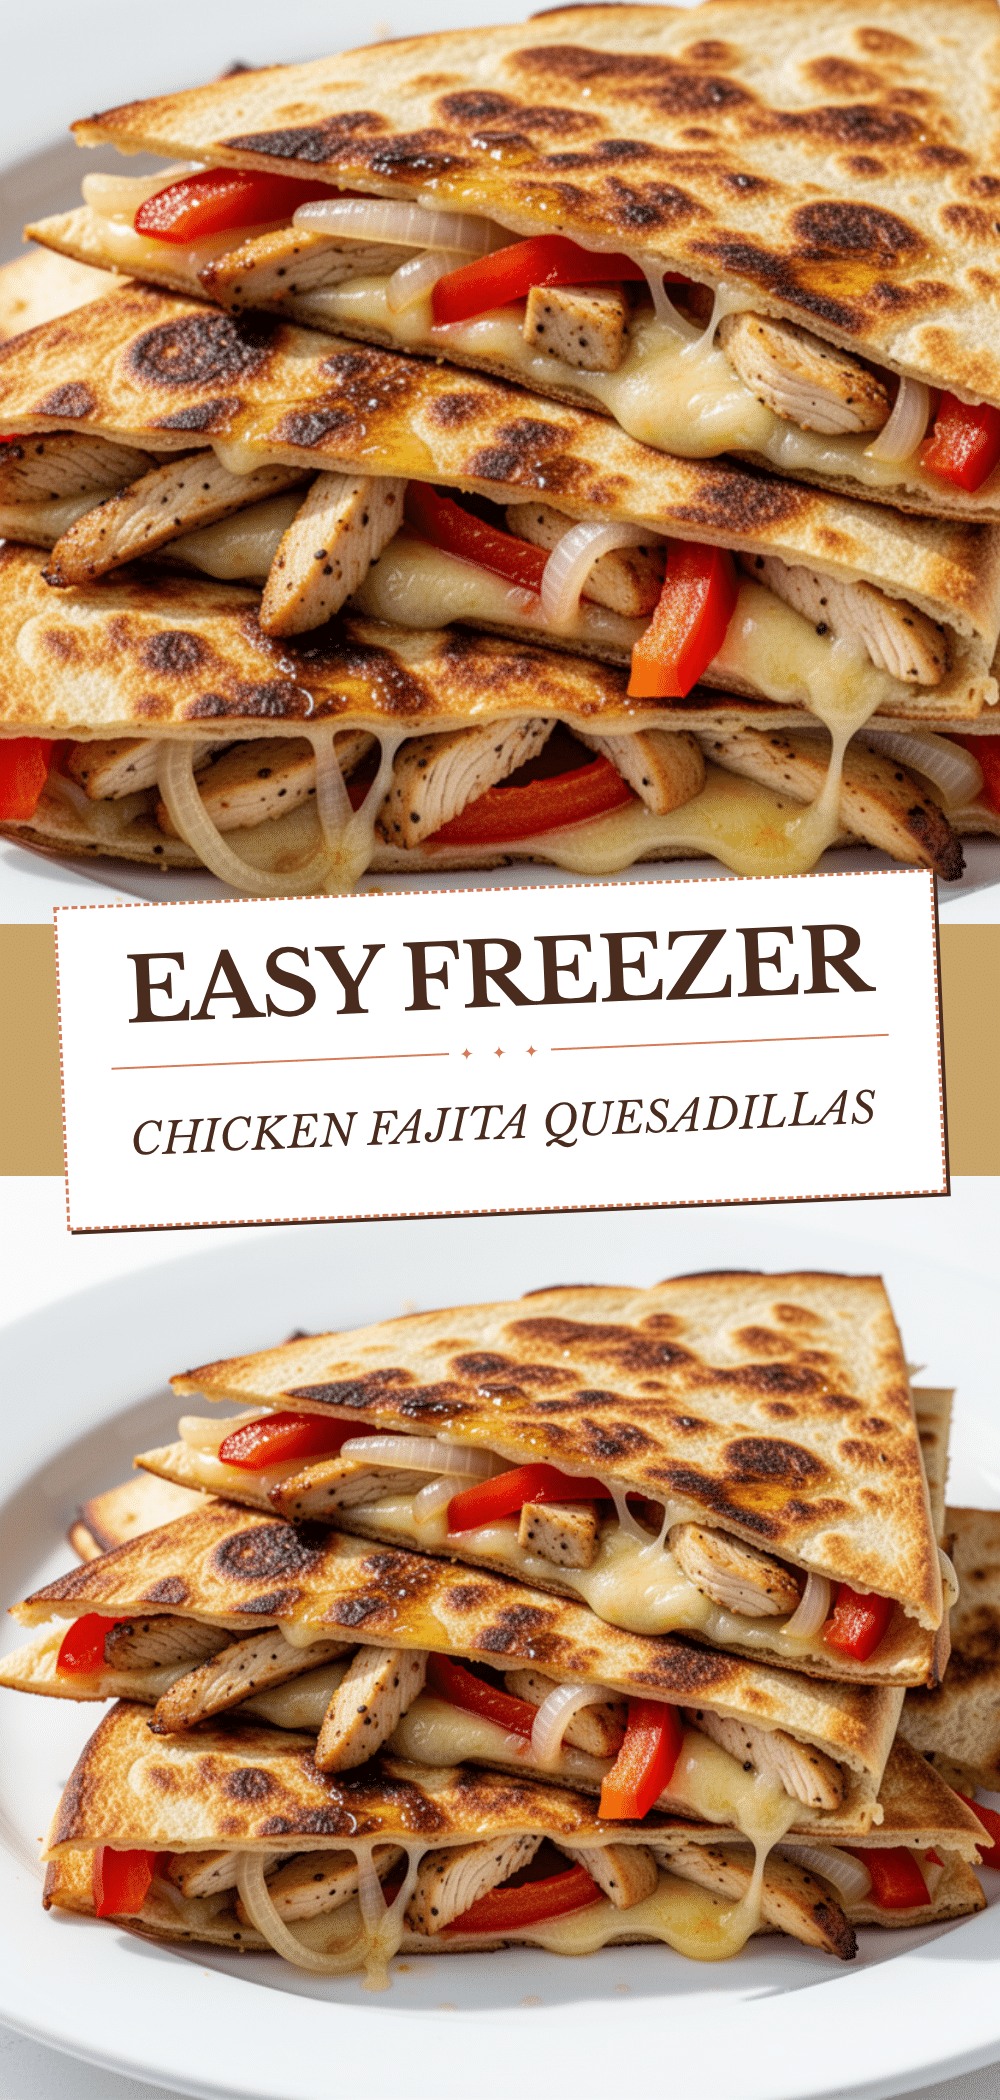
Back to School Sheet Pan Chicken Fajita Quesadillas
- Total Time: 35 minutes
- Yield: 8 servings 1x
Description
A quick, one-pan weeknight dinner featuring roasted chicken and veggies seasoned with fajita spices, assembled into crispy quesadillas. Perfect for busy families and picky eaters.
Ingredients
- 1.5 lbs boneless, skinless chicken breasts, cut into 1-inch cubes
- 3 medium bell peppers (red, yellow, green), sliced into strips
- 1 large yellow onion, sliced into half-moons
- 3 tablespoons extra virgin olive oil
- 2–3 tablespoons fajita seasoning
- 4 cloves garlic, minced
- 2 tablespoons butter, melted
- 8–10 large flour tortillas (10-inch)
- 2 cups shredded Mexican cheese blend
- Optional: Sour cream, salsa, guacamole, chopped cilantro, sliced jalapeños
Instructions
- Preheat oven to 425°F (220°C). Line a large sheet pan with parchment paper.
- In a large bowl, combine chicken cubes, bell pepper strips, and onion slices.
- Whisk together olive oil, melted butter, minced garlic, and fajita seasoning in a small bowl.
- Pour the seasoning mixture over the chicken and vegetables. Toss with hands until evenly coated.
- Spread the mixture in a single layer on the prepared sheet pan. Avoid overcrowding.
- Roast for 15-18 minutes, flipping halfway through, until chicken reaches 165°F and veggies are tender with charred edges.
- While filling roasts, assemble quesadillas: Place cheese on one half of a tortilla, add roasted filling, then top with another layer of cheese.
- Heat a large skillet over medium heat. Cook assembled quesadillas for 2-3 minutes per side until golden brown and cheese is melted.
- Serve immediately with desired toppings like sour cream, salsa, or guacamole.
Notes
Do not overcrowd the sheet pan to ensure proper roasting and charring. Use cheese on both sides of the filling to act as a binder. Keep finished quesadillas warm in a 200°F oven on a wire rack to maintain crispiness. For a vegetarian version, substitute chicken with roasted cauliflower or black beans.
- Prep Time: 15 minutes
- Cook Time: 20 minutes
- Category: Main Course
- Cuisine: Mexican
Nutrition
- Serving Size: 1 quesadilla
- Calories: 380
- Fat: 18
- Carbohydrates: 35
- Fiber: 3
- Protein: 22
Keywords: sheet pan dinner, chicken fajita quesadillas, back to school meals, easy weeknight dinner, kid-friendly recipes, one pan meal, budget-friendly dinner


