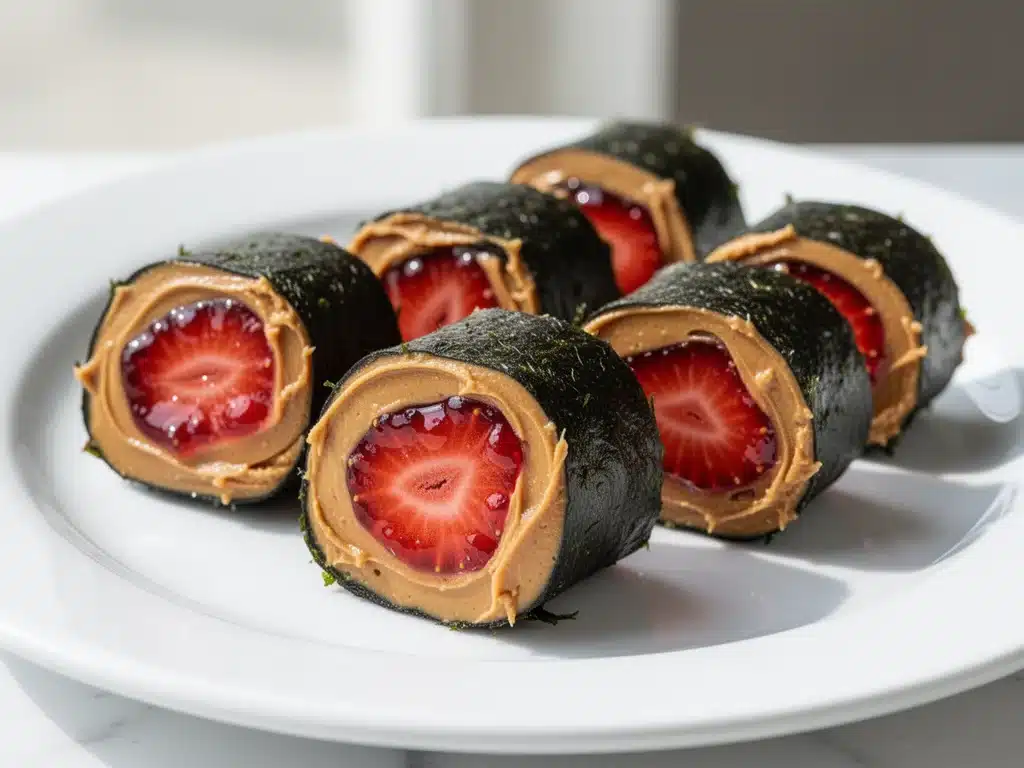
It was 7:30 PM on a Tuesday. My toddler was in that specific stage of tired where he was vibrating with exhaustion but absolutely refusing to go to sleep. I needed a snack that felt special enough to distract him but simple enough that I didn’t have to stand at the stove for twenty minutes. I looked in the pantry, saw a jar of peanut butter, a tube of tortillas, and a bag of grapes. And I thought, Why not?
So I rolled up a tortilla with peanut butter and jelly, sliced it into bite-sized pieces, and handed them to him like little sushi rolls. The look on his face was pure confusion followed by delight. He ate three. Then he asked for three more. That night, what started as a desperate parenting hack turned into my family’s favorite after-school snack. It’s sweet, it’s salty, it’s crunchy, and it takes less time to make than it does to open the fridge.
These PB&J sushi roll-ups have become a staple in our house. They’re perfect for lunchboxes, party platters, or just when you need a quick sugar fix without the guilt of a whole dessert bar. The beauty of this recipe is its simplicity. You really only need three main ingredients, and the results are consistently delicious. I’ve made them for school bake sales, office potlucks, and lazy Sunday mornings. Every single time, people ask for the recipe. They think it’s fancy because of the presentation, but the truth is, it’s just a really good, really easy snack.
Here’s the thing about this recipe: it’s not just for kids. Adults love them too. There’s something about the combination of salty peanut butter and sweet fruit that hits all the right notes. Plus, the visual appeal is huge for social media. They look like actual sushi, which makes them fun to photograph and share. But don’t let the aesthetic fool you—this is comfort food in disguise. It’s nostalgic, it’s quick, and it’s reliable.
The Best Part? They’re Customizable
One of the reasons I keep coming back to this is that it’s so flexible. If your family hates peanut butter, swap it for Nutella or cream cheese. If you’re out of jelly, use jam or honey. If you want to get fancy, add banana slices or strawberries. The base is always the same, but the flavor profiles can change depending on your mood or what’s in your kitchen. This adaptability makes it a “make on repeat” recipe because it never gets boring. You can rotate the fillings every week and it still feels like a treat.
Ingredients You’ll Need
The magic of this recipe is how few ingredients you need. You probably have everything in your kitchen right now. I’m not asking you to go to the store for anything special. Just grab these basics:
Flour Tortillas (Large, 10-inch)
4 large tortillas
This is your canvas. I prefer large flour tortillas because they’re soft and pliable. If you use small ones, you’ll end up with too many seams, and the filling might spill out. I usually buy the big family-size packs because I use them for everything. Soft tortillas are key—they roll easier and don’t crack. If your tortillas are a bit stale, you can microwave them for 10 seconds to soften them up. They’ll be ready to roll in no time.
Peanut Butter (Creamy or Crunchy)
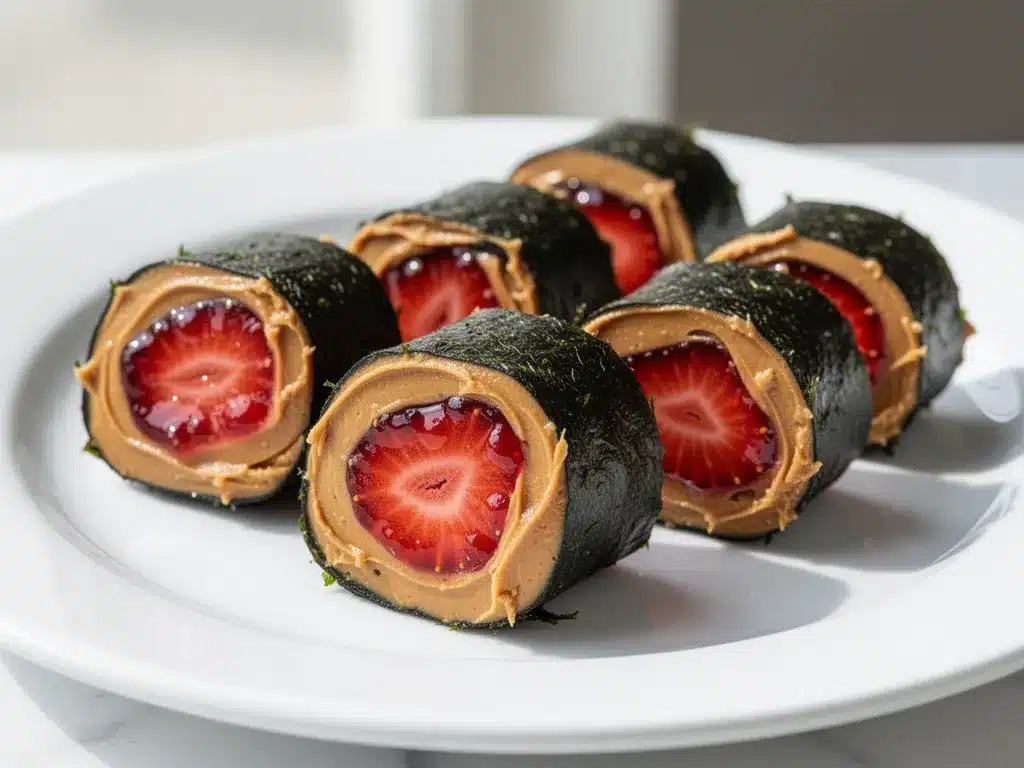
½ cup
Use your favorite peanut butter. Creamy is easier to spread evenly, which helps prevent tears in the tortilla. Crunchy adds a nice texture, but make sure the pieces aren’t too big, or they’ll make rolling difficult. Natural peanut butter can be tricky because it separates and might be too oily. If you use natural, just stir it really well. I stick to standard brands like Jif or Skippy for consistency, but any smooth peanut butter works.
Grape Jelly or Strawberry Jam
½ cup
This is the sweet part. Grape jelly is the classic choice for a reason—it has that distinct, nostalgic flavor that screams “PB&J.” Strawberry jam is a great alternative if you prefer a fruitier taste. Avoid chunky jams because the chunks can poke through the tortilla and make it hard to roll tightly. You want a smooth, spreadable consistency. If your jelly is a bit stiff, you can warm it up in the microwave for 5 seconds to make it easier to spread.
Optional: Fresh Fruit Slices
½ banana or ½ cup strawberries
For an extra layer of freshness, add thin slices of banana or strawberries. Banana adds a creamy texture that complements the peanut butter, while strawberries add a tart contrast. Just make sure to pat them dry with a paper towel first. Wet fruit can make the tortilla soggy and cause it to fall apart. I usually add banana slices for a more dessert-like feel, and strawberries when I want something a bit lighter.
Equipment Needed
You don’t need any fancy gadgets for this. Just basic kitchen tools you already own.
- Sharp Knife — A chef’s knife or even a serrated bread knife works best. You want a clean cut so the rolls don’t get squished. Dull knives will mash the filling and make a mess.
- Rolling Pin or Bottle — Optional, but helpful. If you want perfectly flat rolls, use a rolling pin to flatten the tortilla slightly before adding filling. A clean wine bottle works in a pinch.
- Small Spatula or Butter Knife — For spreading the peanut butter and jelly evenly. A small offset spatula is ideal, but a regular butter knife works fine.
- Plastic Wrap (Optional) — Some people wrap the roll tightly in plastic wrap before slicing to keep it firm. I usually skip this, but if you’re packing these for lunch, it might help hold their shape.
- Cutting Board — Any size works. Just make sure it’s clean and dry.
How to Make It: Step-by-Step
Alright, let’s make these! It’s incredibly simple, but there are a few tricks to ensure your rolls stay intact and look pretty.
Step 1: Prepare Your Tortillas
Lay out your tortillas on a clean cutting board. If they’re stiff, microwave them for 10-15 seconds to soften. This makes them much easier to roll without cracking. Lay them flat, making sure there are no wrinkles. If you have any that are torn or have holes, save those for a different use and use the good ones for rolling.
Step 2: Spread the Peanut Butter
Using your spatula or knife, spread a thin, even layer of peanut butter over the entire surface of each tortilla. Leave about a half-inch border around the edges. This border is crucial—it’s where you’ll seal the roll. If you get filling on the edges, it will slip out when you roll. Aim for about 2 tablespoons of peanut butter per tortilla. Too much, and it will be messy. Too little, and you won’t get that flavor.
Step 3: Add the Jelly or Jam
Spread a thin layer of jelly or jam over the peanut butter. Again, leave that half-inch border. You can spread it all over or just in a line down the center. I prefer spreading it all over for even flavor distribution. Use about 2 tablespoons per tortilla. Be careful not to make it too thick, or the roll will be too bulky and hard to slice.
Step 4: Add Fruit (Optional)
If you’re adding banana or strawberry slices, lay them in a single layer over the jelly. Don’t overload them. Just enough to add flavor and texture. If you use banana, slice it thinly so it fits easily into the roll.
Step 5: Roll It Up
Starting from one of the long edges, tightly roll the tortilla up. Use your fingers to tuck the filling in as you roll. Apply gentle pressure to keep it compact. Once you reach the end, press down firmly on the seam to seal it. If it feels loose, you can use a tiny bit of water on your finger to help the tortilla stick to itself. The roll should be tight and cylindrical, like a sushi roll.
Step 6: Slice and Serve
Using a sharp knife, slice the roll into 1-inch pieces. Wipe your knife clean between cuts if needed to keep the slices neat. You should get about 6-8 pieces per tortilla. Arrange them on a plate, cut-side up, so you can see the swirl. Dust with a little powdered sugar or cinnamon if you want a fancy touch, but they’re delicious plain too.
Expert Tips & Tricks
Here’s everything I’ve learned from making these dozens of times. These tips will save you from my early mistakes.
Keep It Tight
The key to good sushi rolls is a tight roll. If it’s loose, the filling will spill out when you slice it. Roll it tightly from the start. If you’re having trouble, use plastic wrap to help. Place the roll in plastic wrap, roll it up tightly, and then slice it while it’s still wrapped. This keeps the shape perfect.
Don’t Skimp on the Border
That half-inch border isn’t just for looks. It’s the seal. If you get filling on the edges, the roll will unravel. Wipe any excess filling off the edges with a damp paper towel before rolling.
Chill Before Slicing
For cleaner cuts, pop the rolls in the fridge for 15-20 minutes before slicing. The cold firm up the peanut butter and jelly, making them easier to cut without squishing. This is especially helpful if you’re using softer fillings like Nutella.
Use a Serrated Knife
A serrated knife cuts through the tortilla more cleanly than a straight blade. It saws through rather than crushing. If you don’t have one, use the sharpest knife you have and use a gentle sawing motion.
Variations & Substitutions
Once you’ve mastered the basic version, here’s how you can mix it up. I’ve tried all of these, and they’re all winners.
Nutella Roll-Ups
Swap the peanut butter for Nutella. Add a thin layer of sliced strawberries or bananas. This is basically a homemade Nutella & Strawberry Tart in roll form. It’s rich and decadent, perfect for a special treat.
Cream Cheese & Jelly
Use cream cheese instead of peanut butter. This is closer to a bagel with cream cheese and jelly. Add a sprinkle of cinnamon sugar on top after slicing. It’s a classic combination that never fails.
Almond Butter & Raspberry
For a slightly more sophisticated flavor, use almond butter and raspberry jam. The nuttiness of the almond butter pairs beautifully with the tartness of the raspberry. It feels a bit more gourmet but is just as easy to make.
Mini Version
Use mini flour tortillas for bite-sized appetizers. These are perfect for parties and finger food. Slice them into smaller pieces and serve with a side of yogurt for dipping.
Serving & Storage
How to Serve: I usually serve these right away, but they’re great for meal prep too. Pack them in airtight containers for lunchboxes. They hold up well for a few days. For parties, arrange them on a platter with a few extra slices of fruit on the side for garnish. They look stunning and are a hit with guests of all ages.
Storage: Store leftovers in an airtight container in the fridge for up to 3 days. The tortillas might soften slightly over time, but they’ll still be tasty. If they get too soft, you can crisp them up in a toaster oven for a minute. Do not freeze these, as the tortillas will become soggy when thawed.
Reheating: You don’t need to reheat these. They’re best served cold or at room temperature. If you really want them warm, you can microwave them for 10 seconds, but be careful not to overheat, or the jelly will melt and make a mess.
Nutrition Information
I’m not a nutritionist, but here’s the breakdown if you’re tracking. Keep in mind that these are estimates and can vary based on the specific brands and amounts you use.
Per Serving (based on 8 pieces from 4 tortillas):
- Calories: 150
- Protein: 4g
- Carbs: 20g
- Fiber: 1g
- Sugar: 8g
- Fat: 7g
- Sodium: 150mg
What’s Good: It’s a decent source of carbohydrates for energy, and the peanut butter adds some protein and healthy fats. It’s a balanced snack that won’t leave you crashing.
What to Know: It’s still a treat, so enjoy in moderation. The sugar content comes from the jelly and the tortillas. If you’re watching sugar, use a sugar-free jelly or reduce the amount of jelly used.
Final Thoughts
So that’s my go-to PB&J sushi roll-up! It’s simple, it’s fun, and it’s reliable. I’ve made them for every occasion, from school lunches to dinner parties, and they never disappoint. They’re a great way to use up leftover tortillas or just satisfy a sweet tooth quickly.
This recipe has saved me more times than I can count. It’s my answer to “what’s for dessert?” when I’m tired, don’t want to bake, and still want something that tastes good. My kids love them, my husband loves them, and I love them because they’re so easy to make.
Make it yours! Try different fillings, adjust the sweetness, or add your favorite fruits. The best recipes are the ones you adapt to your family’s tastes. If you make this, drop a comment and let me know what you think! I love hearing how recipes turn out in your kitchen. And if something doesn’t work, tell me that too—I’m here to help troubleshoot.
Happy cooking! And I hope your kitchen smells half as good as mine does right now.
Frequently Asked Questions
Can I use whole wheat tortillas?
Yes, you can! Whole wheat tortillas add a nuttier flavor and more fiber. They might be a bit stiffer than white flour tortillas, so microwave them for a few seconds to soften them up. The flavor pairs really well with peanut butter and banana.
Why did my roll fall apart?
This usually happens if the roll wasn’t tight enough or if there was too much filling. Make sure to leave that half-inch border around the edges. Roll it tightly from the start, and press down firmly on the seam. If it’s still falling apart, try using plastic wrap to help hold it together while you slice it.
Can I make these ahead of time?
Yes, you can make them up to 24 hours in advance. Store them in an airtight container in the fridge. They might soften slightly, but they’ll still be tasty. If you’re packing them for lunch, they hold up well for a day.
What if I don’t have peanut butter?
No problem! You can use sunflower seed butter, almond butter, or even Nutella. Any spreadable nut or seed butter will work. Just make sure it’s smooth enough to spread evenly. Cream cheese is also a great alternative for a different flavor profile.
Can I freeze these?
I wouldn’t recommend freezing these. The tortillas will become soggy and lose their texture when thawed. It’s best to make them fresh and store them in the fridge for a few days. If you have leftovers, they’re usually gone within a day or two anyway!
Are these gluten-free?
Not if you use regular flour tortillas. But you can easily make them gluten-free by using gluten-free tortillas. Just check the label to make sure they’re soft and pliable, as some gluten-free tortillas can be brittle. They work just as well in this recipe.
Can I use jam instead of jelly?
Absolutely! Jam works great, but make sure it’s smooth without large chunks. Chunky jam can poke through the tortilla and make it hard to roll. If you prefer the texture of jam, you can blend it briefly to smooth it out before spreading.
Pin This Recipe!
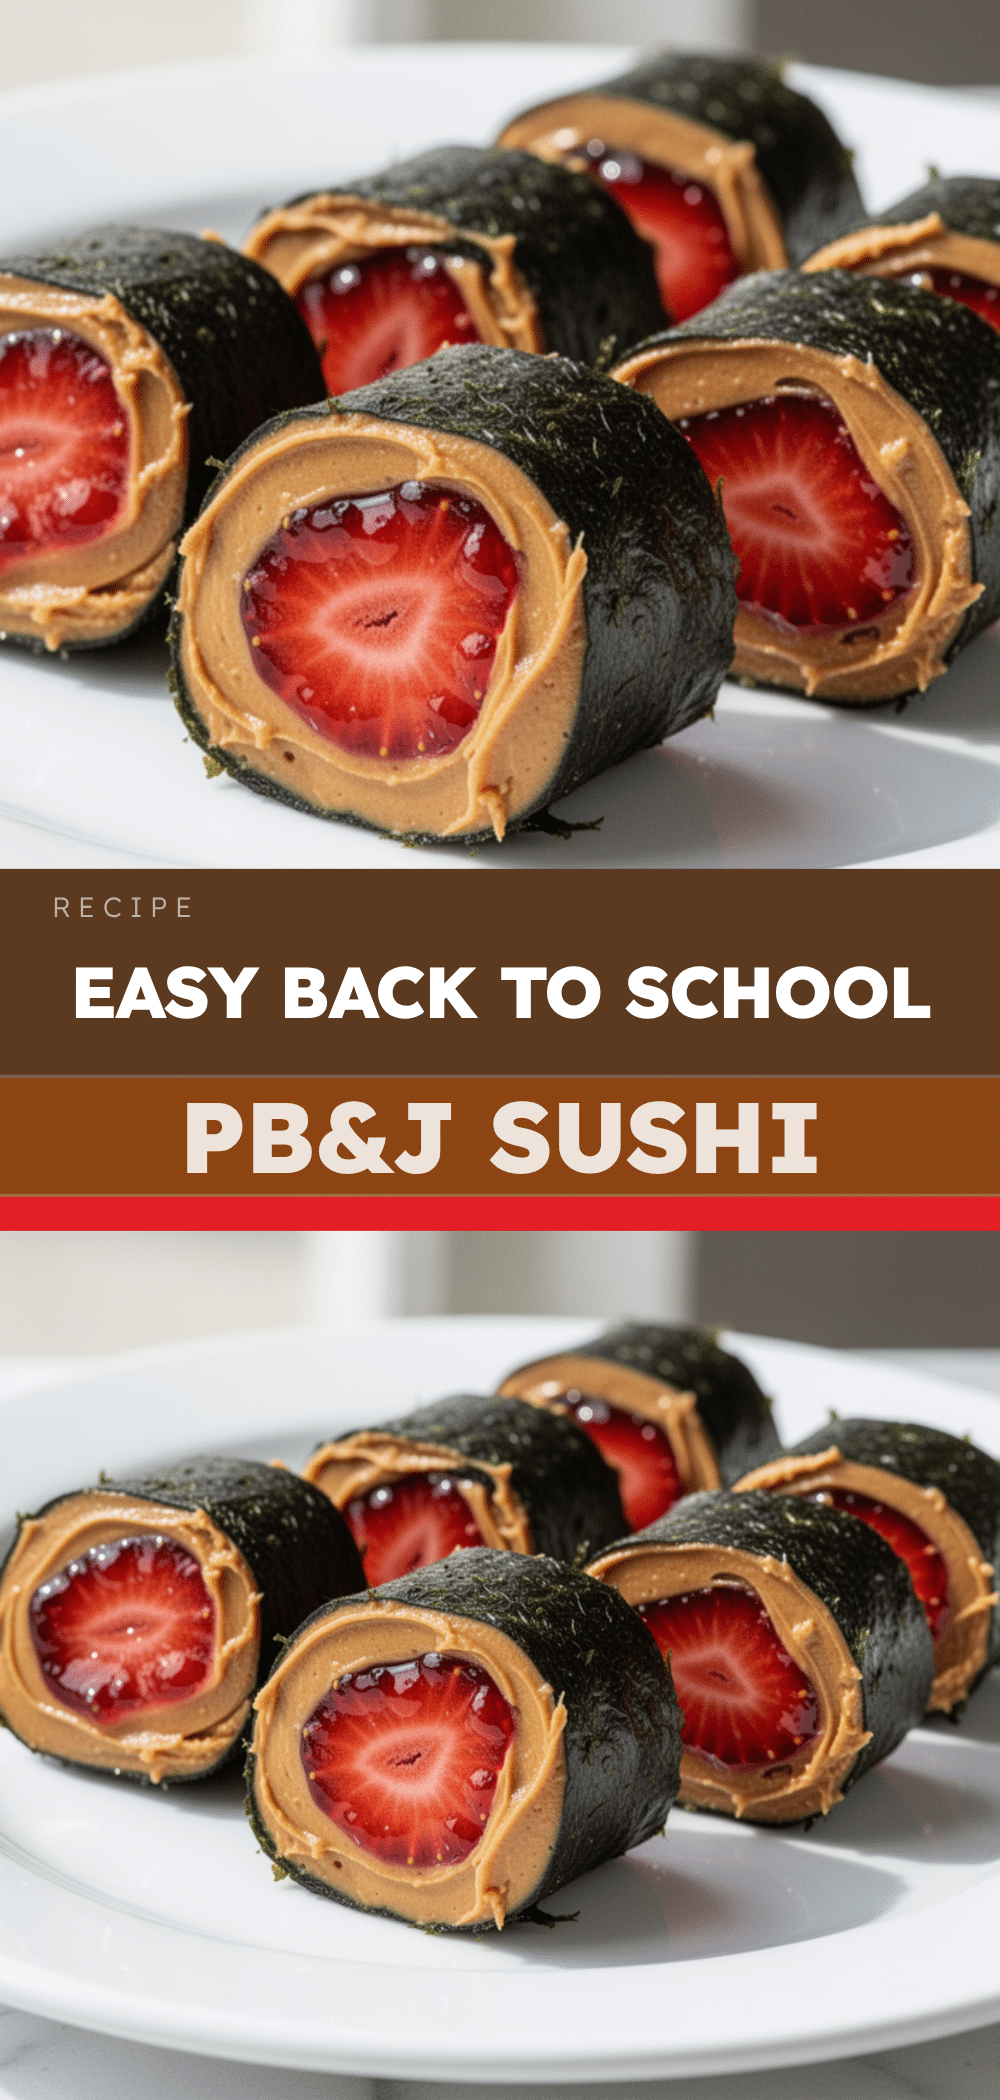
PB&J Sushi Roll-Ups: The Easy 3-Ingredient Dessert
- Total Time: 10 minutes
- Yield: 4 servings 1x
Description
A quick, customizable, and visually appealing snack made by rolling tortillas with peanut butter and jelly, then slicing them into bite-sized pieces that resemble sushi.
Ingredients
- 4 large flour tortillas (10-inch)
- ½ cup peanut butter (creamy or crunchy)
- ½ cup grape jelly or strawberry jam
- Optional: ½ banana or ½ cup strawberries, sliced
Instructions
- Lay tortillas flat on a cutting board. If stiff, microwave for 10-15 seconds to soften.
- Spread a thin, even layer of peanut butter over each tortilla, leaving a half-inch border around the edges.
- Spread a thin layer of jelly or jam over the peanut butter, maintaining the half-inch border.
- If using, lay optional fruit slices in a single layer over the jelly.
- Starting from a long edge, tightly roll the tortilla up, tucking in the filling as you go. Press the seam to seal.
- Using a sharp or serrated knife, slice the roll into 1-inch pieces.
- Arrange cut-side up on a plate and serve immediately, or chill for 15-20 minutes for cleaner cuts.
Notes
For cleaner cuts, chill the rolls in the fridge for 15-20 minutes before slicing. Do not freeze, as tortillas will become soggy. Store leftovers in an airtight container in the fridge for up to 3 days. Ensure the border is kept clean to prevent unraveling.
- Prep Time: 10 minutes
- Cook Time: 0 minutes
- Category: Dessert
- Cuisine: American
Nutrition
- Serving Size: 2-3 pieces per servi
- Calories: 150
- Sugar: 8
- Sodium: 150
- Fat: 7
- Saturated Fat: 1.5
- Carbohydrates: 20
- Fiber: 1
- Protein: 4
Keywords: PB&J sushi, tortilla roll-ups, easy dessert, kid-friendly snack, 3-ingredient recipe, no-bake snack, lunchbox idea


