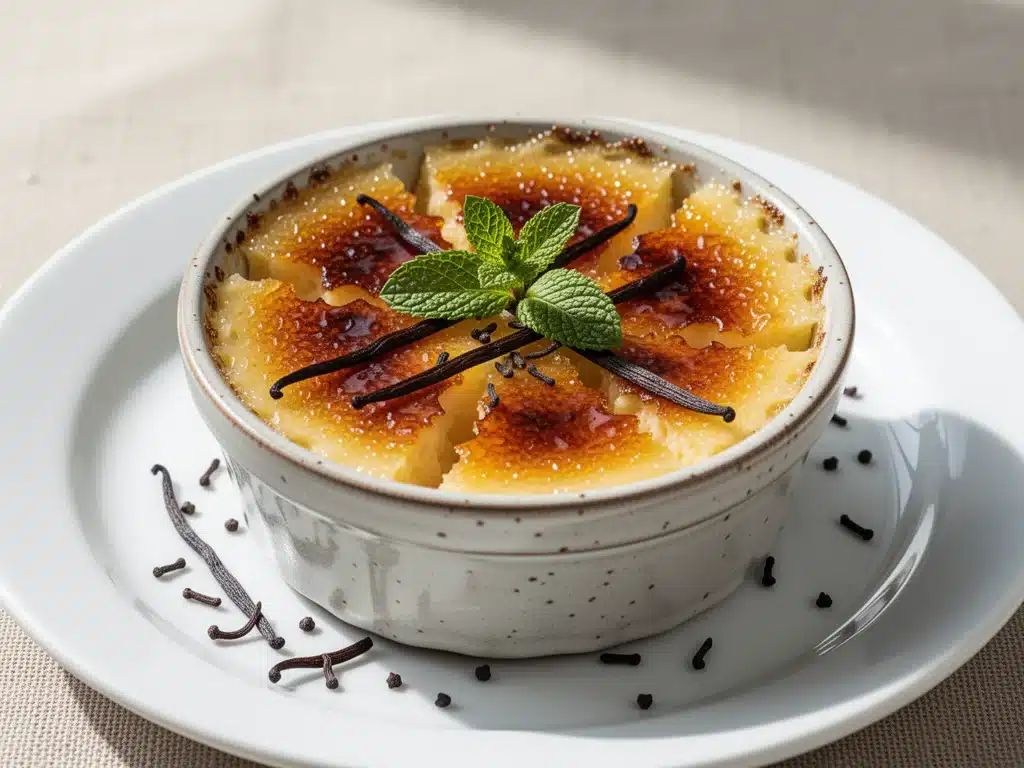
I have a confession to make. For years, I was the person who ordered creme brulee at every fancy restaurant, stared at it for a full minute, and then took one spoonful to prove I had good taste before letting my husband finish it. It was always perfect. The crack of the sugar was crisp. The custard was silky. It was, in every way, flawless.
Then, three years ago, I decided I was tired of spending $14 on a dessert I couldn’t even name the ingredients for. I wanted to know what that vanilla smell was. I wanted to make it myself. My first attempt? A disaster. It was scrambled egg soup with a sad, burnt sugar cap. My second attempt was rubbery. My third was just okay. But by my tenth try, I had cracked it. I had found the sweet spot between creamy and set, and the vanilla flavor that actually tastes like a real bean and not that chemical perfume you get in extracts.
This ultra-cream vanilla bean creme brulee is the result of that obsession. It’s not just a recipe; it’s a lesson in patience and precision. And here’s the thing—it’s actually simpler than you think. You don’t need a sous-vide machine. You don’t need fancy gadgets. You just need a few high-quality ingredients and the willingness to wait for the oven to do its work.
When you make this vanilla bean creme brulee recipe at home, you’re not just making dessert. You’re making a moment. The sound of the spoon cracking through that caramelized sugar is the best ASMR in the culinary world. It’s impressive, it’s elegant, and it tastes like you spent hours in the kitchen (even though most of that time is just chilling in the fridge). If you want to impress your dinner guests or just treat yourself to something luxurious, this is the way to do it.
Why You’ll Love This Ultra-Creamy Vanilla Bean Creme Brulee
There are a million custard recipes out there, but this one sticks out. I’ve tested this specific ratio of cream to eggs dozens of times, tweaking it until the texture was exactly right. It’s not just about following instructions; it’s about understanding why we do what we do. Here’s why this ultra-cream vanilla bean creme brulee has taken over my kitchen:
- Restaurant-Quality Texture — I’m talking about the kind of custard that melts on your tongue, not the kind that jiggles like Jell-O. By using a higher ratio of cream to egg yolks, I’ve achieved a richness that feels indulgent without being heavy. It’s the gold standard for homemade creme brulee.
- Real Vanilla Flavor — No extracts here. We’re scraping real pods. The tiny black specks aren’t just for looks; they carry the intense, floral flavor that makes this dessert sing. Once you taste it with real beans, you’ll never go back to vanilla extract again.
- Impressive but Approachable — You can make the custard base up to two days in advance. This is a huge time-saver. You just pop it in the fridge, and when guests arrive, you spend ten minutes torching the sugar. It looks like you planned it for weeks, but you really just planned it for tonight.
- Simple Ingredients — Heavy cream, egg yolks, sugar, and vanilla. That’s it. No weird stabilizers or gelatin. Just pure, simple dairy and sugar doing their magic. This vanilla bean creme brulee recipe relies on quality, not complexity.
- Customizable Sweetness — Everyone has a different sweet tooth. With this recipe, you control the sugar on top. Want it thin and crisp? Go for it. Want it thick and caramel-like? No problem. You’re the boss of your brulee.
This isn’t just a dessert; it’s a confidence booster. Making this makes you feel like a pro chef, even if you’re wearing sweatpants. It’s my go-to when I want to say “I care” without spending all day in the kitchen.
Ingredients You’ll Need for the Perfect Custard
Here’s the beautiful part about this ultra-cream vanilla bean creme brulee: the ingredient list is short. But because there are so few ingredients, each one has to pull its weight. You can’t hide behind spices or chocolate. You need the good stuff. I’m particular about three things here, and I’ll tell you exactly why.
For the Custard Base
Heavy Cream (2 cups / 480ml) — This is the backbone of the creaminess. You need full-fat heavy cream (at least 36% fat). Low-fat milk will make this watery and rubbery. Don’t skimp. I buy the organic kind because the flavor is richer, but any good heavy cream works.
Vanilla Beans (2 whole pods) — This is non-negotiable for the best flavor. Look for plump, moist beans that smell strong when you open the package. If you can’t find vanilla beans, you can use 2 tablespoons of high-quality vanilla extract, but you’ll miss out on those beautiful black specks and the deeper flavor profile. Scrape the seeds and toss in the whole pod while heating the cream.
Egg Yolks (6 large / about 105g) — We’re using only yolks for that ultra-rich, yellow, custardy texture. Whites make things airy and fluffy; yolks make them dense and creamy. Make sure they’re room temperature so they mix evenly into the warm cream without scrambling.
Granulated Sugar (½ cup / 100g) — This sweetens the custard. I use white granulated sugar because it dissolves easily into the cream. Brown sugar would add a molasses flavor that clashes with the vanilla.
Pinch of Salt — A tiny pinch enhances the vanilla and balances the sweetness. Don’t skip it.
For the Topping
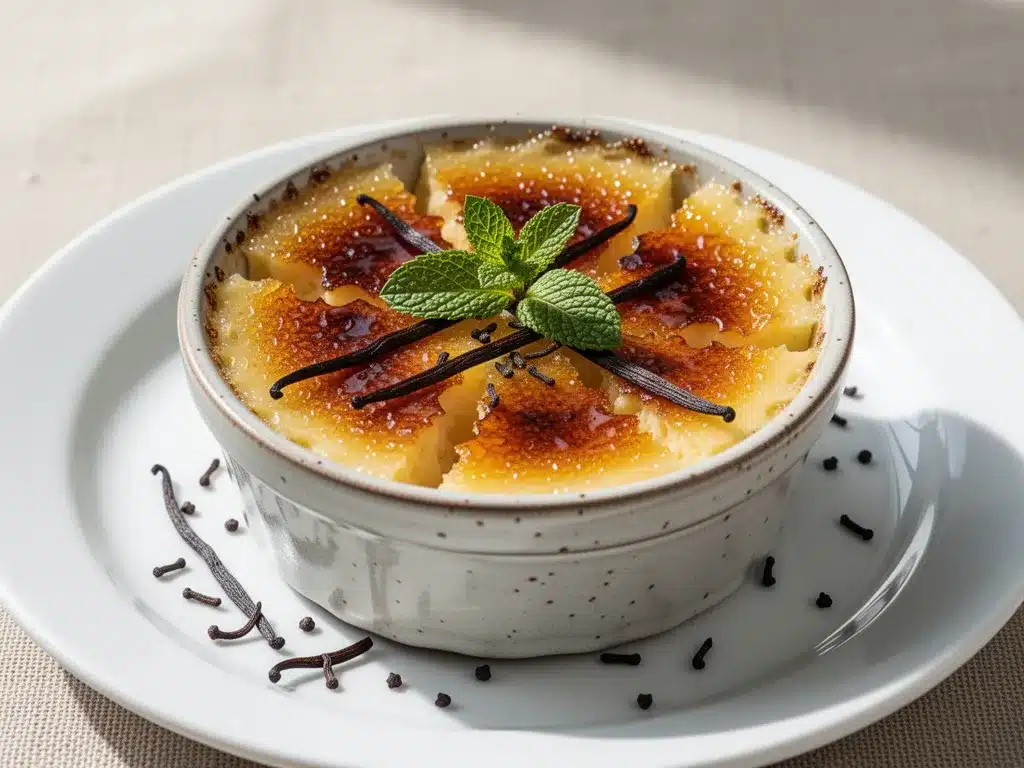
Sugar for Torching (½ cup / 100g) — You can use regular white granulated sugar, or go for turbinado (raw sugar) for bigger, crunchier crystals. I prefer turbinado because it creates a beautiful, rustic amber color. But white sugar works fine if that’s all you have.
Shopping Tips
- Finding Vanilla Beans: They can be pricey ($5-$10 per bean), but you only need two for this recipe. Store any extras in an airtight jar with a bit of vodka to keep them moist. They’ll last for months.
- Egg Quality: Since eggs are the main structure, use the best you can find. Pasture-raised yolks are deeper orange and taste richer.
Equipment You’ll Actually Need
You don’t need a professional kitchen to make this ultra-cream vanilla bean creme brulee. Here’s what I use, and what you can swap out.
Creme Brulee Ramekins — I use six 6-ounce ramekins. Ceramic or porcelain are best because they hold heat well. You can use smaller or larger ones, but you’ll need to adjust the baking time. Just make sure they fit in your baking dish.
Large Saucepan — For heating the cream and vanilla. A heavy-bottomed pan prevents scorching. I use a 2-quart saucepan.
Whisk — A good silicone whisk is perfect for tempering eggs. You need to mix gently to avoid incorporating air bubbles, which can cause cracks in the custard.
Fine-Mesh Strainer — This is the secret weapon. Straining the custard mixture removes any bits of cooked egg, vanilla bean strings, or chalazae (those white cords in eggs). It guarantees a perfectly smooth texture. Don’t skip this step.
Baking Dish — A roasting pan or large casserole dish that can hold your ramekins with room for water. This is for the water bath.
Kitchen Torch — Essential for caramelizing the sugar. I use a butane torch. You can try the broiler method, but it’s harder to control and often burns the custard underneath. A torch gives you that perfect, even crispness.
Fine Mesh Sieve — To strain the custard mixture. This ensures a silky smooth texture with no lumps.
How to Make It: Step-by-Step
Alright, let’s make this ultra-cream vanilla bean creme brulee! I’m walking you through exactly how I do it. It’s a process, but each step is simple. The key is to go slow and be gentle.
Step 1: Heat the Cream and Vanilla (10 minutes)
Preheat your oven to 325°F (160°C). In a medium saucepan, combine the heavy cream, the scraped seeds from your vanilla beans, and the vanilla pods. Heat over medium-low heat, stirring occasionally, until it just begins to simmer. You’ll see small bubbles around the edges. Do not let it boil vigorously, or you’ll scorch the cream. Remove from heat, cover, and let it steep for 15 minutes. This infuses the cream with that incredible vanilla aroma. If you’re in a rush, you can skip the steep, but the flavor will be less intense.
Step 2: Whisk the Yolks and Sugar (5 minutes)
In a medium bowl, whisk the egg yolks and sugar together until they are pale and slightly thickened. This takes about 2-3 minutes of whisking. You’re not trying to add air; you’re just dissolving the sugar into the yolks. The mixture should look like thick custard.
Step 3: Temper the Eggs (3 minutes)
This is the most important step to avoid scrambled eggs. Slowly pour about 1 cup of the warm cream into the yolks while whisking constantly. Add it in a thin stream. This raises the temperature of the eggs gradually. Once combined, pour the yolk mixture back into the saucepan with the rest of the cream. Whisk to combine.
Step 4: Strain and Pour (5 minutes)
Place a fine-mesh strainer over a large measuring cup or bowl. Pour the custard mixture through the strainer to remove any lumps or vanilla pod pieces. This ensures a silky smooth texture. Divide the custard evenly among your six ramekins. Place them on a baking sheet.
Step 5: The Water Bath (Crucial Step)
Place the baking sheet with the ramekins into a larger roasting pan. Pour hot water from the kettle into the roasting pan until it reaches halfway up the sides of the ramekins. The water bath (bain-marie) cooks the custard gently and evenly, preventing cracks and curdling.
Step 6: Bake (35-45 minutes)
Transfer the roasting pan to the oven. Bake for 35-45 minutes. The custards are done when the edges are set but the centers still have a slight jiggle, like Jell-O. They will continue to set as they cool. If they look firm everywhere, they’re overcooked.
Step 7: Chill (At least 4 hours, ideally overnight)
Remove the ramekins from the water bath and let them cool to room temperature. Then, cover them with plastic wrap and refrigerate for at least 4 hours, but overnight is best. The custard needs to be completely cold before you torch the sugar. This is the patience part. I know, it’s hard. But cold custard torches better.
Step 8: Torch the Sugar (5 minutes)
About 30 minutes before serving, take the ramekins out of the fridge. Pat the tops dry with a paper towel. Sprinkle a thin, even layer of sugar (about 1 tablespoon per ramekin) over the top. Use a kitchen torch to melt and caramelize the sugar. Move the flame in a circular motion, keeping it about 6 inches away. You want the sugar to melt, bubble, and turn amber. Let it harden for 1-2 minutes before serving.
Expert Tips & Tricks for Success
Here’s everything I’ve learned from making this ultra-cream vanilla bean creme brulee dozens of times. These tips will save you from my mistakes.
- Don’t Skip the Strain — I can’t stress this enough. Straining the custard is what makes it ultra-creamy. If you skip it, you might get little bits of cooked egg that ruin the texture. It takes 30 seconds. Do it.
- Room Temperature Eggs — Cold eggs mixed with hot cream can shock and scramble. Let your eggs sit on the counter for 30 minutes before starting.
- The Jiggle Test — Overcooked custard is rubbery. Undercooked is runny. Look for a slight jiggle in the center. It should look set around the edges but wobble in the middle. It will firm up as it cools.
- Dry Tops Before Torching — If the surface of the custard is wet, the sugar won’t stick or caramelize evenly. Pat it dry with a paper towel.
- Use Turbinado Sugar — It has larger crystals that create a thicker, crunchier shell. White sugar works, but it melts faster and can be thinner. Turbinado gives you that classic “crack” sound.
- Don’t Rush the Chill — If the custard is even slightly warm, the sugar will melt into the custard instead of forming a shell. Wait until it’s bone cold.
Common Mistakes (and how to fix them)
Mistake: Cracks in the custard.
Fix: Your oven was too hot, or you baked it too long. Lower the temperature slightly or check it a few minutes earlier next time. Also, make sure your water bath is hot enough.
Mistake: Sugar is burnt or bitter.
Fix: You held the torch in one spot too long. Keep the flame moving. If it gets too dark, it will taste bitter. Aim for a golden amber color.
Mistake: Custard is watery.
Fix: You didn’t bake it long enough, or the ratio of eggs to cream was off. Make sure you’re using heavy cream, not half-and-half.
Variations & Substitutions
Once you’ve mastered the basic vanilla bean creme brulee recipe, here’s how you can mix it up. I’ve tried all of these.
Flavor Variations
Lavender Creme Brulee — Add 1 tablespoon of culinary lavender to the cream while heating. Strain it out before tempering the eggs. It’s floral and sophisticated.
Maple Bourbon — Replace ¼ cup of the sugar with pure maple syrup and add 1 tablespoon of bourbon to the cream. It’s a fall favorite.
Chocolate Vanilla — Stir 2 ounces of melted dark chocolate into the warm cream before tempering the eggs. Rich and decadent.
Coffee — Add 2 tablespoons of instant espresso powder to the cream. Great for coffee lovers.
Dietary Modifications
Gluten-Free — This recipe is naturally gluten-free. Just ensure your sugar and vanilla beans are certified GF if you’re sensitive.
Dairy-Free — Replace heavy cream with full-fat coconut cream. The flavor will be coconutty, which actually pairs well with vanilla. Use coconut sugar for the topping.
Egg-Free — This is tricky because eggs provide the structure. You can try using a cornstarch slurry, but the texture will be more like pudding than custard. It’s not recommended for purists.
Serving & Storage
How to Serve: I serve this straight from the fridge. The contrast between the cold, creamy custard and the warm, crisp sugar is the best part. Garnish with a fresh berry or a mint leaf if you want to look fancy. It pairs beautifully with a cup of coffee or a glass of dessert wine.
Storage: You can store the unbaked custard in the fridge for up to 2 days. Just add the sugar and torch it right before serving. Do not store torch sugar on the custard for more than a few hours, or it will dissolve into the custard. If you have leftover torch sugar, store it in an airtight container for future use.
Freezing: I don’t recommend freezing creme brulee. The texture of the custard changes when thawed, and the sugar topping will become soggy. It’s best enjoyed fresh.
Reheating: You don’t need to reheat it. It’s best served cold. If you must, let it sit at room temperature for 10 minutes before serving.
Nutrition Information
I’m not a nutritionist, but here’s the breakdown if you’re tracking. Keep in mind this is a rich, indulgent dessert.
Per Serving (based on 6 servings):
- Calories: 380
- Protein: 6g
- Carbs: 28g
- Fiber: 0g
- Sugar: 26g
- Fat: 28g
- Saturated Fat: 17g
- Cholesterol: 180mg
- Sodium: 45mg
What’s Good: It’s high in calcium from the cream and eggs. It’s also naturally gluten-free.
What to Know: It’s high in saturated fat and sugar. Enjoy it as a special treat, not a daily snack. If you want to lighten it up, you can reduce the sugar slightly, but it might affect the caramelization.
Final Thoughts
So that’s my ultra-cream vanilla bean creme brulee! I’ve probably talked your ear off at this point, but when you make a recipe this often, you have a lot to say about it. This has saved dinner parties more times than I can count. It’s my answer to “I want something fancy but I’m tired” when I want to impress without stress. My friends are always amazed that I made it myself, and honestly? So was I, after my first few tries.
Make it yours! Try different sugars, add a splash of liqueur, or infuse your cream with herbs. The best recipes are the ones you adapt to your tastes. If you make this, drop a comment and let me know what you think! I love hearing how recipes turn out in your kitchen. And if something doesn’t work, tell me that too—I’m here to help troubleshoot.
Happy cooking! And I hope your kitchen smells half as good as mine does right now with that vanilla.
Frequently Asked Questions
Q: Can I use vanilla extract instead of vanilla beans?
A: You can, but the flavor won’t be as intense. If you use extract, add 2 tablespoons to the warm cream after you’ve removed it from the heat. You’ll also miss out on the pretty black specks, but it will still taste good. For the best vanilla bean creme brulee recipe experience, though, I highly recommend using real beans.
Q: Why did my custard crack?
A: Cracks usually happen when the custard is overcooked or the oven is too hot. Make sure you’re using a water bath to regulate the temperature, and pull the custards out when they still have a slight jiggle in the center. They will continue to set as they cool.
Q: Can I make this ahead of time?
A: Yes! This is one of the best things about creme brulee. You can make the custard base up to 2 days in advance. Just keep it covered in the fridge. Add the sugar and torch it right before serving. If you torch it too early, the sugar will melt into the custard.
Q: What kind of sugar should I use for torching?
A: Turbinado (raw) sugar is my favorite because it has larger crystals that create a thicker, crunchier shell. White granulated sugar works too, but it melts faster and can be thinner. Avoid brown sugar, as it doesn’t caramelize the same way and can be sticky.
Q: Do I really need a kitchen torch?
A: It’s the easiest and most controlled method. You can try using the broiler, but it’s hard to control. The broiler often burns the top of the custard or creates uneven caramelization. If you don’t have a torch, you can try broiling for 1-2 minutes, but watch it like a hawk. A torch is worth the investment if you make desserts often.
Q: How do I know when the custard is done baking?
A: The edges should be set, but the center should still jiggle slightly when you shake the ramekin. It should look like Jell-O. If it’s firm everywhere, it’s overcooked. Remember, it will continue to set as it cools in the fridge.
Q: Can I use a milk substitute for the heavy cream?
A: For the authentic ultra-cream vanilla bean creme brulee texture, you need the fat content of heavy cream. Milk or half-and-half will result in a runny, less rich custard. If you’re dairy-free, coconut cream is the best substitute, as it has a high fat content that mimics heavy cream.
Pin This Recipe!
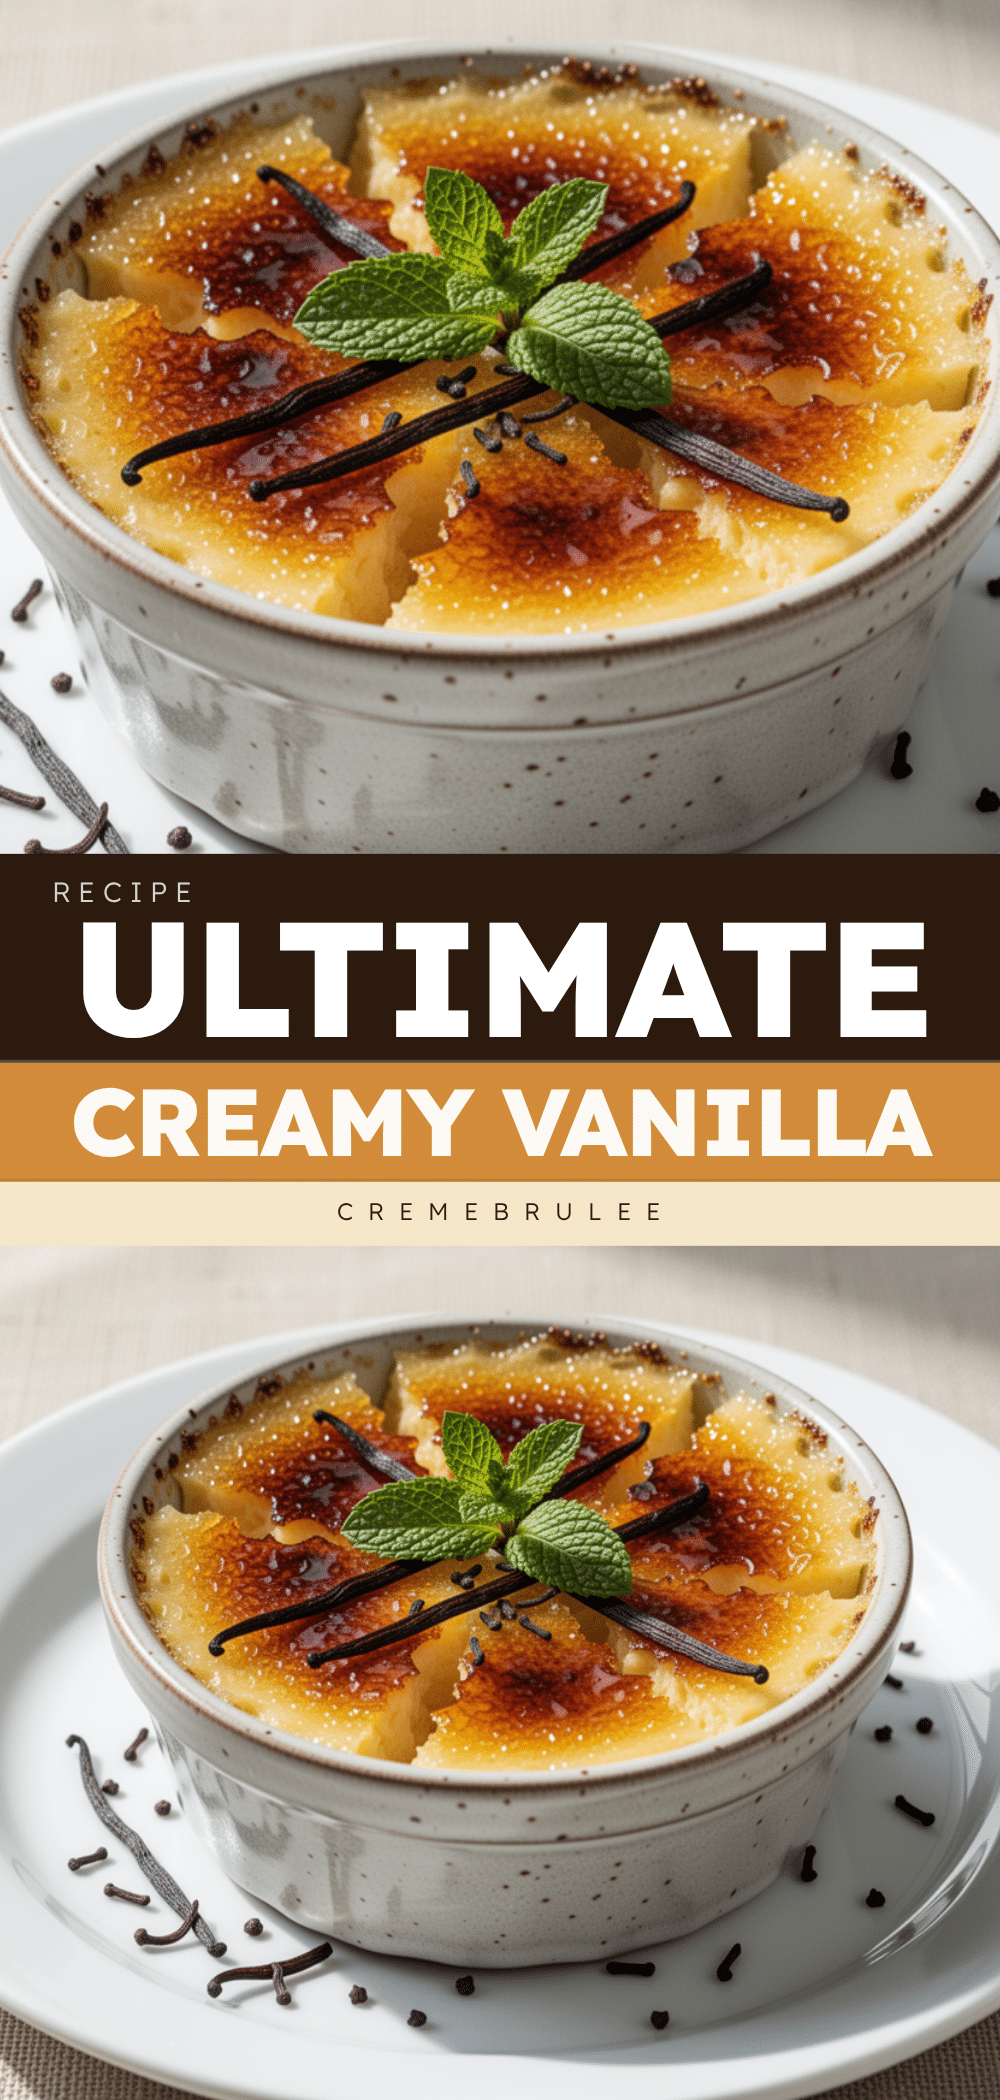
Ultra-Creamy Vanilla Bean Creme Brulee
- Total Time: 4 hours 50 minutes
- Yield: 6 servings 1x
Description
A restaurant-quality, ultra-creamy vanilla bean creme brulee made with real vanilla pods and a simple water bath method for a silky smooth custard and crisp caramelized sugar topping.
Ingredients
- 2 cups heavy cream (full-fat, at least 36% fat)
- 2 whole vanilla beans (scraped seeds and pods included)
- 6 large egg yolks (room temperature)
- 1/2 cup granulated sugar (divided: 1/2 cup for custard, 1/2 cup for topping)
- 1 pinch salt
Instructions
- Preheat oven to 325°F (160°C).
- In a medium saucepan, combine heavy cream, scraped vanilla seeds, and vanilla pods. Heat over medium-low until just beginning to simmer (small bubbles around edges). Do not boil.
- Remove from heat, cover, and let steep for 15 minutes to infuse flavor.
- In a medium bowl, whisk egg yolks and 1/2 cup granulated sugar until pale and slightly thickened (about 2-3 minutes).
- Slowly temper the eggs by pouring about 1 cup of the warm cream into the yolks while whisking constantly. Then pour the yolk mixture back into the saucepan with the rest of the cream.
- Strain the custard mixture through a fine-mesh strainer into a large measuring cup to remove lumps and vanilla strings.
- Divide the custard evenly among six 6-ounce ramekins placed on a baking sheet.
- Place the baking sheet with ramekins into a larger roasting pan. Pour hot water into the roasting pan until it reaches halfway up the sides of the ramekins (water bath).
- Bake for 35-45 minutes until edges are set but centers still have a slight jiggle.
- Remove ramekins from the water bath and let cool to room temperature.
- Cover and refrigerate for at least 4 hours, ideally overnight, until completely cold.
- About 30 minutes before serving, pat the tops of the custards dry. Sprinkle with remaining 1/2 cup sugar (about 1 tablespoon per ramekin).
- Use a kitchen torch to melt and caramelize the sugar until amber. Let harden for 1-2 minutes before serving.
Notes
Ensure eggs are room temperature to prevent scrambling. Straining the custard is crucial for a smooth texture. The custard must be completely cold before torching the sugar to ensure a crisp shell. Do not freeze, as the texture will change and sugar will become soggy.
- Prep Time: 25 minutes
- Cook Time: 45 minutes
- Category: Dessert
- Cuisine: French
Nutrition
- Serving Size: 1 ramekin
- Calories: 380
- Sugar: 26
- Sodium: 45
- Fat: 28
- Saturated Fat: 17
- Carbohydrates: 28
- Protein: 6
Keywords: vanilla bean creme brulee, ultra-creamy custard, homemade dessert, french dessert, easy creme brulee, gluten-free dessert


