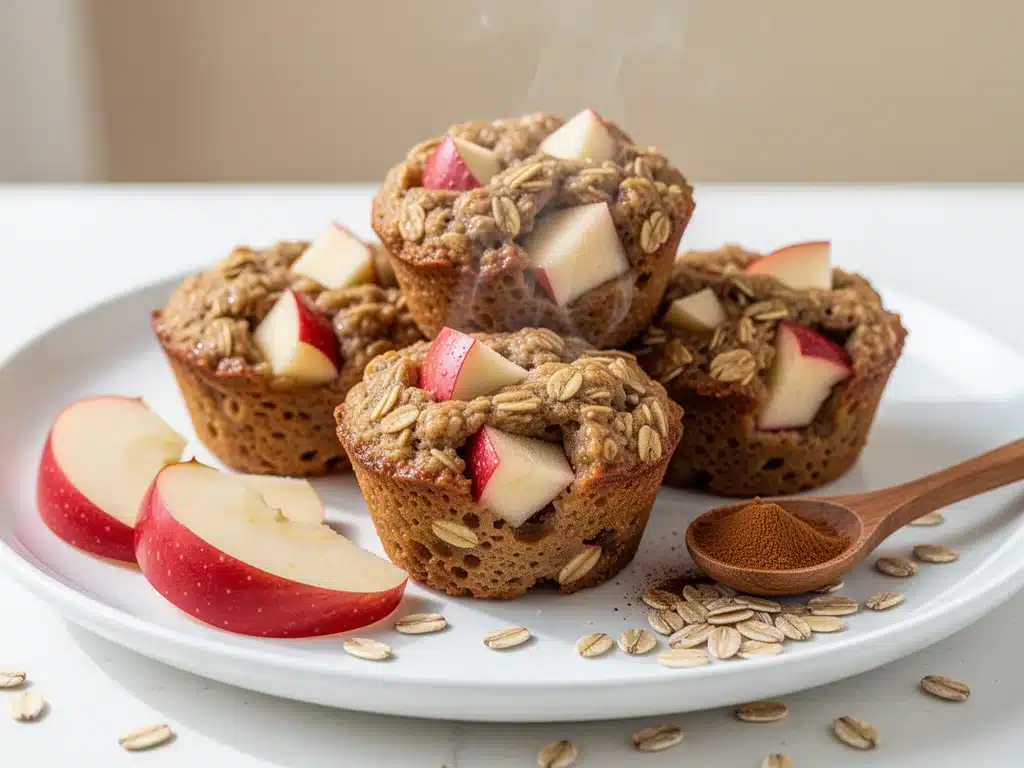
It’s 6:45 AM on a Tuesday. The alarm went off at 6:30, but I hit snooze. Then I hit it again. By the time I actually dragged myself out of bed, the house was already vibrating with the energy of three different schedules colliding in one kitchen. My daughter was hunting for her left shoe. My son was asking if we had time for cereal. And I? I was staring into the abyss of the refrigerator, wondering how to feed two hungry teenagers something that wasn’t just processed sugar and hope.
This happens every single week during the school year. It’s the “Back to School” reality check. We spend all summer dreaming of slow mornings and pancakes, but September hits, and suddenly we’re running on fumes. That’s exactly why I started making Back to School Apple Cinnamon Baked Oatmeal Cups. They aren’t just a recipe; they’re my survival tactic for those mornings when “what’s for breakfast” feels like a battle I can’t win.
I’ve been making these little oatmeal cups for about six months now, and honestly? They’ve saved my sanity. The best part is that they don’t require me to be a morning person. I prep them the night before (or even on Sunday while watching TV), and in the morning, I just grab them from the fridge, pop them in the microwave for 60 seconds, and we’re out the door. No standing over a stove. No burnt toast. Just warm, cozy, apple-cinnamon goodness that actually tastes like it took effort, even though it took me zero minutes on a school morning.
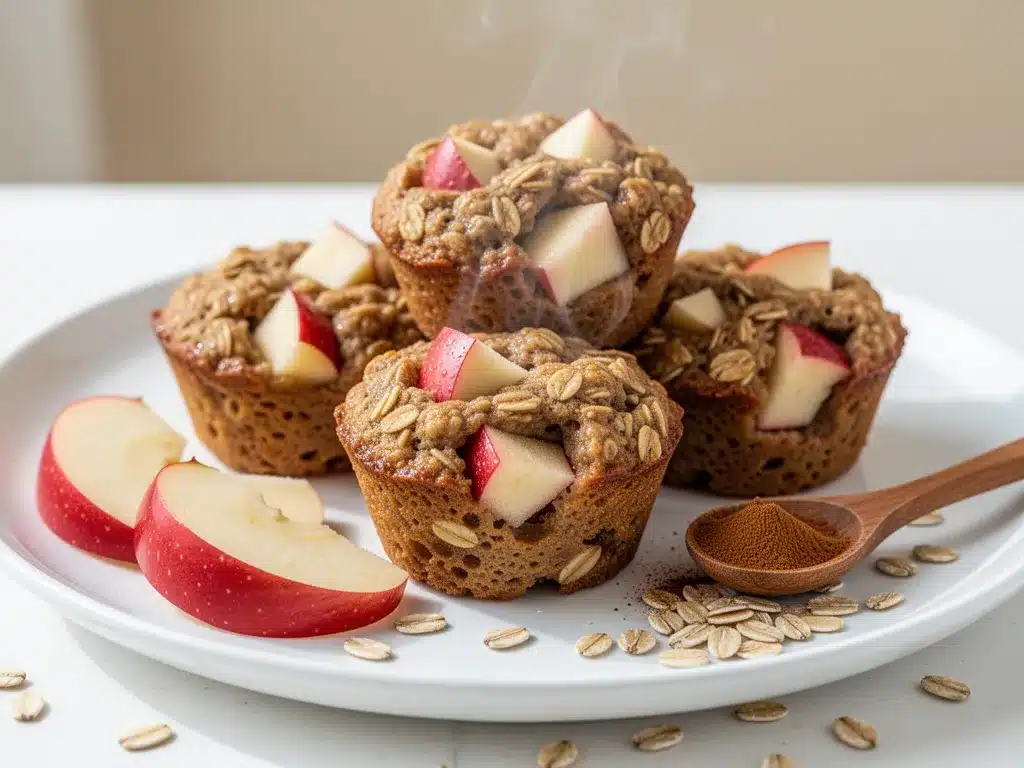
If you’re drowning in the morning rush or just looking for a way to sneak some fiber and fruit into your kids’ diets without them noticing, you need to try these. I’ve tweaked the recipe a dozen times to get the texture just right—not too mushy, not too dry, but perfectly tender with those gooey apple bits. This is the Back to School Apple Cinnamon Baked Oatmeal Cups that actually works for real life.
Why You’ll Love These Baked Oatmeal Cups
I know, I know. “Another oatmeal recipe?” But hear me out. These are different. They’re portable, they’re customizable, and they taste more like a dessert than a health food. Here’s why they’ve become a staple in our house:
- Zero Morning Stress — Seriously. You assemble them the night before, put them in the fridge, and sleep in. In the morning, it’s just a microwave beep away. I’ve made these while half-asleep, and they still turn out perfect. No fancy techniques required.
- Actually Tastes Good — I’ve tried oatmeal muffins that tasted like cardboard and sad health food. These don’t. The cinnamon, the brown sugar, and the juicy apples make them taste like a warm apple crisp in cup form. My picky eater even asks for seconds.
- Meal Prep Friendly — You can make a whole batch on Sunday and have breakfast covered for four or five days. They keep in the fridge for up to 5 days or freeze for up to 3 months. That’s huge for busy weeknights and mornings.
- Healthy-ish — Okay, they have sugar, but they’re packed with fiber from the oats and vitamins from the apples. It’s a much better start to the day than a sugary granola bar or a donut. Plus, you control the sweetness.
- Portable — If you’re not a microwave person, these are great cold too. Wrap one in a napkin and eat it in the car. I’ve done this more times than I’d like to admit during parent-teacher conferences.
These cups are my go-to when I need a win. They’re reliable, delicious, and they make me feel like a genius parent for having breakfast ready to go. If you’re looking for a way to simplify your mornings, start here.
Ingredients You’ll Need for Apple Cinnamon Oatmeal Cups
Here’s the thing: you probably have most of this already. It’s simple, pantry-friendly stuff. I’m not asking you to go on a special shopping trip for this. Just grab these basics:
For the Base
Old-Fashioned Rolled Oats (2 cups / 160g) — Do not use instant oats! They’ll turn into mush. You need the chewy texture of rolled oats. I use Quaker or store brand; it doesn’t matter as long as they’re thick.
Baking Powder (1 teaspoon) — Just a little bit to help them rise and get fluffy. Don’t skip it.
Salt (½ teaspoon) — Essential for balancing the sweetness. I use kosher salt.
For the Wet Mix
Milk (1 ½ cups / 360ml) — Any milk works. I use whole milk for richness, but almond or oat milk works fine too. Just make sure it’s unsweetened.
Eggs (2 large) — These bind everything together. Room temperature is best, but cold straight from the fridge is fine.
Melted Butter (¼ cup / 55g) — Or use coconut oil for dairy-free. Butter gives that classic baked good flavor.
Maple Syrup (¼ cup / 60ml) — Real maple syrup, not pancake syrup. It adds depth. Honey works too, but maple is traditional here.
Vanilla Extract (1 teaspoon) — Don’t cheap out here. Good vanilla makes a huge difference.
For the Flavor
Cinnamon (1 ½ teaspoons) — The star of the show. I use ground cinnamon. If you have fresh ground, even better.
Nutmeg (¼ teaspoon) — Optional, but I love the warmth it adds. If you don’t have it, skip it.
Brown Sugar (2 tablespoons / 25g) — Adds a bit of caramel flavor. Light or dark works.
For the Apples
Fresh Apples (2 medium, about 300g diced) — I use Granny Smith for tartness, or Honeycrisp for sweetness. Peel them if you want a smoother texture, but I leave the skin on for extra fiber and color. Dice them small—about ¼ inch cubes.
Optional Topping — Extra cinnamon sugar or a few extra apple slices on top before baking for a pretty finish.
Tip: I keep a bag of diced apples in the fridge during fall. It saves so much time when I’m making these on a busy Sunday.
Equipment Needed
You don’t need anything fancy. Here’s what I actually use:
12-Cup Muffin Tin — Standard size. I use my metal tin because it conducts heat well. Silicone works too, but they might not brown as nicely.
Muffin Liners — Paper or silicone. I use paper for easy cleanup. If you’re eco-conscious, silicone liners are great for reuse.
Large Mixing Bowl — Something big enough to hold all the oats and wet ingredients. I use a 4-quart bowl.
Whisk — For mixing the wet ingredients smoothly. A fork works in a pinch.
Measuring Cups and Spoons — Standard stuff. I have a set that’s been in my drawer for ten years.
Sharp Knife and Cutting Board — For dicing the apples. Make sure your knife is sharp so you don’t struggle with the apples.
Microwave-Safe Storage Containers — If you’re storing leftovers, these are handy. Glass containers work best for reheating.
Optional: Pastry Brush — For brushing the tops with a little butter or milk for a golden finish. I skip this usually, but it looks nice.
How to Make It: Step-by-Step
Alright, let’s make this! It’s super simple. I’m walking you through exactly how I do it, including the little tricks I’ve picked up over time.
Step 1: Prep Your Pan and Oven (5 minutes)
Preheat your oven to 350°F (175°C). Line your 12-cup muffin tin with paper liners. I usually spray the liners with a little non-stick spray just to be safe, though it’s not strictly necessary. This takes about 2 minutes.
Step 2: Mix the Dry Ingredients (3 minutes)
In your large mixing bowl, combine the rolled oats, baking powder, salt, cinnamon, nutmeg, and brown sugar. Whisk it all together until it’s evenly distributed. You want the cinnamon to be spread out so you don’t get a big clump of spice in one bite. Set this aside.
Step 3: Mix the Wet Ingredients (2 minutes)
In a separate bowl (or just use the same one if you’re lazy), whisk together the milk, eggs, melted butter, maple syrup, and vanilla extract. Make sure the butter isn’t too hot, or you’ll cook the eggs. It should be warm, not scalding. Whisk until it’s smooth and emulsified.
Step 4: Combine Everything (2 minutes)
Pour the wet ingredients into the dry ingredients. Stir gently with a spatula until everything is well combined. It will look thick and chunky. That’s good. Fold in the diced apples. Make sure they’re evenly distributed throughout the mixture.
Step 5: Fill the Muffin Cups (3 minutes)
Divide the mixture evenly among the 12 muffin cups. I use an ice cream scoop for this—it’s the fastest way to get even portions. Press the mixture down slightly with the back of the spoon to compact it a bit. This helps them hold their shape. If you like, sprinkle a little extra cinnamon or a few apple slices on top for decoration.
Step 6: Bake (20-25 minutes)
Place the tin in the preheated oven. Bake for 20-25 minutes. You’ll know they’re done when the tops are golden brown and a toothpick inserted into the center comes out clean (or with just a few moist crumbs). Don’t overbake them, or they’ll get dry. I usually check mine at 20 minutes.
Step 7: Cool and Store (10 minutes)
Let them cool in the pan for 5 minutes, then transfer them to a wire rack to cool completely. This step is important so they don’t get soggy from steam. Once cool, you can eat them right away, store them in the fridge, or freeze them.
Total Time: About 45 minutes (10 minutes prep, 25 minutes baking, 10 minutes cooling).
Expert Tips & Tricks
Here’s everything I’ve learned from making these dozens of times. These tips will save you from my mistakes.
Dice the Apples Small
Make sure your apple pieces are about ¼ inch. If they’re too big, they’ll fall out of the cup when you eat them. Small pieces integrate better and cook evenly.
Don’t Skip the Resting Time
After mixing, let the batter sit for 5 minutes before filling the cups. This lets the oats absorb some of the liquid, which helps them bind better. It’s a small step, but it makes a big difference in texture.
Use a Scoop
Use an ice cream scoop or a large cookie scoop to fill the cups. It ensures even sizing and saves time. Equal-sized cups bake evenly, so you don’t have some raw and some burnt.
Cool Completely Before Storing
If you put them in a container while they’re warm, they’ll get soggy. Let them cool on a rack first. This keeps them fluffy and prevents condensation.
Freezing Tips
These freeze beautifully. Once completely cool, wrap them individually in plastic wrap or parchment paper, then put them in a freezer bag. They’ll last up to 3 months. Reheat straight from frozen in the microwave for 1-2 minutes.
Variations
Want to mix it up? Add a handful of walnuts or pecans for crunch. Or swap the apples for blueberries or chopped bananas. The base recipe is very flexible.
Variations & Substitutions
Once you’ve nailed the basic version, here’s how you can mix it up. I’ve tried all of these:
Blueberry Lemon
Swap the apples for 1 ½ cups fresh blueberries. Add the zest of one lemon to the wet ingredients. Bright and tangy!
Chai Spice
Replace cinnamon with 1 ½ teaspoons chai spice mix. Add a pinch of cardamom. Great for colder mornings.
Protein Boost
Add 1 scoop of vanilla protein powder to the dry ingredients. You might need to add an extra ¼ cup of milk to compensate for the dryness. My husband loves this for post-workout breakfasts.
Dairy-Free
Use plant-based milk (almond, oat, soy) and coconut oil instead of butter. Works perfectly.
Gluten-Free
Use certified gluten-free rolled oats. Make sure your baking powder is also GF. Everything else is naturally GF.
Lower Sugar
Reduce the brown sugar to 1 tablespoon and use unsweetened applesauce instead of maple syrup. Still tasty, just less sweet.
Serving & Storage
How to enjoy these babies:
How to Serve
Eat them warm fresh from the oven with a pat of butter. Or cold from the fridge for a quick grab-and-go. I often serve them with a side of fresh fruit or yogurt for extra protein.
Storage Instructions
Fridge: Store in an airtight container for up to 5 days. They stay moist and delicious.
Freezer: Wrap individually and freeze for up to 3 months. Thaw in the fridge overnight or reheat from frozen.
Reheating: Microwave for 60-90 seconds. If you’re reheating from frozen, add 30-60 seconds. They should be warm throughout.
Pro Tip: If they seem a bit dry after reheating, add a splash of milk to the cup before microwaving. It steams them back to life.
Nutrition Information
I’m not a nutritionist, but here’s the breakdown if you’re tracking. These are estimates per cup (based on 12 servings):
Calories: 180
Protein: 5g
Carbs: 32g
Fiber: 3g
Sugar: 12g
Fat: 4g
Saturated Fat: 2g
Cholesterol: 35mg
Sodium: 150mg
What’s Good: Good source of fiber from oats, some protein from eggs and oats, vitamins from apples. It’s a balanced start to the day.
What to Know: Contains sugar from maple syrup and brown sugar. Adjust sweetness to your preference. Naturally gluten-free if using GF oats.
Final Thoughts
So that’s my go-to Back to School Apple Cinnamon Baked Oatmeal Cups! I’ve talked a lot about how they help with the morning rush, but they’re really just a delicious, comforting breakfast that makes life a little easier. These cups have saved me on more chaotic mornings than I can count. They’re my answer to “what’s for breakfast” when I’m tired, don’t want to cook, and still want something nutritious.
My kids love them, I love the ease, and I love that they’re basically apple crisp in a portable format. Make them your own! Try different fruits, adjust the spices, or add nuts. The best recipes are the ones you adapt to your family’s tastes.
If you make these, drop a comment and let me know how they turn out! I love hearing how recipes work in your kitchen. And if something doesn’t work, tell me that too—I’m here to help troubleshoot. Happy cooking! And I hope your mornings feel a little less chaotic starting tomorrow.
Frequently Asked Questions
Can I use instant oats instead of rolled oats?
I don’t recommend it. Instant oats are too thin and will turn the cups into a mushy, porridge-like texture. You need the chewiness of old-fashioned rolled oats for the right consistency. If you must, you can pulse rolled oats in a blender for a few seconds to make them slightly smaller, but don’t use instant.
How do I reheat these without them drying out?
Place the cup in a microwave-safe bowl and add a teaspoon of water or milk. Cover it loosely with a paper towel. This creates steam and keeps the oatmeal moist. Heat for 60-90 seconds. If you’re reheating from frozen, add another 30 seconds.
Can I make these ahead and freeze them?
Absolutely! This is my favorite way to use them. Let them cool completely, wrap each one individually in plastic wrap or parchment paper, and place them in a freezer-safe bag. They’ll keep for up to 3 months. Reheat straight from the freezer in the microwave.
Why did my oatmeal cups turn out dry?
Usually, this means they were overbaked. Ovens vary, so check yours at 20 minutes. They should be set but still slightly soft in the center. They’ll firm up as they cool. If you prefer moister cups, reduce the baking time by 2-3 minutes.
Can I substitute the maple syrup?
Yes! Honey, agave, or even a little extra brown sugar work well. Just keep the amount the same. Maple syrup gives the classic flavor, but honey adds a nice floral note. Just make sure it’s liquid so it mixes well.
Are these good for meal prep?
They’re perfect for meal prep. Make a batch on Sunday, store them in the fridge, and grab one each morning. They take up minimal space and reheat quickly. I usually make two batches so I have enough for the week plus some for freezing.
Can I add chocolate chips?
Of course! A handful of semi-sweet chocolate chips adds a nice treat element. I like to add them to half the batter and leave the other half plain, so everyone gets their choice. Just fold them in gently at the end.
Pin This Recipe!
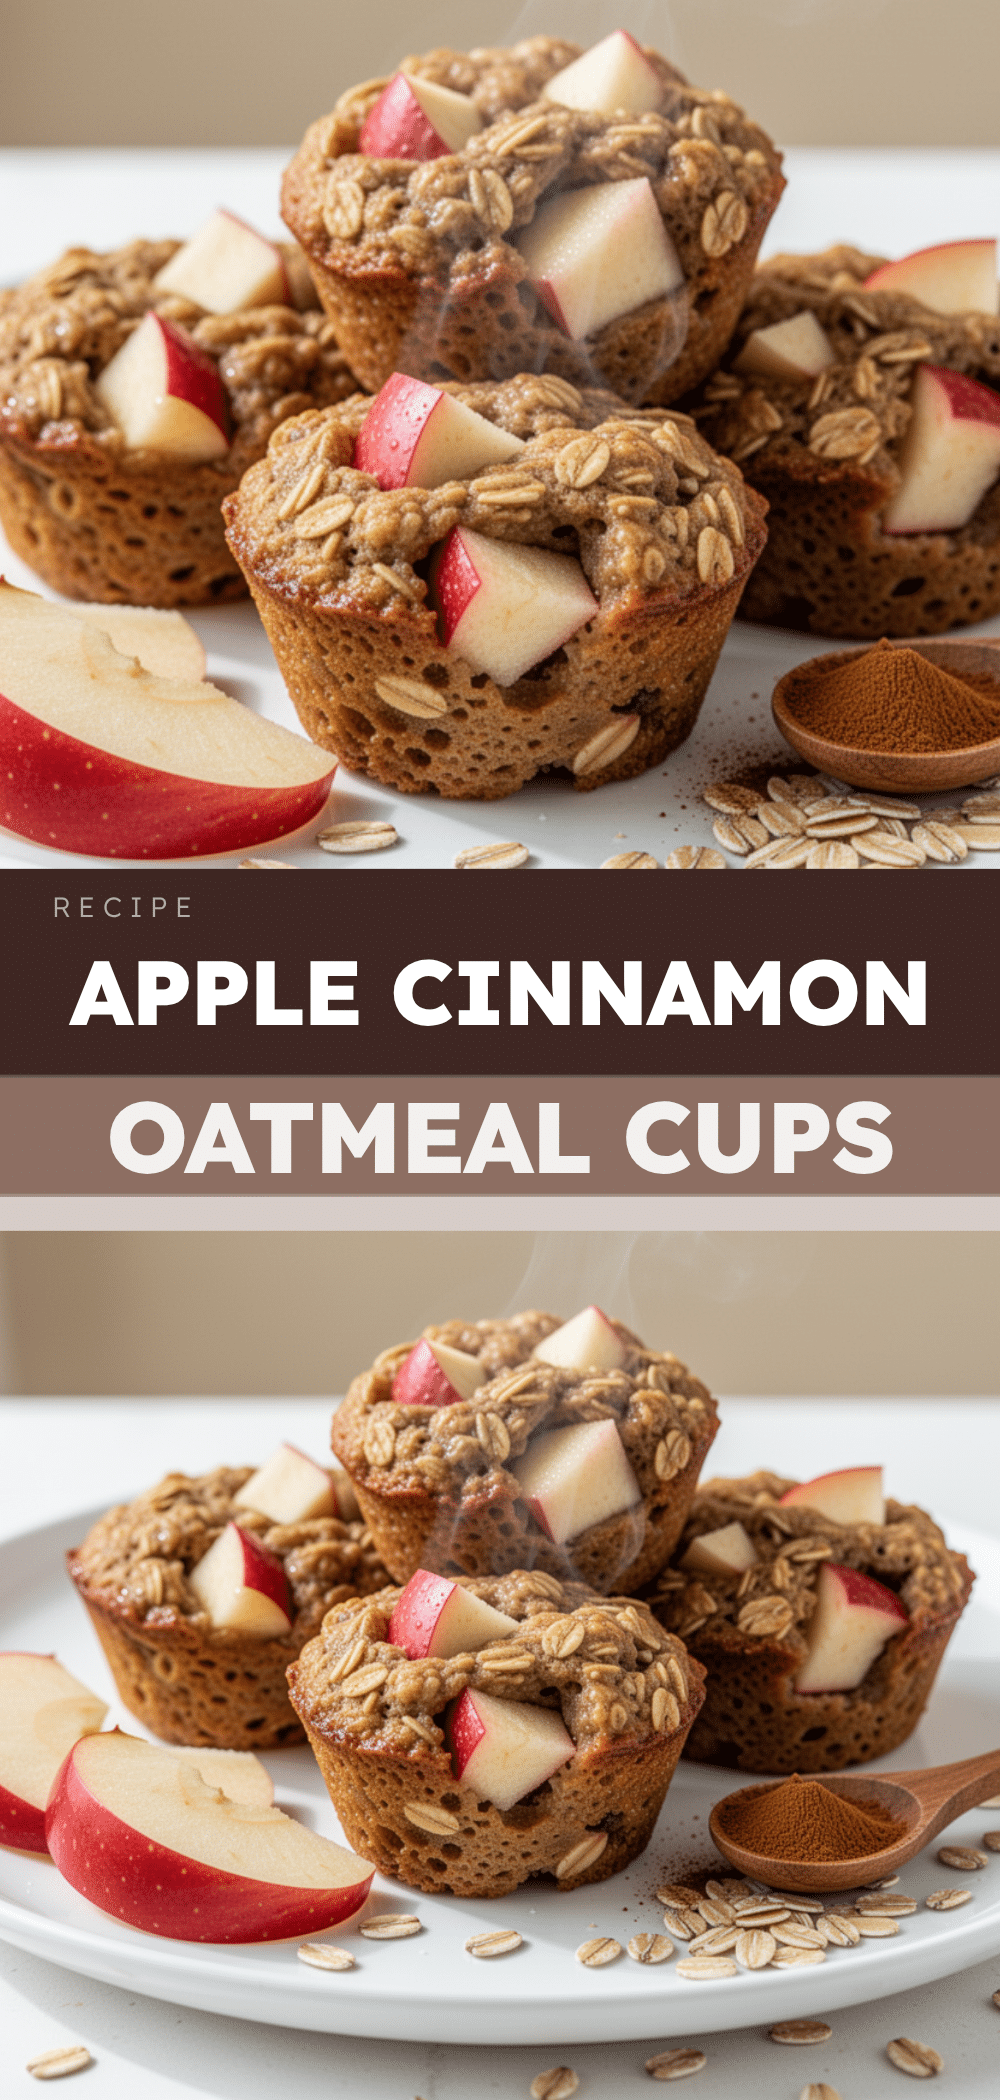
Back to School Apple Cinnamon Baked Oatmeal Cups
- Total Time: 45 minutes
- Yield: 12 servings 1x
Description
Portable, make-ahead baked oatmeal cups infused with apple and cinnamon. Perfect for busy school mornings, these cups are easy to prep the night before and reheat quickly in the microwave.
Ingredients
- 2 cups old-fashioned rolled oats
- 1 teaspoon baking powder
- ½ teaspoon salt
- 1 ½ cups milk (dairy or non-dairy)
- 2 large eggs
- ¼ cup melted butter (or coconut oil)
- ¼ cup maple syrup
- 1 teaspoon vanilla extract
- 1 ½ teaspoons ground cinnamon
- ¼ teaspoon nutmeg
- 2 tablespoons brown sugar
- 2 medium apples, diced (about 300g)
- Optional: Extra cinnamon sugar or apple slices for topping
Instructions
- Preheat oven to 350°F (175°C). Line a 12-cup muffin tin with paper liners.
- In a large mixing bowl, combine rolled oats, baking powder, salt, cinnamon, nutmeg, and brown sugar. Whisk to distribute evenly.
- In a separate bowl, whisk together milk, eggs, melted butter, maple syrup, and vanilla extract until smooth.
- Pour wet ingredients into dry ingredients and stir gently until combined. Fold in diced apples.
- Let the batter rest for 5 minutes to allow oats to absorb liquid.
- Divide mixture evenly among the 12 muffin cups, pressing down slightly. Add optional toppings if desired.
- Bake for 20-25 minutes until tops are golden brown and a toothpick inserted comes out clean.
- Cool in the pan for 5 minutes, then transfer to a wire rack to cool completely before storing.
Notes
Do not use instant oats as they will turn mushy. Dice apples small (1/4 inch) so they integrate well. Let batter rest for 5 minutes before baking for better texture. Cool completely before storing to prevent sogginess. Can be frozen for up to 3 months.
- Prep Time: 10 minutes
- Cook Time: 25 minutes
- Category: Breakfast
- Cuisine: American
Nutrition
- Serving Size: 1 cup
- Calories: 180
- Sugar: 12
- Sodium: 150
- Fat: 4
- Saturated Fat: 2
- Carbohydrates: 32
- Fiber: 3
- Protein: 5
Keywords: baked oatmeal, apple cinnamon, breakfast cups, meal prep, back to school breakfast, healthy breakfast, portable breakfast, oatmeal muffins


