It’s 6:45 AM on a Tuesday. The house is quiet, which means the kids are asleep, and I’m standing in my kitchen holding a container of leftovers that look suspiciously like they’ve been staring at me since Thursday. This is the moment every parent dreads during back-to-school season: the lunch packing panic. You want to provide something healthy, appealing, and nutritious, but you’re running on three hours of sleep and a cup of coffee that’s already lukewarm.
For the first week of school last year, I tried to be that parent. You know the one. The one with the artisanal sourdough sandwiches cut into perfect triangles and the fruit arranged in rainbow patterns. I lasted four days. By day five, I was shoving a granola bar and an apple into a bag while chasing my toddler out the door. The lunchbox looked like a disaster zone, and honestly? So did I.
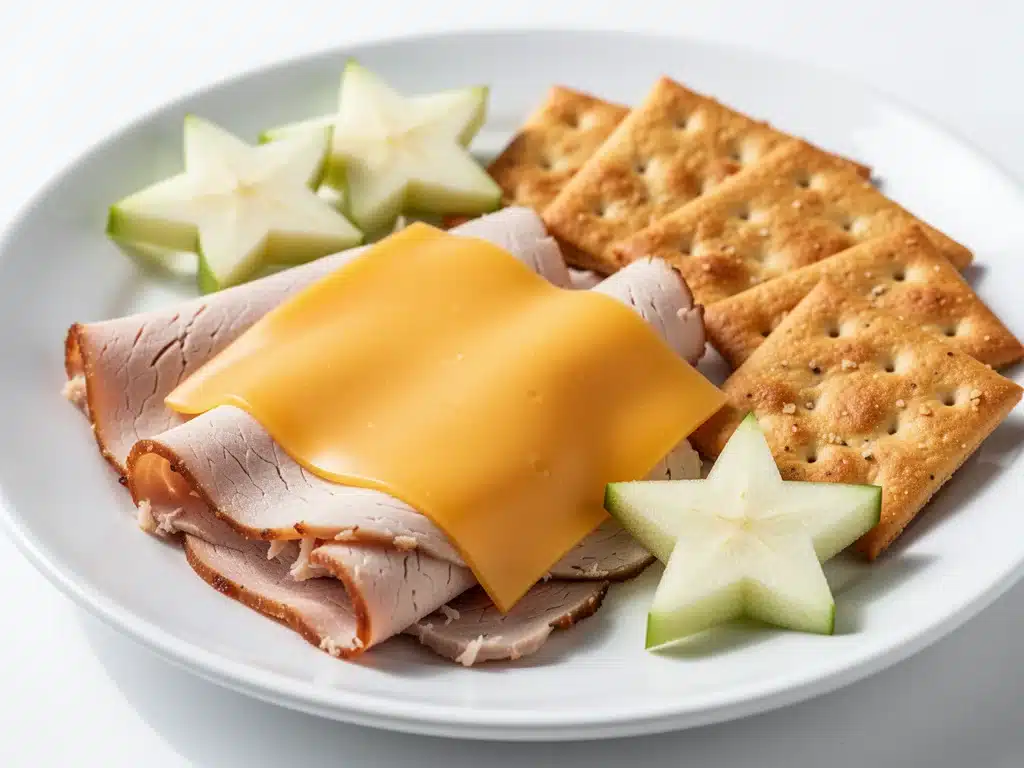
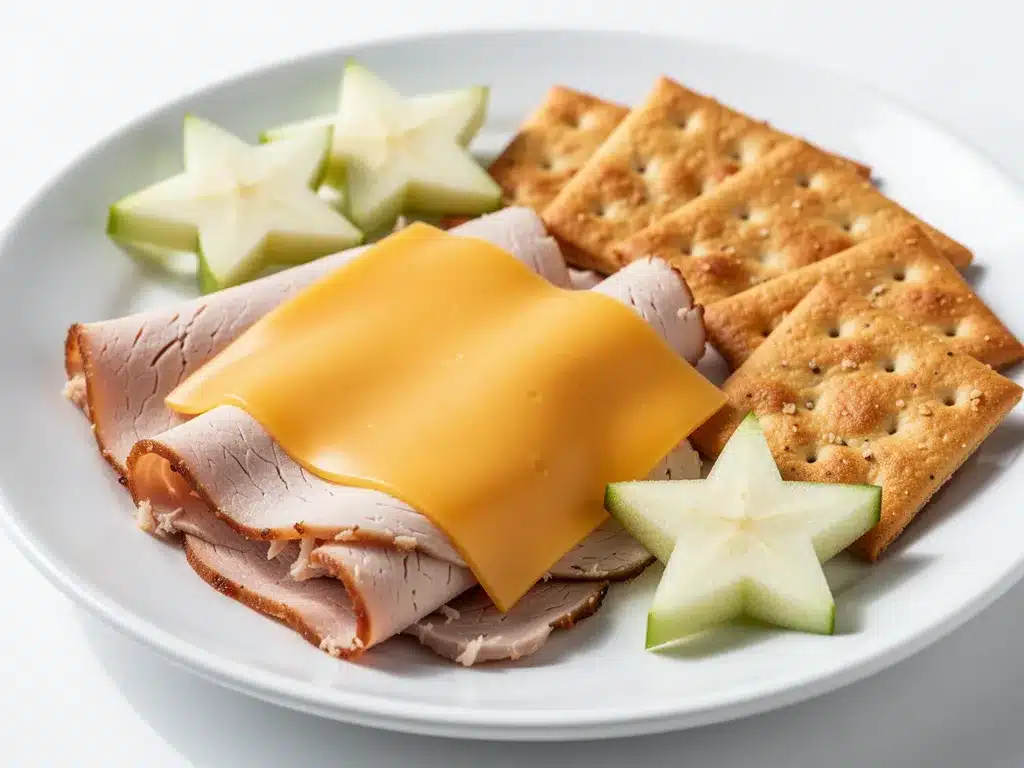
That’s when I realized I didn’t need to be a lunch-packaging artist. I just needed a system that worked. Enter the Turkey and Cheese Bento Box. It’s not fancy. It’s not Instagram-worthy in the traditional sense. But it is the single most reliable, kid-approved, parent-saved method I’ve ever used. It’s the backbone of my Monday-through-Friday lunch rotation because it hits every single note: high protein, easy to eat, customizable, and—crucially—fast to assemble.
I’ve tested this bento box concept with three different kids, two picky eaters, and one son who only eats beige foods. It works. It’s become my go-to solution when I’m tired, when the grocery store is out of my favorite snacks, or when I just need a win. And the best part? It’s versatile enough that you can tweak it every single day without feeling like you’re cooking a whole new meal from scratch.
Why This Bento Box Will Save Your Sanity
Look, I get it. Lunch packing feels like a second job. But this Turkey and Cheese Bento Box isn’t just about food; it’s about reclaiming your morning. Here’s why this specific combination has earned a permanent spot in our kitchen routine:
It’s Actually Fast — Seriously, if you can slice cheese and grab a handful of grapes, you can make this. I’m talking 3 minutes of active time. No chopping, no cooking, no heating. Just assembly. I’ve packed these while brushing my teeth (don’t judge, it happens).
It Solves the “Soggy Sandwich” Problem — You know that sad, wet bread situation? The one where the tomato juice turns the crust into mush? This bento box eliminates that entirely. Everything stays crisp and distinct until lunchtime. No sogginess, no complaints.
It’s a Protein Powerhouse — School is hard work. Running around, focusing, socializing—it burns energy. This box delivers about 20-25 grams of protein from the turkey and cheese, which keeps kids full until dinner. No 10 AM crash, no whining about being hungry.
It’s the Ultimate “Clean Plate” Club — Here’s the thing: kids love variety. When everything is mixed together in a sandwich, they pick out the ingredients they don’t like. In a bento box, they can pick and choose. And surprisingly, they often eat the “boring” stuff like turkey and cheese when it’s presented separately. It’s psychology, not magic.
It Uses Up Leftovers — Did you roast a chicken on Sunday? That turkey breast is perfect for this. Did you buy a block of cheddar that’s been sitting in the fridge for a week? Slice it up. This box is your pantry and fridge’s best friend. It’s budget-smart because it prevents food waste.
This is my go-to when I need lunch to just work. No complicated techniques, no weird ingredients, just reliable, delicious food that makes everyone happy. And if you’re looking for more easy, no-cook ideas, you might also want to check out our chicken salad with grapes recipe for a slightly different flavor profile.
Ingredients You’ll Need for the Perfect Box
Here’s the best part: you probably have most of this already. The beauty of the Turkey and Cheese Bento Box is that it relies on high-quality basics rather than a long, obscure ingredient list. I’m particular about three things here, and I’ll tell you exactly why.
For the Protein Base:
Sliced Turkey Breast (4-6 slices / about 100-150g) — This is the star. Look for deli turkey that’s at least 90% lean. I prefer the kind that comes in a vacuum-sealed pack rather than the pre-packaged slices, because the texture is better and it doesn’t taste as processed. Avoid the “turkey ham” if you can—it’s often too salty and has more filler. I always buy the thicker slices and fold them for a nicer presentation.
Hard Cheese Slices (2-3 slices / about 30-40g) — I’m a huge fan of sharp cheddar or pepper jack for a little kick. But honestly? Any hard cheese works. Gouda, Swiss, Provolone—they all hold up well in a lunchbox and don’t melt into a puddle like mozzarella might. I like to cut the slices into fun shapes if my kids are young, but for older kids, squares are fine.
Hard-Boiled Eggs (1 large egg, peeled / about 50g) — Optional, but highly recommended. This bumps up the protein significantly. I usually boil a batch on Sunday night so they’re ready to go. If you’re skipping the egg, just add a bit more cheese or turkey.
For the Crunch and Freshness:
Celery Sticks (2-3 stalks / about 50g) — These are non-negotiable for me. They provide that essential crunch and freshness that balances the richness of the meat and cheese. Plus, they’re great for dipping if you’re feeling fancy. I wash and cut them the night before to save time.
Cherry Tomatoes (10-12 halves / about 75g) — Sweet, juicy, and easy to eat. I like to halve them so they’re bite-sized. If your kids hate tomatoes, swap these for cucumber rounds or bell pepper strips. The key is something crisp and hydrating.
Apple Slices (1 small apple, sliced / about 100g) — For a sweet finish. I use Honeycrisp or Gala because they stay crisp and don’t brown too quickly. A little squeeze of lemon juice helps if you’re packing it early in the morning.
For the Filler (Carbs & Fats):
Crackers or Bread (4-6 crackers or 1 slice of bread / about 30g) — I usually go with whole-grain crackers like Triscuits or Wheat Thins. They’re sturdy and don’t get soggy easily. If you prefer bread, use a whole-grain slice and cut it into strips or use cookie cutters for fun shapes. Avoid soft white bread—it gets too squishy by noon.
Nuts or Seeds (1 tablespoon / about 10g) — Almonds, walnuts, or pumpkin seeds. These add healthy fats and crunch. Note: Check your school’s nut policy first! If nuts are banned, swap these for sunflower seeds or extra crackers.
Dark Chocolate Chips or Dried Fruit (1 small handful / about 15g) — A little treat to make the lunch feel special. I love adding a few dark chocolate chips or some dried cranberries. It’s the “dessert” component that makes kids excited to open their boxes.
Small Container of Dip (2 tablespoons) — This is the secret weapon. A little hummus, ranch, or mustard makes the turkey and cheese feel like a gourmet meal. I usually pack it in a tiny condiment cup or a small silicone divider.
Equipment You’ll Actually Use
You don’t need fancy equipment for this. Here’s what I actually use to keep things organized and efficient:
Bento Box or Divided Lunch Container — This is the most important tool. I use a 3-compartment bento box. The dividers keep the wet ingredients (tomatoes, dip) separate from the dry ones (crackers, cheese). I’ve tried flat containers, and it’s a mess. Go with dividers. I like the ones with a tight seal because they don’t leak in backpacks.
Sharp Knife — For slicing apples, cutting cheese, and prepping veggies. A dull knife makes apple slices look sad. Learn to sharpen it.
Small Silicone Cups or Dividers — If your bento box doesn’t have enough compartments, these little cups are lifesavers for holding dips, nuts, or small berries. They stack nicely and are easy to clean.
Ice Pack — Non-negotiable. Turkey and cheese need to stay cold. I use a small gel ice pack that fits snugly in the lunch bag. It keeps the food safe and helps keep the apples crisp.
Prep Containers — I keep a stack of small containers in the fridge for pre-cut veggies and boiled eggs. This speeds up the morning packing process immensely.
Scissors — For cutting turkey slices or opening packages quickly. Yes, really. It’s faster than pulling out a knife sometimes.
How to Make It: Step-by-Step
Alright, let’s make this! I’m walking you through exactly how I do it, including the little tricks I’ve picked up over years of lunch-packing battles.
Step 1: Prep Your Components (The Night Before)
Before you start packing, get your ingredients ready. Wash and dry your celery and tomatoes. Peel and slice your apples (toss with a little lemon juice to prevent browning). Boil your eggs if you’re using them. Store these in airtight containers in the fridge. This is the key to a fast morning. If you’re short on time, buy pre-cut veggies and pre-boiled eggs—it’s worth the extra few dollars.
Step 2: Fold the Turkey
Take your turkey slices and fold them into loose rolls or fans. This makes them easier to pick up and eat. It also makes the box look more appealing than just flat slices. If your turkey slices are large, you can cut them in half first. Don’t worry about being perfect—rustic looks good.
Step 3: Arrange the Cheese
Place your cheese slices in one compartment. If you’re using hard cheese, you can cut them into triangles or squares. If you want to get fancy, roll the cheese slices into little roses. It takes 30 seconds and makes a huge difference for younger kids. Place them neatly so they don’t slide around.
Step 4: Add the Crunch
Toss in your celery sticks and cherry tomatoes. If using tomatoes, make sure they’re completely dry to avoid soggy crackers later. Arrange them so they fill the space without overlapping too much. You want visual variety—green celery, red tomatoes, white turkey, yellow cheese. It’s like a little edible art project.
Step 5: Pack the Carbs and Fats
Add your crackers or bread to a separate compartment. If using bread, cut it into strips or shapes. Add your nuts or seeds to a small silicone cup or a corner of the box. Make sure they’re separated from any moist ingredients.
Step 6: Add the Dip and Treat
Place a small amount of dip in a silicone cup. I usually do ranch for the turkey and cheese, or mustard for a tangier flavor. Add your dark chocolate chips or dried fruit to another small cup or a corner. This is the “fun” part that kids look forward to.
Step 7: Seal and Pack
Close the bento box tightly. Check for any leaks by shaking it gently. Place the box in a lunch bag with an ice pack. Make sure the ice pack is on the bottom or side, not directly on top of the food, to avoid crushing it. Seal the bag and you’re done.
Total Time: About 5 minutes (if prepped ahead) or 10 minutes (from scratch).
Built-in Troubleshooting:
Apples browning? Toss them in lemon juice or water with a pinch of salt before packing.
Crackers getting soggy? Keep them in a separate airtight container or use a plastic bag inside the box. Moisture is the enemy.
Kids won’t eat turkey? Try rolling it around a cheese stick or a pickle spear. The cheese flavor can help bridge the gap.
Expert Tips & Tricks for Lunch Packing Success
Here’s everything I’ve learned from packing lunches for three years. These tips will save you from my mistakes.
Rotate the Dips — Kids get bored with the same dip. Rotate between ranch, hummus, mustard, guacamole, and even peanut butter (if allowed). It makes the same turkey and cheese feel like a new meal.
Use Seasonal Fruits and Veggies — Don’t stick to the same apples and celery all year. In the fall, try pears and grapes. In the spring, try strawberries and snap peas. Variety keeps things interesting.
Involve Your Kids — Let them pick one or two items from the list. This gives them a sense of control and makes them more likely to eat it. “Do you want carrots or celery?” is a better question than “Do you want vegetables?”
Prep in Batches — Spend 30 minutes on Sunday prepping veggies and boiling eggs. This saves you hours during the week. I call it “Sunday Lunch Prep.”
Check School Policies — Always check for nut-free or allergy-friendly policies. Adjust your ingredients accordingly. Sunflower seeds are a great nut-free alternative.
Keep it Simple — Don’t overpack. A bento box should feel abundant, not overwhelming. 5-7 items is the sweet spot.
Use Color — Aim for 3-4 colors in each box. It’s visually appealing and ensures a mix of nutrients. Red tomatoes, green celery, white turkey, yellow cheese.
Label Everything — Use a permanent marker or a label maker to name your containers. It helps if you have multiple kids or if the lunchbox gets lost.
Don’t Waste Food — If your kid doesn’t eat something, note it for next time. Adjust your packing based on what they actually consume. No point packing broccoli if they never touch it.
Make it a Game — For younger kids, make the lunchbox a game. “Can you find the red tomato?” or “Count the crackers.” It makes eating fun.
Variations & Substitutions
Once you’ve nailed the basic Turkey and Cheese Bento Box, here’s how you can mix it up. I’ve tried all of these, and they’re all winners.
Spicy Turkey Version
Add a slice of pepper jack cheese and a pickle spear. The heat from the cheese and the tang of the pickle make this version exciting for older kids. I add this when I want a little kick.
Herb-Infused Turkey
Use turkey slices that are already seasoned with herbs, or sprinkle a little dried oregano or basil on the cheese before packing. It adds a subtle flavor boost without much effort.
Veggie-Loaded Box
Add bell pepper strips, cucumber rounds, and snap peas. This version is lighter and crunchier. I use it when I want to focus more on vegetables.
Protein-Packed Box
Add a hard-boiled egg and a handful of almonds. This version is more filling and great for active kids. I use it on days when they have sports practice.
Gluten-Free Version
Use gluten-free crackers or rice cakes. Everything else is naturally gluten-free. I’ve used simple rice cakes and they work great. Just make sure the crackers are certified gluten-free.
Dairy-Free Version
Swap the cheese for a dairy-free alternative or skip it entirely. Add extra turkey or a hummus dip for flavor. I use this when a family member is lactose intolerant.
Nut-Free Version
Replace nuts with sunflower seeds or pumpkin seeds. This is essential for nut-free schools. Sunflower seeds are a great alternative and add similar crunch.
International Twist
Add a slice of provolone cheese and a small container of marinara sauce for dipping. It’s like a mini caprese sandwich in box form. I love this for a change of pace.
Fruit-Focused Box
Add more fruit like berries, grapes, or melon balls. Reduce the turkey slightly to make room. This version is sweeter and lighter. I use it in the summer.
Mini Sandwich Box
Instead of loose turkey and cheese, make a mini sandwich and cut it into quarters. Pack it with veggies and dip. It’s a hybrid approach. I use this when I want something more substantial.
Snack Attack Box
Focus on snacks like cheese cubes, turkey rolls, crackers, and fruit. This is more like a snack plate than a lunch. I use it for older kids who want less food.
Seasonal Box
Use seasonal ingredients like pumpkin seeds in the fall or strawberries in the spring. It keeps the lunch fresh and exciting. I love changing with the seasons.
Serving & Storage
How to Serve: I usually serve this straight from the fridge. The cold turkey and cheese are refreshing, especially in the summer. But here are other ways I’ve enjoyed it:
Side Dishes: This box is a complete meal, so it doesn’t need sides. But if you want, pair it with a small salad or a piece of fruit.
Toppings Bar: When I have guests, I put out extra dips, nuts, and fruits. Everyone customizes their box. It’s fun and interactive.
Storage Instructions:
Refrigerator: Store prepped ingredients in airtight containers for up to 3 days. Turkey and cheese should be consumed within 3-4 days. Veggies can last up to 5 days if stored properly.
Freezing: Don’t freeze this box. The texture of the turkey and veggies will change. It’s best fresh.
Meal Prep: Prep all ingredients on Sunday. Pack daily in the morning. It takes 5 minutes and saves hours during the week.
Pro tip: If leftovers are drying out, add a splash of water or dip when reheating. But honestly, this box is best eaten fresh and cold.
Nutrition Information
I’m not a nutritionist, but here’s the breakdown if you’re tracking. This is per box, based on 6 servings.
Per Serving:
– Calories: 250-300
– Protein: 20-25g
– Carbs: 15-20g
– Fiber: 3-5g
– Sugar: 5-8g
– Fat: 12-15g
– Saturated Fat: 4-6g
– Cholesterol: 40-50mg
– Sodium: 400-600mg
– Calcium: 200-300mg
What’s Good:
– High protein from turkey and cheese
– Good fiber from veggies and whole grains
– Healthy fats from nuts or seeds
– Vitamins from fruits and veggies
What to Know:
– Sodium can be high from deli turkey. Choose low-sodium options if possible.
– Contains dairy and gluten (unless substituted)
– Moderate calories, suitable for a balanced lunch
My Take: Look, this is a balanced, nutritious lunch. It’s not a diet recipe, but it’s healthy. It provides sustained energy for school and avoids the sugar crash. When I want to make it lighter, I reduce the cheese and crackers and add more veggies. But usually? I just enjoy it as a solid, reliable meal.
Final Thoughts
So that’s my Turkey and Cheese Bento Box! I’ve probably talked your ear off at this point, but when you make a lunch routine this often, you have a lot to say about it.
This has saved my mornings more times than I can count. It’s my answer to “what’s for lunch” when I’m tired, don’t want to cook, and still want something that tastes really good. My kids are happy, and I’m happy because I’m not stressed about packing.
Make it yours! Try different dips, swap in your favorite veggies, adjust the protein levels. The best lunches are the ones you adapt to your family’s tastes. And if you’re looking for more easy lunch ideas, you might also enjoy our easy chicken lunch bowls for a warm option.
If you make this, drop a comment and let me know what you think! I love hearing how lunches turn out in your kitchen. And if something doesn’t work, tell me that too—I’m here to help troubleshoot.
Happy packing! And I hope your kitchen smells half as good as mine does right now.
Frequently Asked Questions
Q: Can I use different types of cheese?
A: Absolutely! Any hard cheese works. Cheddar, Swiss, Provolone, Gouda—they all hold up well in a lunchbox. Avoid soft cheeses like brie or camembert, as they can get messy. I love using pepper jack for a spicy kick.
Q: What if my school is nut-free?
A: Just skip the nuts and seeds. Add extra crackers, fruit, or a larger portion of turkey and cheese to make up for it. Sunflower seeds are a great nut-free alternative if they’re allowed.
Q: Can I make this the night before?
A: Yes, but pack the crackers and dip separately to avoid sogginess. You can assemble the rest of the box the night before and just add the dry items in the morning.
Q: How do I keep the turkey fresh?
A: Store it in an airtight container in the fridge. Use it within 3-4 days of opening the package. If it smells off or looks slimy, toss it. Always check the expiration date.
Q: Can I add hot items to this box?
A: This box is designed for cold items. If you want hot food, consider a thermos with soup or stew. But for this bento box, stick to cold ingredients.
Q: What’s the best ice pack to use?
A: Use a small, flexible gel ice pack that fits snugly in your lunch bag. It should be cold when you pack it. Reusable ice packs are great because you can freeze them every night.
Q: Can I use this box for snacks?
A: Definitely! Reduce the portion sizes and add more fruit or veggies. It’s a great way to portion control snacks for kids.
Q: How do I prevent apples from browning?
A: Toss them in lemon juice or water with a pinch of salt before packing. You can also buy pre-cut apples treated with anti-browning solution.
Q: Can I use turkey ham instead of turkey breast?
A: You can, but it’s often saltier and has more filler. If you use it, rinse it under water to remove excess salt. Turkey breast is generally healthier and has a better texture.
Q: What if my kid doesn’t like celery?
A: Swap it for cucumber, bell peppers, or snap peas. The key is something crisp and refreshing. Don’t force it if they hate it.
Pin This Recipe!
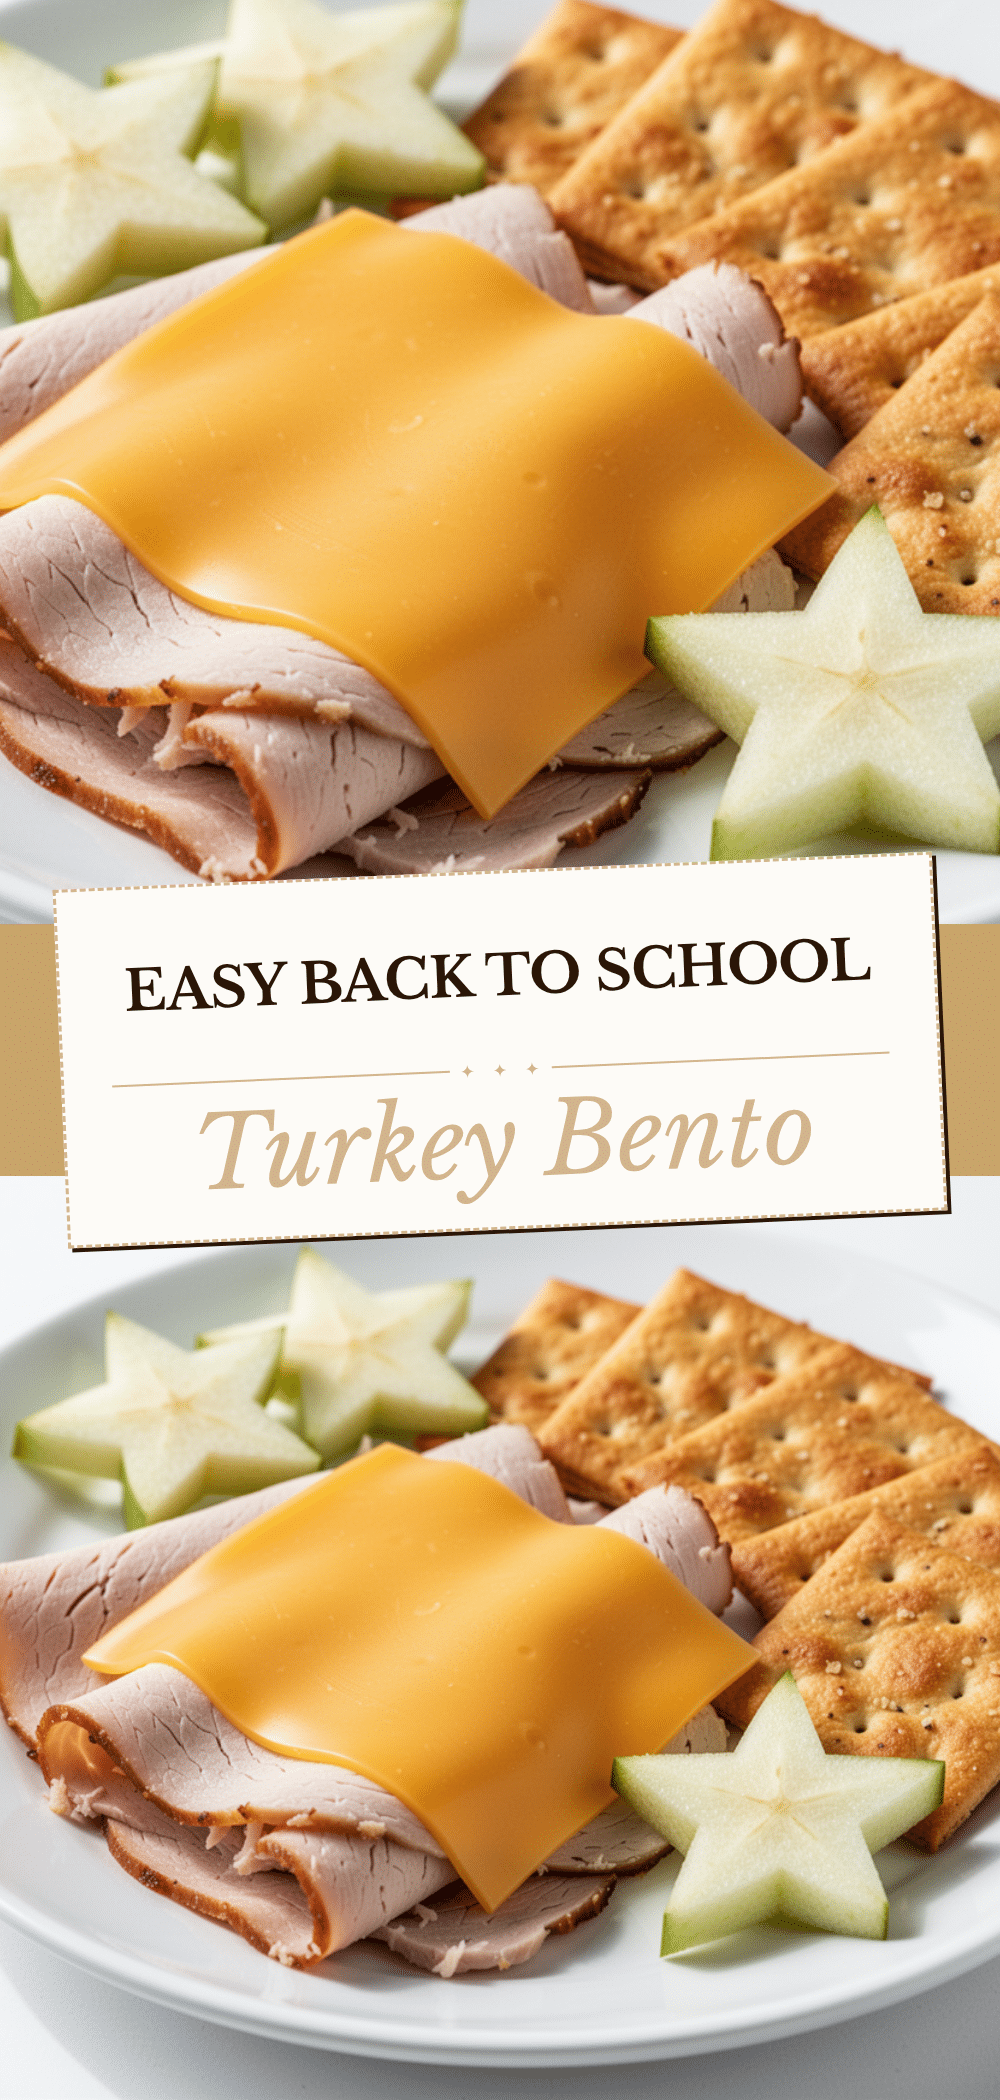

Turkey and Cheese Bento Box: 5 Easy Back to School Lunches
- Total Time: 5 minutes
- Yield: 1 serving 1x
Description
A fast, reliable, and kid-approved bento box lunch featuring turkey, cheese, veggies, and fruit. This no-cook assembly meal solves the lunch packing panic with high protein and customizable options.
Ingredients
- 4–6 slices sliced turkey breast (about 100-150g)
- 2–3 slices hard cheese (sharp cheddar, pepper jack, gouda, or Swiss) (about 30-40g)
- 1 large hard-boiled egg, peeled (optional, about 50g)
- 2–3 celery stalks (about 50g)
- 10–12 cherry tomatoes, halved (about 75g)
- 1 small apple, sliced (Honeycrisp or Gala) (about 100g)
- 4–6 whole-grain crackers or 1 slice whole-grain bread (about 30g)
- 1 tablespoon nuts or seeds (almonds, walnuts, or pumpkin seeds) (about 10g)
- 1 small handful dark chocolate chips or dried fruit (about 15g)
- 2 tablespoons dip (hummus, ranch, or mustard)
Instructions
- Prep components the night before: wash and dry celery and tomatoes, peel and slice apples (toss with lemon juice to prevent browning), and boil eggs if using. Store in airtight containers in the fridge.
- Fold turkey slices into loose rolls or fans for easier eating and better presentation.
- Arrange cheese slices in one compartment of the bento box. Cut into triangles, squares, or fun shapes as desired.
- Add celery sticks and cherry tomatoes to the box, ensuring tomatoes are dry to prevent sogginess.
- Pack crackers or bread strips in a separate compartment. Add nuts or seeds to a small silicone cup or corner, keeping them separate from moist ingredients.
- Place dip in a small silicone cup. Add dark chocolate chips or dried fruit to another small cup or corner.
- Seal the bento box tightly and place it in a lunch bag with an ice pack. Ensure the ice pack is on the bottom or side to avoid crushing the food.
Notes
Check school policies regarding nuts and allergies. If apples are browning, toss them in lemon juice or salted water. Keep crackers and dip separate to prevent sogginess. This box is best eaten fresh and cold; do not freeze.
- Prep Time: 5 minutes
- Cook Time: 0 minutes
- Category: Lunch
- Cuisine: American
Nutrition
- Serving Size: 1 bento box
- Calories: 250300
- Sugar: 58
- Sodium: 400600
- Fat: 1215
- Saturated Fat: 46
- Carbohydrates: 1520
- Fiber: 35
- Protein: 2025
Keywords: back to school lunch, bento box, turkey and cheese, easy lunch, kid-friendly lunch, no-cook lunch, healthy lunch ideas, meal prep


