It’s 7:00 AM on a Tuesday. The house is a disaster zone of missing left shoes, unpeeled oranges, and a backpack that looks like it exploded in a craft store. I’m standing in the kitchen, holding a Ziploc bag, trying to shove a granola bar into a lunchbox that is already stuffed to the bursting point. Sound familiar?
For years, I relied on store-bought trail mix. You know the kind—the kind that comes in a crinkly bag with a picture of a smiling hiker on a mountain (who is definitely not a third grader named Leo). It’s usually expensive, full of weird dried fruits I don’t recognize, and contains exactly zero pretzels, which is the main reason my son refuses to touch it.
Last August, right before school started, I was exhausted. I didn’t have time to bake cookies or make energy balls. I just needed something salty, sweet, and crunchy that would keep my kids fed between 2:30 PM snack time and dinner at 6:00 PM without turning them into sugar-fueled zombies. So, I raided my pantry. I dumped pretzels, chocolate chips, peanuts, and a handful of M&Ms into a bowl. I mixed it up. I packed it. And let me tell you, for the first time in three years, my kids actually ate their afternoon snack. And they liked it.
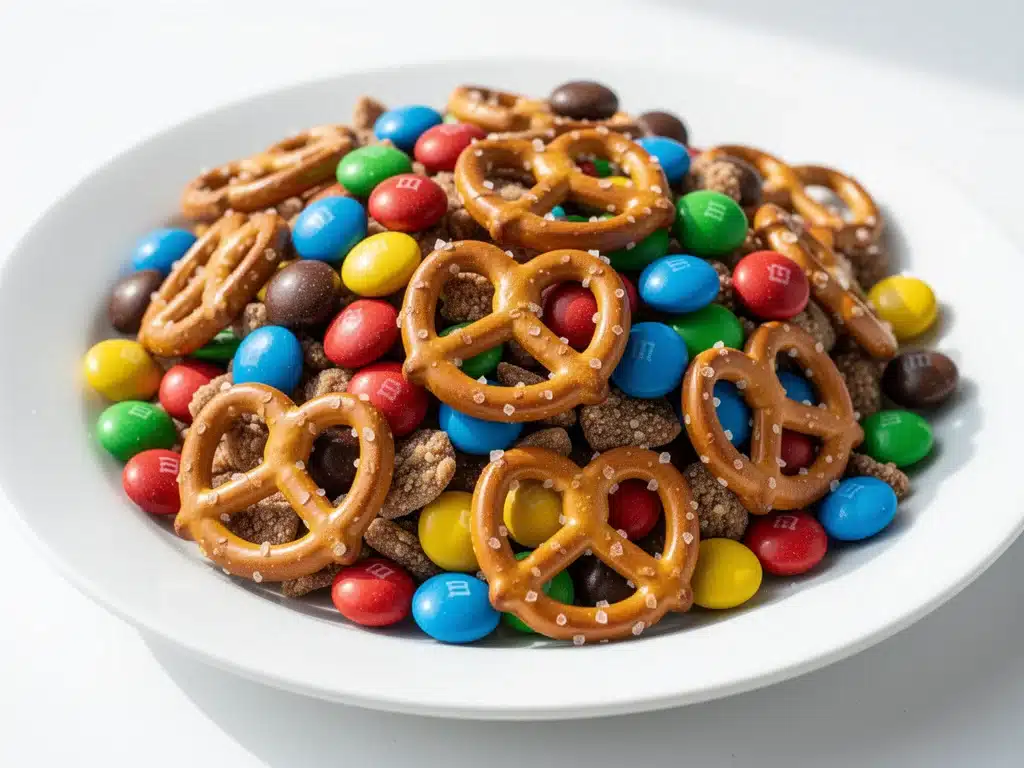
That was the birth of my go-to Back to School Homemade Trail Mix with Pretzels and M&Ms. It’s not fancy. It’s not “health food.” But it is the perfect balance of salty and sweet, incredibly cheap to make, and ready in five minutes. Since then, I’ve made this mix at least once a month. It’s become our family’s unofficial school-year tradition. I mix a big batch on Sunday, pack it in small bags, and suddenly, afternoon snack time isn’t a battle. It’s just… done.
If you’re drowning in lunchbox logistics and need a win, this is it. It’s sticky-sweet, salty, crunchy, and tastes like childhood. Here’s how to make it.
Why You’ll Love This Trail Mix Recipe
I’ve tried every snack hack out there. There are the “healthy” trail mixes that taste like cardboard, and the candy bowls that give my kids a sugar rush that lasts exactly ten minutes before the crash hits. This homemade trail mix hits that sweet spot. It’s reliable, it’s customizable, and it’s a lifesaver for busy mornings.
Here is why this specific combination works so well for school days:
- Salty-Sweet Balance — The pretzels provide that satisfying crunch and salt, while the M&Ms and chocolate chips give the sugar hit they crave. It stops the “I’m hungry” complaints before they start.
- Zero Waste, Zero Mess — No sticky hands from fresh fruit. No crumbs from cookies. Just dry, portable pieces that fit easily into small snack containers.
- Cost Effective — Buying these ingredients in bulk saves me about $15 a month compared to buying pre-packaged trail mix. Plus, I know exactly what’s in it.
- Customizable for Picky Eaters — If your kid hates peanuts, swap in cashews. If they can’t have chocolate, use white chocolate chips. This recipe bends to your family’s needs.
- Meal Prep Friendly — I make one big batch on Sunday and portion it out for the whole week. It keeps fresh in the pantry for up to two weeks.
This isn’t just a snack; it’s peace of mind. It’s the thing I pack when I’m running late, and it’s the thing my kids ask for when they get home from school. It’s simple, it’s delicious, and it works.
Ingredients You’ll Need
Here’s the best part: you probably have most of these ingredients already. This Back to School Homemade Trail Mix with Pretzels and M&Ms relies on pantry staples. You don’t need anything exotic or hard to find. Just grab these items:
The Crunchy Base
Mini pretzels (3 cups / 300g) — I always use mini pretzels. The regular ones are too big and awkward to eat in one bite. Minis are perfect for small hands and pack densely without taking up too much space. If you can’t find mini pretzels, break regular pretzel sticks in half.
Roasted peanuts (1.5 cups / 150g) — These add protein and healthy fats, which helps keep my kids full longer. I use unsalted, roasted peanuts. If your kids are allergic to peanuts, swap in cashews or pumpkin seeds. Just make sure they’re roasted for that extra crunch.
Chopped peanuts (0.5 cup / 50g) — I like to add a little chopped peanuts for variety in texture. It breaks up the uniformity of the mix. You can buy them pre-chopped or just pulse whole peanuts in a food processor for a few seconds.
The Sweet Stuff
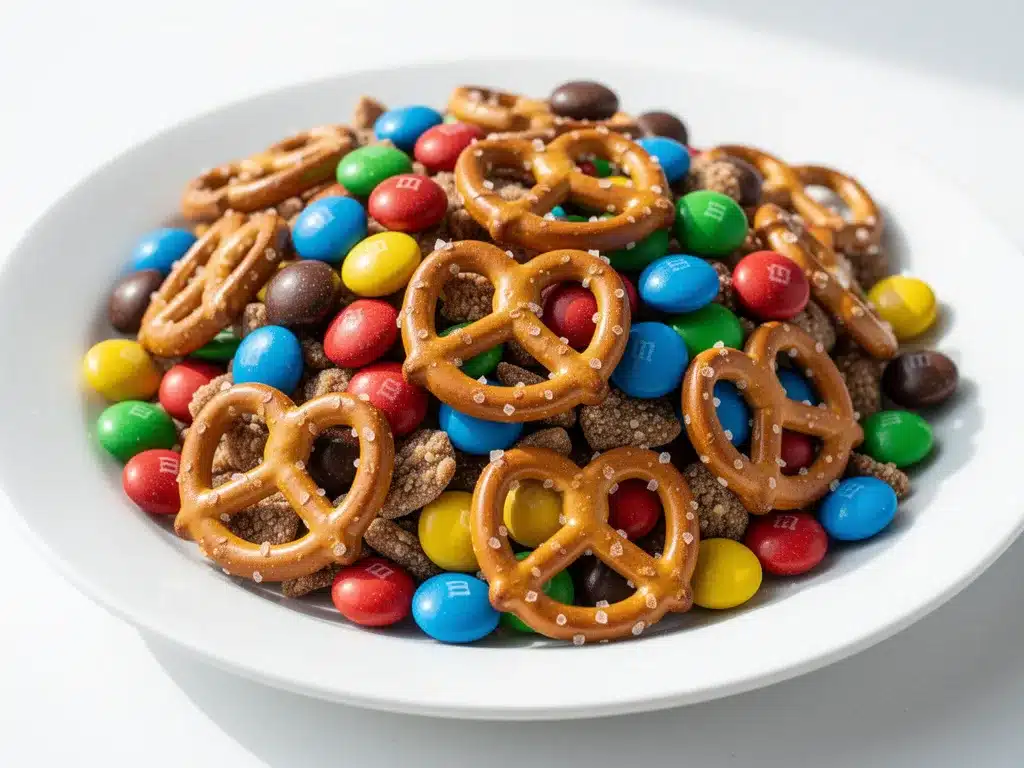
M&Ms (1 cup / 150g) — This is non-negotiable in my house. I use the classic milk chocolate ones. The candy shell holds up well in the bag and doesn’t melt as easily as loose chocolate chips. If you want a nutty twist, use peanut M&Ms, but then reduce the peanuts in the recipe.
Chocolate chips (0.5 cup / 85g) — I add semi-sweet chocolate chips for a richer chocolate flavor. They melt slightly in the bag, which helps coat the other ingredients and adds a gooey texture. Use high-quality chips if you can—they taste way better.
Optional Add-Ins
Dried cranberries (0.5 cup / 60g) — I add these sometimes for a tart contrast. They’re not always a hit with my kids, so I pack them separately if needed. But they add a nice chewy texture.
White chocolate chips (0.5 cup / 85g) — For a sweeter version, swap half the semi-sweet chips for white chocolate. My daughter prefers this variation.
Coconut flakes (0.25 cup / 20g) — Toasted coconut adds a nice aroma and texture. I sprinkle this in occasionally for variety.
Pro Tips for Ingredient Selection
Check the Pretzel Freshness — If your pretzels are stale, the whole mix will be sad. Always check the expiration date. If they’re a few weeks old, toast them in the oven at 350°F for 5 minutes to crisp them up before mixing.
Buy in Bulk — I buy my peanuts and chocolate chips in bulk bins at the grocery store. It’s cheaper and I get exactly the amount I need. M&Ms are usually cheaper in the larger bags, so buy those and portion them out.
Allergy Awareness — Many schools are nut-free. If your child’s school has a strict no-nut policy, swap peanuts for sunflower seeds or pumpkin seeds (pepitas). The recipe works just as well with seeds.
Equipment Needed
You don’t need any fancy gadgets for this. Here’s what I actually use:
Large mixing bowl — I use a 5-quart stainless steel bowl. It needs to be big enough to hold all the ingredients so you can toss them without spilling. A glass bowl works too, but I prefer metal for easy cleaning.
Measuring cups and spoons — Standard dry measuring cups. I use a set of nested ones for accuracy. It’s important to get the ratios right so the mix isn’t all chocolate or all pretzels.
Spatula — A large silicone spatula is perfect for folding the ingredients together. It gets into the corners of the bowl and ensures everything is evenly distributed.
Ziploc bags or airtight containers — For storage. I use quart-sized Ziploc bags for individual portions and a large airtight container for the main batch. If you don’t have Ziploc bags, use small reusable snack containers.
Food processor (optional) — If you want to chop the peanuts yourself, a food processor makes it quick. But a knife and cutting board work fine too.
Colander (optional) — If you’re using dried fruit, I rinse it in a colander to remove any dust or debris. It’s a small step, but it makes a difference.
How to Make It: Step-by-Step
Alright, let’s make this! It’s incredibly simple, but there are a few tricks to get the perfect mix. I’m walking you through exactly how I do it.
Step 1: Prep Your Ingredients (2 minutes)
Before you start mixing, make sure all your ingredients are at room temperature. Cold chocolate chips can clump together. Take your M&Ms and chocolate chips out of the fridge if they’ve been stored there. If you’re using dried fruit, give it a quick rinse and pat it dry. This step is quick, but it prevents clumping later.
Step 2: Combine the Dry Ingredients (3 minutes)
Grab your large mixing bowl. Add the mini pretzels, roasted peanuts, and chopped peanuts. Toss them together with a spatula. This is the base of your mix. If you’re using dried cranberries or coconut flakes, add them now. Toss everything until the pretzels are evenly coated with the nuts. This ensures every bite has a bit of crunch.
Step 3: Add the Chocolate (2 minutes)
Now, add the M&Ms and chocolate chips. This is the fun part. Gently fold them into the pretzel and nut mixture. Be careful not to crush the M&Ms or the pretzels. You want them to stay whole. Fold until the chocolate is evenly distributed. If you’re using white chocolate chips, add them now.
Step 4: Taste Test and Adjust
Before you pack it up, taste a spoonful. Is it too salty? Add a bit more chocolate. Too sweet? Add a few more pretzels. This is your mix, so adjust it to your family’s preferences. I usually add a pinch of sea salt on top if I feel it needs extra kick.
Step 5: Portion and Store
Once you’re happy with the mix, portion it out. I use quart-sized Ziploc bags for individual servings. Each bag gets about 1 cup of mix. Seal them tight and label them with the date. Store the bags in an airtight container in the pantry. The main batch can stay in the large mixing bowl covered with plastic wrap or transferred to a large airtight container.
Total Time:
About 5 minutes active time. No cooking required.
Expert Tips & Tricks
Here’s everything I’ve learned from making this mix dozens of times. These tips will save you from my mistakes.
Don’t Skip the Toasting — If your pretzels or nuts are a little stale, toast them in the oven at 350°F for 5-7 minutes. Let them cool completely before mixing. This brings back the crunch and adds a roasted flavor that makes the mix taste homemade.
Use a Big Bowl — I can’t stress this enough. If your bowl is too small, you’ll end up spilling ingredients everywhere. Use a bowl that’s at least twice the volume of your ingredients. It makes mixing easier and less messy.
Chop the Peanuts Evenly — If you’re chopping peanuts by hand, try to keep the pieces roughly the same size. Large chunks can be hard for kids to eat, and tiny crumbs get lost in the bottom of the bag. Aim for pea-sized pieces.
Store in a Cool, Dry Place — Humidity is the enemy of trail mix. If you live in a humid climate, store your mix in the fridge or freezer. The chocolate won’t melt, and the pretzels will stay crisp. I keep my main batch in the pantry, but the individual bags in the fridge during summer.
Add a Pinch of Sea Salt — Just a tiny pinch of flaky sea salt on top of the mix enhances the sweetness of the chocolate and the saltiness of the pretzels. It’s a game-changer. I sprinkle it on after mixing, right before portioning.
Customize for Allergies — If your school is nut-free, use sunflower seeds or pumpkin seeds instead of peanuts. The texture is similar, and it’s a safe option. You can also use chocolate chips that are certified nut-free.
Variations & Substitutions
Once you’ve nailed the basic version, here’s how you can mix it up. I’ve tried all of these, and they’re all winners.
The Nut-Free Version
Swap peanuts for sunflower seeds or pumpkin seeds (pepitas). Use chocolate chips that are certified nut-free. This is perfect for schools with strict no-nut policies. My neighbor’s kid, who has a peanut allergy, loves this version.
The Protein-Packed Version
Add a scoop of protein powder (vanilla or chocolate) to the mix. Or add roasted chickpeas for extra protein and crunch. This version keeps my kids full longer, which is great for after-school sports.
The Tropical Version
Swap M&Ms for white chocolate chips and add dried mango and pineapple. Use cashews instead of peanuts. It’s sweet, tangy, and completely different. Great for summer snacks.
The Dark Chocolate Version
Use dark chocolate chips and dark chocolate M&Ms (if you can find them). Add a few squares of dark chocolate chopped into small pieces. This version is less sweet and more sophisticated. My husband prefers this one.
The Candy Lover’s Version
Add Reese’s Pieces or M&Ms Minis. Skip the chocolate chips. This version is sweeter and more like a dessert. I make this for special occasions or weekends.
Gluten-Free Option
Use gluten-free pretzels. Most other ingredients are naturally gluten-free, but always check labels. Barilla makes a good gluten-free pretzel that holds up well in the mix.
Serving & Storage
How to Serve: I usually serve this straight from the Ziploc bag. It’s portable and easy. But here are other ways I’ve enjoyed it:
- Yogurt Parfait — Layer the trail mix with Greek yogurt and granola for a breakfast parfait.
- Ice Cream Topping — Sprinkle it over vanilla ice cream for a crunchy topping.
- Snack Plate — Serve it with cheese cubes and apple slices for a lunchbox alternative.
Storage Instructions:
Pantry: Store in an airtight container for up to 2 weeks. The mix will stay fresh and crunchy.
Refrigerator: Store in an airtight container for up to 1 month. This is best in humid climates.
Freezer: Yes, you can freeze trail mix! Portion it into Ziploc bags and freeze for up to 3 months. Thaw at room temperature for 15 minutes before eating. The chocolate might get a little frosty, but it tastes fine.
Pro Tip: If your mix gets a little stale, toast it in the oven at 300°F for 5 minutes. It will crisp up again.
Nutrition Information
I’m not a nutritionist, but here’s the breakdown if you’re tracking. This is a snack, so keep portions in mind.
Per Serving (1 cup / 100g approx):
- Calories: 450
- Protein: 12g
- Carbs: 55g
- Fiber: 4g
- Sugar: 25g
- Fat: 22g
- Saturated Fat: 8g
- Cholesterol: 10mg
- Sodium: 250mg
What’s Good: Decent protein from nuts, fiber from pretzels and nuts. Can be adjusted for lower sugar by reducing chocolate.
What to Know: Higher in calories from nuts and chocolate. Contains dairy and gluten. Moderate sodium.
My Take: This is a treat, not a health food. But it’s better than buying processed snacks. When I want to make it lighter, I reduce the M&Ms and increase the nuts. But usually? I just enjoy a reasonable portion and let my kids have fun with it.
Final Thoughts
So that’s my go-to Back to School Homemade Trail Mix with Pretzels and M&Ms! I’ve probably talked your ear off at this point, but when you make a recipe this often, you have a lot to say about it.
This mix has saved my sanity during the school year. It’s my answer to “what’s for snack?” when I’m tired, don’t want to cook, and still want something that tastes good. My kids are happy, and I’m happy because I’m not stressed about packing snacks.
Make it yours! Try different add-ins, swap in your favorite nuts, adjust the chocolate. The best recipes are the ones you adapt to your family’s tastes.
If you make this, drop a comment and let me know what you think! I love hearing how recipes turn out in your kitchen. And if something doesn’t work, tell me that too—I’m here to help troubleshoot.
Happy snacking! And I hope your kids love this mix as much as mine do.
Frequently Asked Questions
Q: Can I use chocolate chips instead of M&Ms?
A: Yes, but the texture will be different. M&Ms hold their shape better and don’t melt as easily. If you use chocolate chips, they might clump together in the bag. I recommend using both for the best texture.
Q: Why did my trail mix get soggy?
A: Humidity is usually the culprit. If you live in a humid area, store your mix in the fridge or freezer. Also, make sure your pretzels are fresh. Stale pretzels can absorb moisture from the air and become soft.
Q: Can I make this nut-free?
A: Absolutely! Swap peanuts for sunflower seeds or pumpkin seeds. Use nut-free chocolate chips. This version is perfect for schools with strict no-nut policies.
Q: How long does this trail mix last?
A: In an airtight container in the pantry, it lasts up to 2 weeks. In the fridge, up to 1 month. In the freezer, up to 3 months. The key is keeping it dry.
Q: Can I add other ingredients?
A: Sure! Try dried cranberries, raisins, coconut flakes, or even small cereal pieces like Cheerios. The possibilities are endless. Just make sure the ingredients are dry and crunchy.
Q: Is this recipe kid-friendly?
A: Yes! It’s sweet, salty, and crunchy—everything kids love. Plus, it’s easy to eat and doesn’t make a mess. My kids beg for this mix every week.
Q: Can I double this recipe?
A: Yes! Just use a larger bowl and mix in batches if needed. The ratios stay the same. I usually double or triple this recipe to save time on meal prep day.
Pin This Recipe!
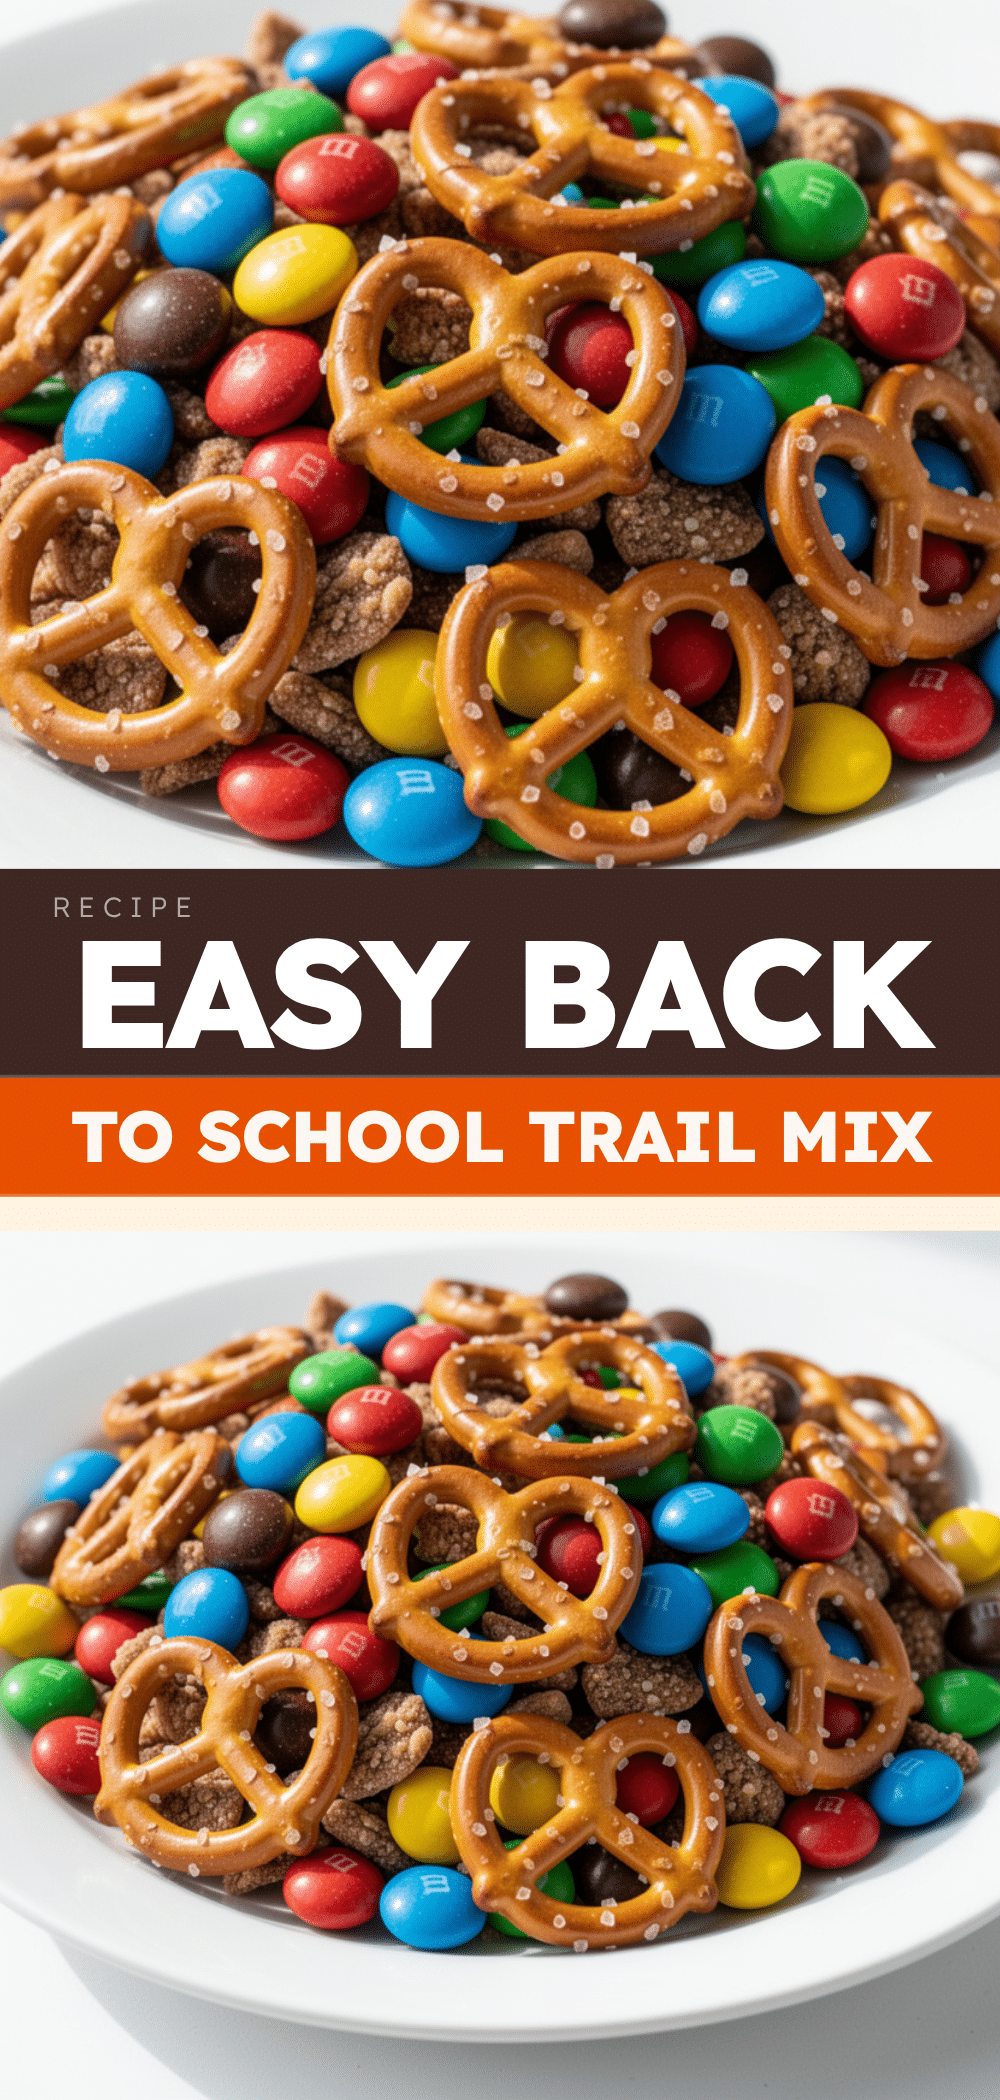
Back to School Homemade Trail Mix with Pretzels and M&Ms
- Total Time: 5 minutes
- Yield: Approximately 8-10 servings (1 cup each) 1x
Description
A quick, customizable, and cost-effective homemade trail mix featuring pretzels, peanuts, and M&Ms. Perfect for busy school mornings and afternoon snacks, this recipe balances salty and sweet flavors in just five minutes.
Ingredients
- 3 cups mini pretzels
- 1.5 cups roasted peanuts (unsalted)
- 0.5 cup chopped peanuts
- 1 cup M&Ms (classic milk chocolate)
- 0.5 cup semi-sweet chocolate chips
- 0.5 cup dried cranberries (optional)
- 0.5 cup white chocolate chips (optional)
- 0.25 cup toasted coconut flakes (optional)
- Pinch of sea salt (optional)
Instructions
- Ensure all ingredients are at room temperature to prevent chocolate clumping. If using dried fruit, rinse and pat dry.
- In a large mixing bowl (at least 5-quart capacity), combine the mini pretzels, roasted peanuts, and chopped peanuts. Toss with a spatula to distribute evenly.
- If using optional add-ins like dried cranberries or coconut flakes, add them now and toss to coat the pretzels.
- Gently fold in the M&Ms and chocolate chips. Be careful not to crush the candies or pretzels. Ensure even distribution.
- Taste test the mixture. Adjust sweetness or saltiness by adding more chocolate or a pinch of sea salt if desired.
- Portion the mix into quart-sized Ziploc bags or airtight containers. Each serving is approximately 1 cup.
- Label bags with the date and store in a cool, dry place.
Notes
[‘If pretzels or nuts are stale, toast them in the oven at 350°F for 5-7 minutes and let cool completely before mixing to restore crunch.’, ‘Store in a cool, dry place. In humid climates, refrigerate or freeze to prevent melting and sogginess.’, ‘For nut-free schools, substitute peanuts with sunflower seeds or pumpkin seeds.’, ‘For gluten-free diets, use certified gluten-free pretzels.’, ‘Can be stored in the pantry for up to 2 weeks, refrigerator for 1 month, or freezer for 3 months.’]
- Prep Time: 5 minutes
- Cook Time: 0 minutes
- Category: Snack
- Cuisine: American
Nutrition
- Serving Size: 1 cup (approx. 100g)
- Calories: 450
- Sugar: 25
- Sodium: 250
- Fat: 22
- Saturated Fat: 8
- Carbohydrates: 55
- Fiber: 4
- Protein: 12
Keywords: trail mix, back to school snacks, homemade trail mix, pretzel snack, kid-friendly snacks, meal prep snacks, salty and sweet snack, easy snack recipe


