Last August, I was standing in my kitchen at 6:15 AM, wearing one sock and holding a spatula like a weapon. The kids were arguing over who got the blue backpack. The dog was barking at a squirrel that didn’t even exist. My husband was trying to find his keys. And I had exactly twelve minutes to get hot, nutritious breakfast into three growing teenagers before the bus arrived.
Normal cereal bowls were out. Toast was too dry. And I wasn’t about to stand over a stove flipping eggs while simultaneously packing lunches and hunting for permission slips.
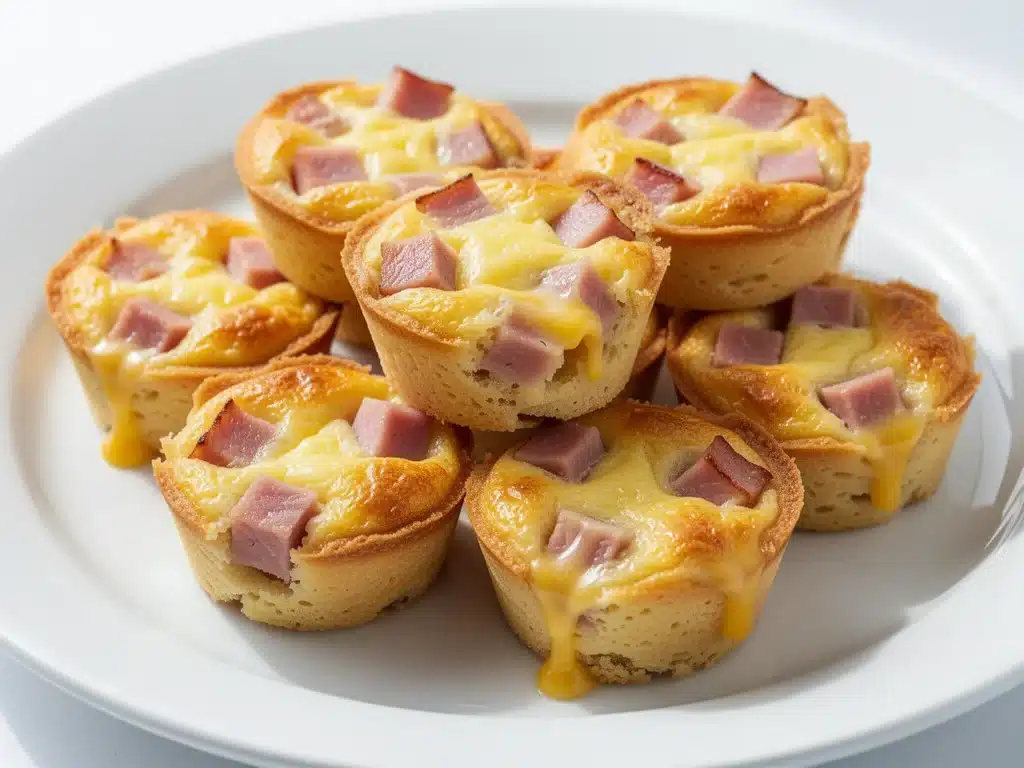
That was the day I finally committed to the Back to School Crustless Ham and Cheese Mini Quiches. Not the fancy, time-consuming kind from gourmet magazines. The real, grab-and-go, freezer-friendly kind that actually saves my sanity when the morning routine turns into a tornado.
I’ve made these quiches probably 50 times since that first chaotic Tuesday. They’ve survived carpool line delays, lost library books, and the occasional “I’m not hungry” tantrum. They are the unsung heroes of my back-to-school survival kit. And if you’re dreading the morning rush just like I was, you need these in your life.
Here’s the thing about these quiches: they aren’t just convenient. They’re genuinely delicious. Fluffy, savory, packed with protein, and best of all—zero crust to fuss with. No rolling pins, no blind baking, no disappointment when the crust shrinks away from the pan. Just pure, egg-y goodness in a perfect bite-sized package.
After testing dozens of variations (yes, I’ve been known to experiment with too many ingredients at 11 PM on a Sunday), I’ve landed on the perfect ratio. The key is balancing the eggs, milk, and mix-ins so they set firmly but stay tender. Too much milk, and they’re soupy. Too little, and they’re rubbery. I found the sweet spot, and now I’m sharing it with you.
These Back to School Crustless Ham and Cheese Mini Quiches have become my go-to for busy mornings, meal prep Sundays, and even unexpected guests. They reheat beautifully, travel well, and taste just as good cold as they do warm. Let me show you why they’re about to become your new best friend.
Why You’ll Love These Mini Quiches
I’ve tried every breakfast hack out there—overnight oats, smoothie bowls, granola bars that taste like cardboard. But nothing beats these mini quiches for a reliable, protein-packed start to the day. Here’s why they’ve earned a permanent spot in my weekly routine:
- Zero Crust, Zero Hassle — Seriously, if you’ve ever dealt with a soggy bottom or a crust that shrinks, you know the pain. These quiches skip all that drama. Just whisk, pour, bake, and eat. No pastry skills required.
- Freezer-Friendly Superstars — I make a double batch on Sunday, freeze half, and pull out what I need each morning. They reheat in 60 seconds in the microwave or 10 minutes in the oven. They don’t get mushy or dry out. I’ve tested this repeatedly because I’m paranoid about freezer meals.
- Protein-Packed Energy — Each quiche has about 8-10 grams of protein from the eggs, ham, and cheese. That’s huge for keeping kids (and adults) full until lunch. No mid-morning sugar crashes here.
- Customizable for Picky Eaters — My daughter hates ham but loves bacon. My son won’t touch cheese. No problem. I make one big batch with plain eggs and cheese, then stir in different add-ins for each kid. Everyone gets what they want.
- Meal Prep Magic — I whip these up in 10 minutes of active time. The rest is hands-off baking. I can do this while helping with homework or folding laundry. It’s the kind of cooking that doesn’t feel like work.
- Budget-Smart — Eggs, a little ham, some cheese, and a muffin tin. That’s it. Feeds 4-6 people for under $10. Cheaper than drive-thru, healthier than cereal, and way more satisfying.
- Portable and Mess-Free — I pack these in a bento box for the carpool line. No dripping, no crumbling, no napkins required. They’re the ultimate on-the-go breakfast.
These quiches have saved me more mornings than I can count. They’re my answer to “what’s for breakfast?” when I’m running on three hours of sleep. No stress, no mess, just reliable, delicious food that makes everyone happy.
Ingredients You’ll Need
Here’s the best part: you probably have most of this already. This isn’t a recipe that requires a specialty grocery run. Just basic pantry staples and a few fresh ingredients.
For the Base:
Eggs (10 large) — Room temperature eggs mix more evenly, but I rarely have the patience for that. Cold eggs work fine. I use large eggs because they give consistent results. If you have free-range, great. If not, standard large is perfect.
Whole milk (½ cup / 120ml) — This adds creaminess without making it too heavy. Skim milk works but makes them a bit less rich. Half-and-half makes them richer but heavier. I stick with whole milk for the best balance.
Salt and black pepper (½ teaspoon each) — Season the eggs well. This is where most people go wrong. Underseasoned eggs taste bland no matter what mix-ins you add. I use kosher salt if I have it, but table salt works too.
Garlic powder (½ teaspoon) — Optional but recommended. It adds a subtle savory depth that fresh garlic can’t quite achieve without burning. I always keep this on hand.
For the Mix-Ins:
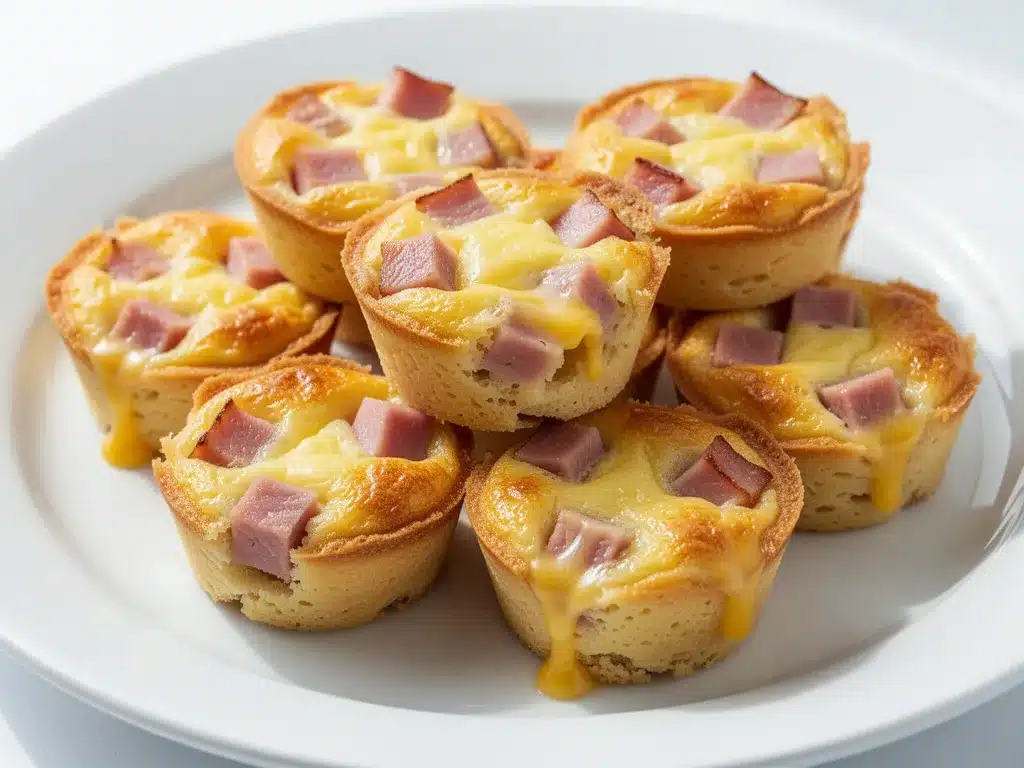
Ham (1 cup, diced / about 150g) — Use diced ham or chop up leftover spiral ham. I prefer lean ham to avoid greasiness. Turkey ham works too if you’re watching sodium. Chop it small—quarter-inch cubes are ideal.
Cheddar cheese (1 cup, shredded / about 100g) — Sharp cheddar has the best flavor, but mild works if you prefer. Shred your own from a block. Pre-shredded cheese has anti-caking agents that don’t melt as smoothly. Trust me on this.
Optional add-ins:
Bell peppers (½ cup, diced) — Red or green works. Sauté them first if you don’t like raw pepper crunch. I usually skip this for speed, but it adds nice color.
Onions (¼ cup, finely diced) — Yellow or white onion. Sauté until soft first. Adds sweetness and depth. I use this when I have time.
Bacon bits (½ cup, crumbled) — For bacon lovers. Use real cooked bacon, not the fake stuff. Crumble it fine so it distributes evenly.
Fresh herbs (2 tablespoons, chopped) — Chives, parsley, or cheddar chive blend. Stir in at the end. Adds freshness and looks pretty.
For Greasing:
Non-stick cooking spray or butter — I use spray for speed. Butter tastes better but takes more time. Either works. Just make sure you grease every well, or they’ll stick.
Pro Tips:
- I buy a block of cheddar and shred it myself. It melts better and tastes fresher.
- If you’re using leftover ham from a holiday meal, this is the perfect way to use it up.
- Pre-cook any vegetables before adding them. Raw veggies release water and make the quiches soggy.
- Don’t overfill the muffin tins. Leave about ¼ inch at the top so they don’t overflow.
Equipment Needed
You don’t need fancy equipment for this. Here’s what I actually use:
12-cup muffin tin — Standard size works best. I use a non-stick tin, but regular metal works fine if you grease well. Dark tins bake faster, so watch the time.
Large mixing bowl — Any bowl that’s big enough to whisk 10 eggs comfortably. I use a 3-quart bowl.
Whisk — For beating the eggs until smooth. Fork works but whisk is faster and more even.
Measuring cups and spoons — Standard stuff. Dollar store versions work fine.
Sharp knife and cutting board — For dicing ham and vegetables. Sharp knife = safer and more uniform pieces.
Box grater — For shredding cheese. Or use a food processor if you’re grating lots.
Silicone spatula — For scraping the bowl clean. Makes sure you don’t waste any egg mixture.
Parchment paper liners — Optional but helpful. Makes cleanup easier and prevents sticking. I use them when I’m being lazy.
Freezer-safe containers — Airtight containers or freezer bags for storing extras. I use quart-sized ziplock bags.
Tool Tips:
- If your muffin tin is old and sticky, grease it extra well or use liners.
- I love my silicone spatulas from OXO—they’re flexible and easy to clean.
- Don’t have a muffin tin? You can use a mini loaf pan, but adjust baking time.
How to Make It: Step-by-Step
Alright, let’s make this! I’m walking you through exactly how I do it, including the little tricks I’ve picked up.
Step 1: Prep Your Mix-Ins (5 minutes)
Dice your ham into small cubes. If you’re adding vegetables, dice them finely. If using onions or peppers, sauté them in a dry pan for 2-3 minutes until soft and any moisture has evaporated. Let them cool slightly. This step is crucial—wet veggies make soggy quiches.
Step 2: Grease the Muffin Tin (2 minutes)
Generously spray each cup with non-stick cooking spray. If using paper liners, place one in each cup. I can’t stress this enough: grease well. Sticky quiches are the worst. Take the extra 30 seconds to do this properly.
Step 3: Whisk the Egg Mixture (3 minutes)
In a large bowl, whisk 10 eggs until smooth and slightly frothy. Add the milk, salt, pepper, and garlic powder. Whisk again until fully combined. The mixture should be uniform with no streaks of yolk. This takes about a minute of vigorous whisking.
Step 4: Distribute Mix-Ins (3 minutes)
Divide the diced ham, cheese, and any vegetables evenly among the 12 muffin cups. Aim for about 1-2 tablespoons of mix-ins per cup. You want a good ratio of filling to egg. Don’t overcrowd, but don’t skimp either.
Step 5: Pour and Bake (15-18 minutes)
Preheat your oven to 350°F (175°C). Pour the egg mixture into each cup, filling them about ¾ full. Bake for 15-18 minutes, or until the edges are set and the tops are lightly golden. A toothpick inserted in the center should come out clean. Don’t overbake—they’ll continue cooking slightly after removal.
Step 6: Cool and Remove (5 minutes)
Let the quiches cool in the pan for 3-5 minutes. They’ll firm up as they cool. Then run a knife around the edges and pop them out. If they’re sticking, give them another minute. Patience pays off.
Step 7: Serve or Store
Enjoy warm immediately, or let cool completely before freezing. They’re delicious any way you eat them.
Total Time: About 30 minutes (10 minutes active, 20 minutes baking)
Built-in Troubleshooting:
- Quiches are watery? You didn’t cook them long enough, or your veggies released too much moisture. Next time, sauté veggies first and bake 2-3 minutes longer.
- Quiches are rubbery? Overbaked. Check at 15 minutes. They should be slightly jiggly in the center when you pull them out.
- Sticking to the pan? Not enough grease. Grease more next time or use liners.
Expert Tips & Tricks
Here’s everything I’ve learned from making these dozens of times. These tips will save you from my mistakes.
Pre-Cook Your Veggies
This is the #1 tip. Raw vegetables release water during baking, which makes the quiches soggy. Sauté onions, peppers, and mushrooms until soft and any liquid has evaporated. Let them cool before adding. I learned this the hard way with a batch of watery, sad quiches that looked like egg soup.
Don’t Skimp on Seasoning
Eggs are bland on their own. Season the egg mixture well with salt, pepper, and garlic powder. I use about ½ teaspoon of salt for 10 eggs. Taste the mixture before pouring—it should taste slightly salty, not bland.
Room Temperature Eggs
If you have time, let eggs come to room temperature. They mix more evenly and bake more uniformly. But I rarely do this. Cold eggs work fine, just whisk a bit longer.
Freezer-Ready Strategy
Let quiches cool completely before freezing. Wrap individually in plastic wrap, then place in a freezer bag. They keep for up to 3 months. Reheat from frozen in the microwave for 60-90 seconds or in the oven at 350°F for 15 minutes.
Common Mistakes (and how to avoid them):
- Mistake: Quiches are too dry Fix: Reduce baking time by 2-3 minutes. They should be slightly soft in the center when pulled from the oven.
- Mistake: Mix-ins sink to the bottom Fix: Distribute evenly, then pour egg mixture slowly. Or stir mix-ins into the egg mixture before pouring.
- Mistake: They stick to the pan Fix: Grease well, use liners, or let cool longer before removing.
Pro Tricks I’ve Learned:
- For Extra Flavor Add a pinch of nutmeg to the egg mixture. It’s a classic quiche secret that adds warmth.
- For Better Texture Strain the egg mixture through a sieve before pouring. Removes any chalazae (white strings) and makes them silkier.
- For Meal Prep Make a triple batch and freeze in groups of 4. Pull out what you need for the week.
Variations & Substitutions
Once you’ve nailed the basic version, here’s how you can mix it up. I’ve tried all of these.
Vegetarian Version
Skip the ham. Add sautéed spinach, mushrooms, and onions. Use vegetable broth instead of milk if you want. My vegetarian daughter loves this version. Add extra cheese to compensate for the missing protein.
Bacon and Cheddar
Swap ham for crispy bacon bits. Use sharp cheddar. This is my husband’s favorite. Add a dash of liquid smoke for extra smokiness. It’s like a breakfast BLT in quiche form.
Southwest Style
Add diced jalapeños, black beans, corn, and pepper jack cheese. Top with salsa after reheating. My kids go crazy for this one. Add a pinch of cumin to the egg mixture for extra flavor.
Mediterranean
Add sun-dried tomatoes, feta cheese, and kalamata olives. Sprinkle with fresh oregano. This tastes like a mini Greek salad. Great for adults who want something fancier.
Cheese-Only
Just eggs, milk, and cheese. Use a mix of cheddar and mozzarella for stretch. Simple but delicious. Perfect for picky eaters who don’t want mix-ins.
Dietary Modifications:
- Gluten-Free — Naturally gluten-free. Just make sure your ham and cheese are certified GF.
- Dairy-Free — Replace milk with almond milk and cheese with nutritional yeast or dairy-free cheese. It’s different but works.
- Egg-Free — Not recommended. Eggs are the structure. Aquafaba doesn’t work well here.
- Lower-Calorie — Use egg whites instead of whole eggs. Reduce cheese to ½ cup. Still tasty and lighter.
Serving & Storage
These quiches are incredibly versatile. Here’s how I enjoy them:
How to Serve:
I usually serve these warm, straight from the oven or microwave. They’re perfect for breakfast, brunch, or even as a light lunch. I pack them in bento boxes for school, and they hold up beautifully.
Side Dishes:
- Fresh fruit (berries, melon, or banana slices)
- Yogurt parfait with granola
- Simple green salad
- Toast or English muffin (if you want carbs)
Toppings Bar:
When I have guests, I put out: hot sauce, salsa, fresh herbs, extra cheese, and cracked black pepper. Everyone customizes their quiche.
Storage Instructions:
Refrigerator: Store in an airtight container for up to 4 days. They taste best within 2 days.
Reheating:
- Microwave: Heat on high for 60-90 seconds from frozen, or 30-45 seconds from refrigerated. Medium power prevents rubberiness.
- Oven: Bake at 350°F for 15 minutes from frozen, or 10 minutes from refrigerated. Covers loosely with foil to prevent drying.
Freezer: Cool completely, wrap individually in plastic wrap, then place in freezer bags. Keep for up to 3 months. Thaw in fridge overnight or reheat from frozen.
Pro tip: If quiches seem dry after reheating, add a tiny splash of milk before microwaving. Brings back moisture.
Nutrition Information
I’m not a nutritionist, but here’s the breakdown if you’re tracking.
Per Quiche (based on 12 servings):
- Calories: 95
- Protein: 8g
- Carbs: 1g
- Fiber: 0g
- Sugar: 1g
- Fat: 6g
- Saturated Fat: 3g
- Cholesterol: 120mg
- Sodium: 220mg
- Calcium: 80mg
What’s Good:
- High protein for a small calorie count
- Low carb, making it keto-friendly
- Good source of calcium from cheese
- Can add vegetables to boost nutrition
What to Know:
- Higher in cholesterol from eggs (but dietary cholesterol impact is debated)
- Contains dairy
- Sodium varies based on ham brand
My Take:
Look, these are protein-packed breakfast bites. They’re not a diet food, but they’re way better than sugary cereal or pastries. When I want to make them lighter, I use egg whites and reduce cheese. But usually? I just eat 2-3 quiches and enjoy them. They keep me full and focused.
Dietary Notes:
- Contains: eggs, dairy
- Can be made: vegetarian, gluten-free
- Not suitable for: vegan, egg-free (without major modifications)
Final Thoughts
So that’s my go-to Back to School Crustless Ham and Cheese Mini Quiches! I’ve probably talked your ear off at this point, but when you make a recipe this often, you have a lot to say about it.
These quiches have saved my mornings more times than I can count. They’re my answer to “what’s for breakfast?” when I’m tired, don’t want to cook, and still want something nutritious. My kids are happy, my husband’s happy, and I’m happy because I’m not stressed about cooking.
Make them yours! Try different add-ins, swap in your favorite cheese, adjust the spices. The best recipes are the ones you adapt to your family’s tastes. I’ve made these with bacon, with veggies, with just cheese—every version is good.
If you make these, drop a comment and let me know what you think! I love hearing how recipes turn out in your kitchen. And if something doesn’t work, tell me that too—I’m here to help troubleshoot.
Happy cooking! And I hope your mornings are half as calm as mine are now.
Frequently Asked Questions
Q: Can I use egg whites instead of whole eggs?
A: Yes! Use about 16 egg whites instead of 10 whole eggs. They’ll be lighter and lower in calories, but slightly less rich. I do this when I’m trying to eat healthier. Just whisk them well to incorporate air.
Q: Why did my quiches turn out watery?
A: Usually means your vegetables released too much moisture. Always pre-cook and drain veggies before adding. Also, make sure you’re baking long enough. A toothpick should come out clean. If they’re still watery, bake 2-3 minutes longer next time.
Q: Can I make these ahead for a dinner party?
A: Absolutely! Make them up to 2 days ahead and store in the fridge. Reheat before serving. They’re perfect for brunch because you can prep everything the night before. Just pull them out 30 minutes before baking.
Q: Why did my quiches stick to the pan?
A: Not enough grease. Make sure you spray every well thoroughly, or use paper liners. If using a dark pan, grease extra well because dark tins get hotter. Let them cool 5 minutes before removing too.
Q: Can I freeze these without wrapping them individually?
A: You can, but they’ll stick together. Individual wrapping is better for portion control and prevents freezer burn. I wrap them in plastic, then bag them. They last 3 months this way.
Q: How do I reheat without them getting rubbery?
A: Use medium power in the microwave, not high. Heat in 30-second intervals, stirring or rotating between. Or bake in the oven at 350°F. High heat makes eggs rubbery. Patience pays off.
Q: Can I double this recipe?
A: Yes! Double everything and use two muffin tins. The baking time stays the same. I do this when I’m meal-prepping for the whole week. Just make sure your oven has room for two racks.
Pin This Recipe!
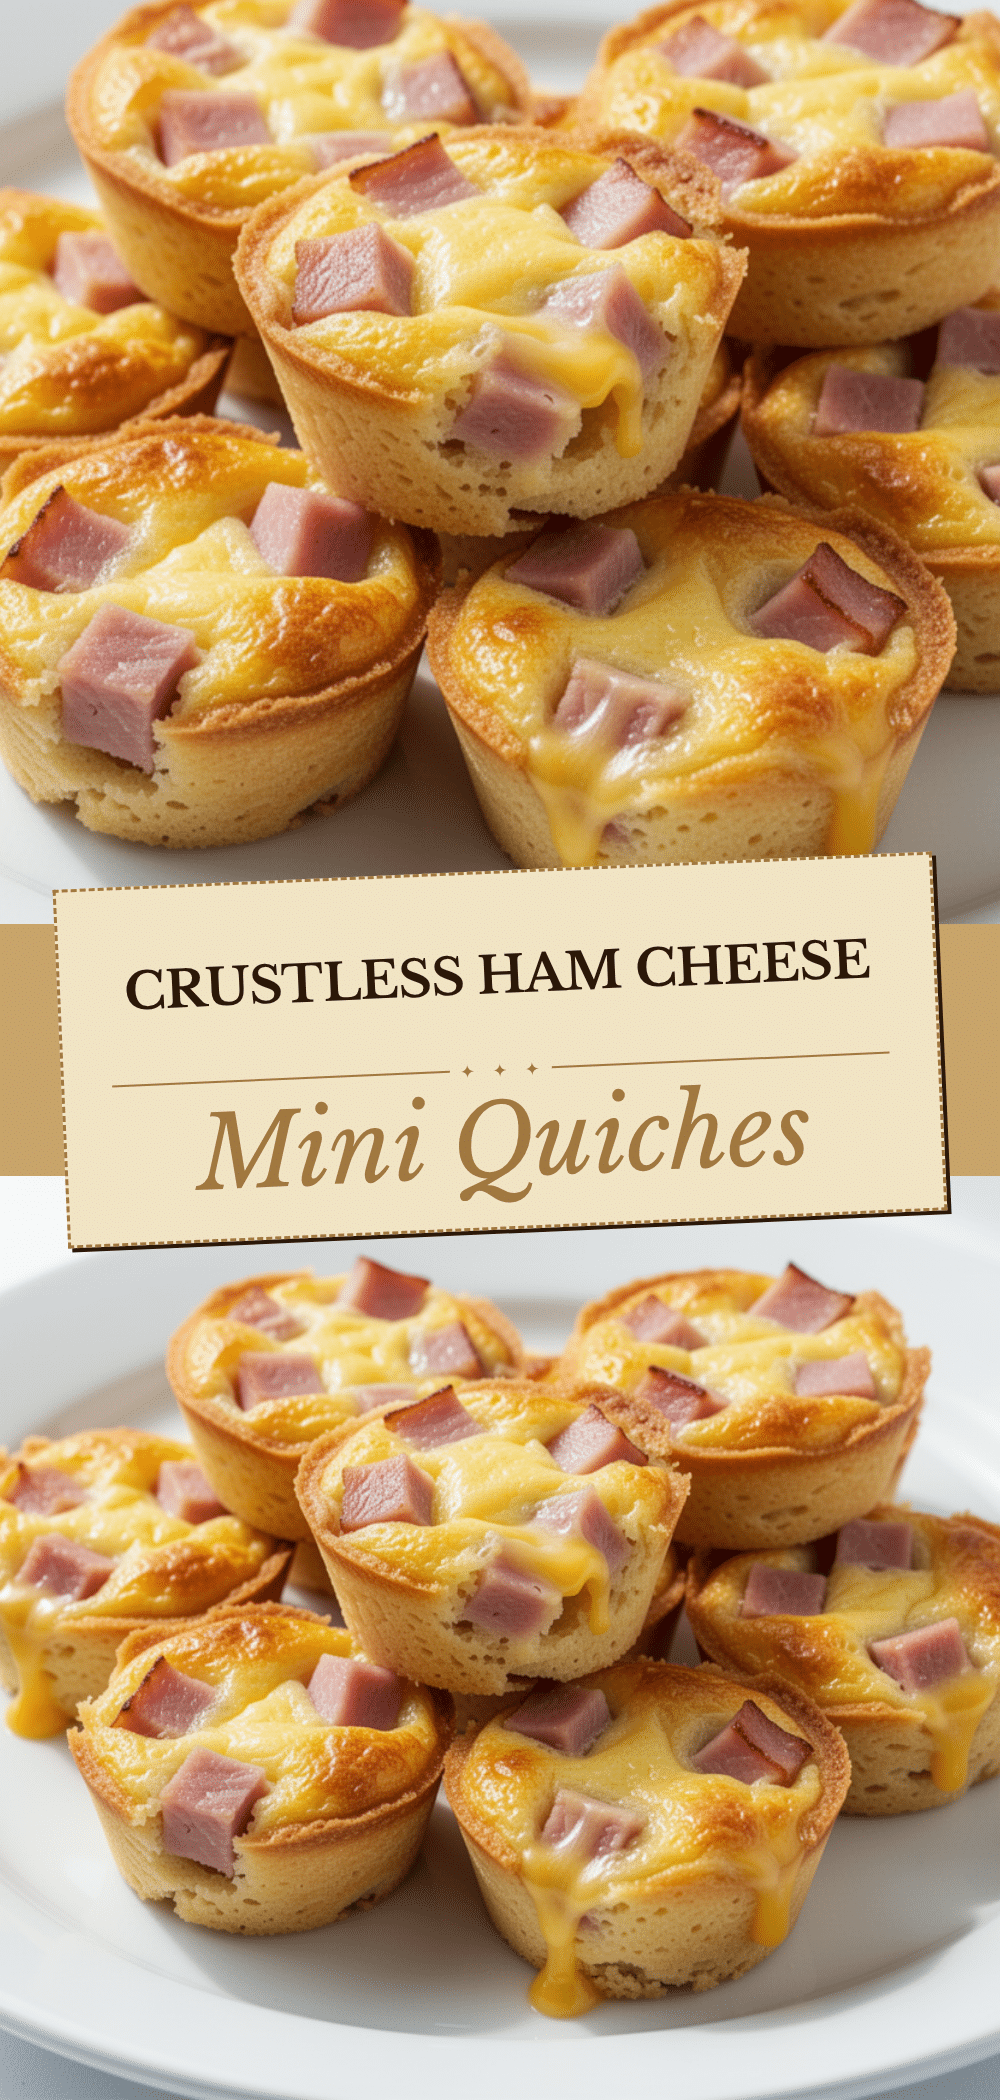

Back to School Crustless Ham and Cheese Mini Quiches
- Total Time: 30 minutes
- Yield: 12 servings 1x
Description
Grab-and-go, freezer-friendly mini quiches that are protein-packed, zero crust, and perfect for busy school mornings. They reheat beautifully and taste great warm or cold.
Ingredients
- 10 large eggs
- 1/2 cup whole milk
- 1/2 teaspoon salt
- 1/2 teaspoon black pepper
- 1/2 teaspoon garlic powder
- 1 cup diced ham (about 150g)
- 1 cup shredded cheddar cheese (about 100g)
- Non-stick cooking spray or butter (for greasing)
- Optional: 1/2 cup diced bell peppers
- Optional: 1/4 cup finely diced onions
- Optional: 1/2 cup crumbled bacon bits
- Optional: 2 tablespoons chopped fresh herbs
Instructions
- Preheat oven to 350°F (175°C).
- Dice ham and any vegetables. If using onions or peppers, sauté them until soft and moisture has evaporated, then let cool.
- Generously grease a 12-cup muffin tin with cooking spray or butter.
- In a large bowl, whisk eggs until smooth and frothy. Add milk, salt, pepper, and garlic powder; whisk until fully combined.
- Divide ham, cheese, and vegetables evenly among the 12 muffin cups.
- Pour the egg mixture into each cup, filling them about 3/4 full.
- Bake for 15-18 minutes, or until edges are set and tops are lightly golden. A toothpick inserted in the center should come out clean.
- Let quiches cool in the pan for 3-5 minutes to firm up, then remove.
- Serve warm, or cool completely for freezing.
Notes
Pre-cook any vegetables before adding to prevent soggy quiches. Do not overfill the muffin tins. For best results, shred your own cheese as pre-shredded cheese contains anti-caking agents. Quiches can be frozen individually for up to 3 months.
- Prep Time: 10 minutes
- Cook Time: 18 minutes
- Category: Breakfast
- Cuisine: American
Nutrition
- Serving Size: 1 mini quiche
- Calories: 95
- Sugar: 1
- Sodium: 220
- Fat: 6
- Saturated Fat: 3
- Carbohydrates: 1
- Protein: 8
Keywords: crustless quiche, mini quiches, breakfast muffins, meal prep breakfast, freezer friendly breakfast, high protein breakfast, back to school breakfast, ham and cheese quiche


