It was 6:45 AM on a Tuesday, and I was standing in front of an open refrigerator, watching my morning light fade as I tried to negotiate with a seven-year-old about why a banana isn’t a complete breakfast. My husband was already out the door. My toddler was crying over a mismatched sock. And I had exactly twelve minutes to pack lunches that wouldn’t get squished in a backpack, wouldn’t melt into a sad puddle by third period, and—most importantly—wouldn’t result in a “I’m hungry” text from my oldest at 3:30 PM.
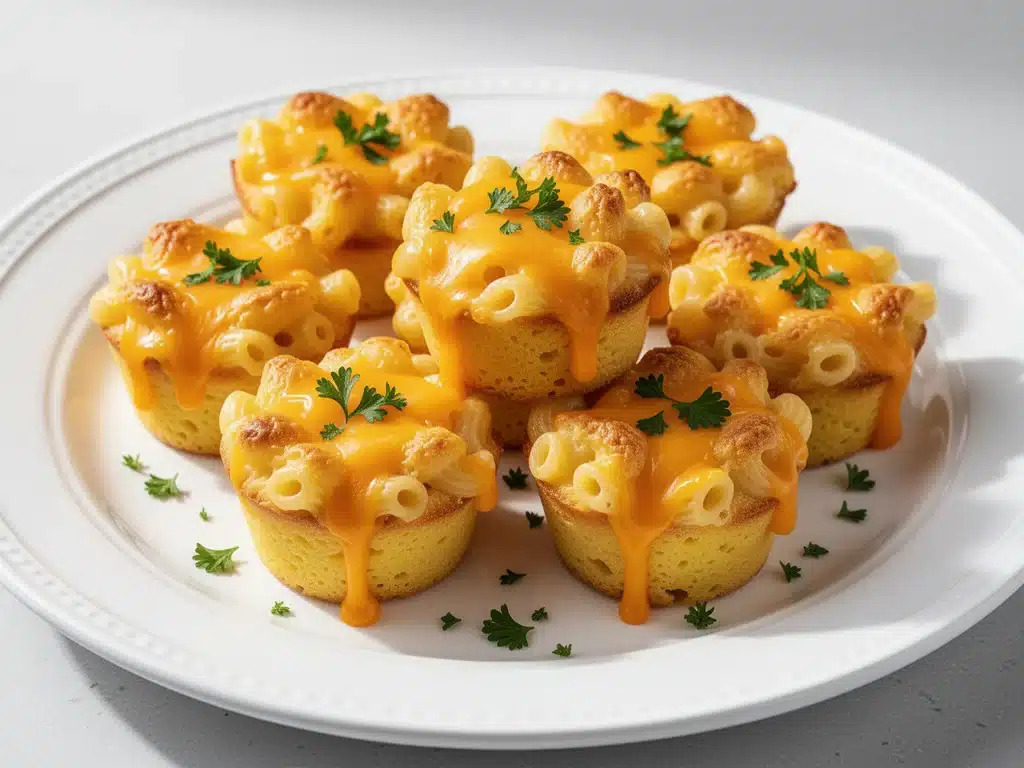
That was the week I realized I needed a system. Not a perfect one. Not a Pinterest-worthy one with artisanal bread and perfectly arranged fruit skewers. Just a system that worked. That’s when I turned to the oven. Specifically, I started making Back to School Baked Mac and Cheese Muffin Cups. They’ve since become the holy grail of my morning routine, and honestly, they’ve saved my sanity more times than I can count.
Here’s the thing about these muffin cups: they’re not just cute. They’re practical. They’re creamy, cheesy, and sturdy enough to survive a day in a kid’s backpack. I’ve tested dozens of variations, from gluten-free noodles to extra-veggie-packed versions for my picky eater, and I’ve settled on a method that guarantees a perfect result every single time. No soggy bottoms. No rubbery cheese. Just golden, bubbly pockets of comfort food that make lunchbox prep feel less like a chore and more like a win.
I’ve made these over fifty times in the last two school years. My kids ask for them by name. My husband steals one before he leaves for work. And if you’re dreading the lunchbox rush every August, you need to try these Back to School Baked Mac and Cheese Muffin Cups immediately. Trust me.
Why You’ll Love These Mac and Cheese Muffin Cups
Look, I get it. Lunchbox prep is exhausting. You’re juggling schedules, sports practices, and the endless quest for balanced nutrition, all while trying to remember if you signed the permission slip. These muffin cups change the game. Here’s why they’ve earned a permanent spot in our weekly rotation:
Zero Meltdown Factor — Unlike a sandwich that gets soggy or an apple that turns brown, these hold up beautifully. I’ve left them in hot cars (don’t judge, it happens) and they still taste great. The baked structure keeps the moisture contained.
Grab-and-Go Convenience — They’re individual portions. No cutting, no mess, no fighting over who gets the bigger piece. My kids can grab one, toss it in their lunchbox, and eat it cold or at room temperature without complaining. And yes, they reheat beautifully in the microwave if your kid has access to a cafeteria microwave.
Picky Eater Approved — This is huge. My youngest refuses to eat anything yellow unless it’s cheese. These are basically pure cheese in noodle form. But here’s the secret: I hide a tablespoon of finely grated zucchini or spinach in each cup. You can’t taste it, but they get veggies. Win-win.
Make-Ahead Friendly — I bake a batch on Sunday night. By Monday morning, lunch is done. I pack them in containers, grab-and-go. It’s the only reason I actually enjoy meal prep now. These Back to School Baked Mac and Cheese Muffin Cups are my time-saving superpower.
Budget-Smart — You probably have most of these ingredients already. Pasta, milk, cheese, butter. It’s cheap to make a big batch and freeze portions. Feeds four kids for less than $10 total. That’s less than what I spend on one lunch at the school cafeteria.
Customizable to Any Diet — Gluten-free? Use GF pasta. Vegan? Swap in plant-based cheese and milk. These recipes adapt to whatever your family needs. I’ve made dairy-free versions that even my cheese-obsessed husband loved.
This recipe has completely changed our weeknight and weekend prep routine. It’s reliable, delicious, and makes the morning chaos a little less chaotic. If you need dinner to just work, or lunch to just work, this is it.
Ingredients You’ll Need for Perfect Muffin Cups
Here’s the best part: you probably have most of this already in your pantry. I’m particular about three ingredients here, and I’ll tell you exactly why. This isn’t just about throwing cheese on noodles; it’s about creating a sauce that stays creamy even after cooling.
Elbow Macaroni (8 ounces / 225g) — I use small elbow noodles because they fit perfectly in muffin tins. Large shells fall out. I always use Barilla or De Cecco—they hold their shape well after baking and reheating. Whole wheat works too, but it changes the texture slightly.
Butter (2 tablespoons / 30g) — Unsalted is best so you control the salt. I use Kerrygold because it has a richer flavor, but regular butter works fine. Don’t skip this; it adds richness that keeps the sauce from drying out.
All-Purpose Flour (2 tablespoons / 15g) — This is the thickener for your roux. It’s what turns milk into sauce. Don’t try to skip it, or you’ll have soup, not mac and cheese.
Whole Milk (1 cup / 240ml) — Full fat is non-negotiable for creaminess. Skim milk makes a grainy sauce. If you want it lighter, half-and-half works, but whole milk is the gold standard. I keep a carton in the fridge just for this recipe.
Sharp Cheddar Cheese (1.5 cups / 170g, freshly grated) — Buy the block. Do not use pre-shredded cheese. Pre-shredded has cellulose that prevents melting, and your sauce will be gritty. Grate your own—it takes 2 minutes and makes a huge difference. Sharp cheddar has more flavor than mild, so you use less but get more taste.
Mozzarella Cheese (½ cup / 50g, shredded) — This is for the stretch. Cheddar gives flavor, mozzarella gives the gooey pull. I mix them for the best of both worlds. Low-moisture mozzarella works best.
Egg (1 large) — This acts as a binder. It helps the muffin cups hold their shape when you unmold them. Without it, they might crumble. Don’t skip it unless you’re making an egg-free version.
Salt and Black Pepper (to taste) — I use about ½ teaspoon salt and a good crack of pepper. Seasoning is key because the noodles absorb a lot of flavor. Taste your sauce before baking.
Optional Add-ins:
Diced Ham (½ cup) — Adds protein and makes it a meal. My kids love this version.
Steamed Broccoli Florets (½ cup) — For the veggies. Steam them first so they’re soft.
Hot Sauce (1 teaspoon) — A little kick balances the richness. Frank’s RedHot is my go-to.
Pro Tip: I buy pre-shredded cheddar for convenience sometimes, but I always grate my own for this recipe. It’s worth the extra two minutes. My husband can tell the difference. Also, save some pasta water! If your sauce looks too thick after mixing, a splash of starchy pasta water can loosen it up.
Equipment Needed
You don’t need fancy equipment for this. Here’s what I actually use. Most of this is probably already in your kitchen drawer.
12-Cup Muffin Tin — Standard size works best. I use a heavy-gauge metal tin because it conducts heat evenly. Non-stick is great for easy removal, but regular metal works if you grease well.
Silicone Muffin Liners (Optional) — I love these because cleanup is zero. Just toss them in the dishwasher. But they don’t get the same crispy edges as direct contact with the pan. I alternate between the two.
Medium Saucepan — For making the cheese sauce. I use a 2-quart pot. It needs to be big enough to whisk the roux without splattering.
Whisk — Essential for the roux. A silicone whisk is easier to clean, but a wire whisk works fine. Don’t use a spoon; you won’t get it smooth.
Large Pot — For boiling the pasta. I use my 6-quart pot. It needs to fit 8 ounces of pasta comfortably.
Measuring Cups and Spoons — Standard stuff. Dollar store versions work fine for this. Precision matters less here than in baking, but it helps.
Parchment Paper (Optional) — If you’re not using a non-stick tin, line the cups with small squares of parchment for guaranteed easy release. I do this when I’m worried about sticking.
Grater — Box grater or microplane. For grating the cheese block. Or food processor if you’re grating lots of cheese quickly.
Cooking Spray or Butter — For greasing the muffin tin. I use non-stick spray with flour for extra insurance. Or just brush with melted butter.
Tip: Don’t have a muffin tin? You can make these in a small baking dish, but they won’t be individual cups. They’ll just be baked mac and cheese. Still delicious, but not the same grab-and-go format.
How to Make It: Step-by-Step
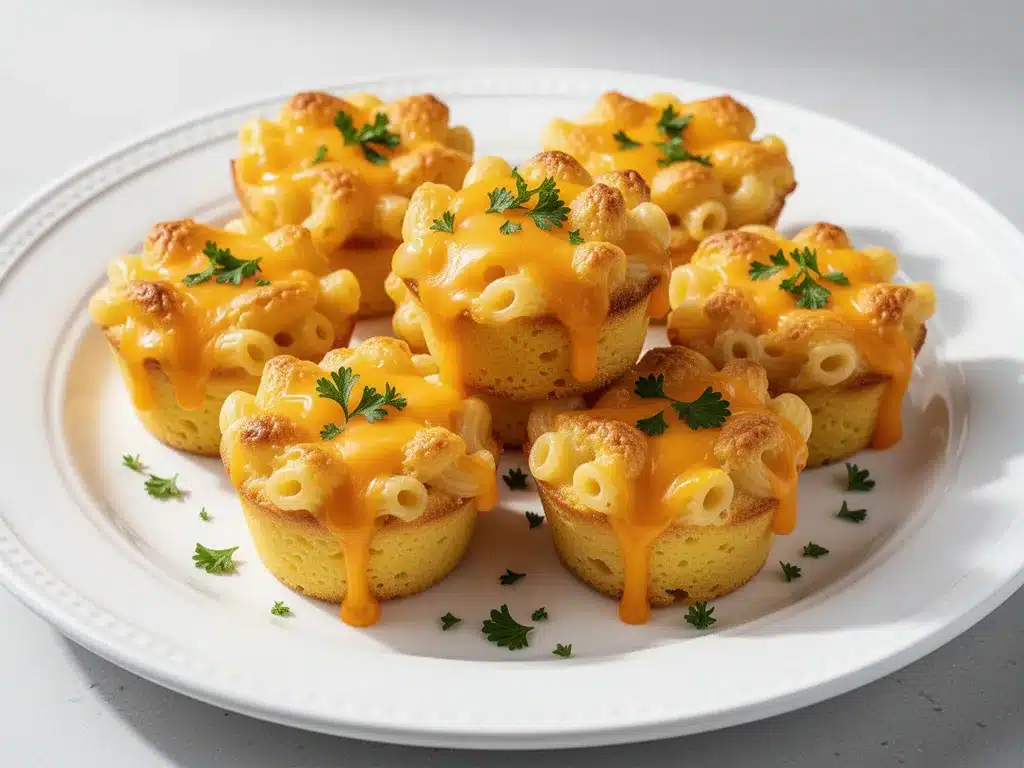
Alright, let’s make this! I’m walking you through exactly how I do it, including the little tricks I’ve picked up over dozens of batches. This process is straightforward, but there are key moments that make the difference between good and great.
Step 1: Prep Your Oven and Pan (5 minutes)
Preheat your oven to 375°F (190°C). Grease your muffin tin generously with butter or cooking spray. If you’re using silicone liners, you can skip greasing, but a light spray helps them release cleanly. I usually spray the cups and then dust with a little flour, tapping out the excess. This creates a non-stick surface that’s foolproof.
Step 2: Cook the Pasta (10 minutes)
Bring a large pot of salted water to a boil. It should taste like the ocean. Add the elbow macaroni and cook until al dente, usually 1-2 minutes less than the package directions. You want the pasta to be slightly undercooked because it will finish cooking in the oven. Drain the pasta and set aside. Important: Reserve ¼ cup of the pasta water. You’ll need it for the sauce.
Step 3: Make the Roux (5 minutes)
In a medium saucepan over medium heat, melt the butter. Once it’s foaming, add the flour. Whisk constantly for about 1-2 minutes until it turns a light blonde color. This cooks out the raw flour taste. Don’t let it burn. If it gets too dark, start over. It should smell nutty, not burnt.
Step 4: Add the Milk (5 minutes)
Slowly pour in the milk, whisking constantly to prevent lumps. Keep whisking until the mixture thickens and comes to a gentle simmer. This should take about 3-4 minutes. The sauce should coat the back of a spoon. If it’s too thick, add a splash of the reserved pasta water. Remove from heat.
Step 5: Make the Cheese Sauce (3 minutes)
Stir in the grated cheddar and mozzarella until melted and smooth. If the sauce looks separated, whisk in a tablespoon of warm pasta water to bring it back together. Taste and add salt and pepper. The sauce should be creamy and pourable, not thick like glue. It will thicken more as it bakes.
Step 6: Combine Pasta and Sauce (2 minutes)
Add the cooked pasta to the cheese sauce. Stir gently to coat every noodle. If you’re adding ham or veggies, fold them in now. The mixture should be wet and glossy. If it looks dry, add a splash more milk or pasta water.
Step 7: Fill the Muffin Cups (5 minutes)
Ladle the mixture into the prepared muffin cups, filling each about ¾ full. Press down gently with the back of a spoon to compact it. This helps them hold their shape. If you have leftover sauce, you can pour it over the top for a cheesy crust.
Step 8: Bake (15-18 minutes)
Place the tin in the oven and bake for 15-18 minutes, or until the tops are golden brown and bubbly. The edges should be slightly crispy. If you’re using silicone liners, they might not brown as much, but they’ll be cooked through.
Step 9: Cool and Remove (10 minutes)
Let the muffin cups cool in the tin for 5 minutes. This is crucial—they’re fragile when hot. Then, run a knife around the edges and gently lift them out. Transfer to a wire rack to cool completely. If you pack them while hot, they’ll steam and get soggy.
Total Time: About 45 minutes (15 active, 30 mostly hands-off)
Troubleshooting:
If the tops burn, cover with foil for the last 5 minutes.
If they’re too soft, bake for 2-3 more minutes.
If they stick, your pan wasn’t greased enough next time.
Expert Tips & Tricks for Success
Here’s everything I’ve learned from making these dozens of times. These tips will save you from my mistakes.
Undercook the Pasta
This is the #1 tip. Pasta continues to cook in the oven. If you cook it to al dente according to the package, it’ll be mushy by the time it’s baked. I always cook it 2 minutes less. It’s better slightly under than over.
Grate Your Own Cheese
Pre-shredded cheese has anti-caking agents that make the sauce grainy. Grate your own from a block—takes 3 minutes and makes a huge difference. My husband can tell when I’ve been lazy and used pre-shredded.
Don’t Skip the Egg
The egg binds the sauce and helps the muffin cups hold their shape. Without it, they might crumble when you try to remove them. It’s a small ingredient with a big impact.
Cool Completely Before Packing
This is non-negotiable. If you pack them warm, condensation will make them soggy. Let them cool on a rack for at least 10 minutes. I usually bake them the night before so they’re cool by morning.
Freeze for Later
These freeze beautifully. Once cooled, store them in a single layer in the freezer, then transfer to a bag. They last up to 3 months. Reheat in the microwave for 30-60 seconds. Perfect for busy mornings.
Customize the Cheese
I mix cheddar and mozzarella for flavor and stretch. But you can use any cheese you like. Pepper jack for spice, gouda for smokiness, or even cream cheese for extra richness. Just make sure it melts well.
Add Veggies Discreetly
Finely grate zucchini, carrots, or spinach into the sauce. You won’t taste them, but you’ll get nutrients. My kids think it’s just “extra cheese.”
Variations & Substitutions
Once you’ve nailed the basic version, here’s how you can mix it up. I’ve tried all of these.
Ham and Pea Version
Add ½ cup diced ham and ¼ cup frozen peas (thawed) to the pasta mixture. Adds protein and color. My kids love this one.
Spicy Jalapeño Version
Add 1 diced jalapeño and ½ teaspoon cayenne pepper to the sauce. Top with extra cheddar. Great for kids who like a kick.
Gluten-Free Version
Use gluten-free elbow pasta. Most brands work well, but check the package for cooking time. The rest of the recipe is naturally gluten-free.
Dairy-Free Version
Use plant-based butter, milk, and cheese. I recommend Violife or Daiya for melting. It’s different but still tasty. My lactose-intolerant friend requests this version.
Veggie-Loaded Version
Add ½ cup finely chopped broccoli, carrots, or spinach. Steam veggies first so they’re soft. This is how I get my kids to eat vegetables.
Bacon Bit Version
Add ¼ cup cooked, crumbled bacon. Adds smokiness and crunch. Top with extra cheese.
Pumpkin Spice Version
(Seriously, try this in fall.) Add 2 tablespoons pumpkin puree and ½ teaspoon pumpkin pie spice to the sauce. It’s weirdly delicious and perfect for autumn.
Serving & Storage
How to Serve:
I usually serve these straight from the counter at breakfast or lunch. They’re great cold, at room temperature, or reheated. I pack them in bento boxes with fruit and crackers. They look cute and professional.
Side Dishes:
– Apple slices
– Carrot sticks with hummus
– Grapes
– Crackers
– A small yogurt cup
Storage Instructions:
Refrigerator:
Store in an airtight container for up to 4 days. They’ll firm up in the fridge—totally normal.
Reheating:
Microwave for 30-60 seconds. They should be warm and soft. Don’t overheat or they’ll get rubbery.
Freezing:
These freeze beautifully. Cool completely, then freeze in a single layer. Transfer to a bag. Lasts 3 months. Reheat from frozen in the microwave for 1-2 minutes.
Pro Tip: If leftovers are drying out, add a splash of milk when reheating. Brings back that creamy texture.
Nutrition Information
I’m not a nutritionist, but here’s the breakdown if you’re tracking. This is per muffin cup, based on 12 servings.
| Nutrient | Amount |
|---|---|
| Calories | 180 |
| Protein | 8g |
| Carbs | 18g |
| Fiber | 1g |
| Fat | 8g |
| Saturated Fat | 5g |
| Cholesterol | 35mg |
| Sodium | 280mg |
What’s Good:
– Decent protein from cheese and egg
– Calcium from the cheese
– Portable and satisfying
– Can add veggies to boost nutrition
What to Know:
– Higher in calories from cheese and butter
– Contains dairy and gluten
– Moderate sodium (use low-sodium broth to reduce)
My Take:
Look, this is comfort food. It’s not a diet recipe. But it’s way better than processed lunch meats and white bread. It’s made from real ingredients, and I know exactly what’s in it. When I want to make it lighter, I use less cheese and add more veggies. But usually? I just eat a reasonable portion and enjoy it.
Final Thoughts
So that’s my go-to Back to School Baked Mac and Cheese Muffin Cups! I’ve probably talked your ear off at this point, but when you make a recipe this often, you have a lot to say about it.
This has saved weeknight and weekend prep more times than I can count. It’s my answer to “what’s for lunch?” when I’m tired, don’t want to make sandwiches, and still want something that tastes really good. My kids are happy, my husband’s happy, and I’m happy because I’m not stressed about cooking.
Make it yours! Try different add-ins, swap in your favorite vegetables, adjust the cheese. The best recipes are the ones you adapt to your family’s tastes.
If you make this, drop a comment and let me know what you think! I love hearing how recipes turn out in your kitchen. And if something doesn’t work, tell me that too—I’m here to help troubleshoot.
Happy cooking! And I hope your kitchen smells half as good as mine does right now.
Frequently Asked Questions
Can I use gluten-free pasta?
Yes! Most gluten-free elbow macaroni works well. Just check the package for cooking time, as some brands cook faster than wheat pasta. I’ve used Barilla GF and De Cecco GF, and both hold up well in the oven. The rest of the recipe is naturally gluten-free.
Can I freeze these muffin cups?
Absolutely. They freeze beautifully. Cool them completely, then store in a single layer in the freezer. Once frozen, transfer to a bag. They last up to 3 months. Reheat in the microwave for 1-2 minutes from frozen. This is my favorite way to prep for busy weeks.
Why did my muffin cups fall apart?
This usually happens if you didn’t use an egg, or if you didn’t let them cool enough before removing them. The egg acts as a binder, and cooling firms up the structure. Also, make sure you packed the pasta down firmly into the cups. If they’re too loose, they’ll crumble.
Can I make these dairy-free?
Yes, but the texture will be different. Use plant-based butter, milk, and cheese. I recommend Violife or Daiya for melting. It won’t be as gooey as dairy cheese, but it’s still tasty. My lactose-intolerant friend loves this version.
How long do these last in the fridge?
They last up to 4 days in an airtight container. They’ll firm up in the fridge, which is normal. Reheat in the microwave with a splash of milk to bring back the creaminess.
Can I add vegetables?
Yes! Finely grate zucchini, carrots, or spinach into the sauce. Steam broccoli first so it’s soft. You won’t taste the veggies, but you’ll get nutrients. My kids think it’s just “extra cheese.”
Can I double this recipe?
Yes! Double everything and use two muffin tins. The cooking time stays the same. I do this when I’m meal-prepping for the whole week. Just make sure your oven has room for both tins.
Pin This Recipe!
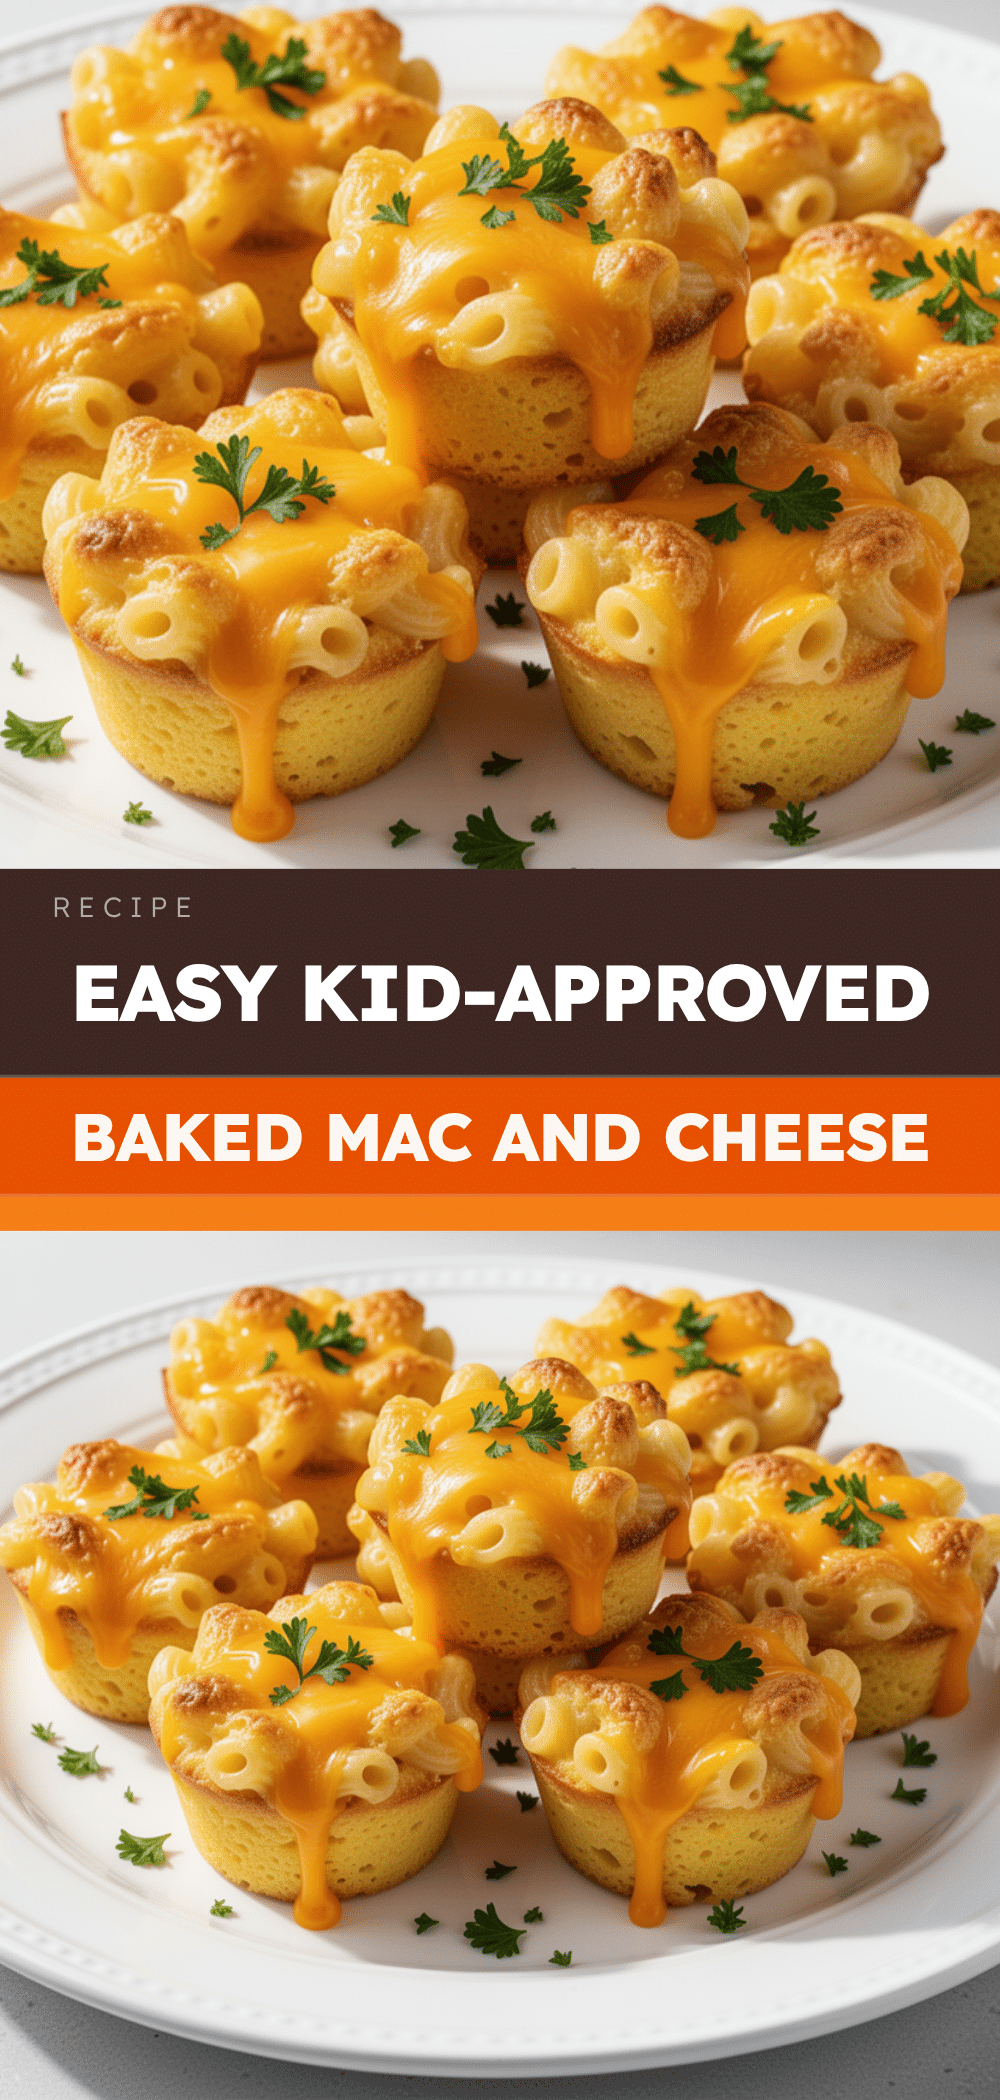

Back to School Baked Mac and Cheese Muffin Cups
- Total Time: 45 minutes
- Yield: 12 servings 1x
Description
Practical, grab-and-go baked mac and cheese muffin cups that hold up well in lunchboxes, are customizable for various diets, and make morning prep stress-free.
Ingredients
- 8 ounces (225g) elbow macaroni
- 2 tablespoons (30g) unsalted butter
- 2 tablespoons (15g) all-purpose flour
- 1 cup (240ml) whole milk
- 1.5 cups (170g) sharp cheddar cheese, freshly grated
- 0.5 cup (50g) low-moisture mozzarella cheese, shredded
- 1 large egg
- 0.5 teaspoon salt
- Black pepper to taste
- Cooking spray or butter for greasing
- Optional: 0.5 cup diced ham
- Optional: 0.5 cup steamed broccoli florets
- Optional: 1 teaspoon hot sauce
Instructions
- Preheat oven to 375°F (190°C). Grease a 12-cup muffin tin generously with butter or cooking spray.
- Bring a large pot of salted water to a boil. Cook elbow macaroni until al dente, about 1-2 minutes less than package directions. Drain, reserving ¼ cup pasta water, and set pasta aside.
- In a medium saucepan over medium heat, melt butter. Add flour and whisk constantly for 1-2 minutes until light blonde.
- Slowly pour in milk while whisking constantly until the mixture thickens and simmers. Remove from heat.
- Stir in grated cheddar and mozzarella until melted and smooth. Season with salt and pepper. If too thick, add a splash of reserved pasta water.
- Add cooked pasta to the cheese sauce and stir to coat. Fold in optional add-ins like ham or veggies.
- Ladle mixture into prepared muffin cups, filling each about ¾ full. Press down gently to compact.
- Bake for 15-18 minutes until tops are golden brown and bubbly.
- Let cool in the tin for 5 minutes, then run a knife around edges and remove. Cool completely on a wire rack before packing.
Notes
Undercook pasta slightly as it will continue to cook in the oven. Grate your own cheese to prevent grainy sauce. Cool completely before packing to avoid sogginess. These freeze well for up to 3 months.
- Prep Time: 15 minutes
- Cook Time: 30 minutes
- Category: Main Course
- Cuisine: American
Nutrition
- Serving Size: 1 muffin cup
- Calories: 180
- Sugar: 2
- Sodium: 280
- Fat: 8
- Saturated Fat: 5
- Carbohydrates: 18
- Fiber: 1
- Protein: 8
Keywords: mac and cheese, muffin cups, school lunch, meal prep, kid-friendly, grab-and-go, baked pasta, comfort food


